
This tutorial for DIY wooden candle holders costs virtually nothing to make and took about 1 hour for nine pretty candlesticks. It's a great way to use natural elements that are so beautiful around the home and the price can't be beaten.
This year I wanted to have a woodland theme for my Christmas decor. I know that making candlesticks from logs has been done before, what hasn't, but this was the first time for me.
This post contains some affiliate links (that means if you make a purchase after clicking a link, there’s no additional cost to you, but I will earn a very small commission. ) i.e. as an Amazon Associate, I earn from qualifying purchases. Click here to read my full disclosure policy.
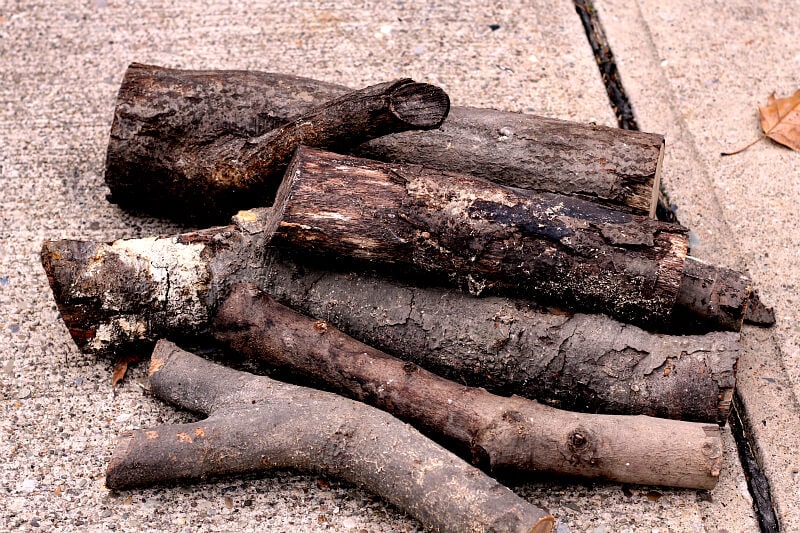
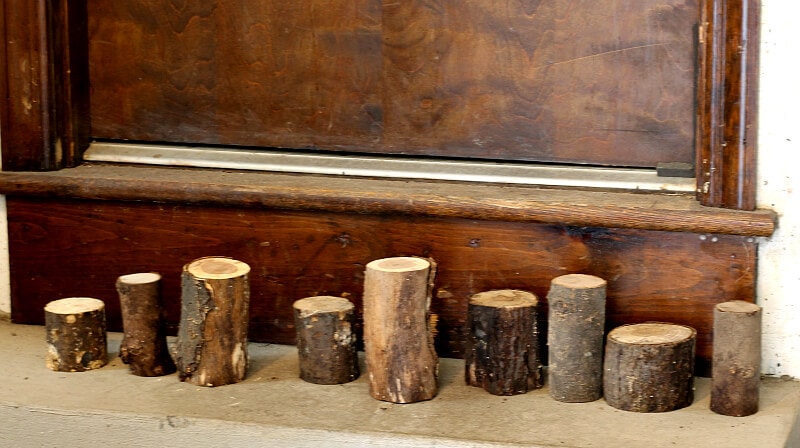
We have a couple of woodpiles from trees that were cut down on the property. I tried to pick out the nicest looking round logs that were on the thinner side.
Note: Before bringing them into the house, inspect for insects. Bang them on the ground and against each other to knock pests off. You could also place them in a low temperature oven on a foil-covered cookie sheet for a few hours to kill any bugs.
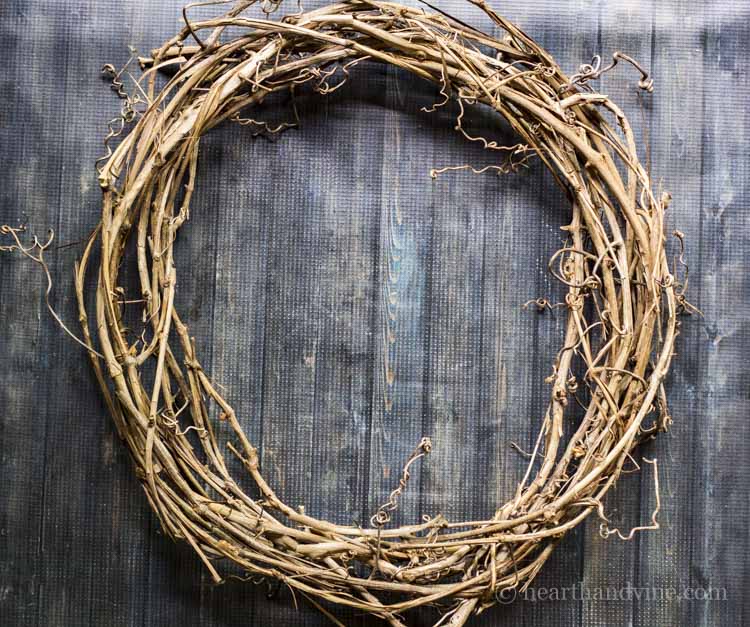
It's great to be able to use natural materials from your property to decorate your home. One project I have been loving lately is making my own grapevine wreaths. They look so pretty and it puts that invasive irritating vine to good use.
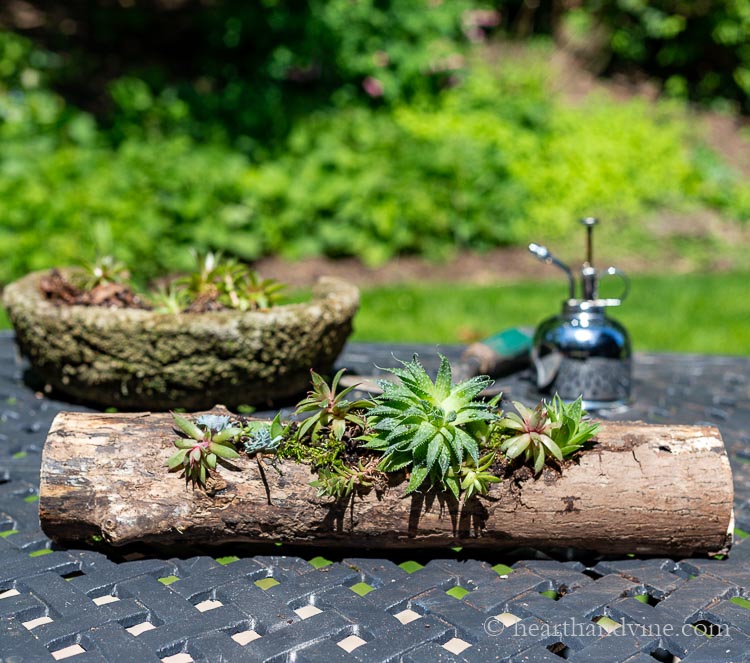
I've also used logs to create planters like this succulent log planter to use as an outdoor centerpiece during the summer.
Making Wooden Candle Holders from Logs
This was a team effort. My husband did a lot of the heavy work, but I know many of you ladies out there could easily pull this off.
First, he cut the logs on one side to make them square. Then I showed him how long to make each piece. Boy was that sawdust messy! I decided I would probably need about nine good sized pieces for our dining room table.
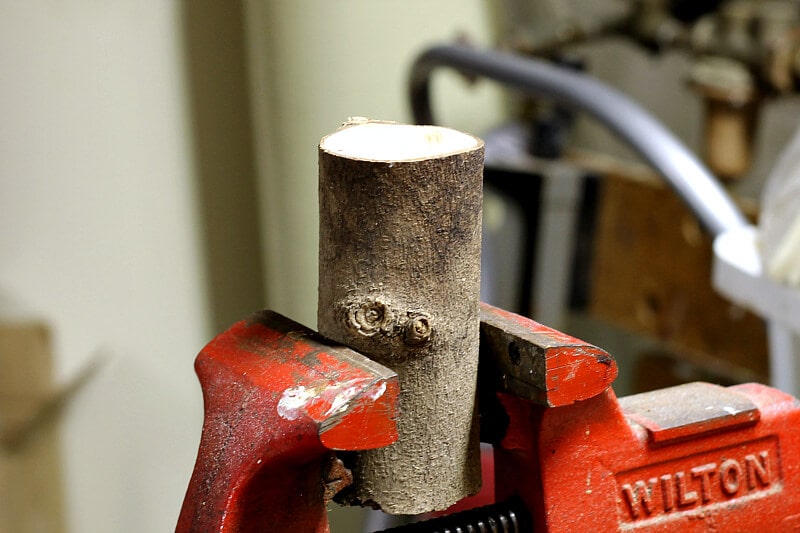
Next, we went to the basement and put each piece in a vice. You could have someone else hold it but a vice is a perfect tool for keeping the log still while you drill.

We picked up a 1-1/2-Inch Spade Drill Bit
![]() at the hardware store and drilled out the center, large enough to fit a standard tealight.
at the hardware store and drilled out the center, large enough to fit a standard tealight.
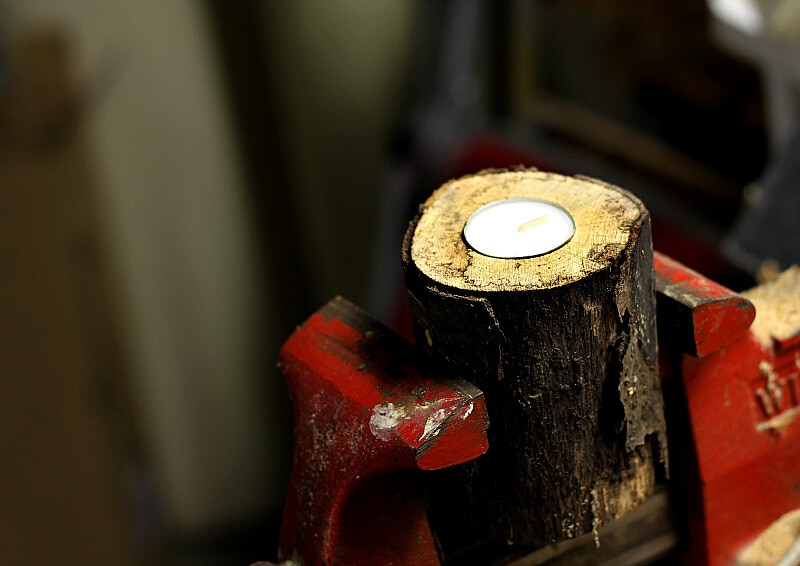
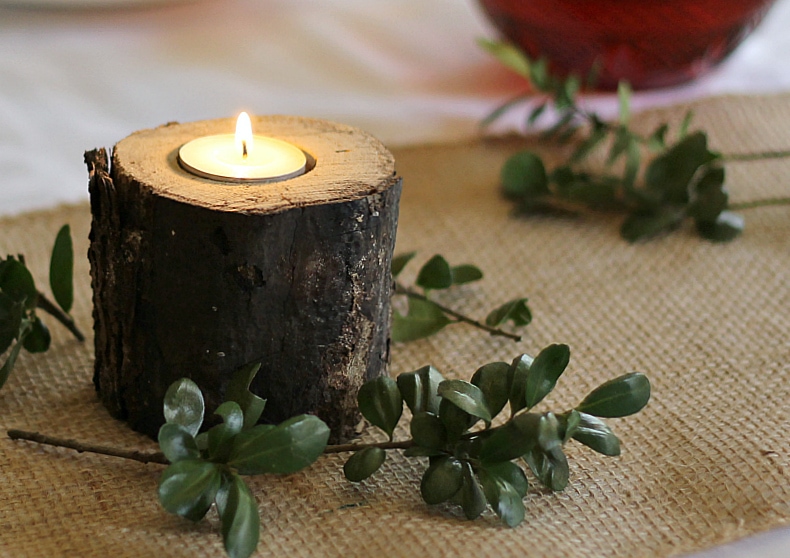
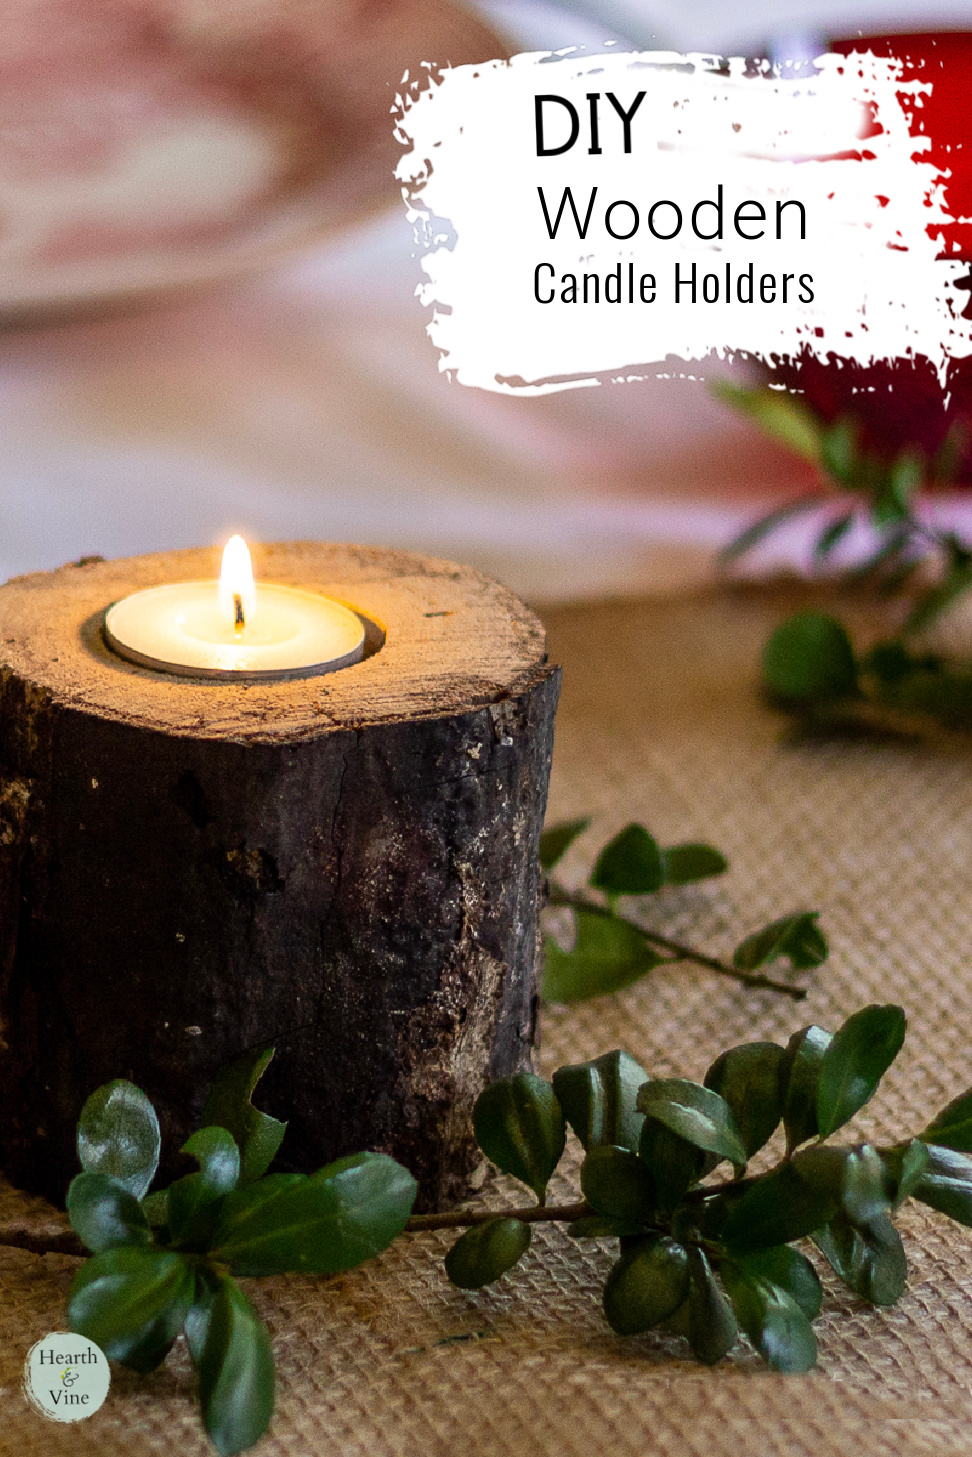
I wanted the tealight to sit flush or just slightly above the wood candle holders. However, you could adjust this depth by drilling deeper or not as deep depending on your preference.
I wouldn't recommend setting the tealights too low or you may find that the wood will char or catch on fire. Also, definitely use a tealight in metal cups for protection.
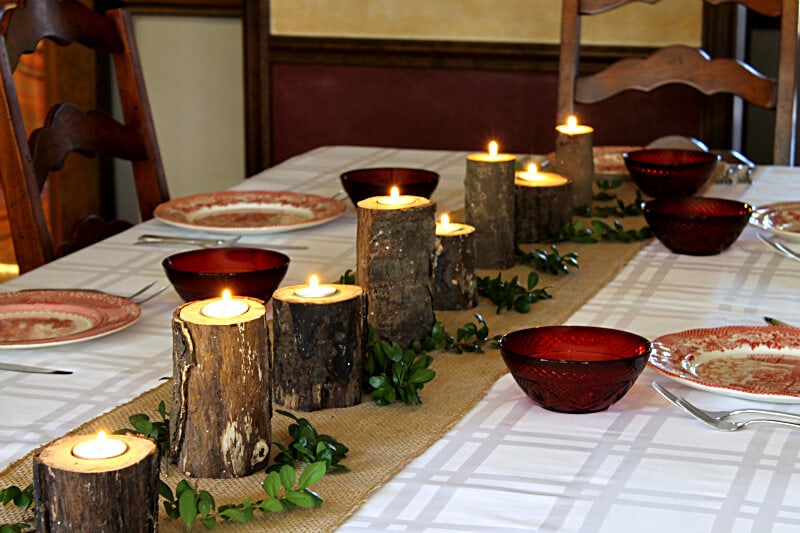
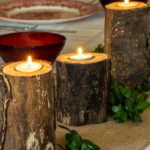
These rustic candle holders were then arranged down the center of our table on a simple burlap runner. A few sprigs of boxwood add a pop of greenery and completes the look.
Don't these wooden log candle holders have a nice woodland feel? So warm and cozy. I love the way they turned out.

More Natural Centerpiece Ideas
How To Make Rustic Candle Holders
Equipment
- Vice
- Saw
- Drill Bit Spade
- Drill
Materials
- Round Logs
- Tea Lights
Instructions
- Gather thin round logs from your yard.
- Cut the logs on one side to make them square.
- Put each piece in a vice.
- Drill out the center with the spade, large enough to fit a standard tealight.
Ruth
We cut off a piece from the bottom of our Christmas tree each year. Then we use a wood burner and burn it with the year. It's fun to see the different sizes of trees we've had over the years. Sometimes we even put the names of family members on the bottom. Depends on the size of the tree stump!
Patti Estep
Ruth, what a wonderful tradition. Thanks for sharing.
Keith
Did you put any type of sealer on the wood to keep the sap from running out and preserve the bark?
Patti Estep
Hi Keith,
I did not use a sealer. The logs I used were old fireplace logs that had long dried out, so sap was not an issue. You might want to search around to see what other people have done, since I'm not the first to have created this project. Perhaps they have used a sealer.
Melony
This is so pretty, using what nature has provided. I love the holders on the burlap runner. It all just looks awesome!
debbie
Well this may have been done before but I have never seen it. Simply gorgeous! Had to pin it and will be sharing. Thanks for joining our party~
Michelle
These are beautiful! Pinned and shared.
Evija at From Evija with Love
Absolutely love your creativity and this project!! So happy you shared it with #OMHGWW, and glad to have you as my feature this week! http://fromevijawithlove.com/2016/11/02/nightmare-walls-wonderful-wednesday/
Patti Estep
Hi Evija,
Thanks for the feature and I hope you have a great week!
Patti
Nancy
You guys both did a great job on these! I love them and think they'd be great for Thanksgiving too...
Wish I had branches....but the tree guy took them all away...and I guess I'm not so good with power tools....
Nancy
wildoakdesigns.blogspot.com
Patti Estep
Hi Nancy,
The log candlesticks were fun to make. I'm sure if you ask around someone would be able to hook you up with a few logs.
Have a great week!
Patti
The Happy Creations
I love this, what a great tutorial too. I wish I had the tools to make this.
Thanks so much for sharing this with Turn It Up Tuesday. It is featured as my favourite for this week's party.
Patti Estep
Thanks for the feature. I hope everyone enjoys them as much as we did.
Patti
Jamie
Those are beautiful!! Living in the mountains, they would be easy for me to make. 🙂
Mary Denman
Oh wow, I think I could do that! And it would be free! Yay!
Gorgeous! Dropping by from I Should Be Mopping!
Cristina at Ava's Alphabet
I love this project and your gorgeous tablescape. Garden Matter is quickly becoming one of my favorite sites to visit! Pinned and sharing! Thanks for sharing on Family Joy Blog Link-Up Party this week. Hope you will join us again on Sunday at 12 EST.
Bibi
Pinning this one! I'm all about natural rustic decorations. Thank you so much!
Visiting from the Wednesday link-up.
Best,
Bibi
https://simplesummit.blogspot.com/2016/10/little-house-in-pumpkin.html
Patti Estep
Hi Bibi,
I'm so glad you liked it. I am a big fan of all things rustic and natural too.
Have a great weekend and thanks for your kind comment (and the pin!)
Patti
Jaclyn | One Thousand Oaks
These are so pretty! They would be great in birch too!! I will be on the lookout for some mini logs now!
What did you use to make the photo collage of your last picture? I really like the lay out of it!
Have a great day!
-Jaclyn
Patti Estep
Hi Jaclyn,
I'm so glad you like the log candlesticks. I agree that they would look great make out of birch too. I used picmonkey.com to make the collage. Thanks for stopping by,
Patti
Christine
You did a great job you two! I just made mine a couple of weekends ago and just adore them. I can see them in so many vignettes!
Patti Estep
Hi Christine,
They were so easy to make and I think they would last all winter.
Thanks for stopping by,
Patti
creativejewishmom/sara
Gorgeous DIY! Love those red glass bowls that really add a special touch. thanks for sharing on craft schooling Sunday really enjoying your contributions which are unique and beautiful!
Vanessa
Hi, Patti,
What a lovely project. I love the rustic look on your dinning table. You can do so much with these log candlesticks. Great project and I would love it if you would share at a link party I am co-hosting. I hope to see you there. http://diy180site.blogspot.com/2016/10/dishing-it-and-digging-it-link-party-119.html
Patti Estep
Hi Vanessa,
Thanks for your kind comment and for the invite to share on your linky.
Have a great week!
Patti
Denise Wright
I love these! I don't know if I could make them as nice as you did but I would love to do something like this next year. Pinned.
Patti
Thanks. They really were not hard to make.
Lori G.
Very nice, love the rustic look. I've often wondered how the hole for the tea light is made. Thanks for sharing.
Patti
So glad you like them Lori!
Kim
What you did takes me back to my childhood , where I grew up and LOVE... This is perfect for gifts for my siblings . and my kids they all Love that Rustic look. So glad to find this MERRY CHRISTMAS
Patti
Hi Kim,
So glad you like it. Even though my husband helped with them, I really think I could have done this myself. The hardest part was finding the right size logs and enough that weren't rotted. I know your family is going to love them too. Merry Christmas!
Patti
Marie H
Beautiful. Simple, elegant and rustic. All at the same time.
Patti
Hi Marie,
That is so sweet. Thank you!
And thanks for stopping by,
Patti
The Gifted Gabber
Wow...these are gorgeous!! What a cozy vibe for a holiday table! -- Amy @ http://thegiftedgabber.com/
Patti
Thanks Amy! I have a pretty big family so we'll see who gets to sit at the "big" table.
Have a great holiday!
Patti
Carole West @ Garden Up Green
Love this.... Bringing nature indoors is the best. I'm bringing some of our farm indoors this year for the Christmas season. The simplicity of this is fantastic..
Patti
Thanks Carole,
I'm sure you will have some great features from the farm. Can't wait to see them!
Patti
Kathy Gelbish
Now,I just need to convince Frank to help.
So pretty...would be perfect at out Deep Creek log cabin.
Patti
Thanks Kathy.
It didn't take long and I'm sure you could convince Frank to help you out!
Also, I agree it would look great at your cabin. Get out while the weather is still nice and gather your logs.
Thanks for stopping by,
Patti