
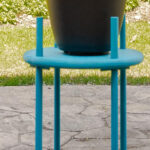
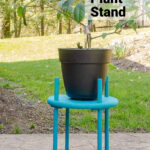
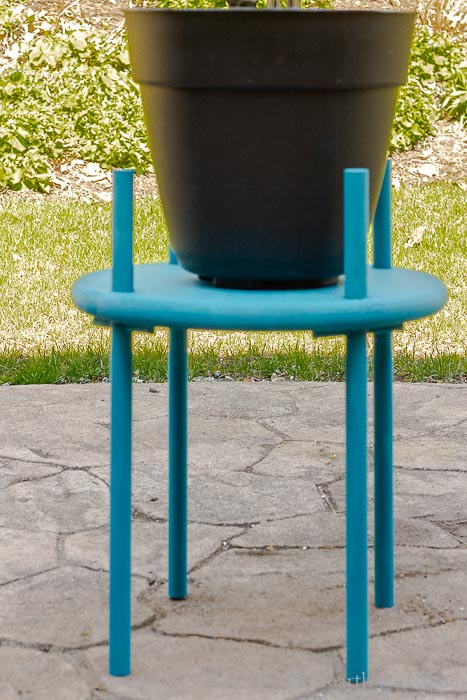
This DIY plant stand is easy to make from a wooden tabletop and dowels. It has been painted for protection so that it can be used indoors during the cold season and brought outdoors during the summer months.

This is the third simple plant stand I've made on the blog. This one was actually my husband's idea, and he was a big help in making it. Previously I made a rolling plant stand, to help transport my dwarf Meyer lemon tree indoors, but now that summer is near I wanted something that I could use outside, where the lemon tree could grow and benefit from the extra light and warmth.
Planters like this are good for many potted plants that function as indoor plant stands during the cold months but can be brought outside to your patio or deck as the weather warms up.
This post contains some affiliate links (that means if you make a purchase after clicking a link, there’s no additional cost to you, but I will earn a very small commission. ) i.e. as an Amazon Associate, I earn from qualifying purchases. Click here to read my full disclosure policy.
How to Make a Wooden Plant Stand
Supplies
- 1 - stain grade round wooden tabletop (mine was 15 inches)
- 2 - 48 inch long by 7/8 inch wide wooden dowel rods
- 1 - 3/8 inch wide dowel rod
- Wood glue
First cut the two 7/8 inch wide dowel rods in half. These will be the four legs of the stand.
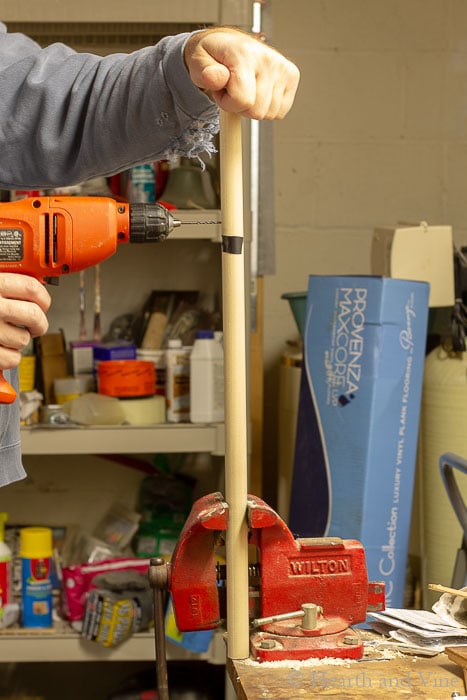
Next, decide how much of the dowel you want above the round top.
Add an inch, or whatever the thickness of your tabletop is to this measurement, and drill a hole in each leg using a 3/8 inch drill bit.
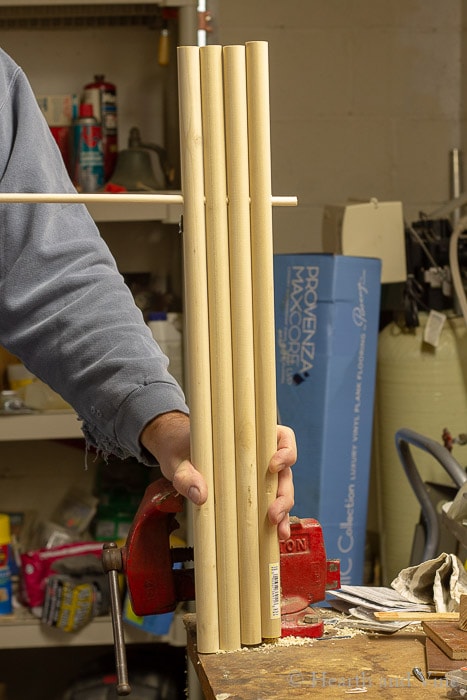
To ensure that the legs are even place one dowel through all four legs.
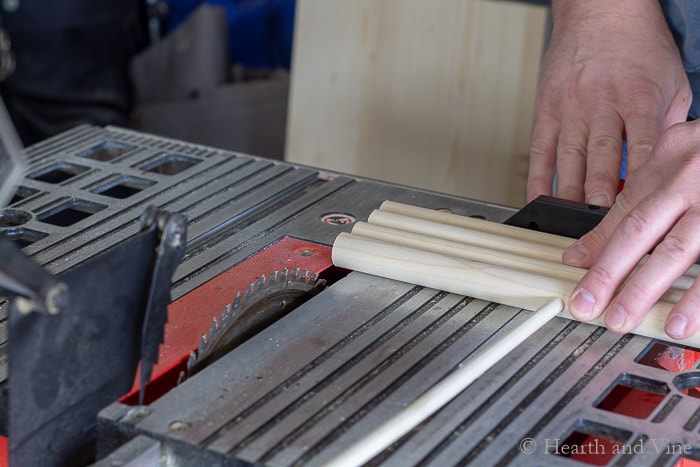
Then trim the tops and bottoms with a saw so that they are all even.
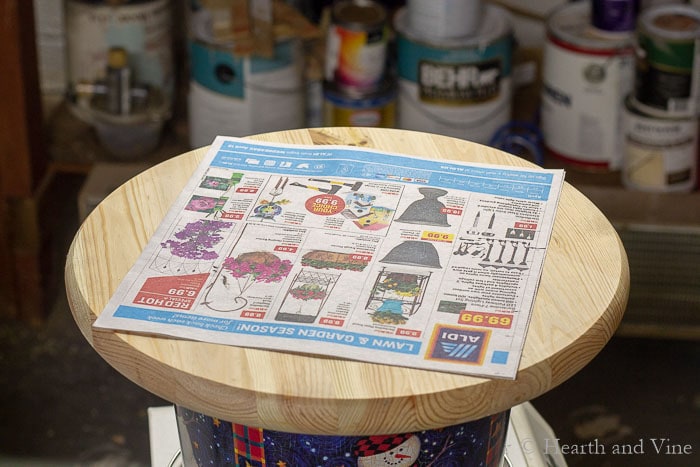
Next, use a square piece of paper to mark the four corners where your leg holes will be drilled.
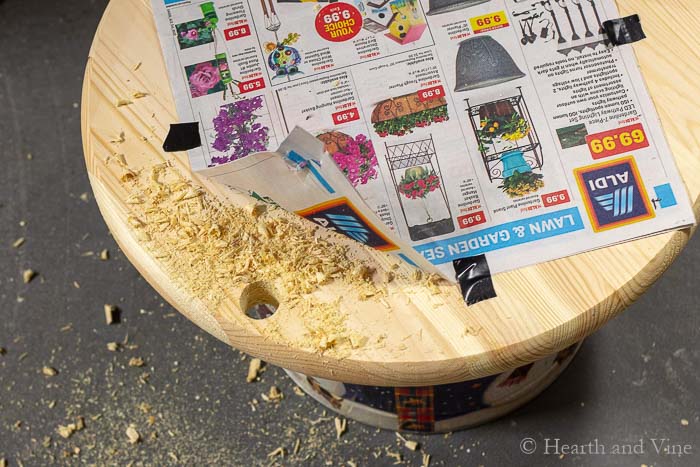
Use a 7/8 inch drill bit to make a hole about 1/4 inch in or more if desired, at all four corners.
Cut the 3/8 dowel into four 2-3 inch sections.
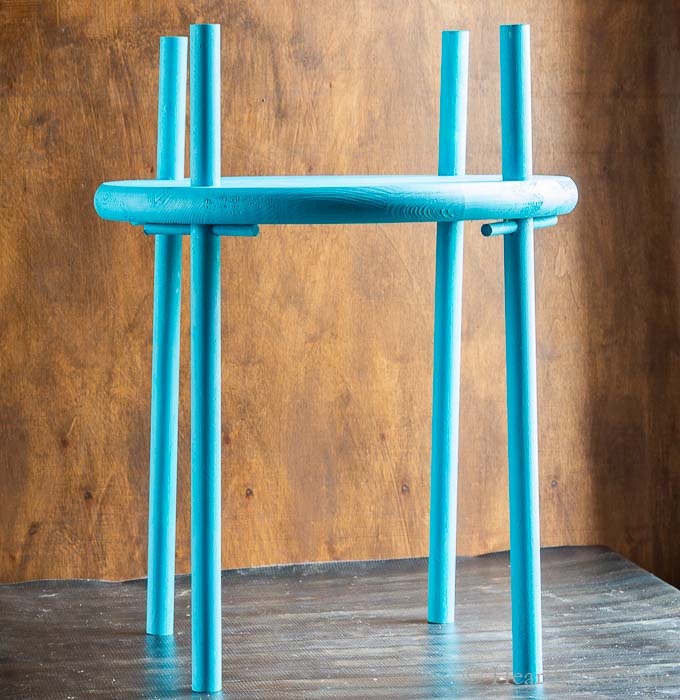
Thread the dowels into the legs. Add a line of wood glue to the legs, just above the small dowel, and then slide the legs through the tabletop.
Allow the glue to dry overnight and then paint as you wish. You could also use a good wood stain. I used Dixie Belle Paint in Peacock after watching my friend Carole West create some really pretty projects with this paint. She also told me that this paint holds up well against the elements. I also really liked "kudzu green" but with all the green outside I thought this blue would be a nice complement. You could always add a good outdoor polyurethane for extra protection.
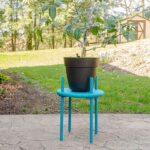
If you enjoy unique plant stands this easy DIY plant stand is a good choice and I think it looks pretty holding pots as part of your home decor.

More DIY Plant Stand Ideas
DIY Plant Stand Indoor/Outdoor
Equipment
- Drill
- 3/8 and 7/8 inch drill bits
- Table Saw
- pencil
Materials
- 1 - stain grade round wooden tabletop mine was 15 inches
- 2 - 48 inch long by 7/8 inch wide dowel rods
- 1 - 3/8 inch wide dowel rod
- Wood glue
Instructions
- Cut the two 7/8 inch wide dowel rods in half. These will be the four legs of the stand.
- Decide how much of the dowel you want above the round top. Add an inch, or whatever the thickness of your tabletop is to this measurement, and drill a hole in each leg using a 3/8 inch drill bit.
- To ensure that the legs are even place one dowel through all four legs.
- Use a square piece of paper to mark the four corners where your leg holes will be drilled.
- Use a 7/8 inch drill bit to make a hole about 1/4 inch in or more if desired, at all four corners.
- Cut the 3/8 dowel into four 2-3 inch sections.
- Thread the dowels into the legs. Add a line of wood glue to the legs, just above the small dowel, and then slide the legs through the tabletop.
- Allow the glue to dry overnight and then paint as you wish.
Carole West, Garden Up Green
Oh my I love that project and love that peacock color... You may want to include a seal spray finish if it's going outside. I never do but some folks insist. I've had an awesome experience using that paint with my outdoor projects. Let me also say I love that you made this project with your husband. With Robert working from home he's been doing more for me which is nice but I prefer working together because he sees things that I sometimes overlook. Awesome Project Patti!!
Patti Estep
Thanks Carole. I think I'm going to see how this works without a sealer, but would love to know if you would suggest any particular type in case I change my mind. And yes, I love having my husband help me with projects. He's super busy but I can usually get him to pitch in once in awhile.
Karen
I think you made a perfect paint choice. It really stands out from all the natural green in your yard and I have some serious plant envy going on...I've killed more than one Meyer lemon tree. 🙁
Where do you find the round table top?
Patti Estep
Thanks Karen. I almost killed the Meyer Lemon once. When I transplanted it into a larger pot the soil did not drain well and it was holding water. I think that's what happens to many people. I just wish places would sell that fast draining mix that you see in the nursery pots. So I used perlite. A lot of it, maybe 1/3 - 1/2 with potting soil, and I keep the watering to a minimum. Often every 2 weeks. I found the round top at Lowes and linked to a very similar one at amazon.