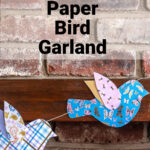
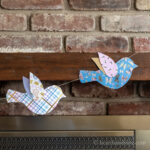
This DIY paper garland is a great way to add a little spring decor to your home with a simple bird template and a set of coordinated papers. Hang it on your mantel or anywhere in your home for a cheery presence everyone will enjoy.
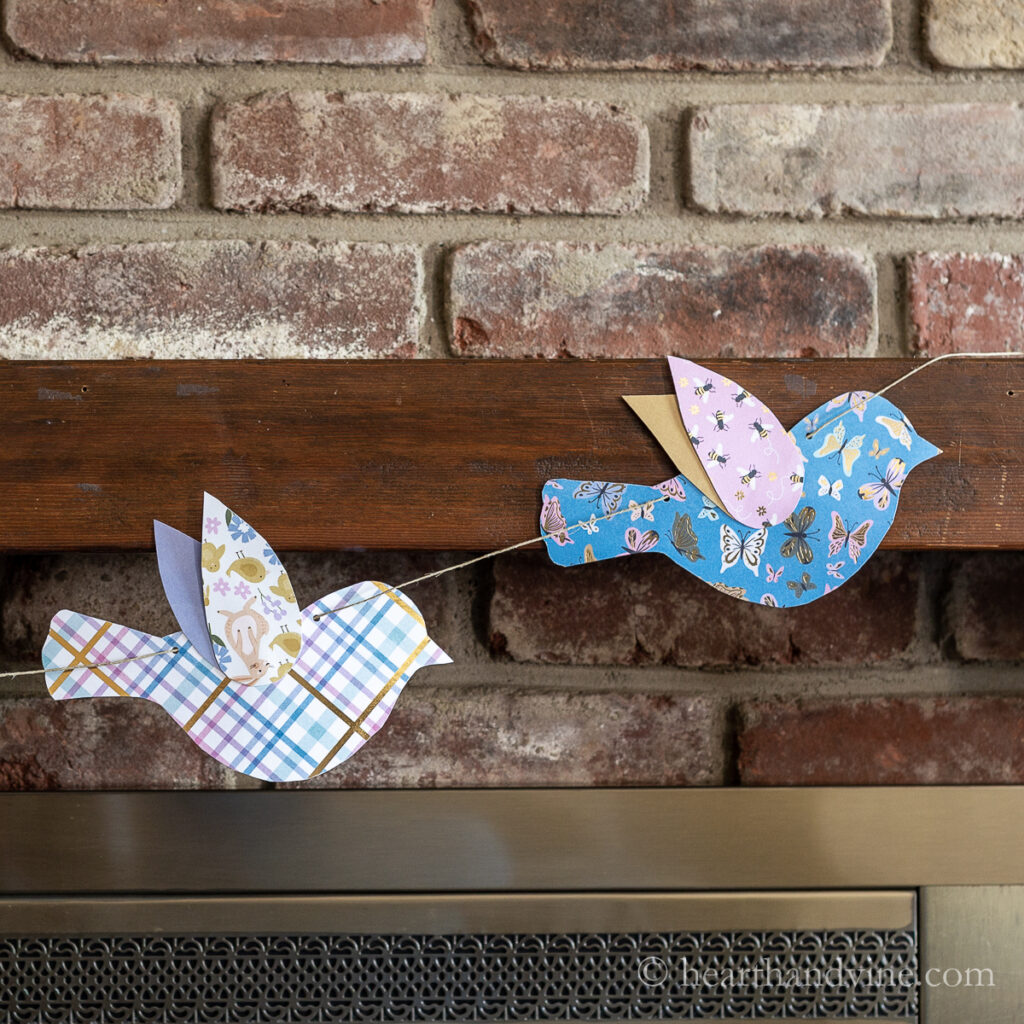
I love decorating our mantel for holidays and the change of seasons. This year I thought a paper garland with bright colors would be just right for our spring home decor. I find garlands or banners make great decorations for any holiday or new season.
This post contains some affiliate links (that means if you make a purchase after clicking a link, there's no additional cost to you, but I will earn a very small commission.) i.e. as an Amazon Associate, I earn from qualifying purchases. Click here to read my full disclosure policy.
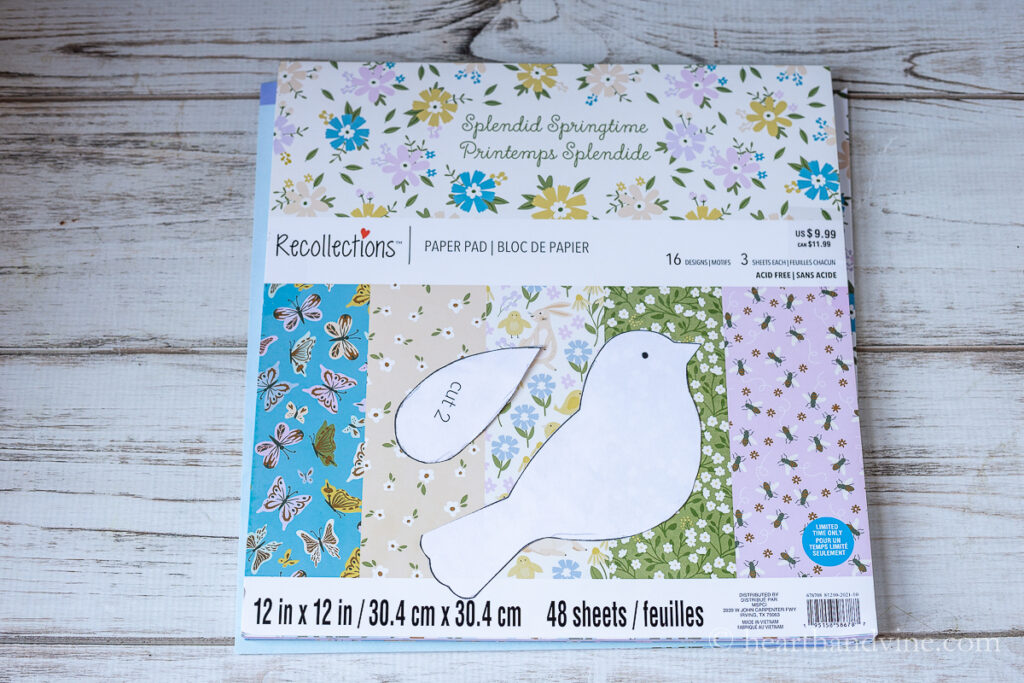
If you've ever been a scrapbook person then you know that there are tons of options for paper and you probably have many in your stash. However, I bought this pad of coordinating paper with various colors at the craft store for this easy DIY garland.
It helps that the paper is heavy/thick. If you want to use a lighter weight paper you might consider gluing it to some cardstock, construction paper, or light cardboard first.
How to Make a Paper Garland with Birds
Supplies
- Bird Template (see below)
- Coordinated Scrapbook Paper
- Jute, Ribbon, or String
- White Glue or Hot Glue
- Small Paper Hole Punch
- Pencil
- Scissors
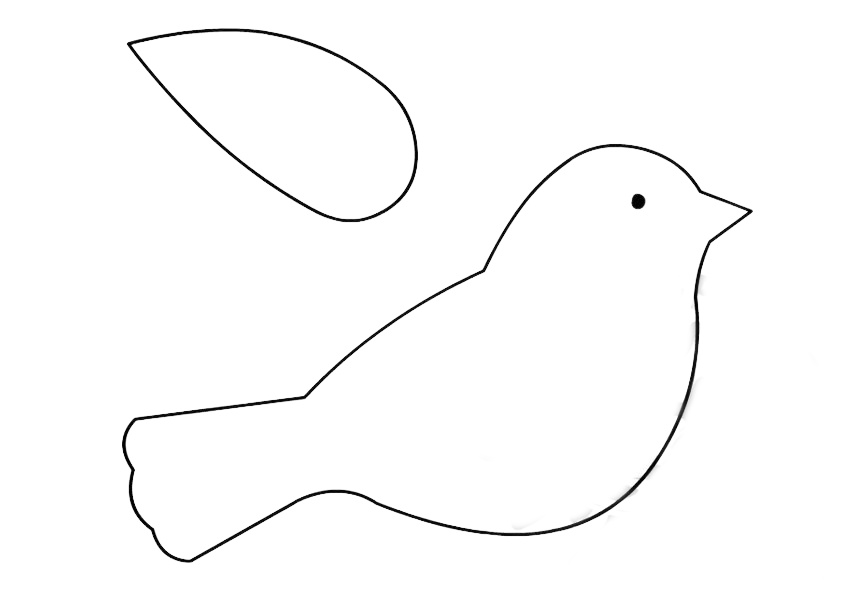
I've given you the template to use for the bird. All you have to do is click on the image above and save it to your computer. Then you can print it and cut it out to use as a template.
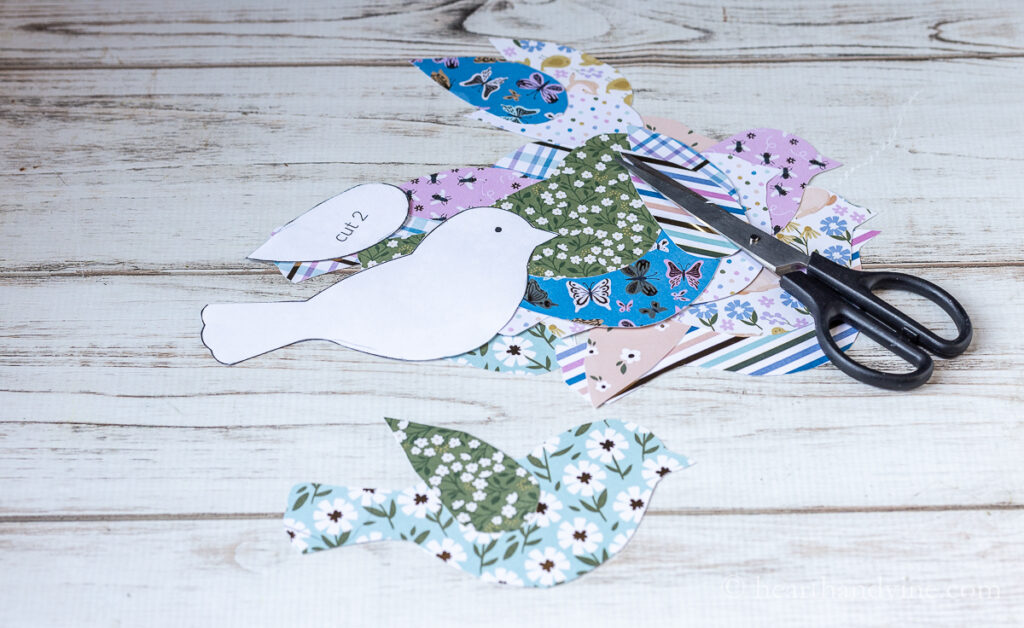
Cut out as many birds in as many different pieces of paper as you like. We have quite a large mantel so I ended up with ten birds in all. Also, you will need two wings for each bird.
Tip: The easiest way to cut out paper, especially around curves is to move the paper with one hand while guiding the scissors in your other hand.
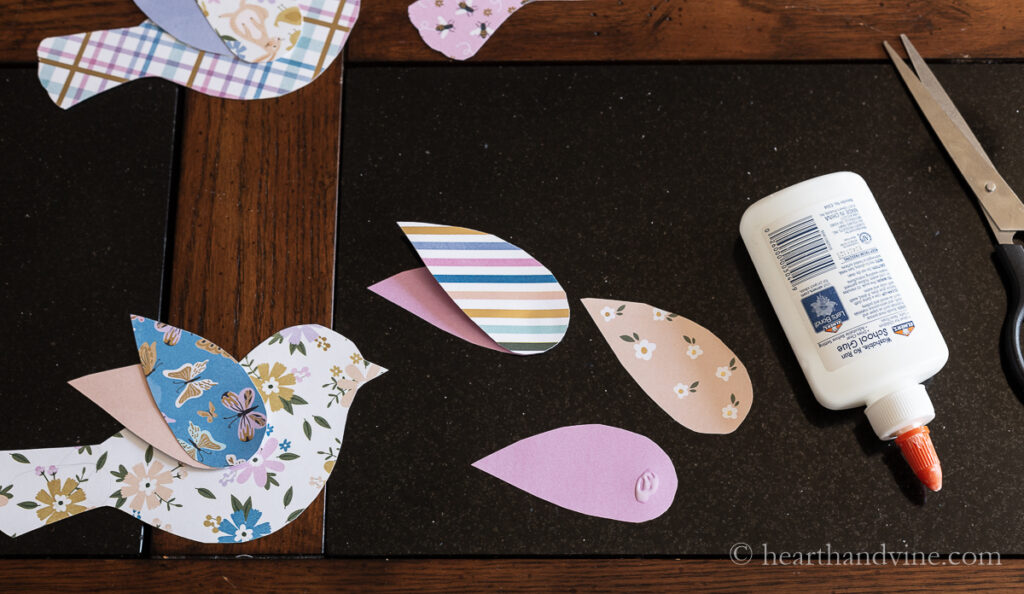
Glue the wings together then glue them to the bird. I just used regular white glue. You can use a hot glue gun if you like. I'm not sure whether a glue stick would hold the papers together.
I liked the idea of using different patterns and colors for the wings and the birds but the choice is yours. You can keep them all in the same pattern/color or switch them up.
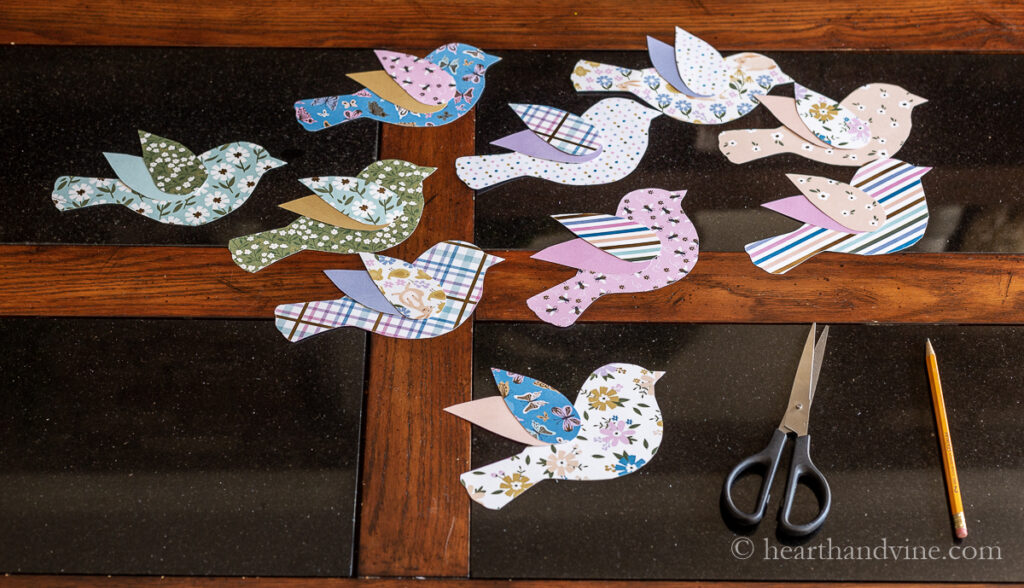
Next, layout the birds and see if you want to create an order for the garland.
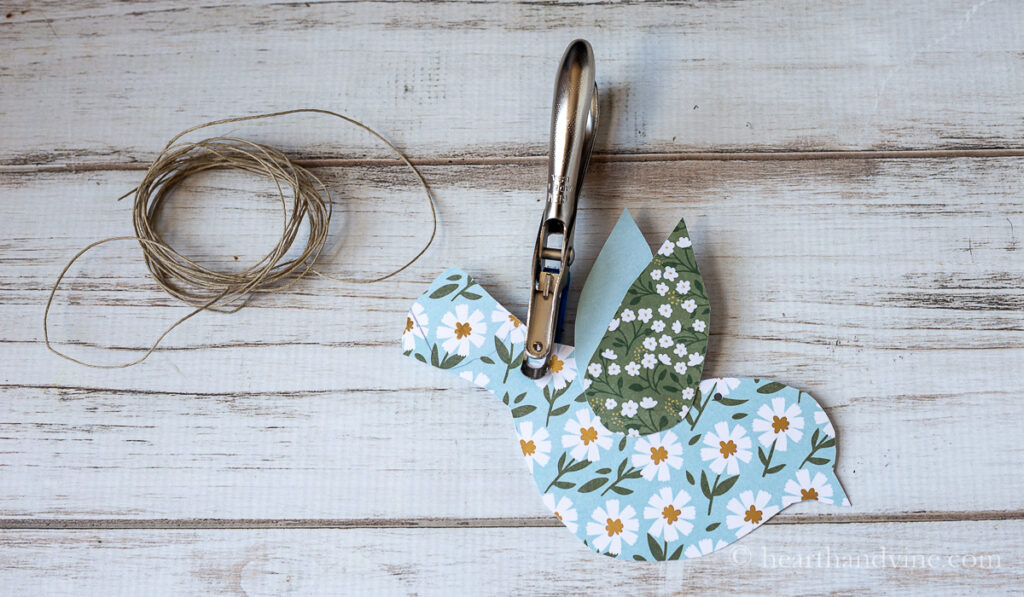
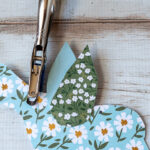
Next, use a small paper punch to create a hole behind the wings and one just in front of the wings.
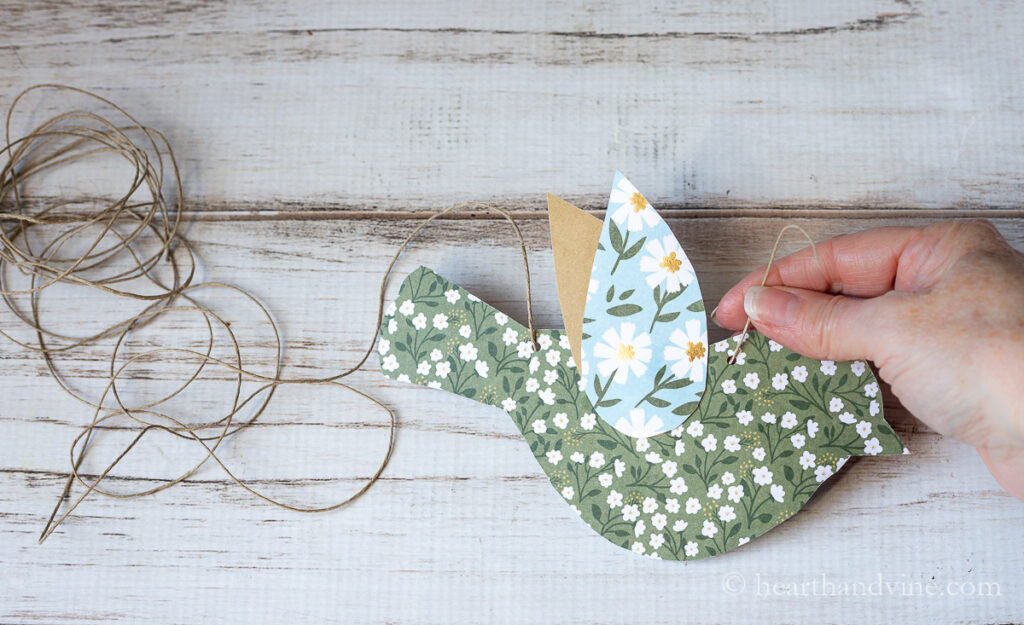
Then thread the jute or string through the holes starting from the top in the first hole and back behind the bird. Then come up from the back to the front of the second hole. Continue with the next bird.
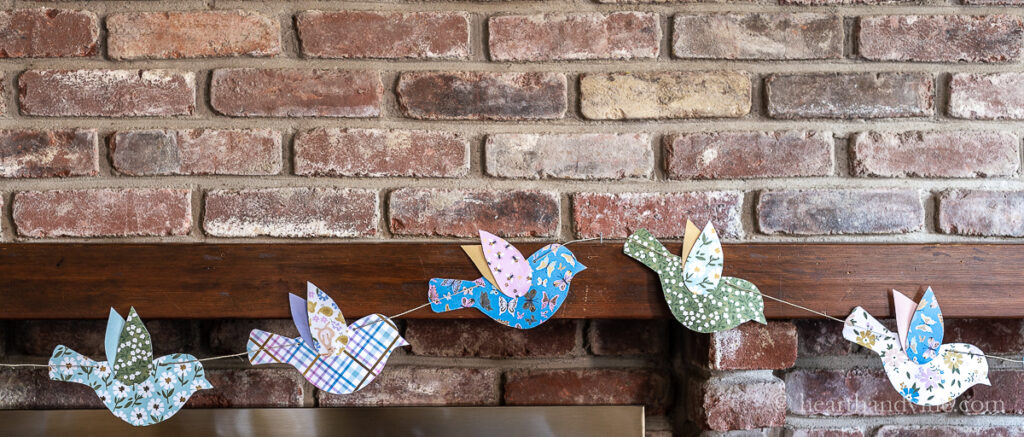
Then hang your beautiful creation on the mantel or wherever you like in your home. I used little nails in my mantel but you could use 3M hooks or tape if you don't want holes in your wood.
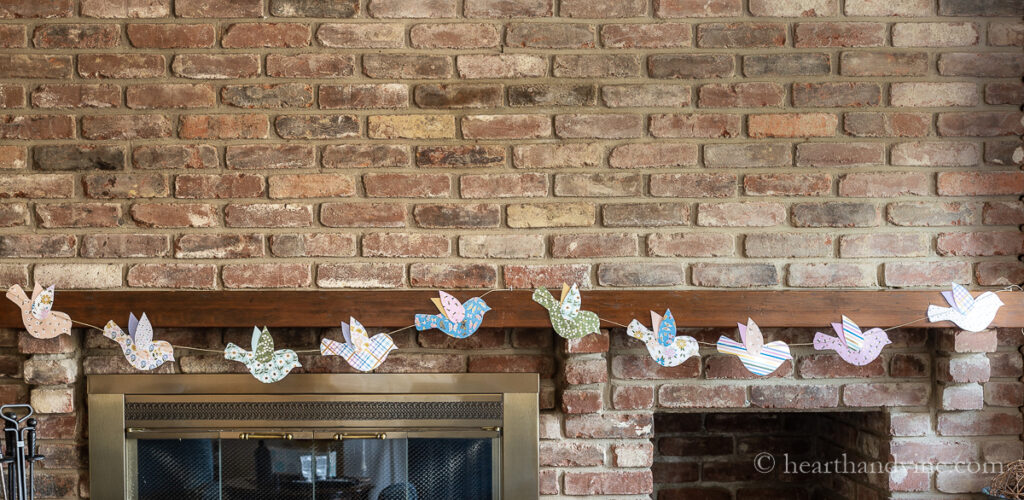
A DIY paper garland of birds is an easy and fun way to decorate your mantel for spring.

More Spring Decorations
DIY Paper Garland Spring Birds
Equipment
- Scissors
- pencil
- Small paper punch
Materials
- Bird Template see above
- Coordinated Scrapbook Paper
- Jute ribbon or baker's twine
- White Glue
Instructions
- Print and cut out the bird and wing template.
- Trace the bird and wing template on heavier weight coordinated patterned paper for as many as you need to cover the mantel.
- Each bird needs two wings.
- Cut out the birds and wings and match two wings to each bird as you like.
- Place a dot of glue on one of the wings at the rounded bottom and set another on top at an angle.
- Glue the wing pair to the front of the bird mid-way near the top.
- Use a small paper punch to make a hole just behind the wing and another hole just in front.
- Cut a piece of twine or jute that's longer than the area you want to hang the garland.
- Thread the birds on the jute by going down through the hole near the tail and back up through the hole in front of the wings.
- Continue until you have all the birds on the jute or twine.
- Hang your pretty bird garland on a mantel or anywhere you like.



Amanda lake
Very pretty and it looks easy too. Great directions.
Patti Estep
Amanda, it is an easy one and so fun. I'm really enjoying them in our family room right now.