
• Skip to primary navigation
  • Skip to main content
  • Skip to primary sidebar
  • Home
  • DIY Projects
    • Homemade Bath and Body
    • Sewing - Fabric Crafts
    • Flower Crafts/Decor
    • Thrift Store/Vintage
  • Gardening
    • Flower Gardens
    • Container Gardening
    • Houseplants
    • Indoor Gardening
    • Landscaping
    • DIY Garden Art
  • Decorate
    • Spring Decor
    • Summer Decor
    • Fall Decor
    • Winter Decor
    • Home Decor Projects
  • Recipes
    • Breakfast Recipes
    • Lunch Recipes
    • Dinner Recipes
    • Dessert
    • Salad Recipes
    • Soups and Stews
    • Side Dish Recipes
    • Appetizers and Snacks
    • Healthy Recipes
  • Holidays
    • Valentine's Day
    • Easter
    • Mother's Day
    • Halloween
    • Thanksgiving
    • Christmas
Hearth and Vine
menu icon
go to homepage
  • About
  • DIY
    • ...Flower/Gardening Crafts
    • ... Bath and Body
    • ...Sewing/Fabric Crafts
    • ...Thrift Store/Upcycle
  • Gardening
    • ...Flower Gardens
    • ...Container Gardening
    • ...Indoor Gardening
    • ...DIY Garden Art
  • Decorate
    • ...Home Decor Projects
    • ...Spring Decor
    • ...Summer Decor
    • ...Fall Decor
    • ...Winter Decor
    • ...Room Makeovers
  • Recipes
    • ...Appetizers and Snacks
    • ...Dinner Recipes
    • ...Side Dish Recipes
    • ...Salad Recipes
    • ...Dessert
    • ...Drinks
  • Holidays
    • ...Valentine's Day
    • ...Easter
    • ...Mother's Day
    • ...Halloween
    • ...Thanksgiving
    • ...Christmas
  • Subscribe
  • Instagram
    • Facebook
    • Instagram
    • Pinterest
    • Twitter
  • subscribe
    search icon
    Homepage link
    • About
    • DIY
      • ...Flower/Gardening Crafts
      • ... Bath and Body
      • ...Sewing/Fabric Crafts
      • ...Thrift Store/Upcycle
    • Gardening
      • ...Flower Gardens
      • ...Container Gardening
      • ...Indoor Gardening
      • ...DIY Garden Art
    • Decorate
      • ...Home Decor Projects
      • ...Spring Decor
      • ...Summer Decor
      • ...Fall Decor
      • ...Winter Decor
      • ...Room Makeovers
    • Recipes
      • ...Appetizers and Snacks
      • ...Dinner Recipes
      • ...Side Dish Recipes
      • ...Salad Recipes
      • ...Dessert
      • ...Drinks
    • Holidays
      • ...Valentine's Day
      • ...Easter
      • ...Mother's Day
      • ...Halloween
      • ...Thanksgiving
      • ...Christmas
    • Subscribe
    • Instagram
    • Facebook
    • Instagram
    • Pinterest
    • Twitter
  • ×
    Home » DIY Projects

    Pressed Flower Bookmarks

    by Patti Estep · May 27, 2026

    Jump to How-to Card
    Five pressed flower bookmarks on a table.

    Learn two different ways to create your own pressed flower bookmarks with just a few supplies. They are fun to assemble and make great gifts.
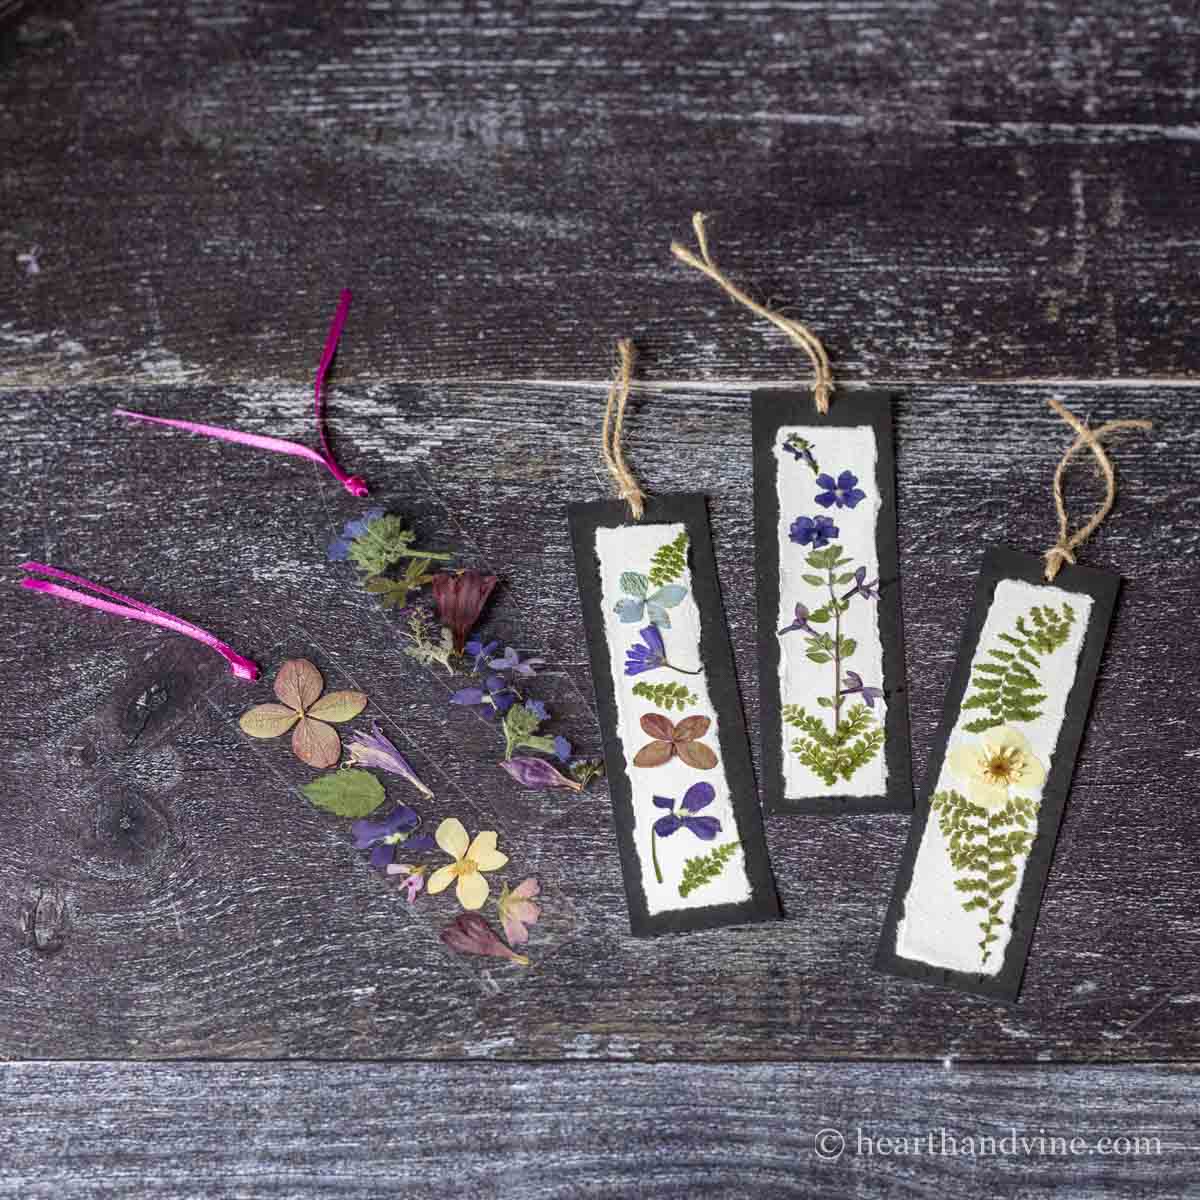
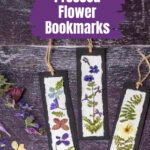
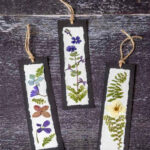
    Five pressed flower bookmarks. Three on paper and two with plastic lamination sheeting.

    Here's another fun DIY craft to make with pressed flowers. I've experimented with two styles. One is an old fashioned, torn paper look, and the other uses laminating sheets for more durability.

    More Pressed Flower Crafts: Pressed Flower Art.....Pressed Flower Luminaria.....Pressed Flower Candles.....Pressed Flower Suncatcher

    This post contains some affiliate links (that means if you make a purchase after clicking a link, there’s no additional cost to you, but I will earn a very small commission. ) i.e. as an Amazon Associate, I earn from qualifying purchases. Click here to read my full disclosure policy.
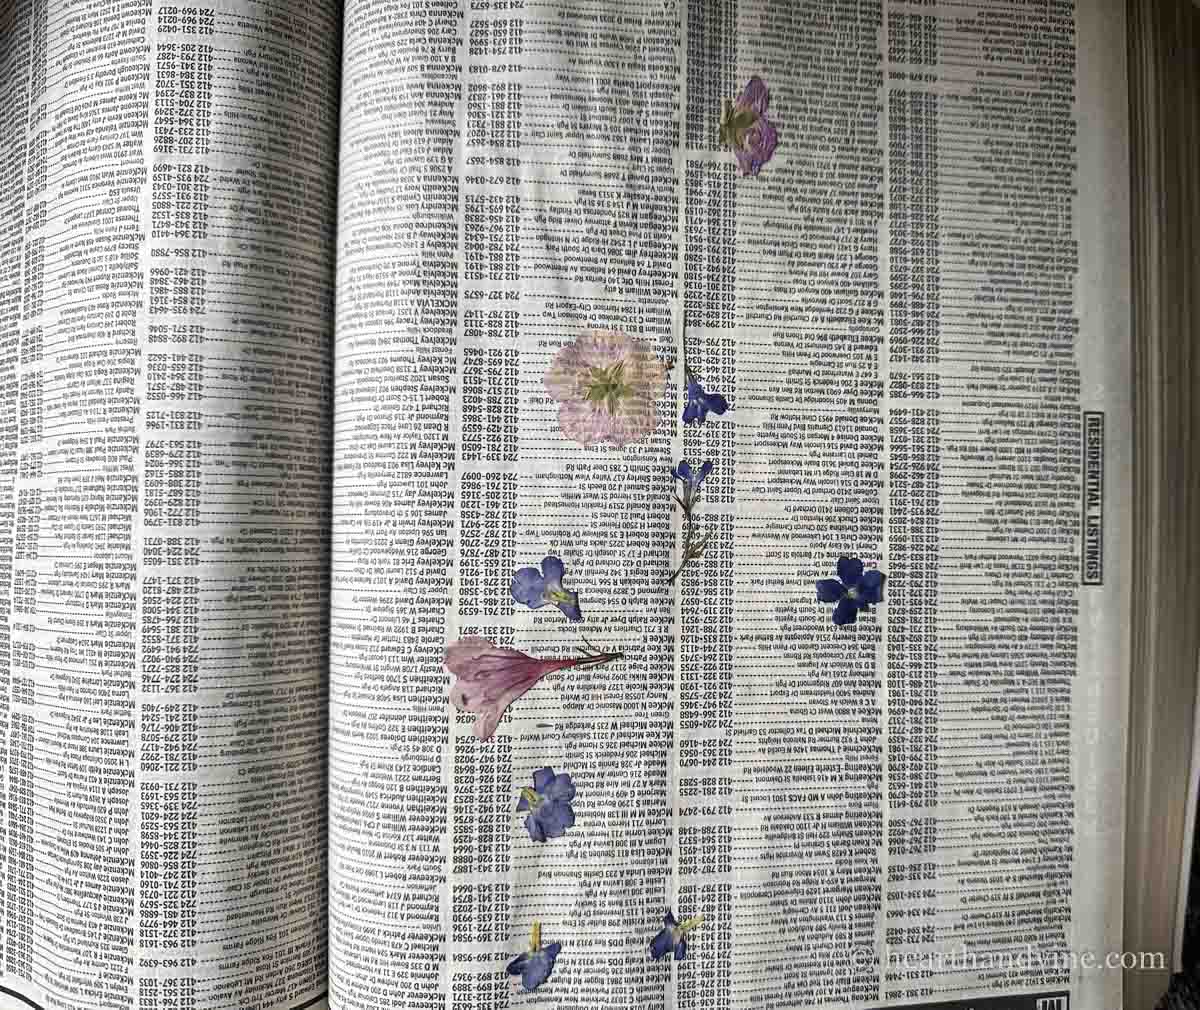
    Flowers pressed in an old phonebook.

    I still have old phone books lying around that I used to press flowers, and my handy travel flower press. The paper used in phone books and the flower press is great for absorbing the moisture from the flowers.

    It's fun to press flowers from the garden or a few from a special bouquet. Depending on the size and thickness, this usually takes about a couple of weeks. However, you can also easily buy pressed flowers online.
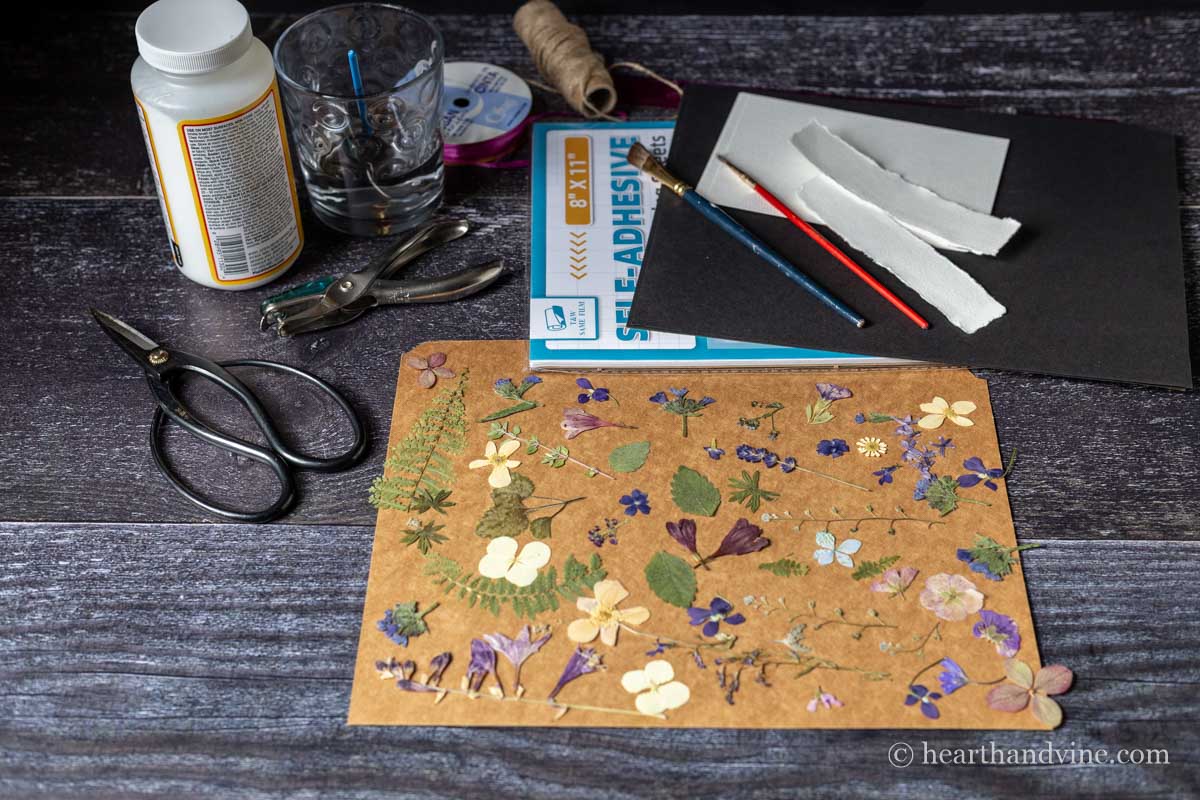
    Supplies for pressed flower bookmarks including pressed flowers, scissors, laminating sheets, mod podge, heavy paper, paintbrushes and ribbon.

    Supplies

    • Paper Cutter optional
    • Hole Punch
    • Thin Ribbon or Twine
    • Pressed Flowers & Leaves
    • White Watercolor Paper
    • Black Cardstock
    • Laminating Sheets
    • Mod Podge or White Glue
    • Scissors
    • Paintbrush
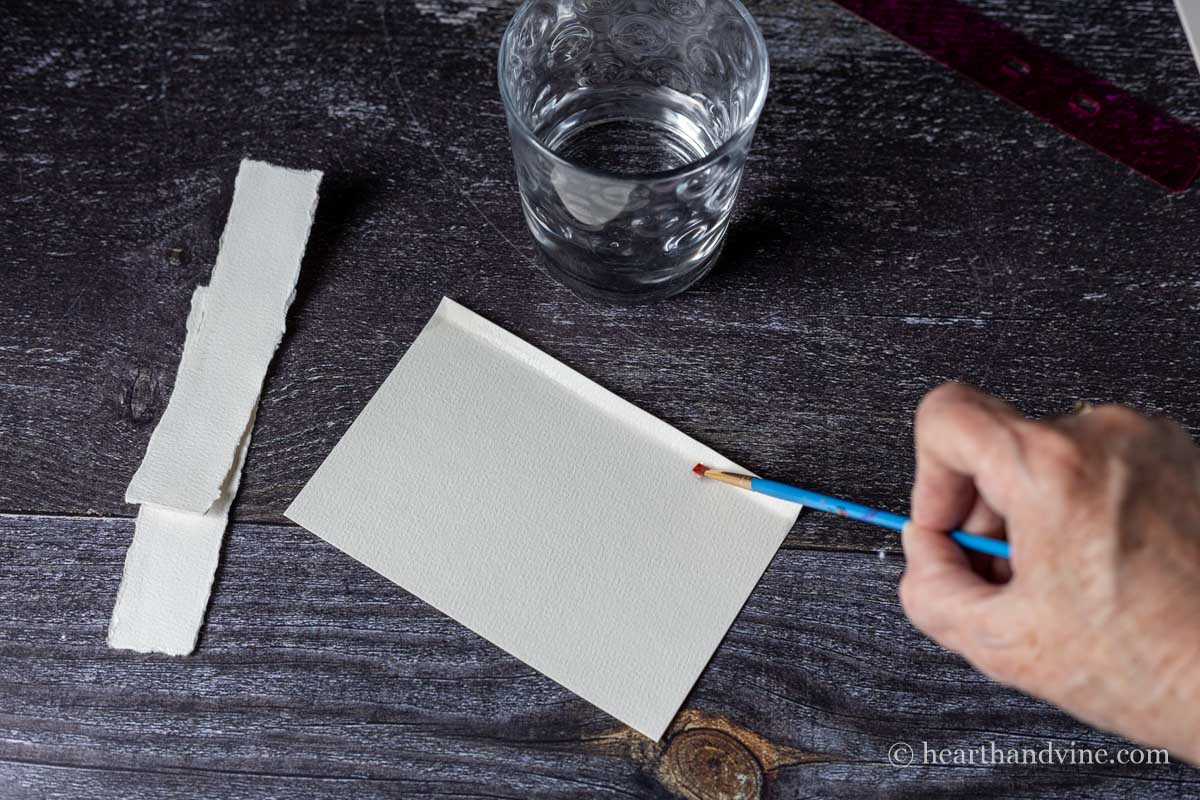
    Folded heavy white paper with a paintbrush painting water in the crease.

    Pressed Flower Bookmarks on Paper

    Step 1. Start with watercolor paper and fold the edge. Paint water in the crease a few times. Then carefully tear the paper along the crease.
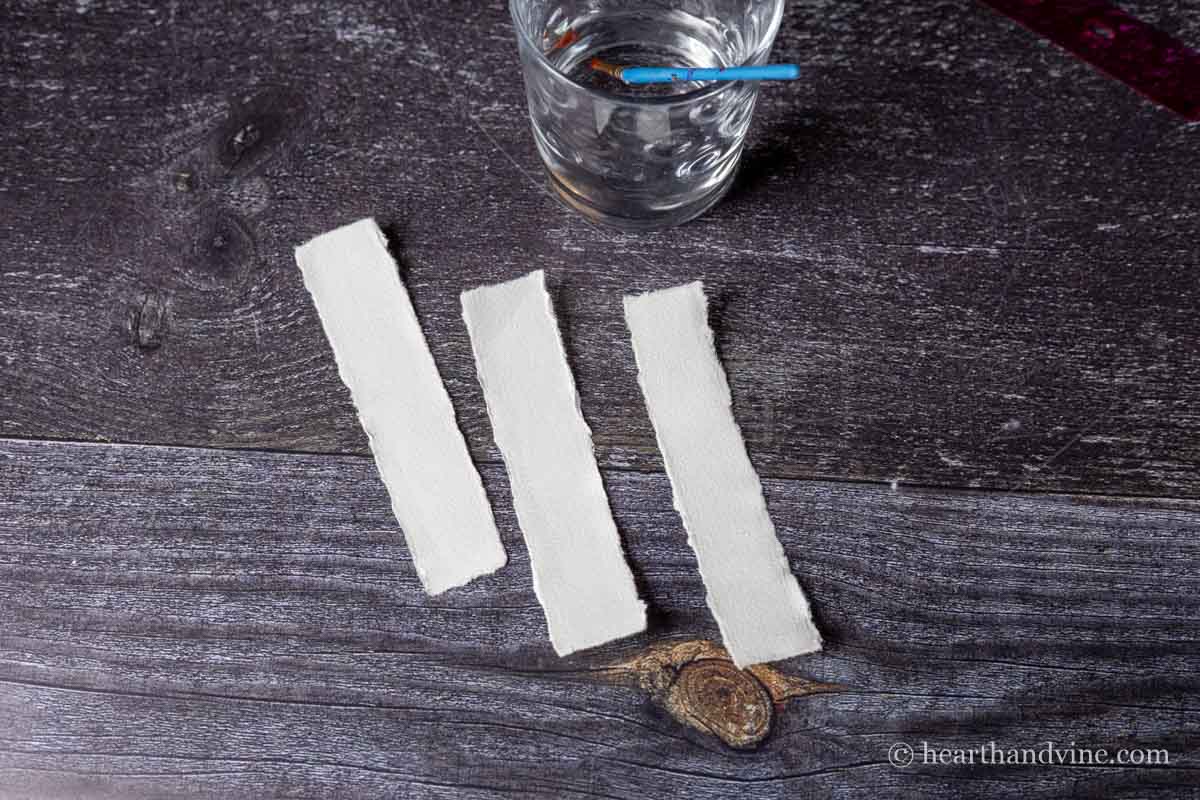
    Torn edges of heavy white paper.

    Continue this process for the other side, top, and bottom. You can make the bookmark any size you like. I went for about 1.5 inches by 5.5 inches.
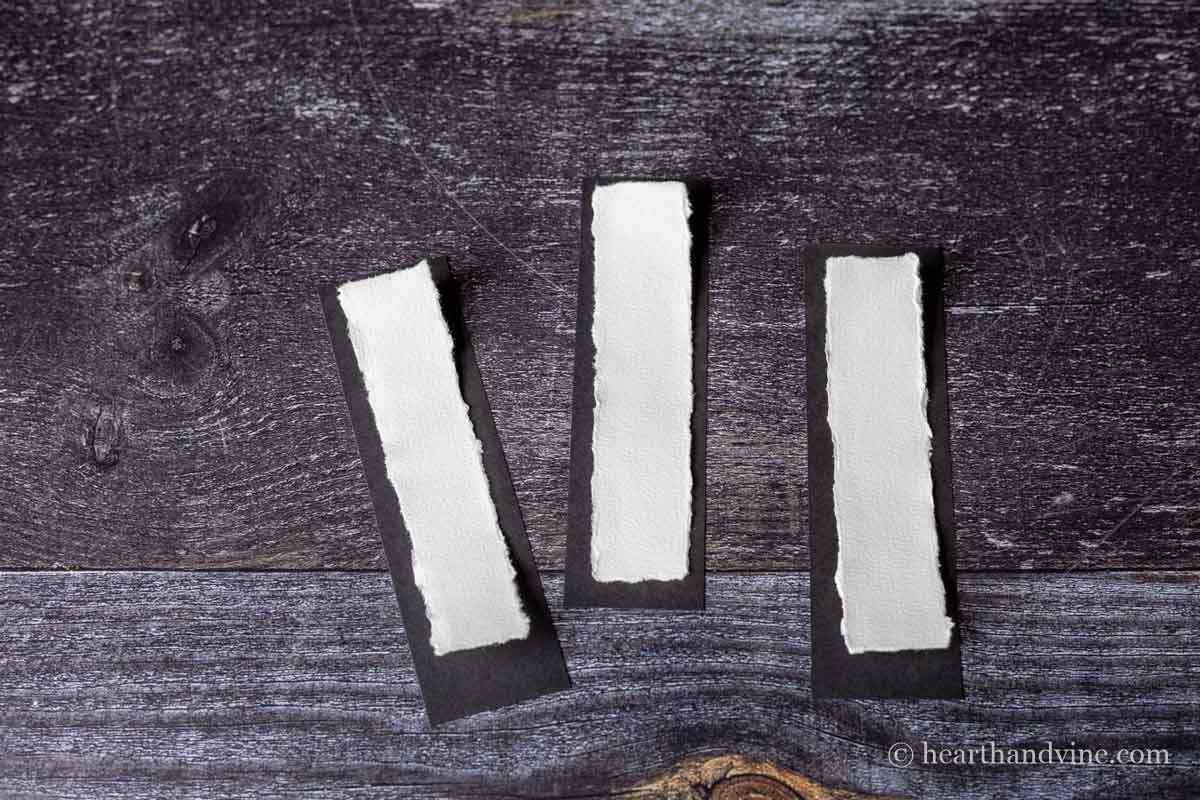
    Torn edged white paper on black cardstock backing.

    Step 2. Glue the torn paper to a black cardstock backing with a small margin all around, as shown above.
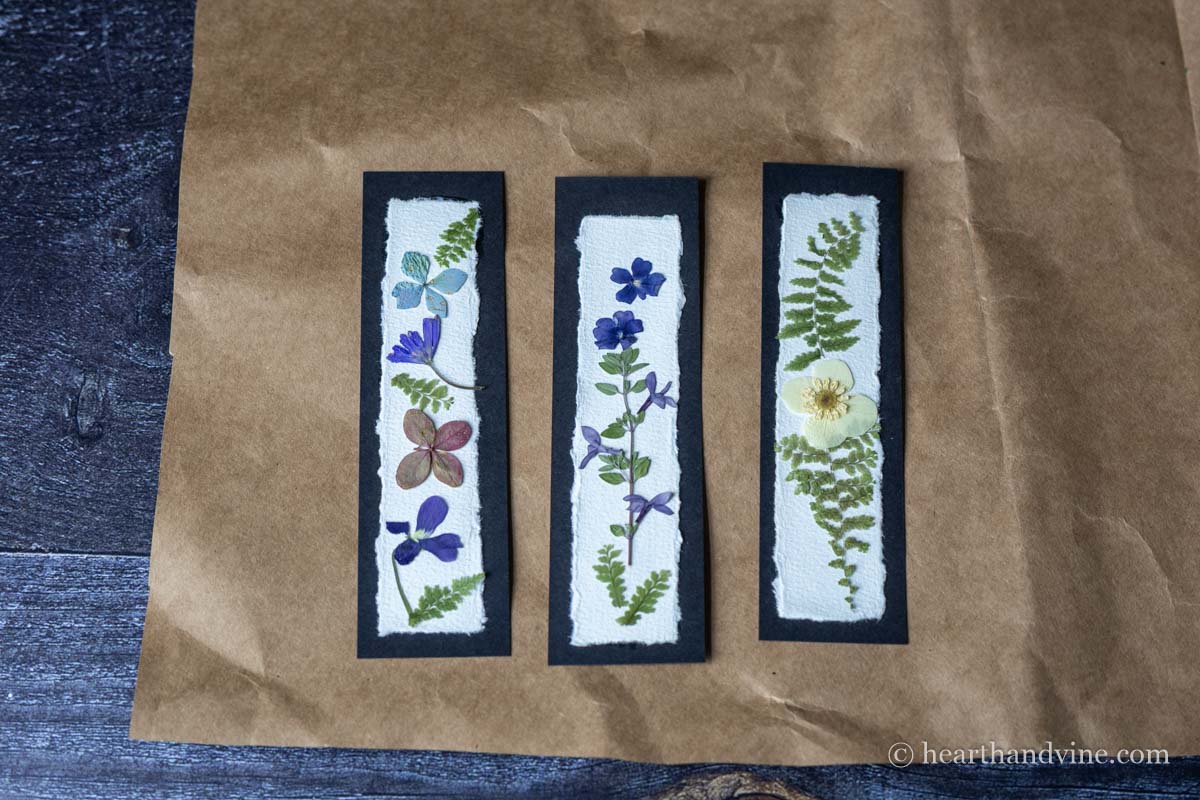
    Three pressed flower bookmarks in layout mode on brown craft paper.

    Step 3. Start to arrange the pressed flowers and leaves. Take a pic with your phone for reference.
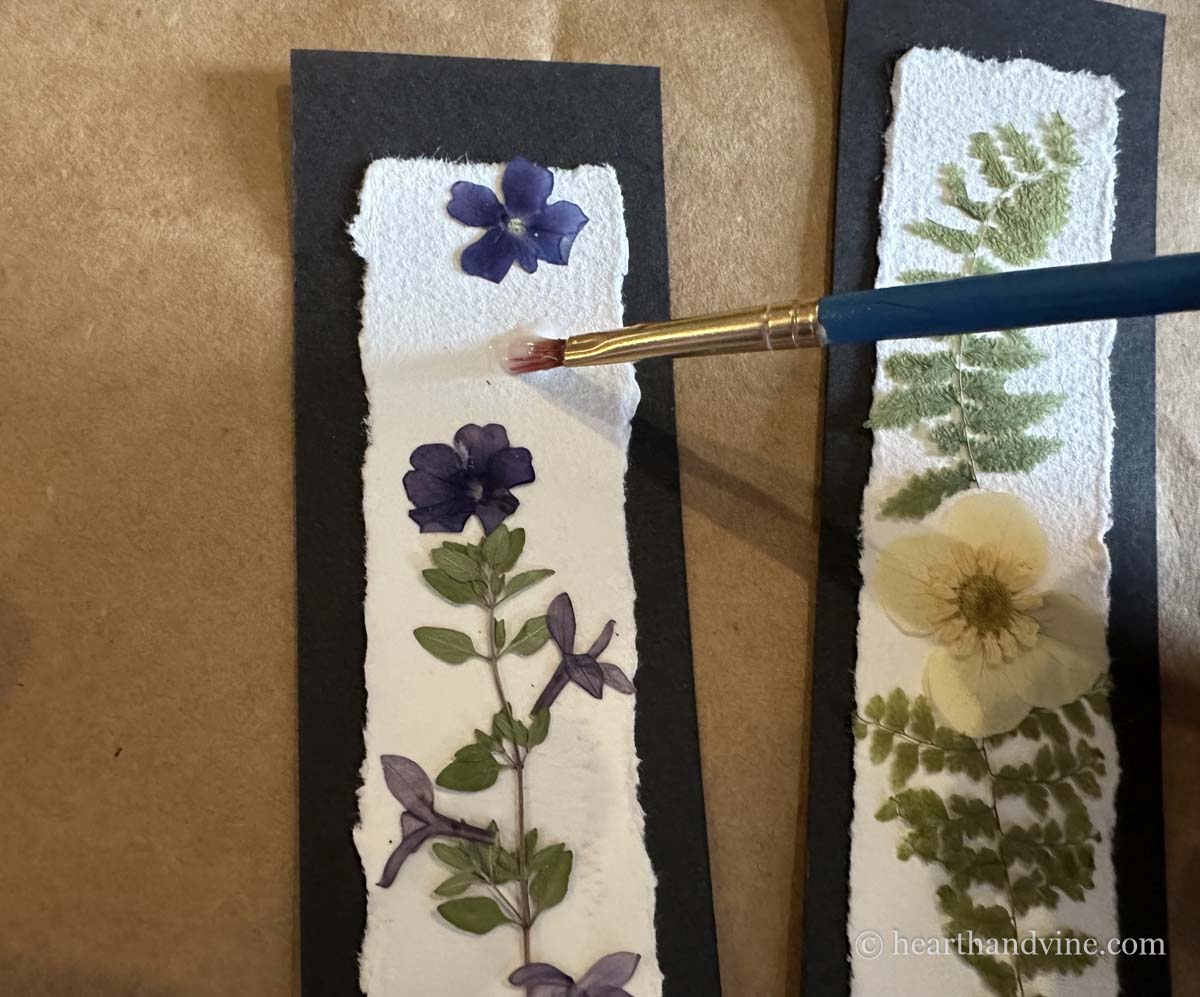
    A paintbrush with mod podge glue placing spots to glue flowers on the white paper.

    Step 4. Gently move the flowers and use a thin layer of Mod Podge (or white glue) and a paintbrush to place some glue in the spot. Then lightly set the flower in place.
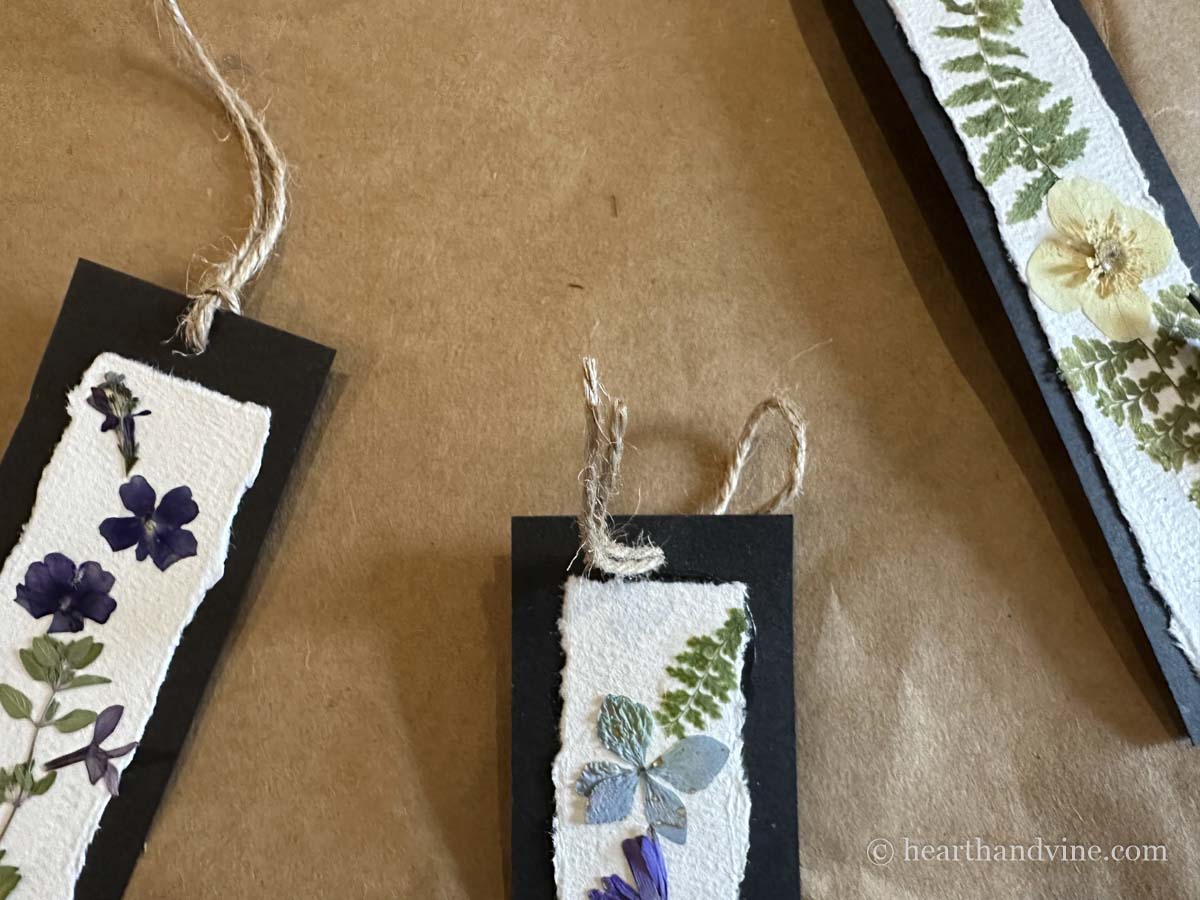
    Guiding a folded piece of thin twine from the back to the front of a bookmark hole at the top.

    Step 5. Let the flowers dry a little before punching a hole at the top for a decorative tie or tassels. Cut a piece of twine or ribbon about 5 inches long. Fold the twine in half and thread the ends from the back to the front.
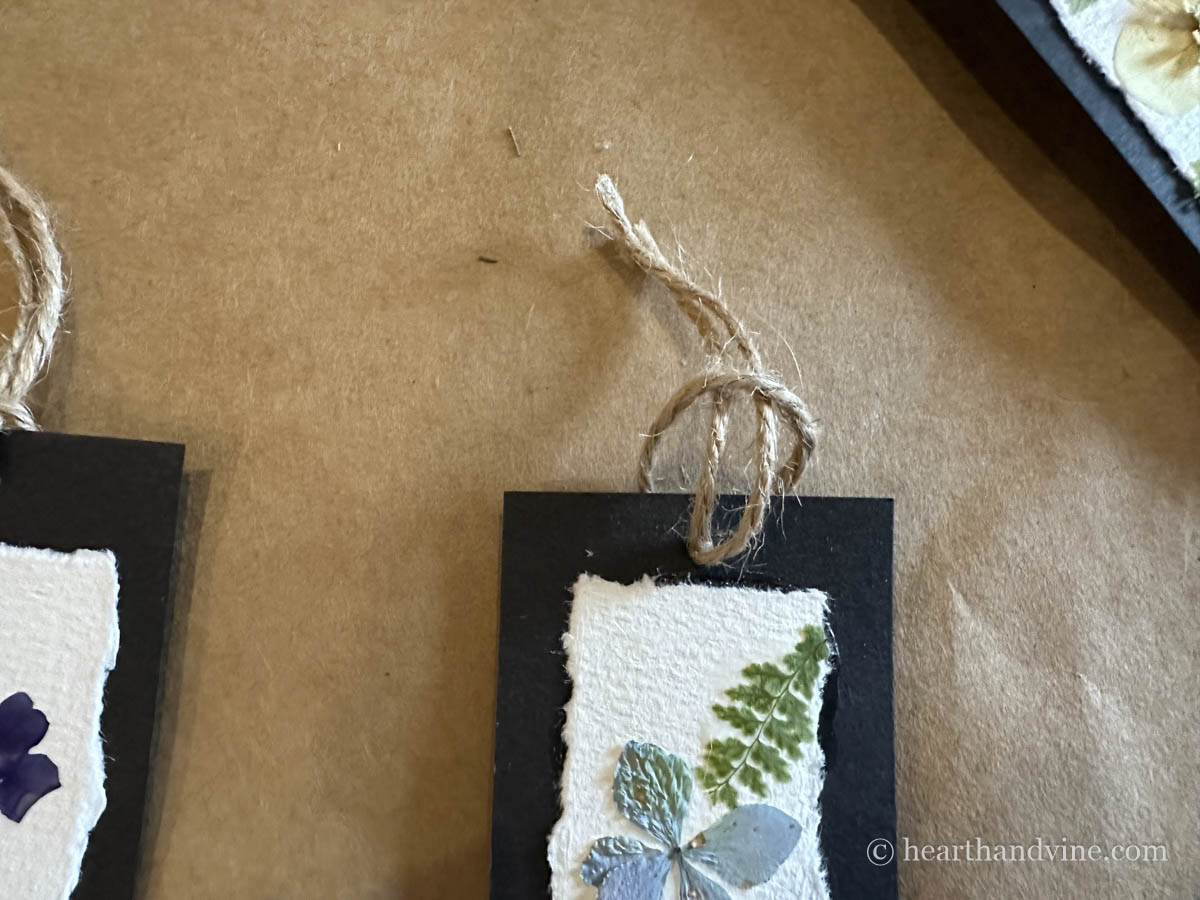
    Pulling the twine through the loop to attach it to the bookmark punched hole.

    Step 6. Slide the ends through the twine loop and pull tight.
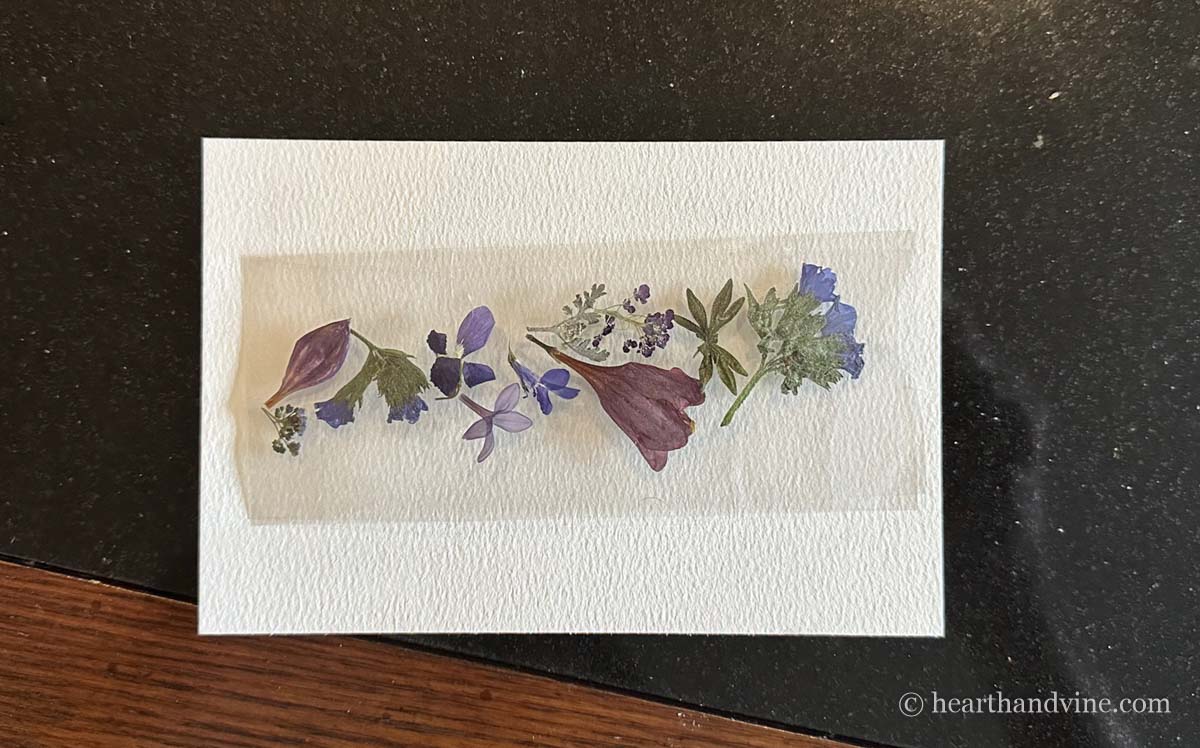
    Pressed flower on laminating sheets.

    Making Laminated Bookmarks

    Laminated bookmarks are more durable but are a little trickier to work with, as the flower petals and leaves stick quickly. However, on the other hand, I could see this approach being an advantage when working with kids. This is why I suggest working with a larger laminated sheet and cutting down the excess after pressing the flowers into place.

    Step 1. Cut a piece of the laminating sheet larger than you want the bookmark.

    Step 2. Remove the backing paper and place pressed flowers and leaves very carefully onto the sticky surface in a narrow column.

    Step 3. Add another piece of the laminating sheet sticky side down, on top of the flowers, and gently press the two pieces together.

    Step 4. Cut the extra laminate away from the flowers to the size you like, leaving room for a hole at the top.
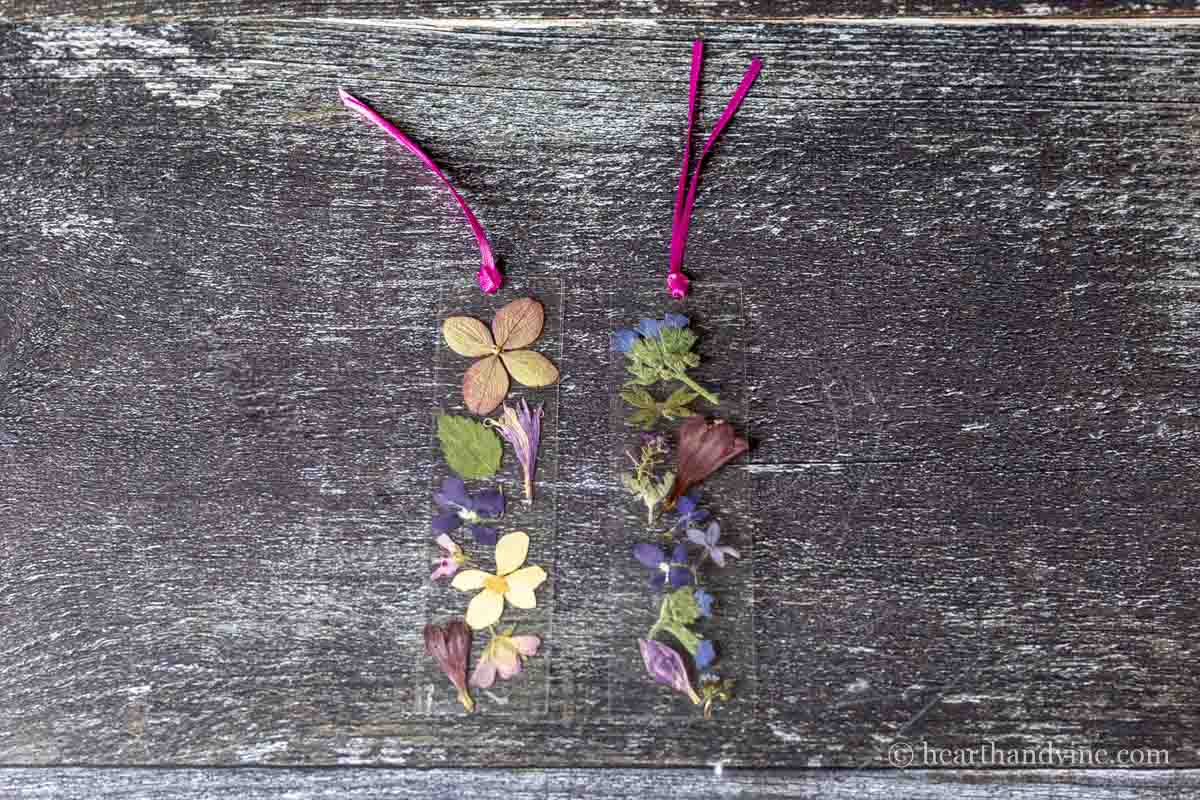
    Two pressed flower bookmarks made with laminating sheets and pink ribbon.

    Step 5. Punch a hole through the top and add a pretty ribbon in the same manner as the paper bookmark tie shown above.
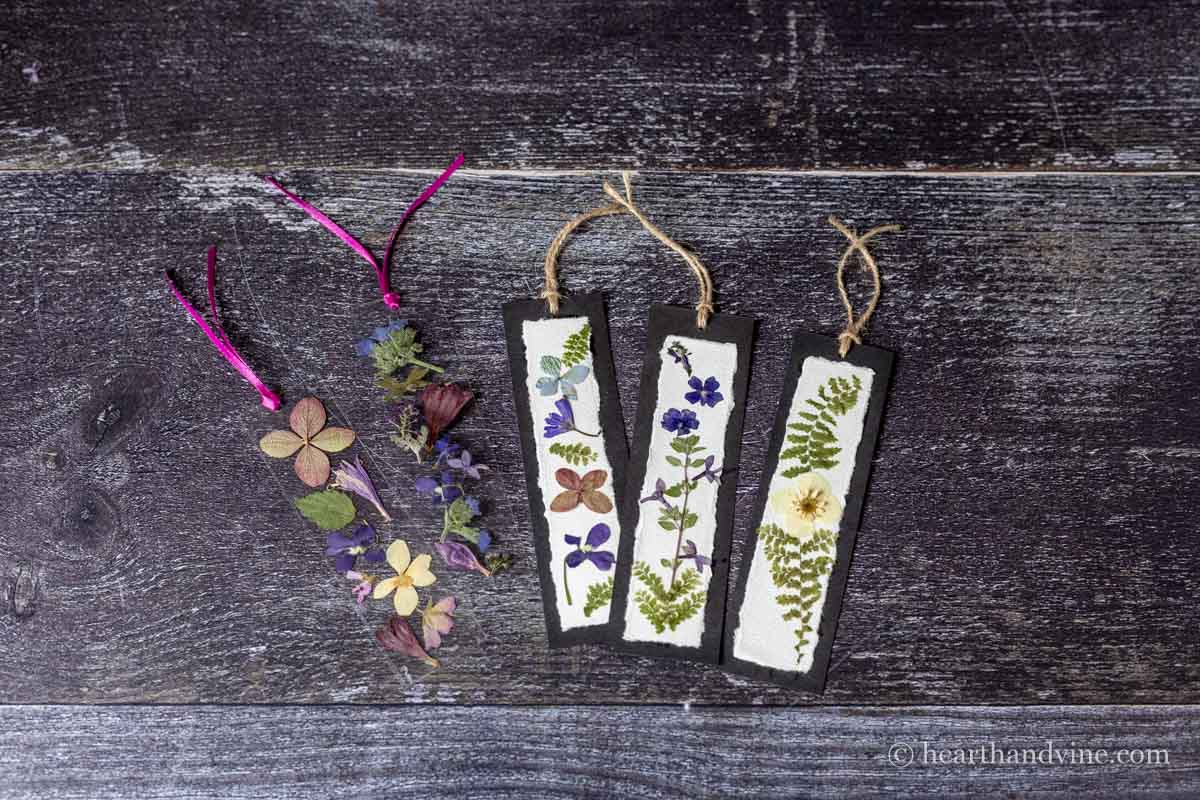
    Five pressed flower bookmarks. Three on paper and two with plastic laminating sheets.

    Both bookmarks are really pretty. The laminated one is obviously more durable. However, I do really love the look of the paper pressed flower bookmarks, too.

    Patti signature
    Five pressed flower bookmarks. Three on paper and two with plastic lamination sheeting.
    Print

    Pressed Flower Bookmark Craft Project

    This easy tutorial will show you how to make these beautiful pressed flower bookmarks with paper and/or laminating sheets.
    Active Time1 hour hr

    Equipment

    • Paper Cutter optional
    • Hole Punch

    Materials

    • Assorted Pressed Flowers & Leaves
    • Heavy White Watercolor Paper
    • Black Cardstock
    • Laminating Sheets
    • Mod Podge or White Glue
    • Scissors
    • Paintbrush
    • Thin Ribbon or Twine

    Instructions

    Paper Bookmarks

    • Fold the white watercolor paper and use a paintbrush to brush water along the crease. Then tear along the wet crease to create a torn edge.
    • Repeat with all four edges of the paper.
    • Glue the white paper to a black cardstock backing.
    • Play around with the pressed flowers and leaves into a layout you like.
    • Take a photo for reference.
    • Carefully use the paintbrush and Mod Podge to glue the flowers into place.
    • After the flowers have had a chance to dry a little, punch a small hole into the top of the black backing paper.
    • Cut a piece of thin ribbon or twine about 5 inches long.
    • Fold the ribbon in half, then feed the ends from the back to the front.
    • Then slip the ends through the loop and pull tight, creating a tie.

    Laminated Bookmark

    • Cut a piece of the laminating sheets larger than you want the bookmark to be.
    • Peel off the protective backing and place the flowers in the middle in a column on the sticky side.
    • Carefully place another piece of the laminating sheet on top of the flowers, sticky side down, covering the flowers.
    • Trim the laminating sheets to the size you like, leaving some room for a hole at the top.
    • Punch a hole at the top and add a ribbon through the hole as shown above.
    Tried this project?Tag @hearthnvine on Instagram
    « Pink Flowering Shrubs

    About Patti Estep

    Patti is the creator of Hearth and Vine, a home and garden blog filled with projects to inspire your creative side. She loves crafting, gardening, decorating and entertaining at her home in Pennsylvania. When she is not working on a project at home or searching for treasures at nurseries and thrift stores with her girlfriends, you’ll probably find her with family and friends, at a restaurant, or home party enjoying new and different food adventures.

    Reader Interactions

    Leave a Reply Cancel reply

    Your email address will not be published. Required fields are marked *

    Recipe Rating


    Primary Sidebar

    Patti Estep Profile Picture

    Hi!

    I'm Patti

    Join me to create lots of fun DIY projects, including crafts, gardening, home decor, and tasty recipes

    More about me

    Popular Posts

    • Pressed flower are in two dark frames.
      DIY Pressed Flower Art
    • Pilea peperomioides
      Pilea Plant - The Pass It On Friendship Plant
    • Serving of cream of crab soup in a red bowl.
      Easy Cream of Crab Soup
    • Small indoor water fountain
      DIY Indoor Water Fountain
    • Chicken oscar on a plate
      Easy Chicken Oscar Recipe Made with Hollandaise Sauce
    • Fabric bowl covers in 3 prints
      How to Make Fabric Bowl Covers

    Footer

    ^ back to top

    About
    Contact
    Privacy Policy
    Disclosure Policy
    Terms of Service

    Sign Up Here!
    for our
    newsletter &
    special offers

    Follow Me

    facebook
    Pinterest
    instagram

    As an Amazon Associate, I earn from qualifying purchases. i.e. as an Amazon Associate, I earn from qualifying purchases.

    Copyright © 2026 Hearth and Vine

    Rate This Recipe

    Your vote:


    A rating is required
    A name is required
    An email is required