



Learn two different ways to create your own pressed flower bookmarks with just a few supplies. They are fun to assemble and make great gifts.
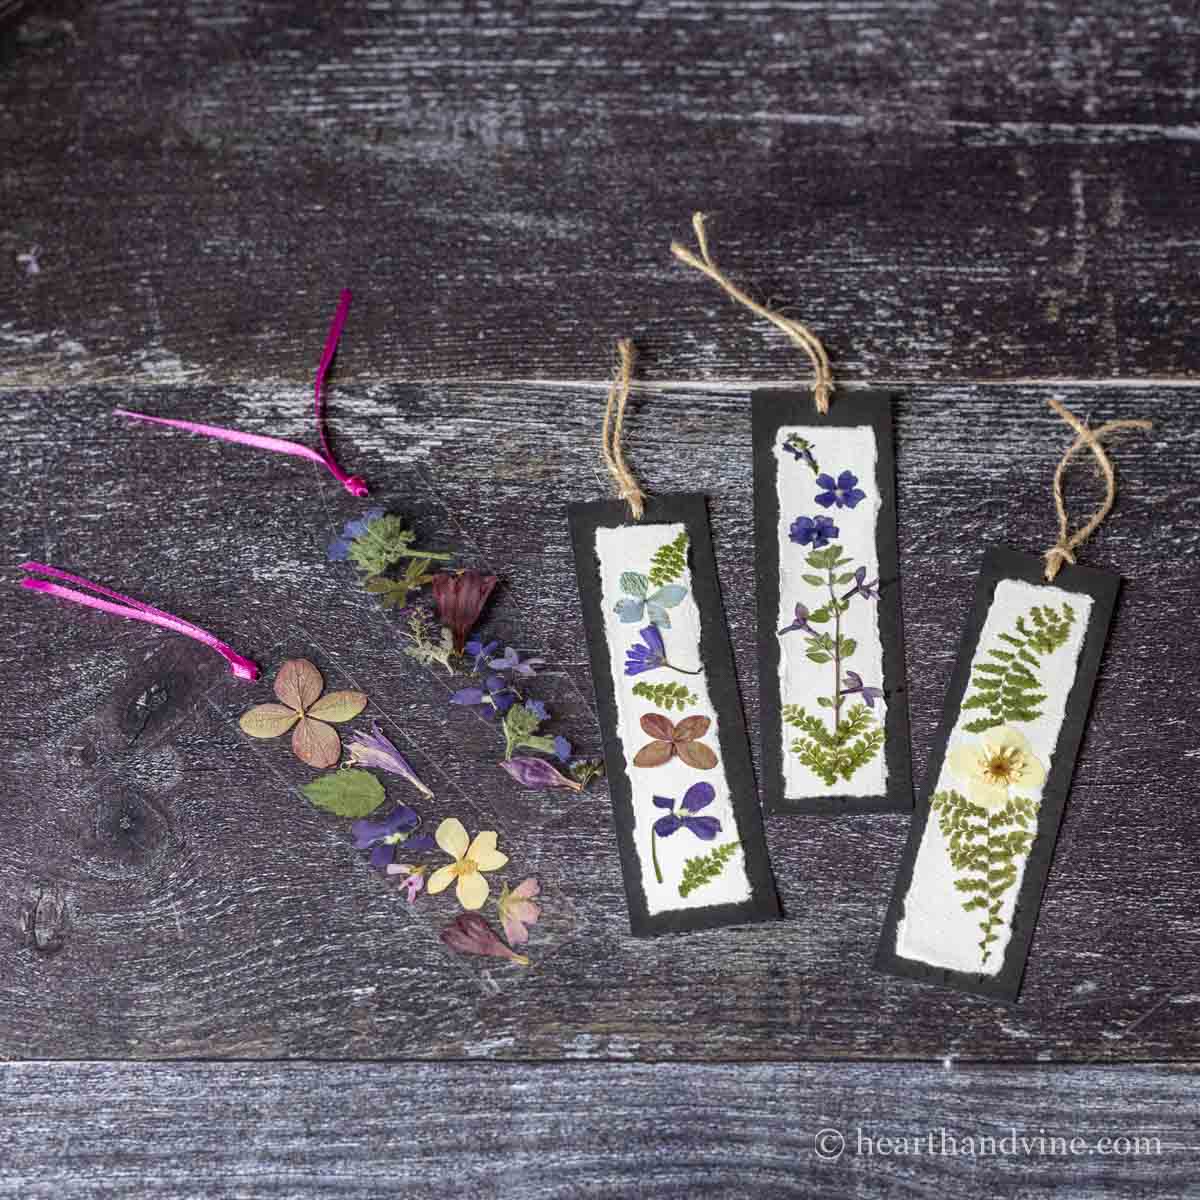
Here's another fun DIY craft to make with pressed flowers. I've experimented with two styles. One is an old fashioned, torn paper look, and the other uses laminating sheets for more durability.
More Pressed Flower Crafts: Pressed Flower Art.....Pressed Flower Luminaria.....Pressed Flower Candles.....Pressed Flower Suncatcher
This post contains some affiliate links (that means if you make a purchase after clicking a link, there’s no additional cost to you, but I will earn a very small commission. ) i.e. as an Amazon Associate, I earn from qualifying purchases. Click here to read my full disclosure policy.
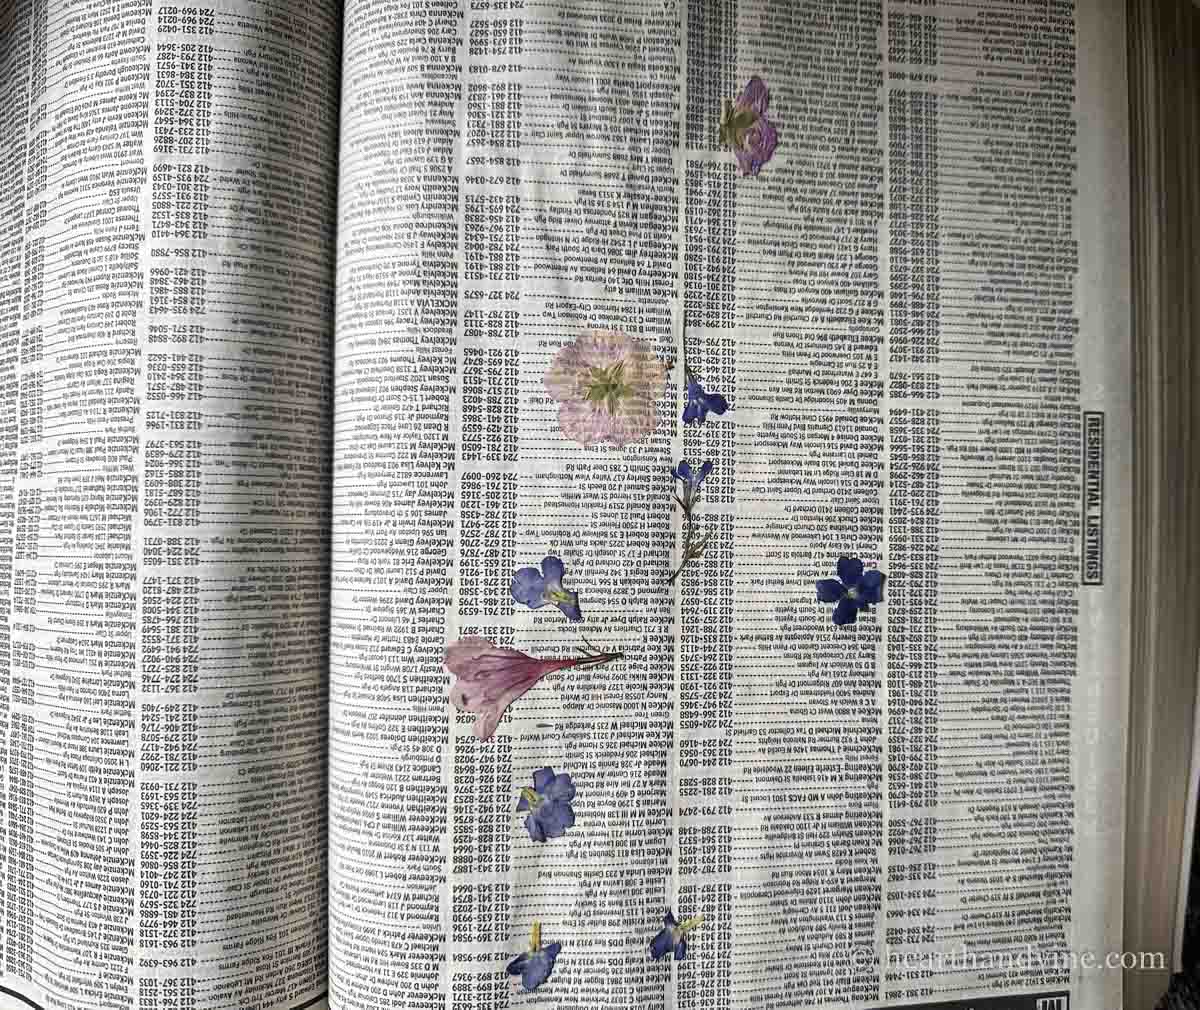
I still have old phone books lying around that I used to press flowers, and my handy travel flower press. The paper used in phone books and the flower press is great for absorbing the moisture from the flowers.
It's fun to press flowers from the garden or a few from a special bouquet. Depending on the size and thickness, this usually takes about a couple of weeks. However, you can also easily buy pressed flowers online.
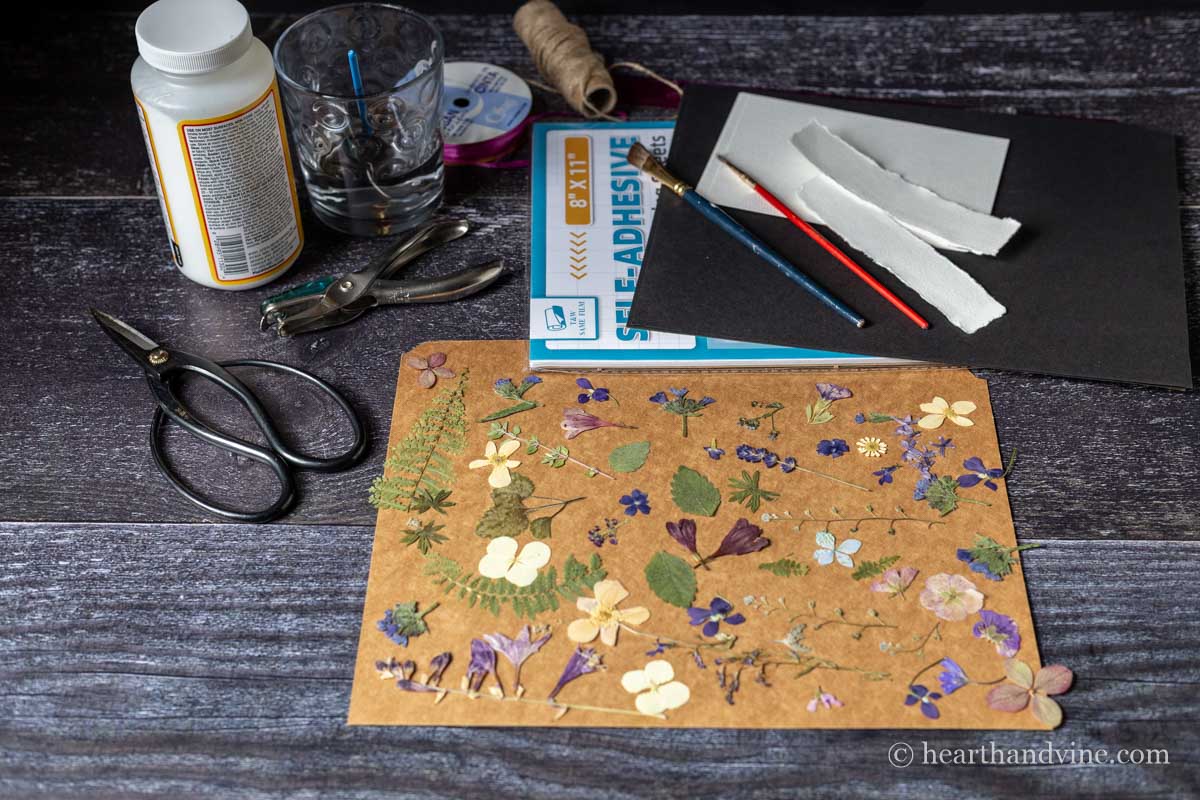
Supplies
- Paper Cutter optional
- Hole Punch
- Thin Ribbon or Twine
- Pressed Flowers & Leaves
- White Watercolor Paper
- Black Cardstock
- Laminating Sheets
- Mod Podge or White Glue
- Scissors
- Paintbrush
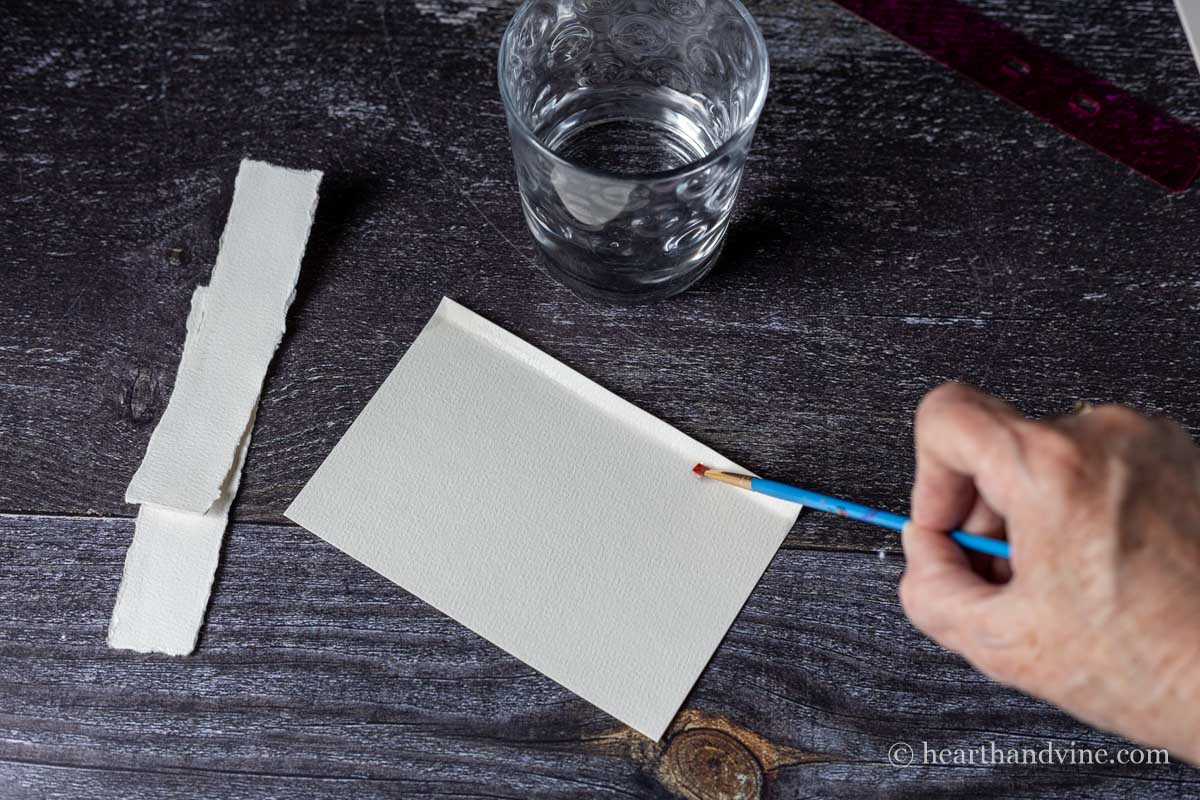
Pressed Flower Bookmarks on Paper
Step 1. Start with watercolor paper and fold the edge. Paint water in the crease a few times. Then carefully tear the paper along the crease.
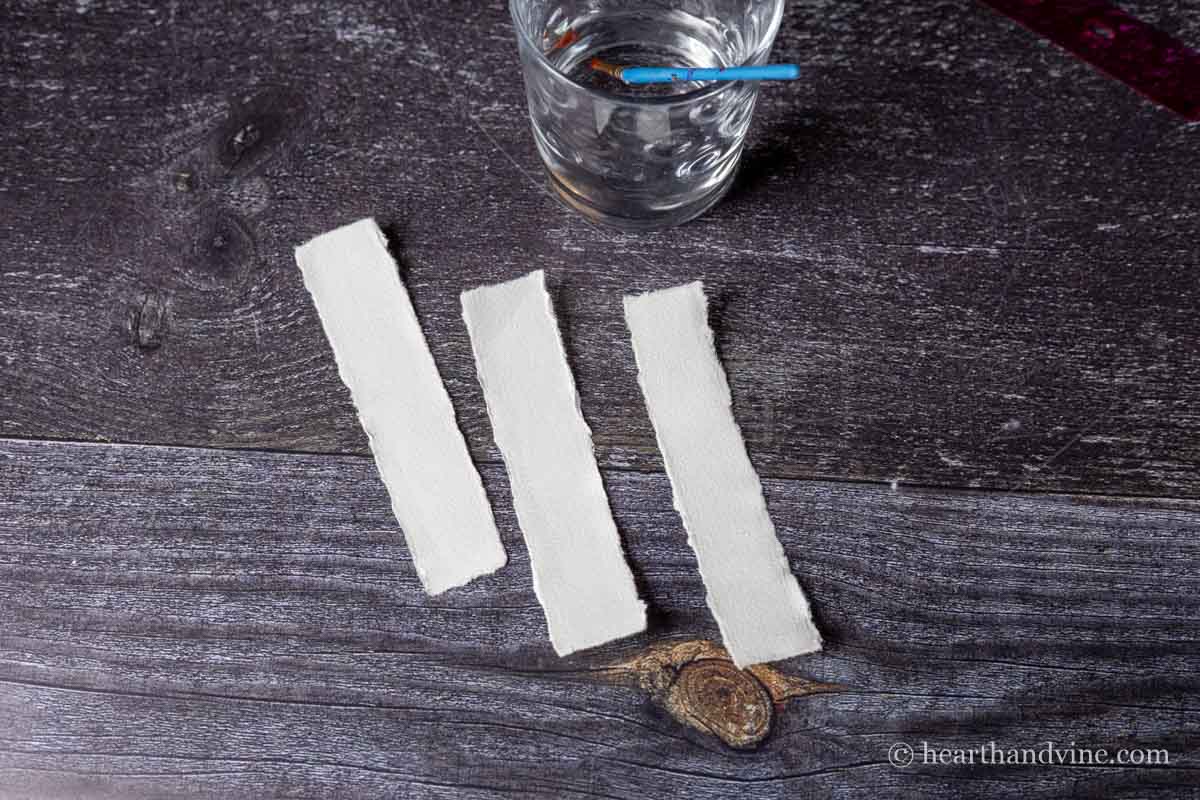
Continue this process for the other side, top, and bottom. You can make the bookmark any size you like. I went for about 1.5 inches by 5.5 inches.
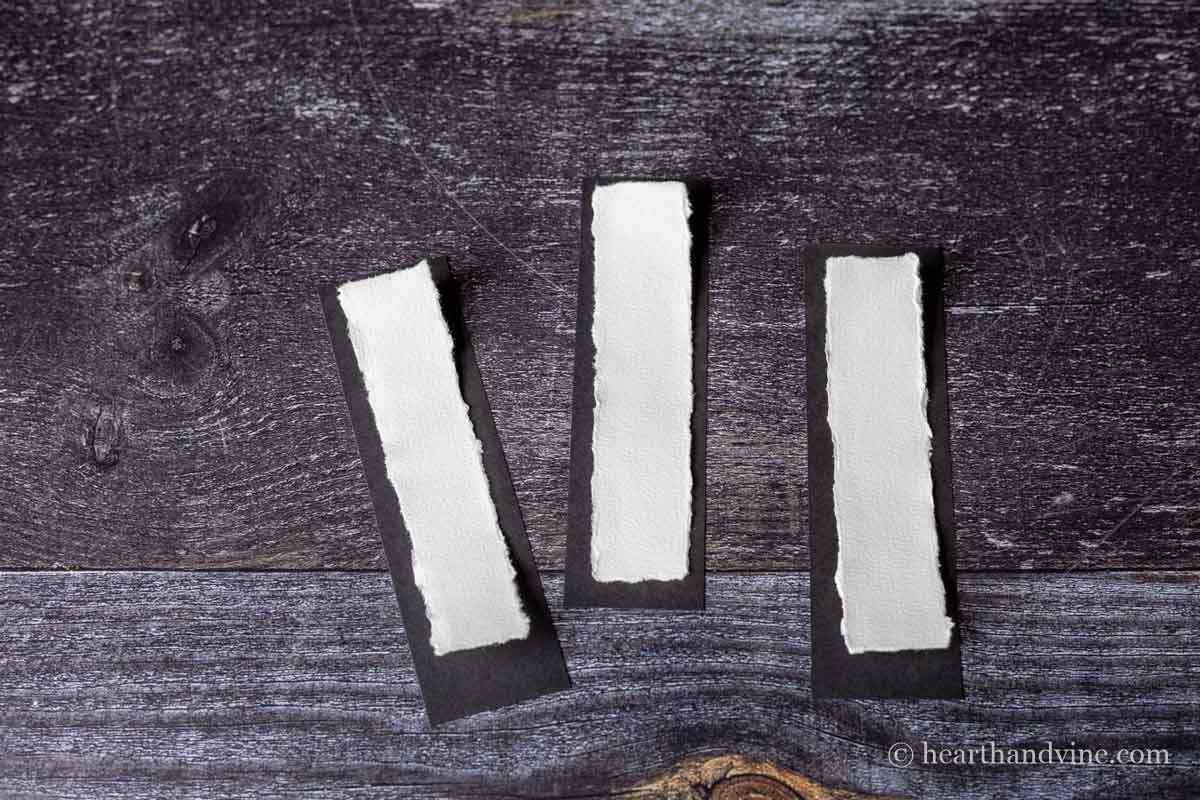
Step 2. Glue the torn paper to a black cardstock backing with a small margin all around, as shown above.
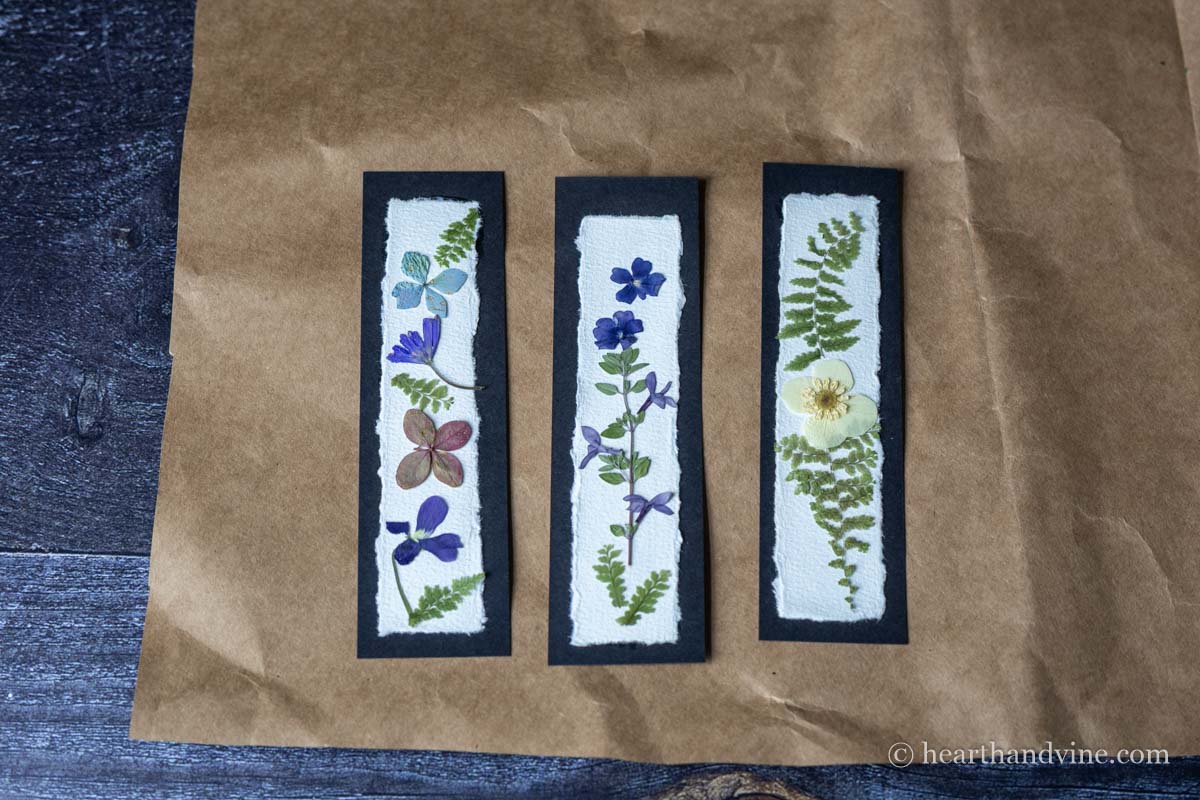
Step 3. Start to arrange the pressed flowers and leaves. Take a pic with your phone for reference.
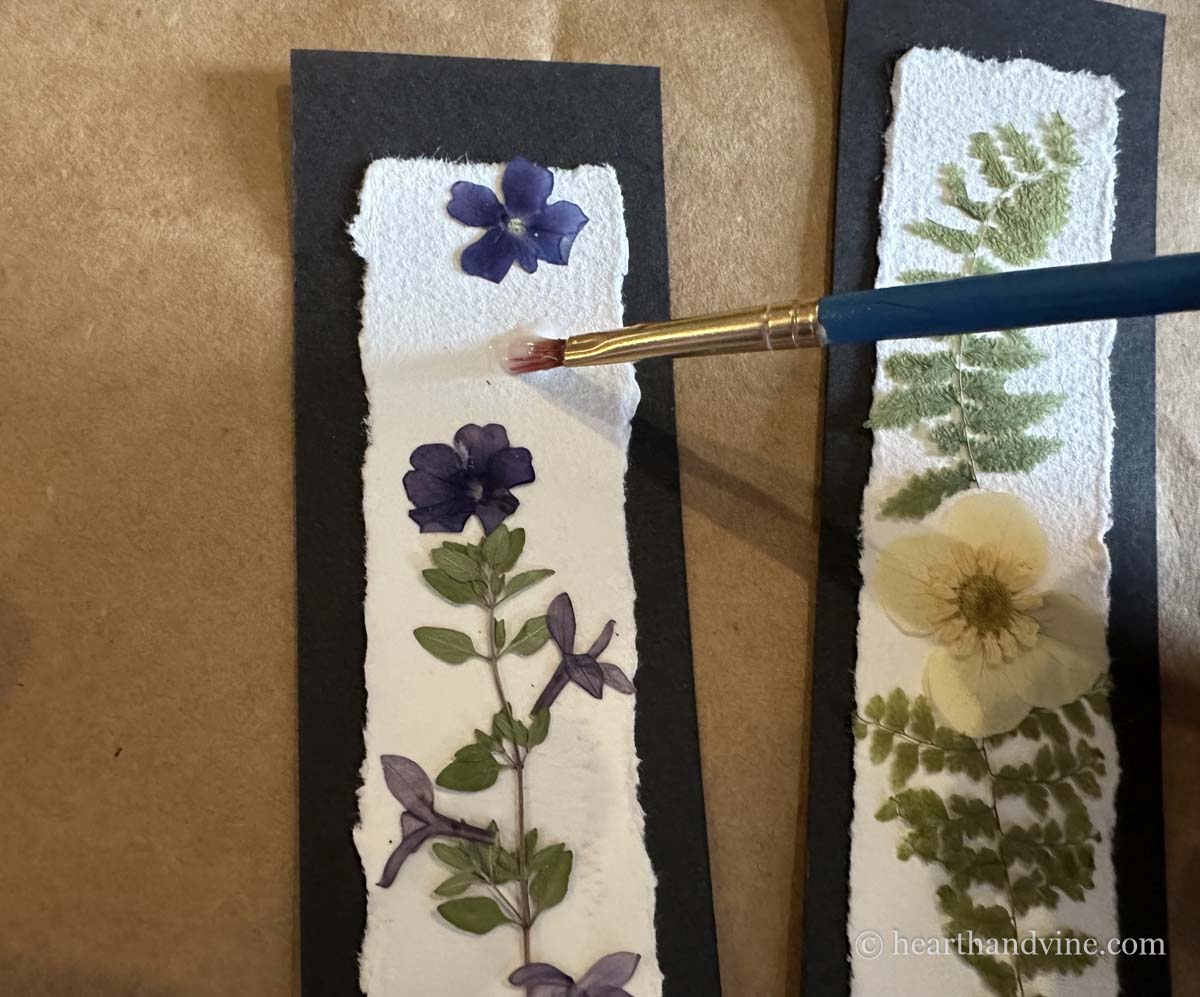
Step 4. Gently move the flowers and use a thin layer of Mod Podge (or white glue) and a paintbrush to place some glue in the spot. Then lightly set the flower in place.
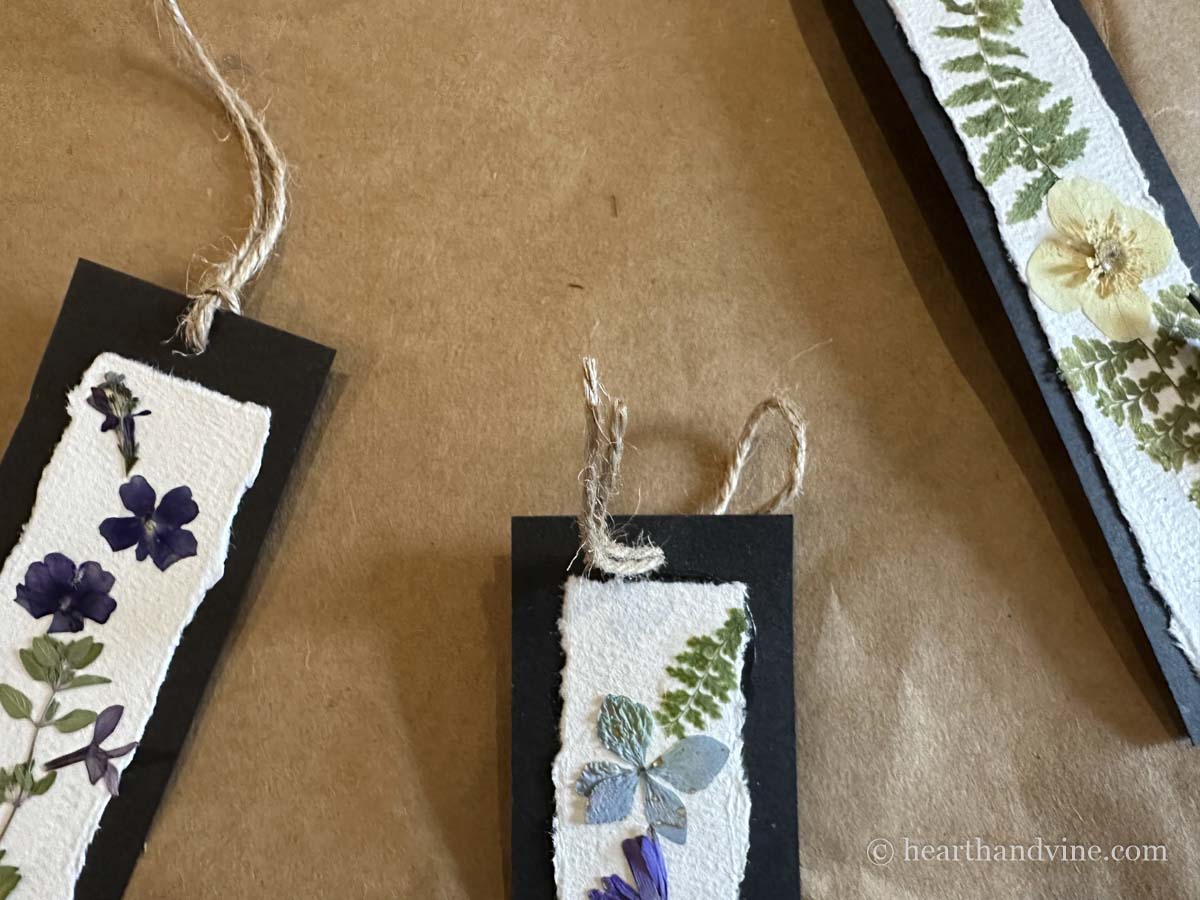
Step 5. Let the flowers dry a little before punching a hole at the top for a decorative tie or tassels. Cut a piece of twine or ribbon about 5 inches long. Fold the twine in half and thread the ends from the back to the front.
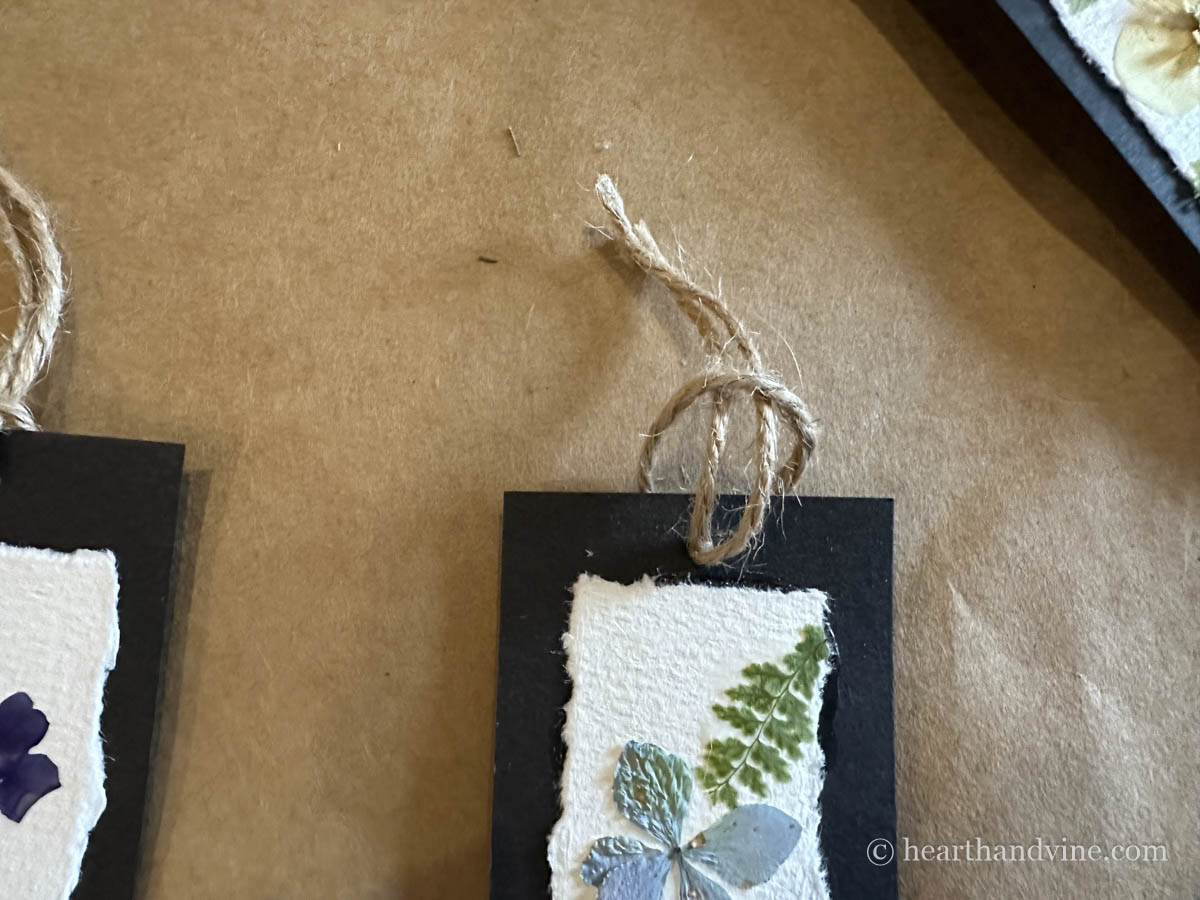
Step 6. Slide the ends through the twine loop and pull tight.
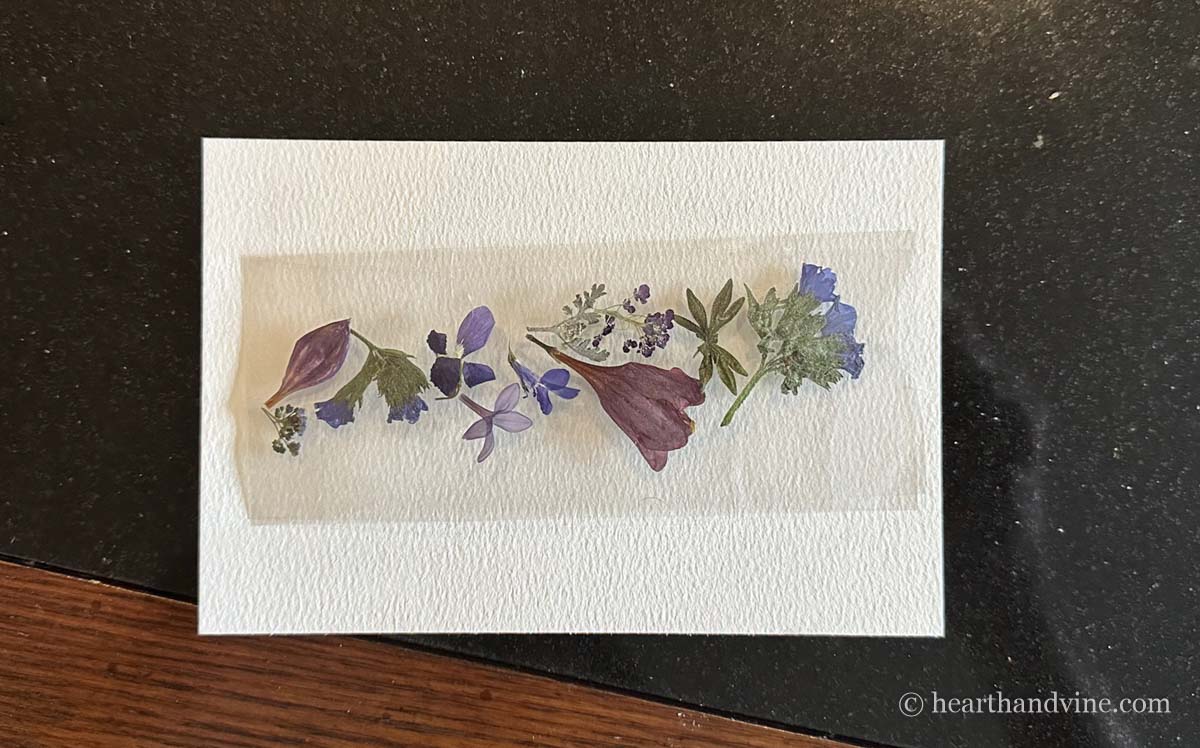
Making Laminated Bookmarks
Laminated bookmarks are more durable but are a little trickier to work with, as the flower petals and leaves stick quickly. However, on the other hand, I could see this approach being an advantage when working with kids. This is why I suggest working with a larger laminated sheet and cutting down the excess after pressing the flowers into place.
Step 1. Cut a piece of the laminating sheet larger than you want the bookmark.
Step 2. Remove the backing paper and place pressed flowers and leaves very carefully onto the sticky surface in a narrow column.
Step 3. Add another piece of the laminating sheet sticky side down, on top of the flowers, and gently press the two pieces together.
Step 4. Cut the extra laminate away from the flowers to the size you like, leaving room for a hole at the top.
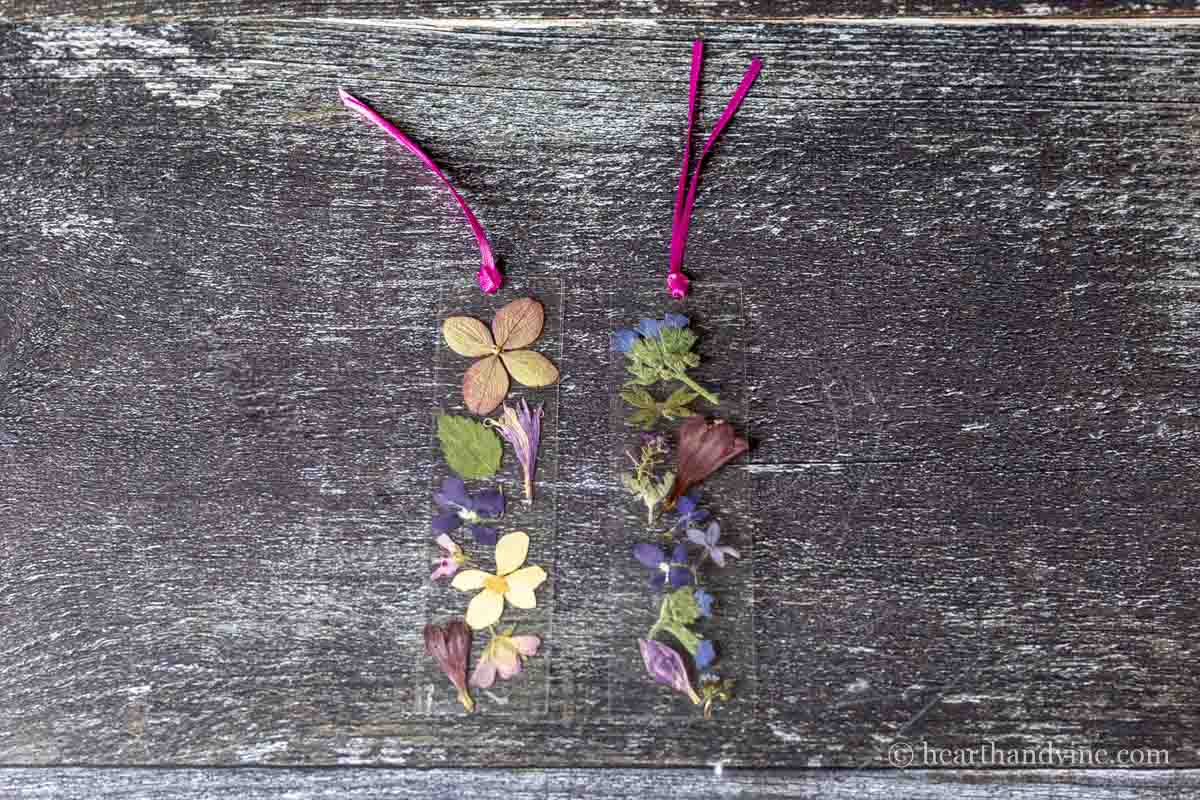
Step 5. Punch a hole through the top and add a pretty ribbon in the same manner as the paper bookmark tie shown above.
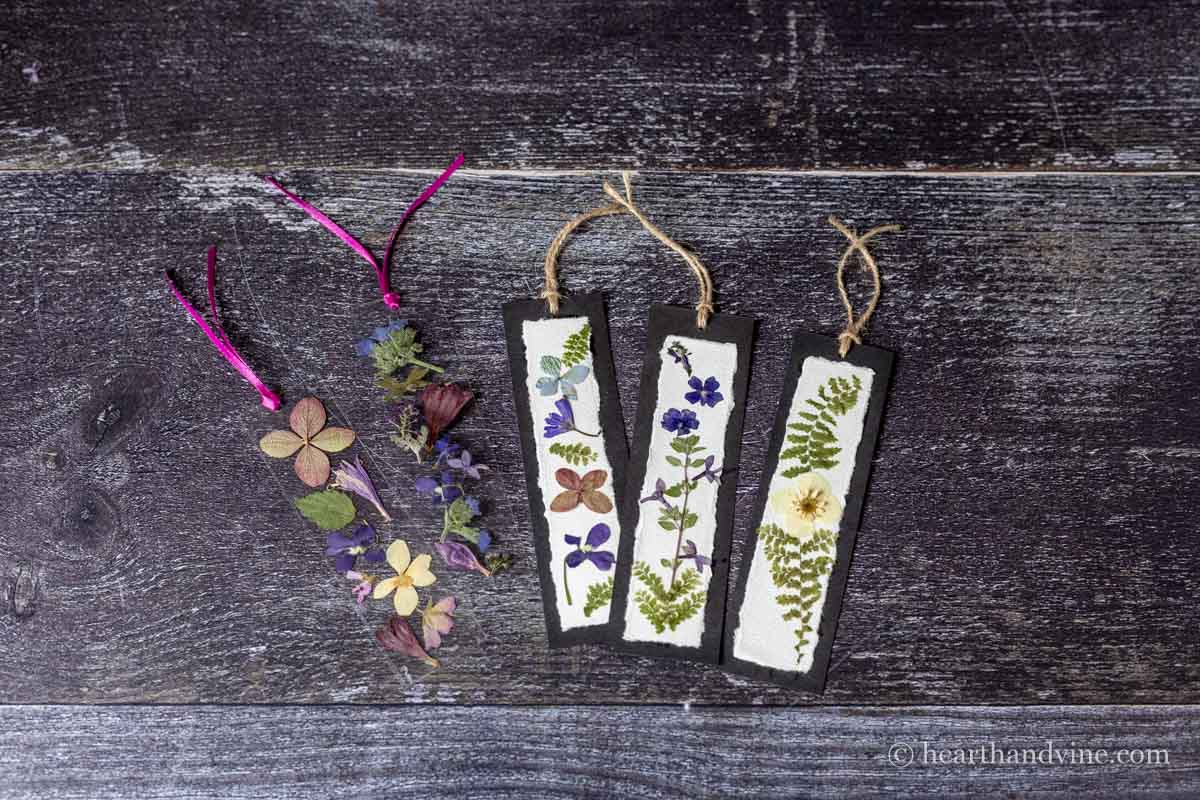
Both bookmarks are really pretty. The laminated one is obviously more durable. However, I do really love the look of the paper pressed flower bookmarks, too.

Pressed Flower Bookmark Craft Project
Equipment
- Paper Cutter optional
- Hole Punch
Materials
- Assorted Pressed Flowers & Leaves
- Heavy White Watercolor Paper
- Black Cardstock
- Laminating Sheets
- Mod Podge or White Glue
- Scissors
- Paintbrush
- Thin Ribbon or Twine
Instructions
Paper Bookmarks
- Fold the white watercolor paper and use a paintbrush to brush water along the crease. Then tear along the wet crease to create a torn edge.
- Repeat with all four edges of the paper.
- Glue the white paper to a black cardstock backing.
- Play around with the pressed flowers and leaves into a layout you like.
- Take a photo for reference.
- Carefully use the paintbrush and Mod Podge to glue the flowers into place.
- After the flowers have had a chance to dry a little, punch a small hole into the top of the black backing paper.
- Cut a piece of thin ribbon or twine about 5 inches long.
- Fold the ribbon in half, then feed the ends from the back to the front.
- Then slip the ends through the loop and pull tight, creating a tie.
Laminated Bookmark
- Cut a piece of the laminating sheets larger than you want the bookmark to be.
- Peel off the protective backing and place the flowers in the middle in a column on the sticky side.
- Carefully place another piece of the laminating sheet on top of the flowers, sticky side down, covering the flowers.
- Trim the laminating sheets to the size you like, leaving some room for a hole at the top.
- Punch a hole at the top and add a ribbon through the hole as shown above.
Leave a Reply