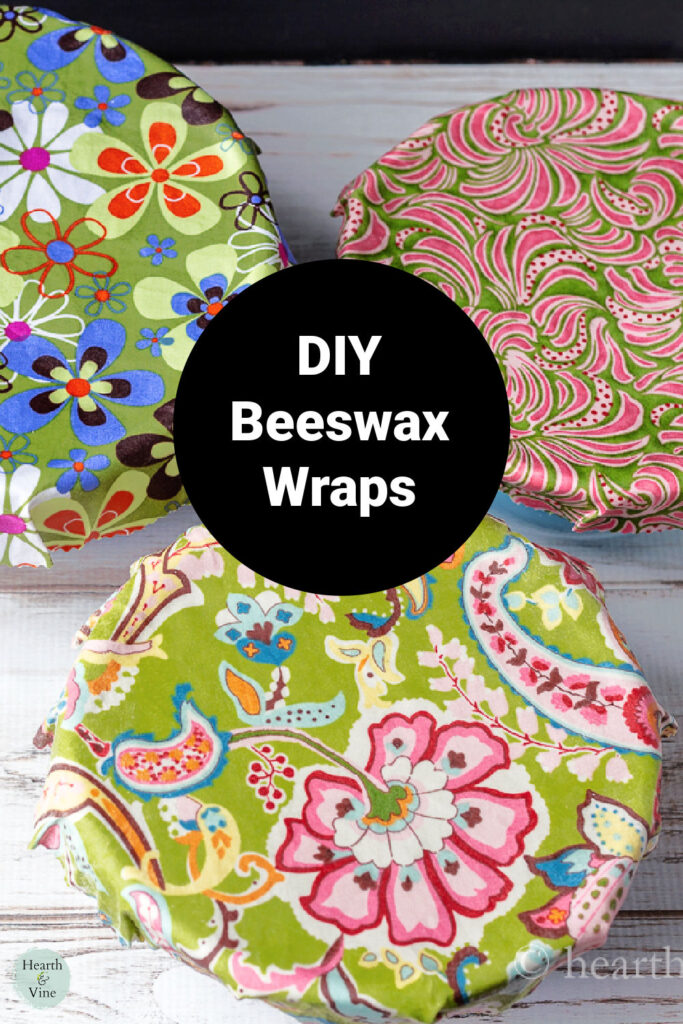
This easy DIY beeswax wraps project is a great way to reuse food storage covers instead of disposable plastic wrap.

Several years ago I made fabric bowl covers. The idea for them was to have something to cover bowls when eating outdoors to keep out insects. Many people also like to use them in the refrigerator instead of using plastic wrap. However, another way to accomplish this task is to make beeswax bowl covers.
This post contains some affiliate links (that means if you make a purchase after clicking a link, there’s no additional cost to you, but I will earn a very small commission. ) i.e. as an Amazon Associate, I earn from qualifying purchases. Click here to read my full disclosure policy.
How to Make Your Own Beeswax Wraps
Supplies
- Thin cotton fabric
- Beeswax pellets
- Ground pine resin
- Jojoba oil
- Pinking shears
- Paintbrush
- Old pot
- Plastic container or empty can
- Parchment paper
- Iron
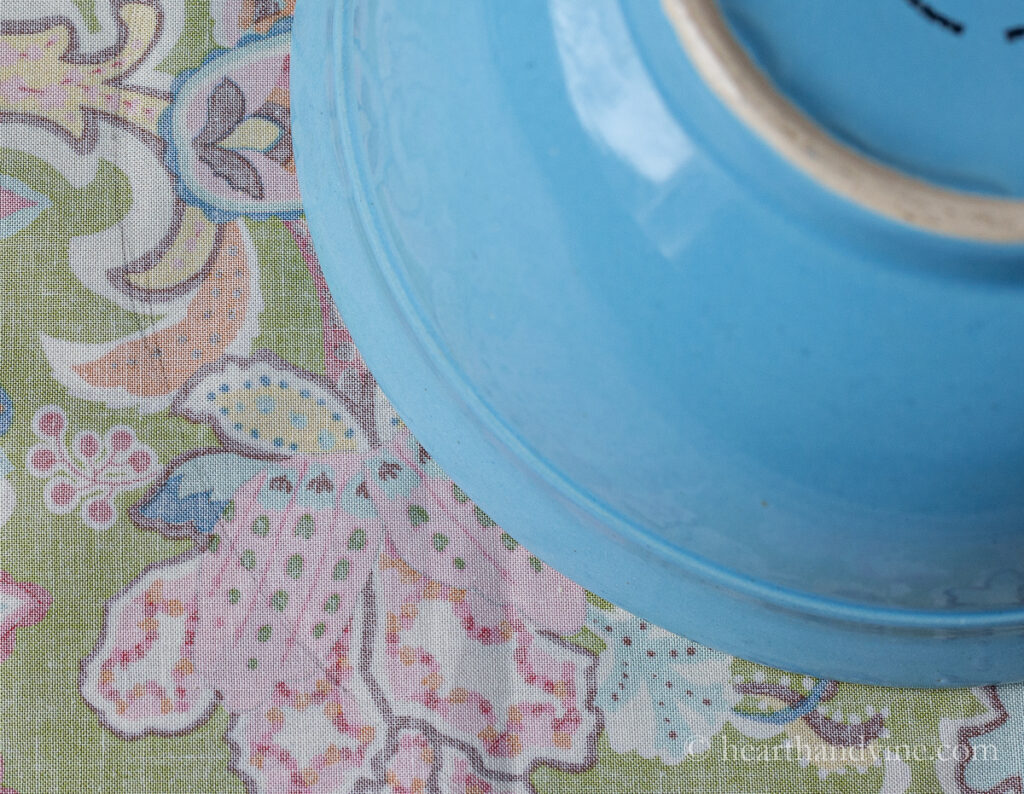
Flip one of your bowls upside down on your fabric. Trace about 2 inches from the edge all around the bowl.
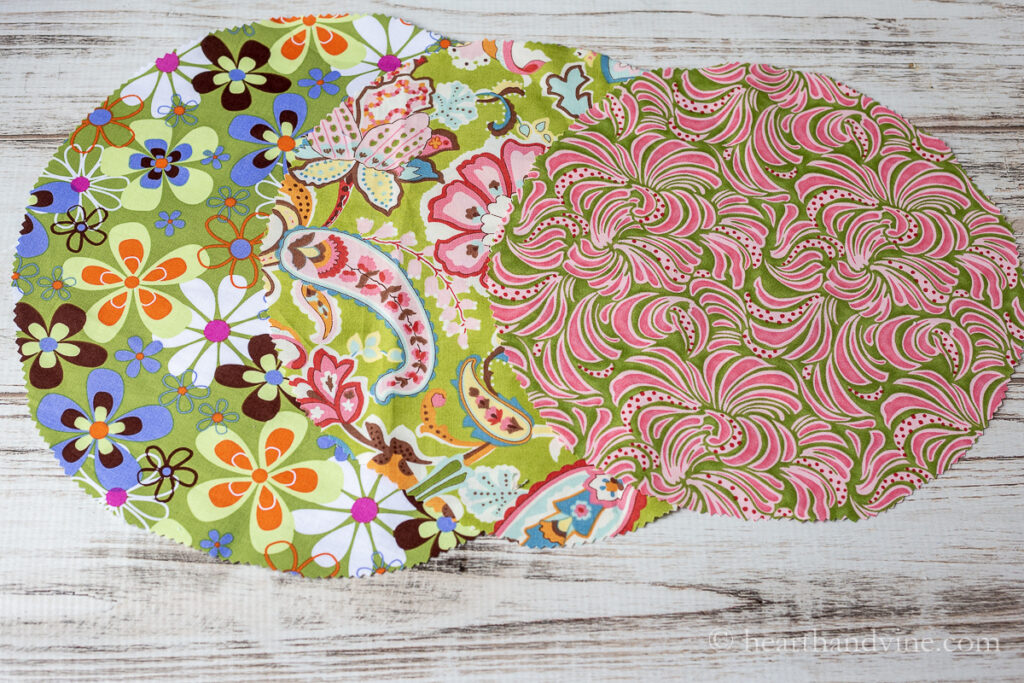
Cut out using pinking shears. This will help keep the fabric from fraying better than ordinary scissors.
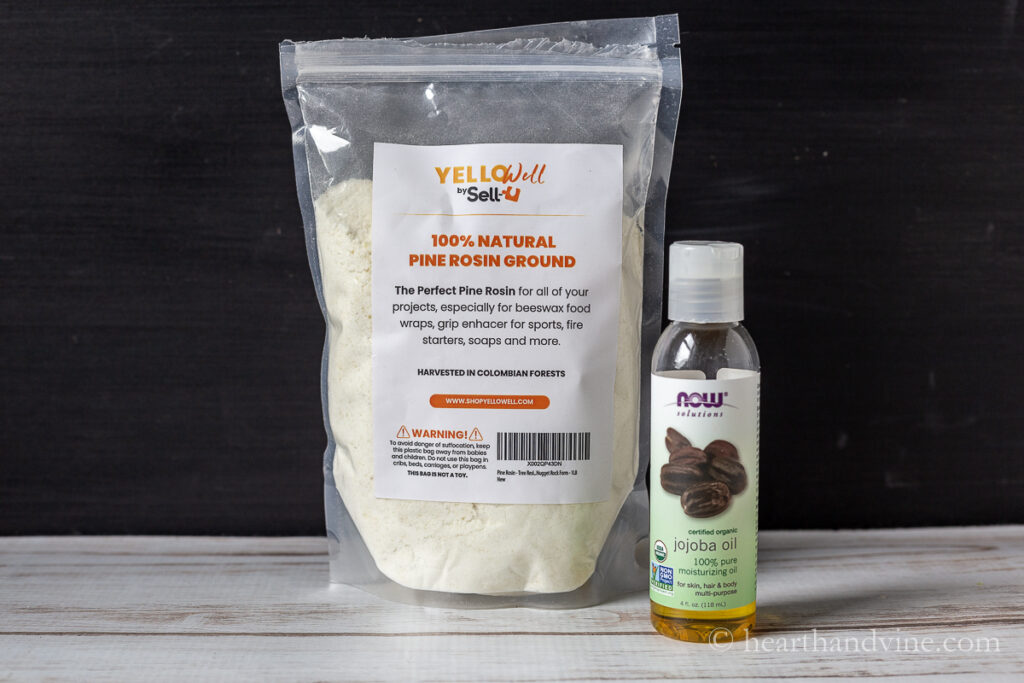
In addition to beeswax, you will need ground resin and some jojoba oil. Some people use only beeswax, however, I found that beeswax alone did not stick well. The pine resin makes it much more sticky and the jojoba oil (actually a wax) helps with pliability.
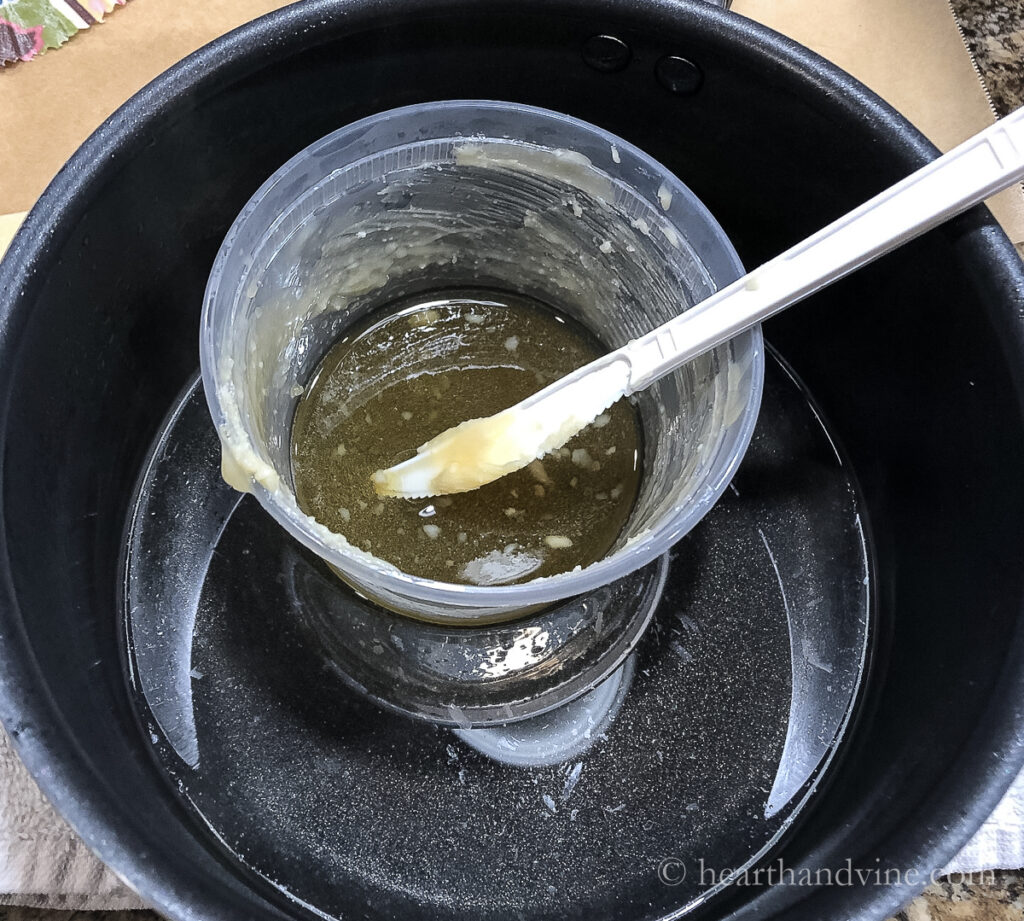
Some people use an oven method where they sprinkle wax and the other ingredients over the fabric on a baking sheet. This seemed too messy to me and didn't seem like all the ingredients were well distributed. So I melted the wax, resin, and oil in a plastic container in an old pot on the stove first.
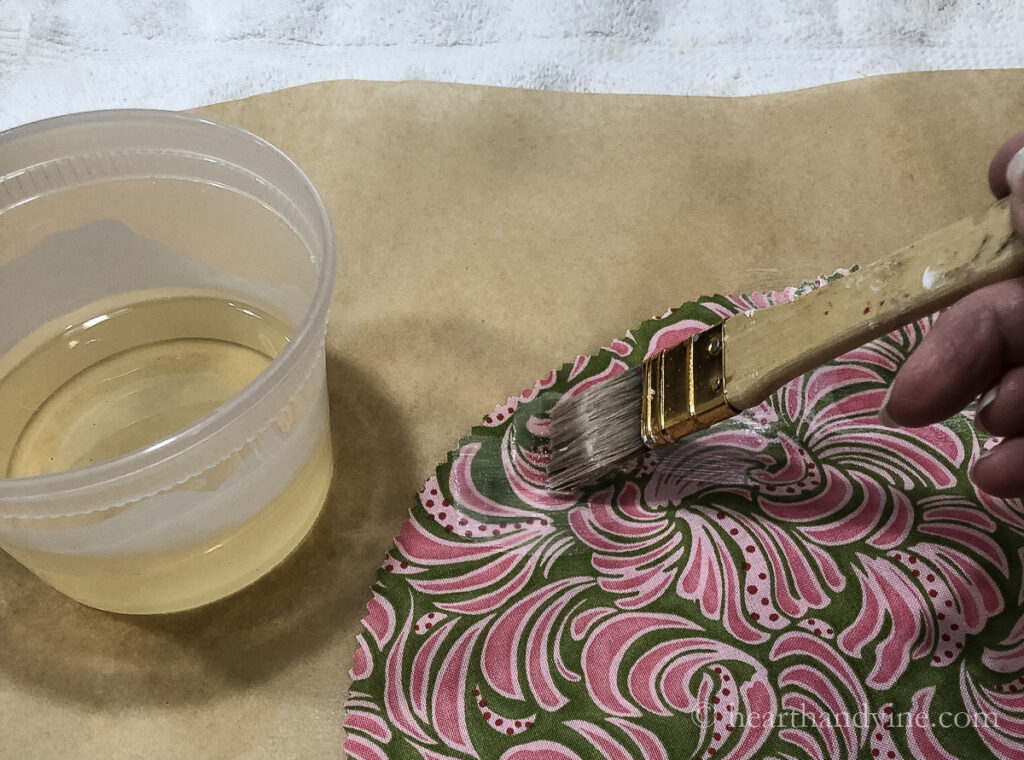
Once melted brush the wax mixture onto the fabric with parchment underneath. (cover your work surface too)
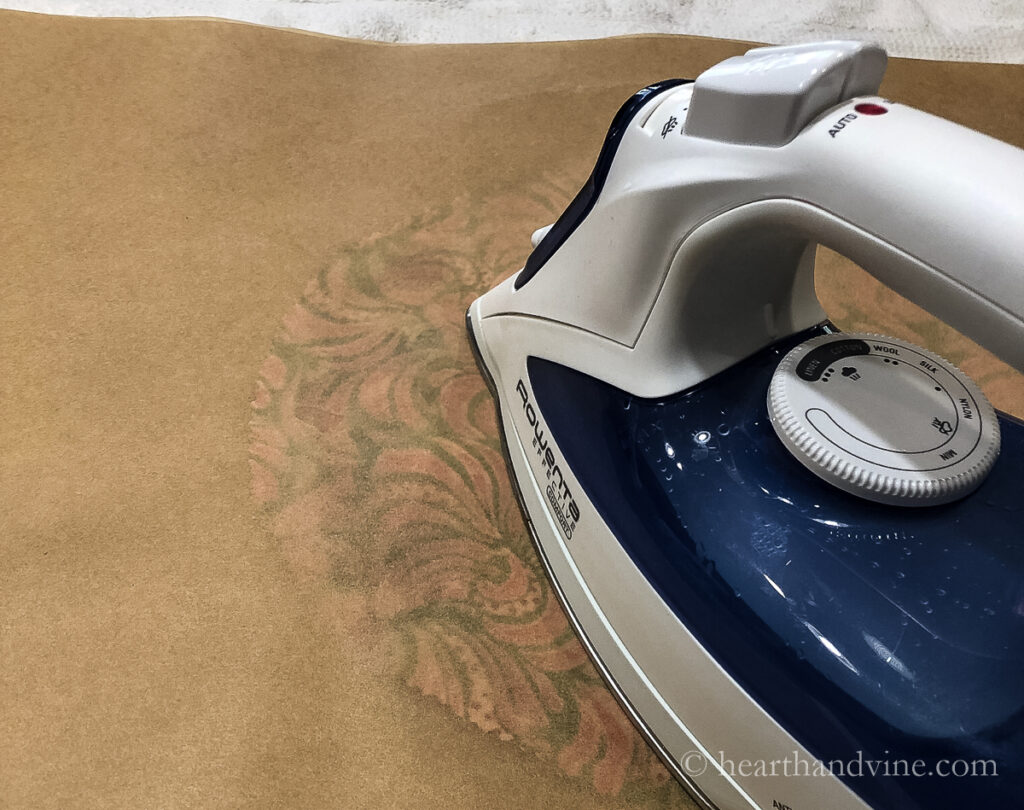
Then place another piece of parchment paper on top of the fabric and iron. This will make the wax mixture more even and will melt through the other side of the fabric, pushing out excess wax.
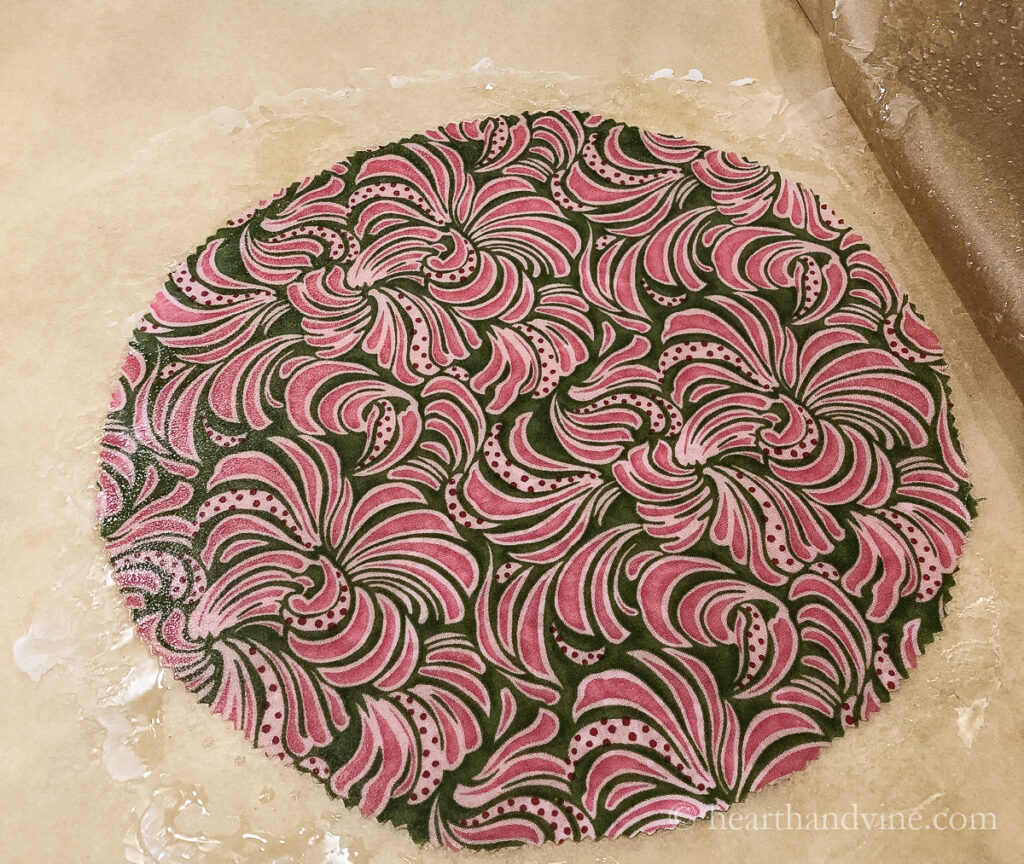
Remove the parchment and lift up the fabric.

You can hold it in the air for a minute as it dries extremely quickly. Alternatively, set it on a drying rack or hang it from a line with clothespins.
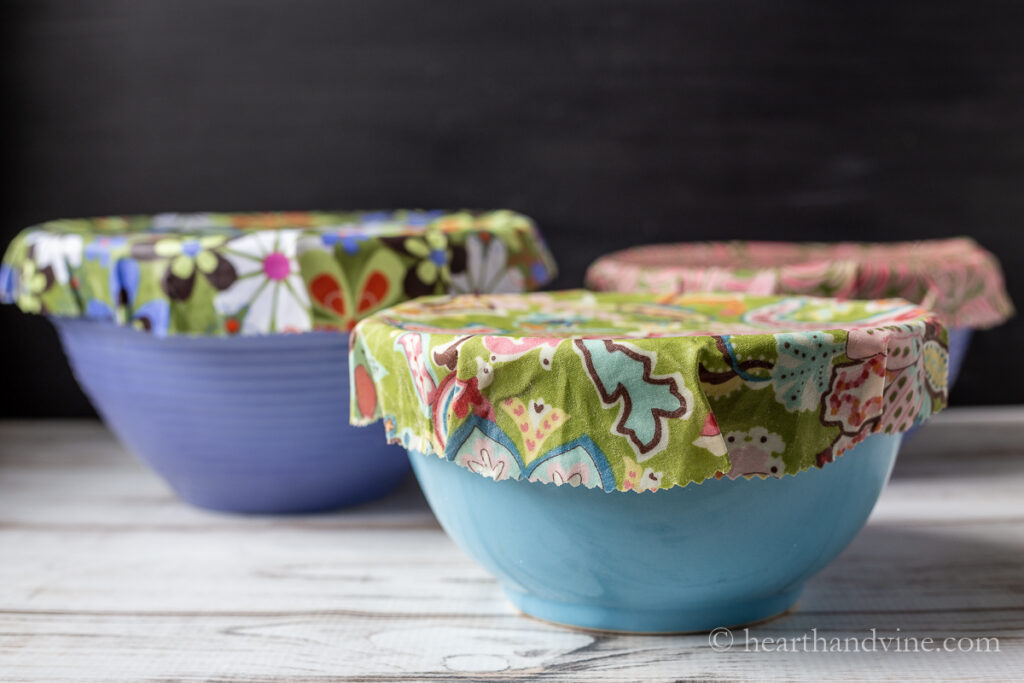
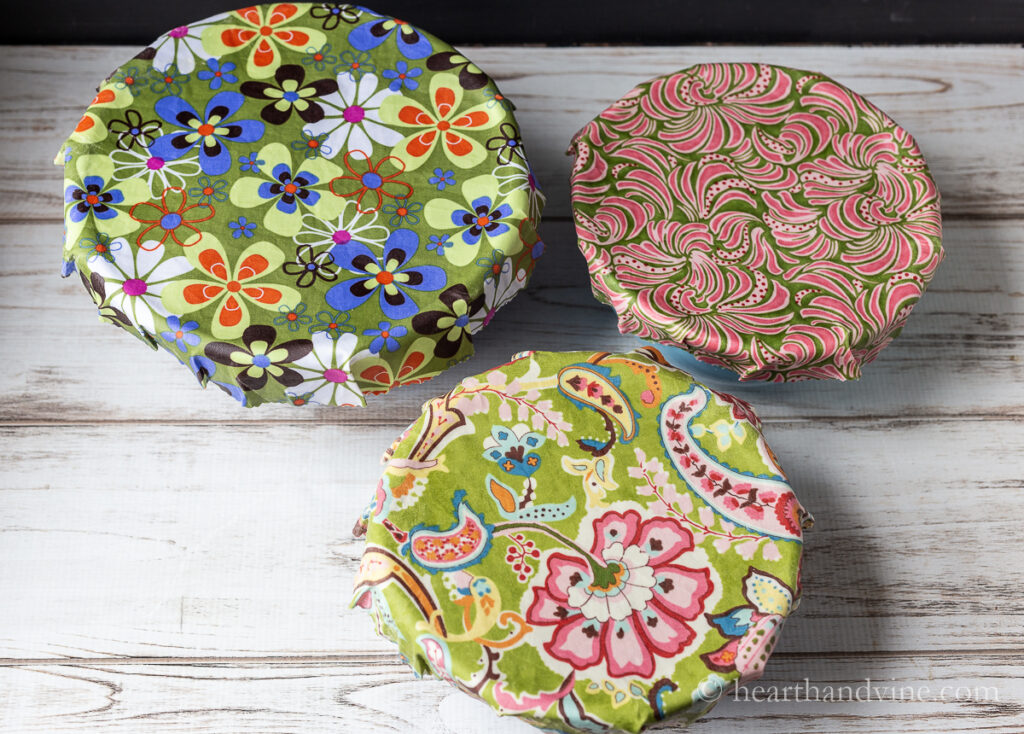
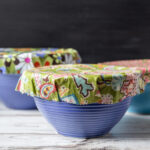
Place the beeswax wraps on the bowls and pinch the excess material together to seal the bowl. You can also fold over the fabric and press it to the side. You will find that the beeswax mixture sticks to itself more than the bowl.
You can also make rectangular shapes of fabric to create sandwich, vegetable, and cheese wraps.
These DIY beeswax wraps are reusable and can be gently cleaned by hand with mild dish soap and cold water. Just don't use anything hot or put them on a hot bowl as that will melt the wax. Wouldn't they make a nice gift?

More Fabric Crafts
Beeswax Food Wraps DIY
Equipment
- Paintbrush
- Old pot
- Empty plastic container or metal can
- Plastic spoon or knife, wooden skewer for stirring
- pinking shears
- Iron
- pencil
Materials
- 1/2 cup beeswax pellets
- 3 tablespoons ground pine resin
- 1 tablespoon jojoba oil
- Cotton fabric thin
- Parchment paper
Instructions
- Measure two inches from the rim of each bowl and mark for cutting.
- Cut out the fabric with pinking shear to avoid fraying edges.
- Measure beeswax, resin, and jojoba oil into a small plastic container or clean can.
- Melt the mix in an old pot or double boiler with simmering water on the stove.
- Place your fabric on some parchment paper on a covered work area.
- Brush the wax mixture all over the fabric.
- Cover the fabric with another piece of parchment and use an iron to evenly melt and disburse the wax all over and through to the other side.
- Remove the parchment and lift up the fabric. It will begin to dry immediately.
- Hang with close pins or lay on a drying rack.
- Repeat with the other pieces of fabric.
Leave a Reply