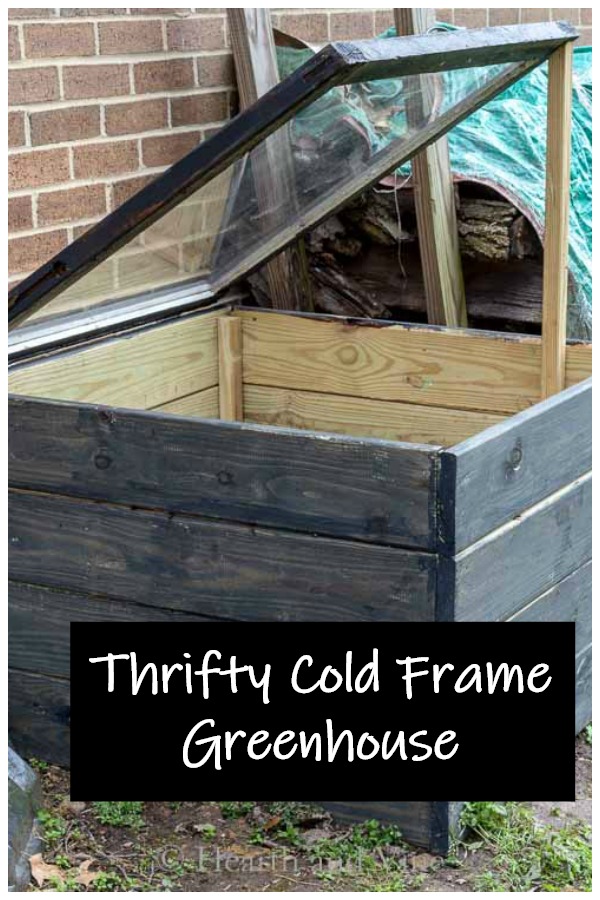
This simple DIY cold frame project is perfect for hardening off seedlings and protecting tender plants any time of year.
I've always wanted a cold frame and this year I finally got one. Since it requires a bit of heavy lifting and woodwork I enlisted my husband to help me build it.
This project also fits perfectly in line with the Thrifty Style Team theme this month where we are celebrating the men in our life.
How to Make Your Own Cold Frame
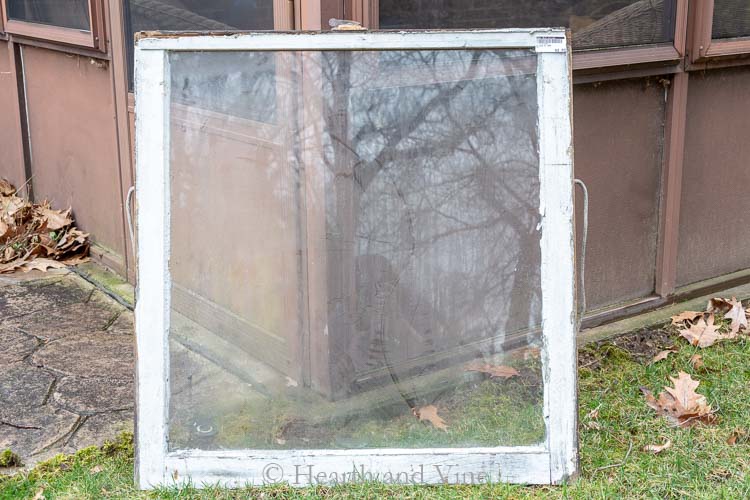
It all started with the thrifty find of an old window I purchased for $2.99. All it needed was a base to sit on.
The window measured 32.5 inches by 33.5 inches. So we picked up four, 12 feet long 1 1/4 inch x 6 inch treated lumber boards.
We also bought four 2x2x3 foot long posts for the corners, and one 2x2x42 inch angled deck rail to prop up the window.
Lastly, we bought a box of galvanized exterior framing nails and a set of utility hinges to adhere the window to the top of the box frame.
Building the Cold Frame Base
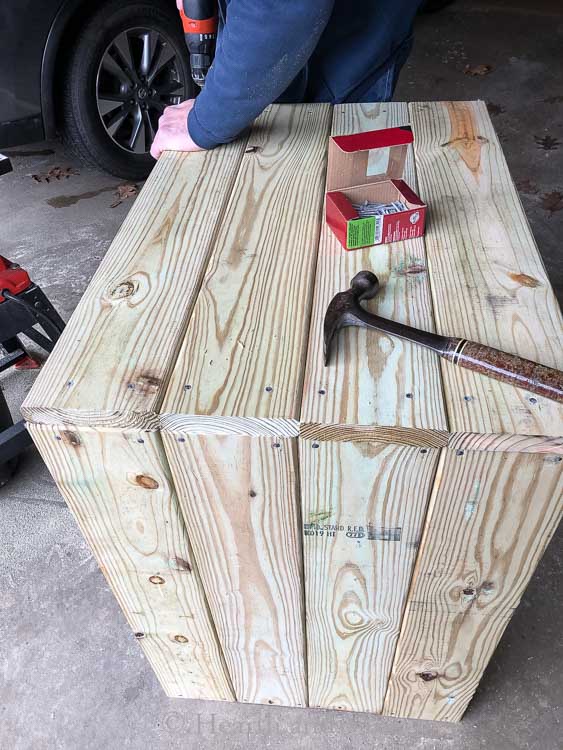
- Start by cutting your boards to fit the window. We used four boards for each side with the bottom open. Half of them (8 boards) should be approximately 2 inches longer to cover the sides.
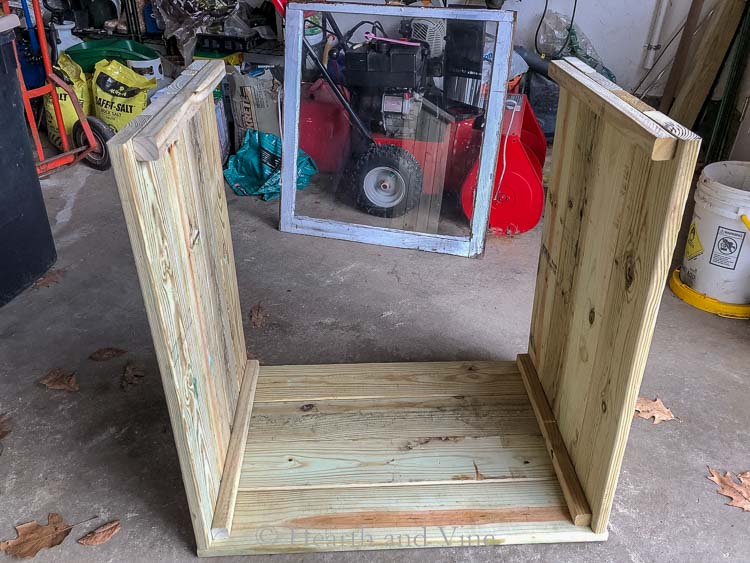
- Next, cut down the posts to fit in the corners. We cut ours down to 21 inches.
- Then lay down four of the shorter boards and nail one post to each end. Repeat with the other four shorter boards. These are the sides of the frame.
- Then nail four of the longer boards to the two sides you just made. Finish with the final four boards.
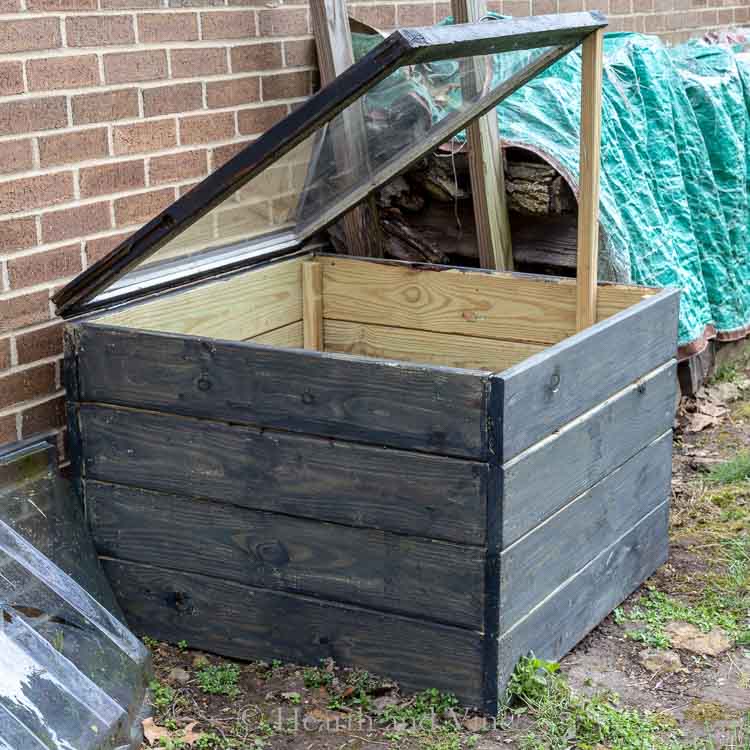
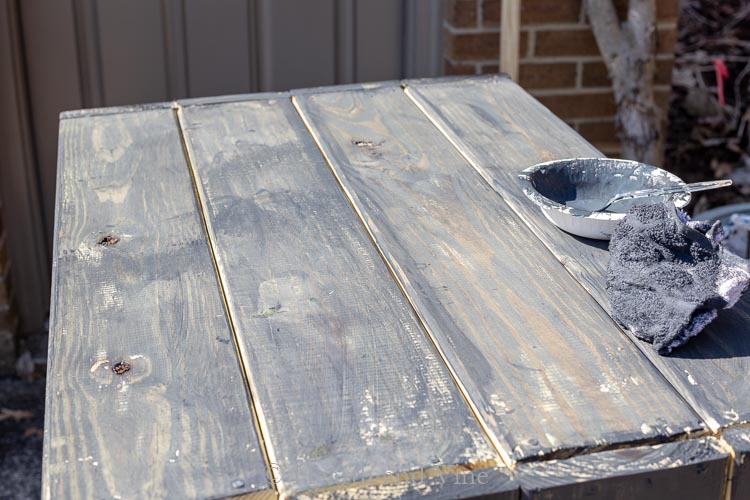
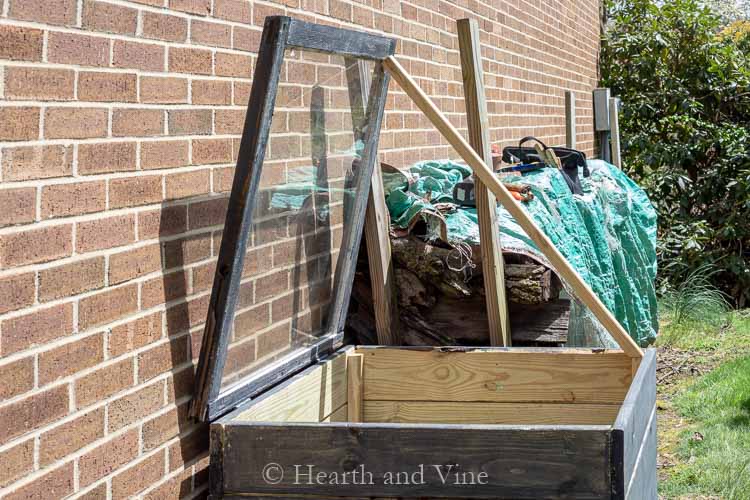
Once the frame was finished I decided to rub on a mixture of grey and blue paint to give the cold frame character. That raw wood just didn't look good to me. I also painted the window frame to match.
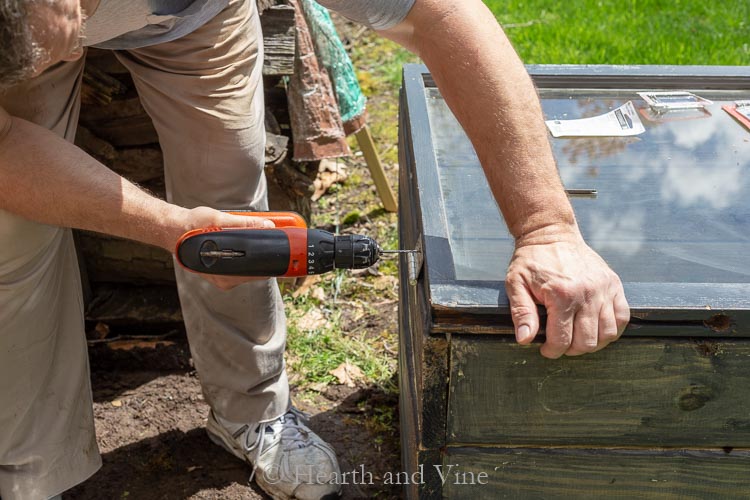
Next, the hinges were screwed on the back side attaching the window to the frame.
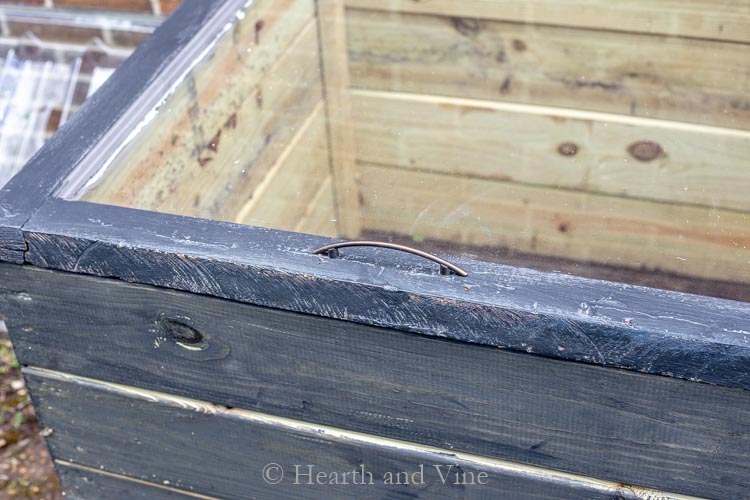
We also used an old cabinet pull from our kitchen refresh to use as a handle on the window.
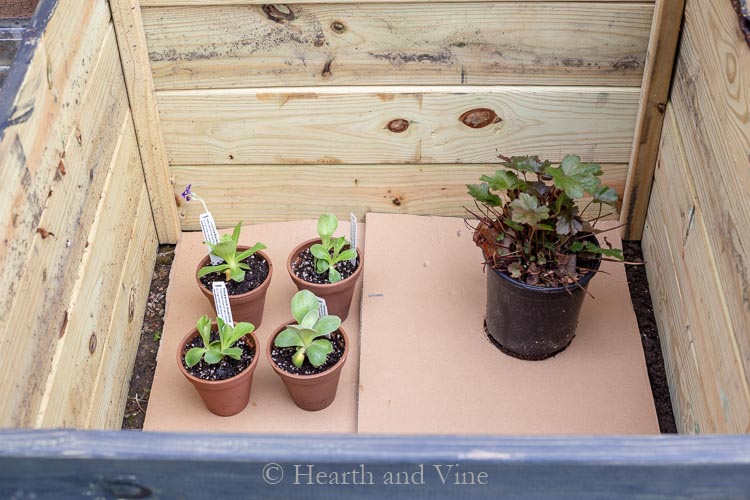
Even though the bottom is open to the ground, I decided to place some cardboard there to help smother any weed growth.
Now I have a great place to harden off transplants or a temporary home for divisions.
Come next year during late winter I hope to be able to grow some cold-loving vegetables like spinach or lettuce in this cold frame.
Here's a final look at the cold frame propped open. It fits perfectly on the side of our house and gets a good bit of sunlight in that area.
P.S. You may also like this DIY Wooden Plant Stand or this Rolling Wood Crate Plant Stand. You can find them and more on my Gardening Page.
Click Here to Save to Pinterest!
Let's see what the rest of the Thrifty Father's created:
- BIRD HOUSE MAKEOVER by Redhead Can Decorate
- HOW TO MAKE A COLD FRAME by Hearth & Vine
- DIY BARN DOORS by DIY Beautify
- OUR NEW HEADBOARD by 2 Bees in a Pod
- DIY HANGING LAMP FROM THRIFTY FINDS by Chatfield Court
- AFFORDABLE DIY SHIPLAP WALLS by The Creek Line House
- HOW TO BUILD A WALL MOUNTED PLATE RACK by I Should Be Mopping the Floor
- THE MAN BEHIND THE NAIL GUN by Duke Manor Farm
- THRIFTY DIY LADDER CHANDELIER by What Meegan Makes
- THRIFTY REBAR BARBED WIRE BIRD HOUSE by Bliss Ranch
- REFURBISHED WOODEN STOOL by Cottage at the Crossroads
- WOOD AMERICAN FLAG by The DIY Village
- INDUSTRIAL FARMHOUSE TOILET PAPER HOLDER by Salvaged Sister & Mister






laura janning
what a great idea. it's kinda like a mini greenhouse. Happy gardening!
Susan M
I love your cold frame! I’m hoping to get some old windows from my house replaced soon and will keep them for gardening projects like this. I never thought of using them to extend the end of gardening season. I’ve always used them to get a jump start the beginning. Thanks for the detailed tutorial!
Patti Estep
Thanks Susan. Free windows are even better. Maybe you can make a small greenhouse with them. That would be so nice for your cold winters.
Courtenay @ The Creek Line House
Well, this project has me feeling all kinds of inspired! 🙂 I don't know if I can live now without a cold frame or two so I can extend my gardening season. Another project to add to the list! Thanks so much for sharing this idea!
Meegan
What a great idea! I was very curious when I saw the title because I didn't know what a cold frame was. Thank for teaching me. It came out like perfection!
Jane
Patti, I think it was genius to find the window first and then build the bottom to fit! I'm thinking about how I could have fresh lettuce all winter with a cold frame! Tell your hubby he did GOOD!
Kristi Dominguez
This is such a great project idea, Patti! You and the mister did a fabulous job! I love that you repurposed an old window to make it! So clever! Happy Father's Day!
Jacque
I love this! I could really use something like this for some winter veggies! Pinning for later.
cindy
This is such a cool project Patti!
Vicki and Jenn 2 Bees in a Pod
Patti - you have just given us a big gardening education....we have never heard of a cold frame until now! This is such a great idea and we think it could stave off the deer too!
Carole West
Love this project and it turned out great. I Know you've been wanting one for awhile. I ended up with three in my garden and have kale in one right now.
Patti Estep
Thanks Carole. Right now I'm using it as a holding station for divisions and new plants I haven't had time to put in the ground. But, I am excited to try and grow cold loving veggies in the fall and early winter.
Bliss
I learned something new this month too... I had never heard of a cold frame before. That's probably because I just let everything freeze even if I don't intend too!
Patti Estep
Bliss, you are so handy I know you could make one of these and I bet it would be so much better looking than mine.