Learn how to dry orange slices in the oven for crafting and decorating. Then use the oranges to create beautiful home decor projects like the ones shown at the bottom of this post.
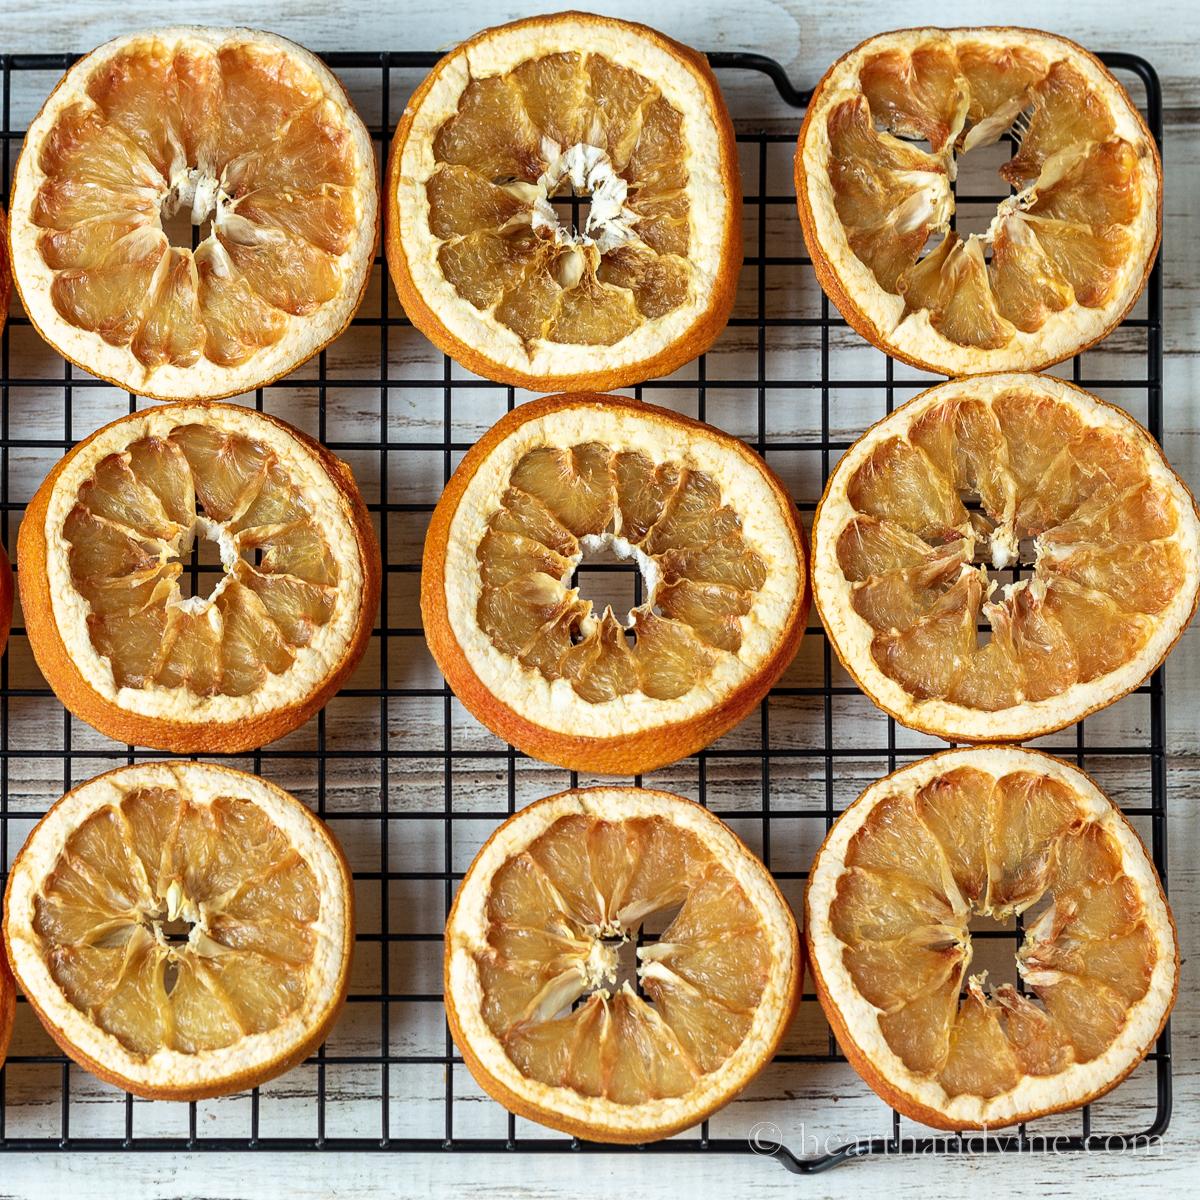
I have dried orange slices for a number of decorative projects. They are very easy to create and cost little. I like them for fall and Christmas decor but you may want to display them all year long.
Also, you don't need any fancy equipment like a dehydrator for this project. Just a standard oven.
This post contains some affiliate links (that means if you make a purchase after clicking a link, there’s no additional cost to you, but I will earn a very small commission. ) i.e. as an Amazon Associate, I earn from qualifying purchases. Click here to read my full disclosure policy.
How to Make Dried Orange Slices
It's best to use thick-skin snacking oranges such as Navel, or Cara Cara oranges. Thin-skinned oranges such as Valencia are best for juicing and don't dry as well.
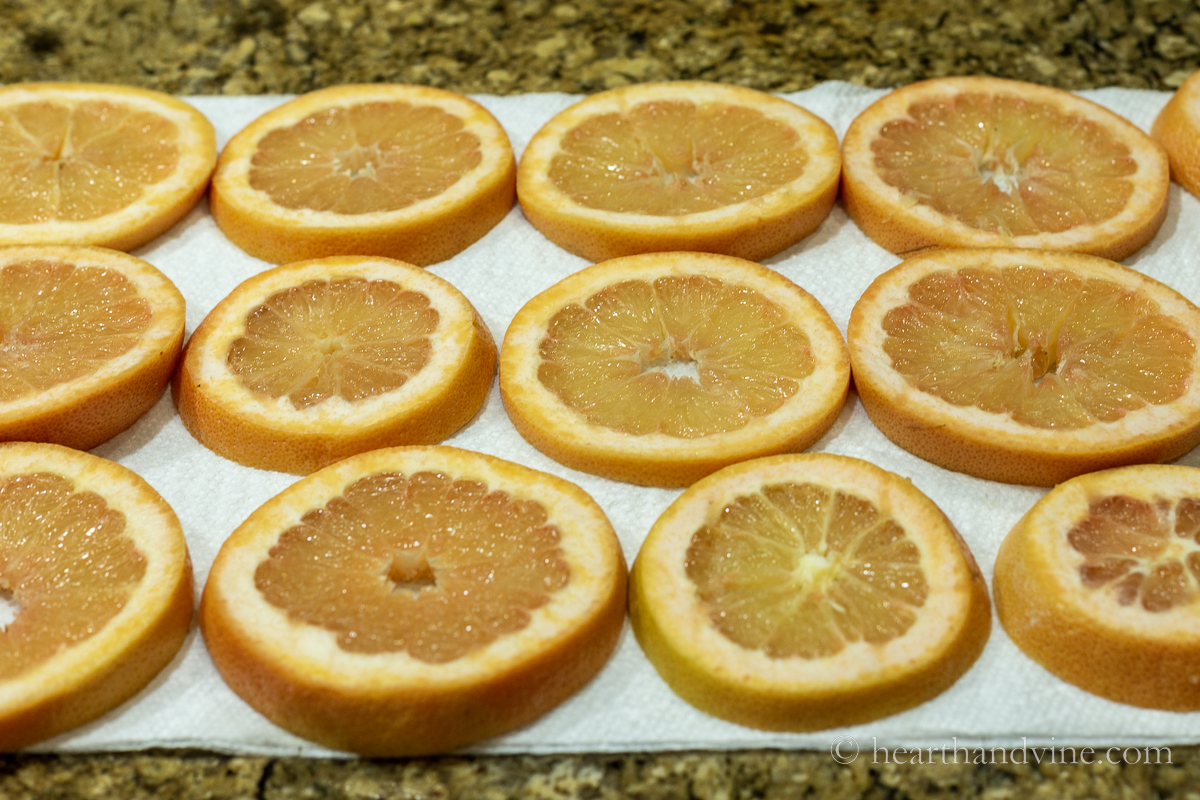
Start by using a sharp serrated knife or chef's knife to slice the oranges about 1/4 inch thick and place them on an absorbent kitchen towel or some paper towels.
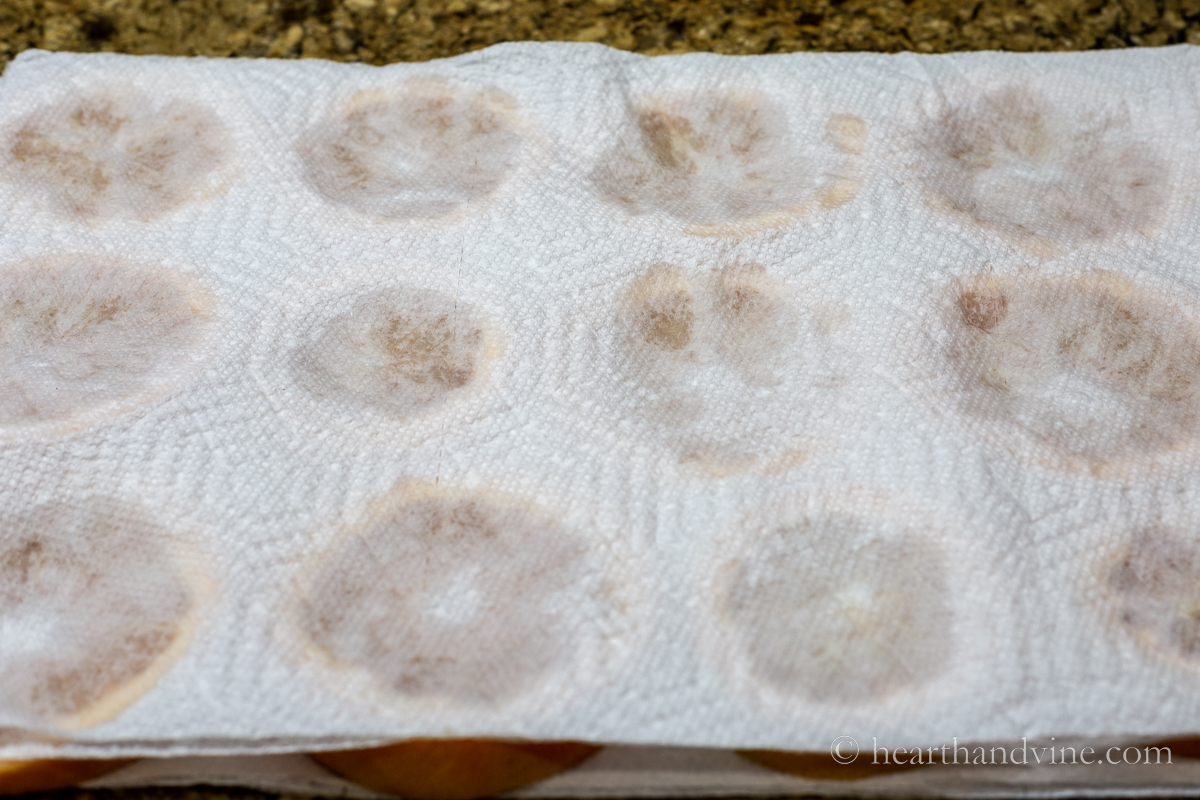
Add more paper towels on top and gently press out as much excess moisture or juice as you can.
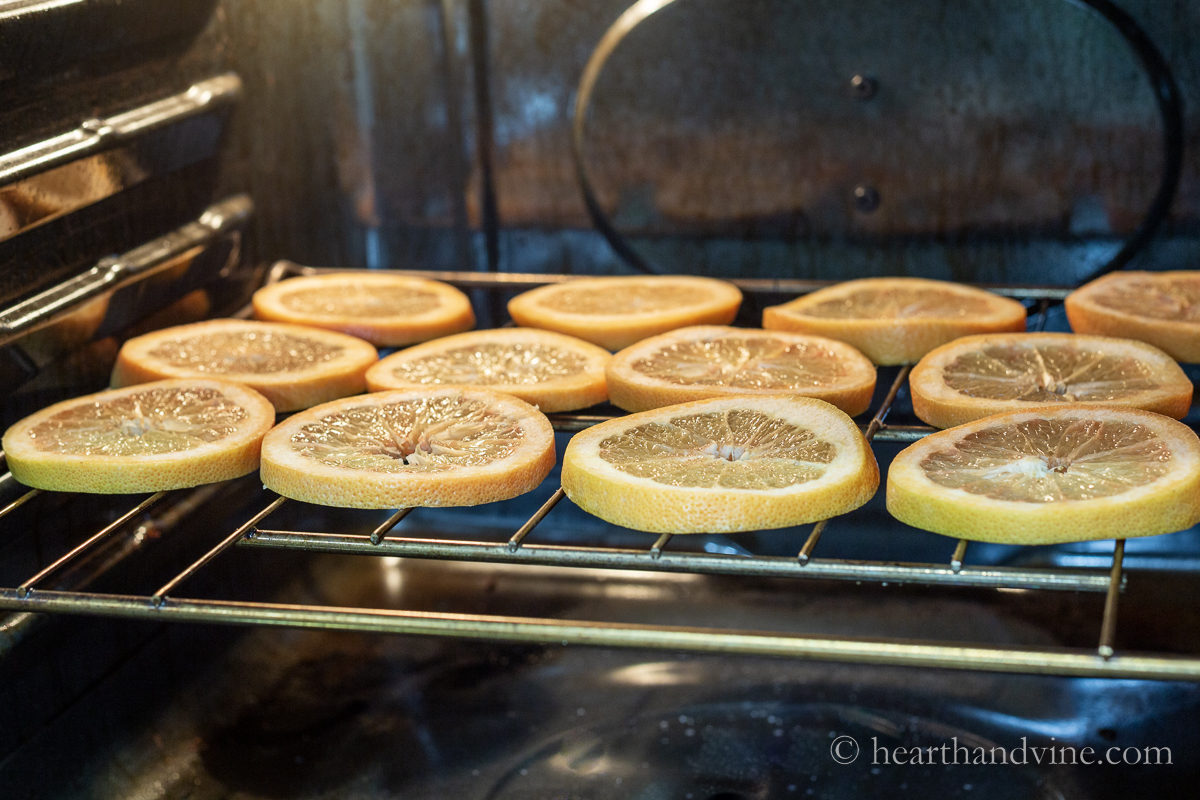
Next, place the oranges in a low-temperature oven, about 200 degrees. Place them in a single layer directly on the oven rack.
You can also buy a baking rack to set on your oven rack if you like. These are wire racks or trays that you can set on top of the oven racks. I like them better than cookie sheets, baking sheets, or any solid baking tray because the airflow allows them to dry on all sides.
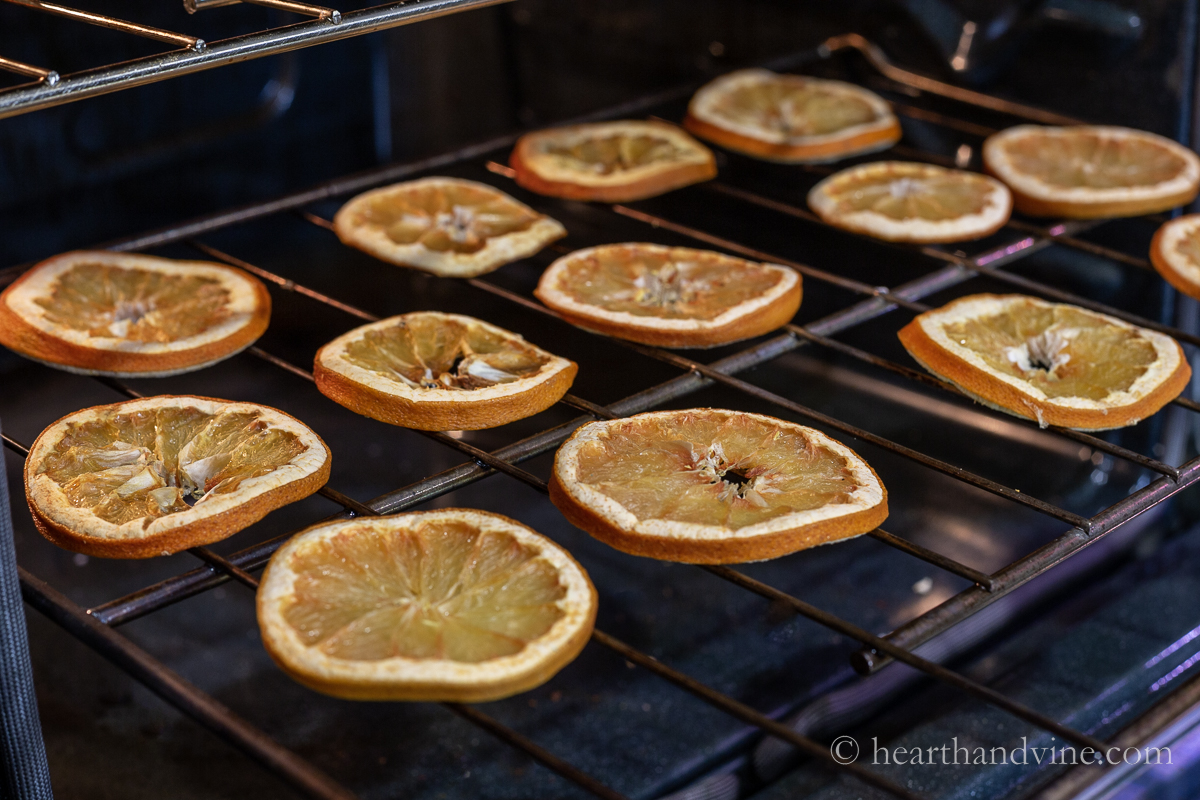
It usually takes my oven about 4 hours to dry the orange slices. I also turn them over every hour. If I leave them in any longer they start to look too dark. However, your oven may vary so just keep an eye on them.
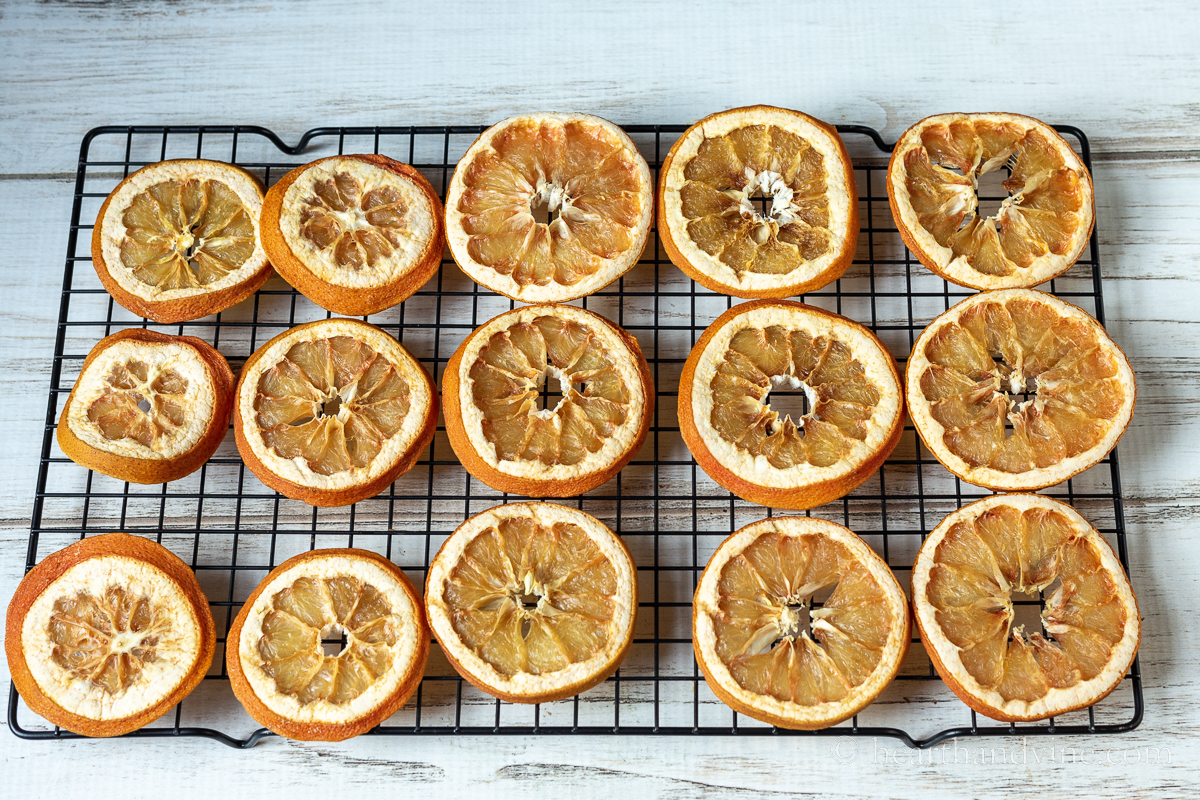
After you remove the dried orange slices you may want to allow them to dry out a little more. Just set them somewhere out of the way overnight. Once dry begin crafting or store them in an airtight container or mason jar.
Projects You Can Make with Dried Orange Slices
Here are just a few projects I've made with dried orange slices.
DIY Dried Orange Garland
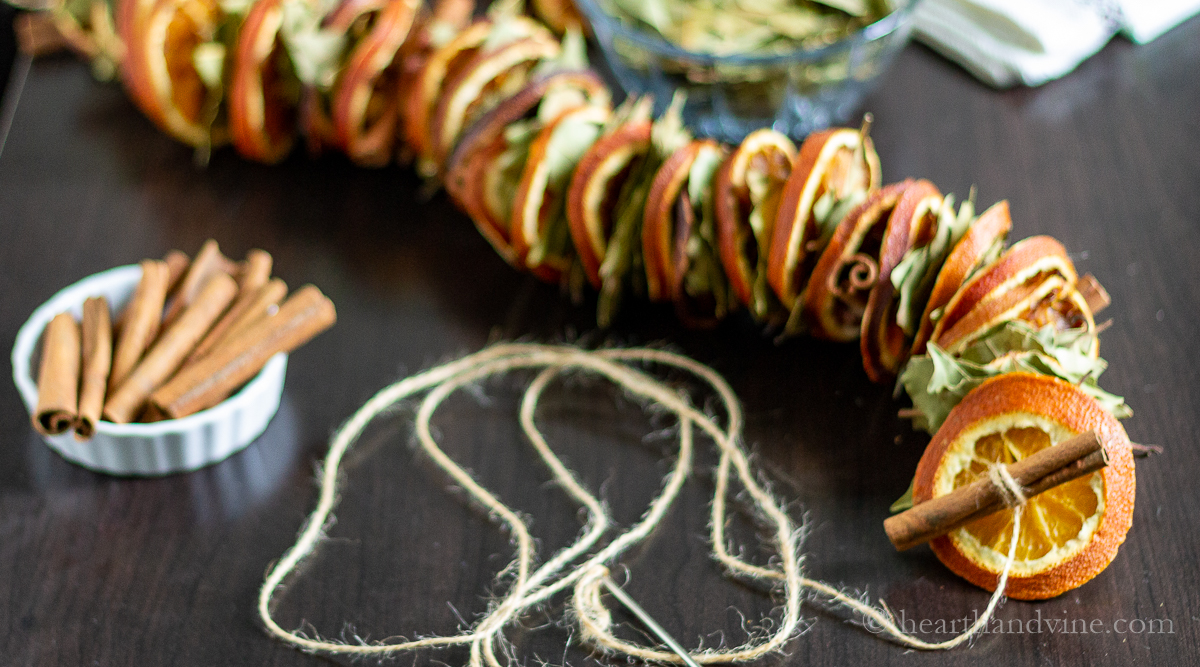
This is one of my first projects and has been pretty popular (see image above.) You can create whatever pattern you want with this combination of bay leaves, orange slices, cinnamon sticks, and twine.

DIY Dried Citrus Ornaments
This is a great one for your Christmas tree. Citrus fruits such as dried oranges, limes, and lemon slices are stacked together to create a natural ornament. A hole is drilled through the cinnamon sticks, and a piece of raffia is threaded through them all to hold them together.
You could also try other types of citrus such as blood oranges or grapefruit to make lovely dried citrus slices.
Dried Fruit Slice Wreath
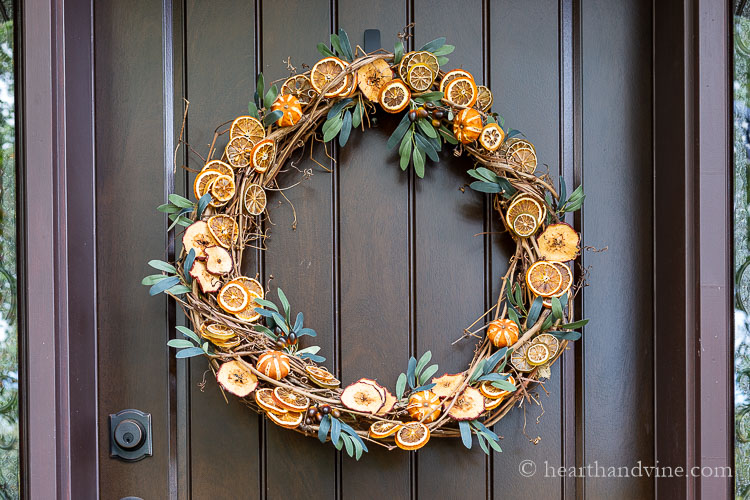
This one uses apple slices with oranges and whole clementines for a beautiful fall or Christmas wreath. A little faux green adds a nice contrast to the fruit.

There are more (listed below) and I'm sure you can come up with additional ideas to use these beautiful and natural dried orange slices. Display them in an antique bowl with some pine cones or something as simple as a tag or garnish for a gift bag as shown above.

More Natural Craft Ideas

How to Dry Orange Slices
Equipment
- Serrated or another sharp knife
- Paper towels or absorbent kitchen towels
- Oven safe baking rack (optional)
Materials
- Thick skinned oranges such as navel oranges
Instructions
- Slice oranges with a knife about 1/4 inch thick.
- Place them on kitchen towels or paper towels underneath and on top.
- Press down gently on the towels and blot up as much excess liquid as you can.
- Arrange the slices in a single layer directly on your oven racks or use an oven safe baking rack.
- Bake at a low temperature of around 200 degrees for 4 hours, turning them over every hour.
- Remove from the oven and let the oranges continue to dry out overnight.


Leave a Reply