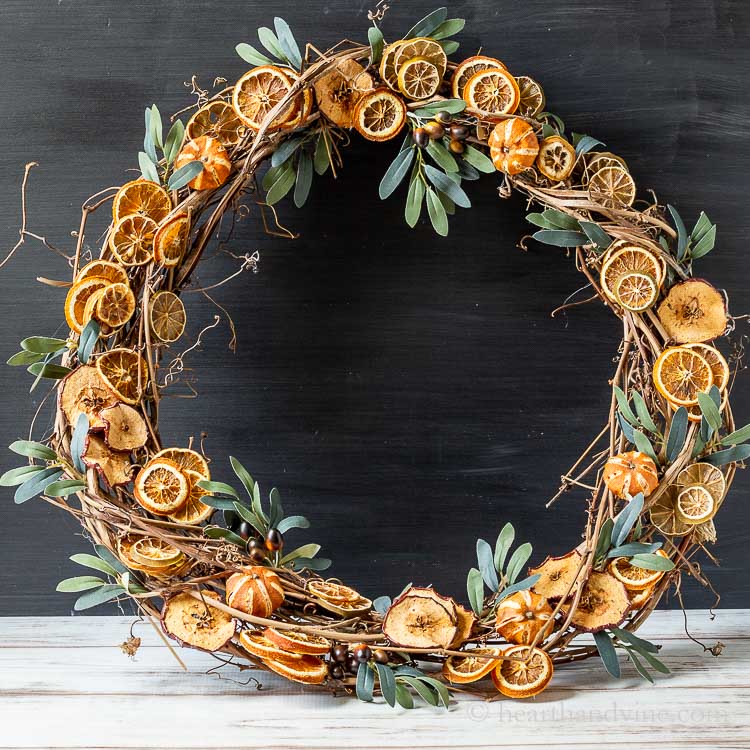
This natural dried fruit wreath is easy to make using homemade dried fruit slices and some faux greenery. A great addition to your fall, Christmas, or winter decor.
I've said it before but I'll say it again. Using the beauty of nature in your home decor is kind of a no brainer. You just can't fail when you are using natural elements.
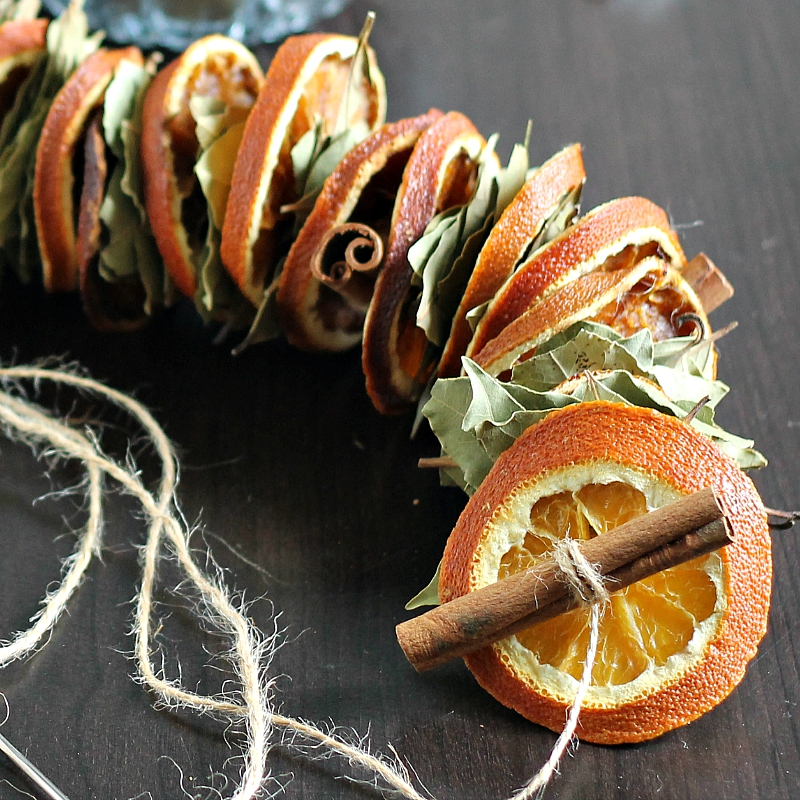
One of my most popular posts is this Dried Orange Botanical Garland. I've also made Dried Fruit Ornaments, and a Natural Dried Fruit Potpourri. So making a dried fruit wreath is probably inevitable.
How to Make a Natural Dried Fruit Wreath
Supplies
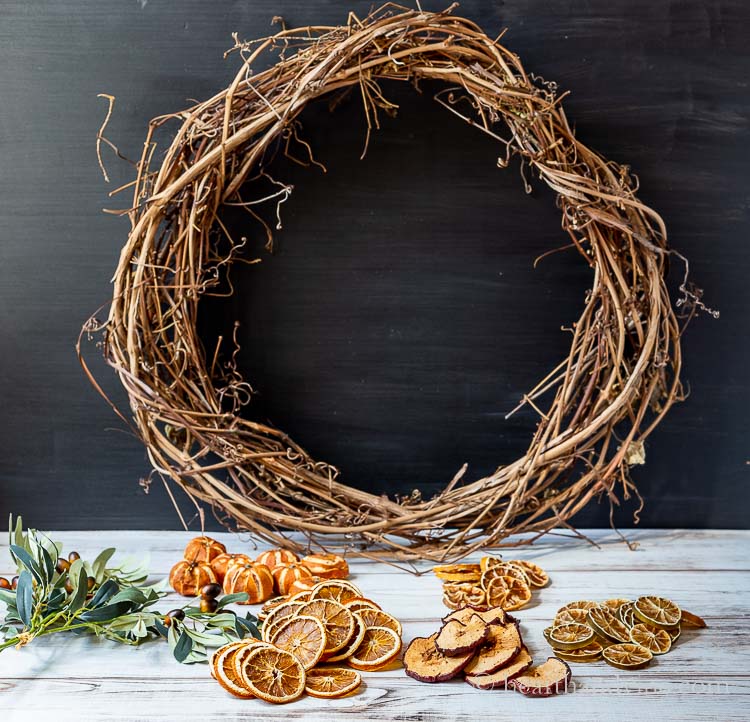
- Wreath base - I used a grapevine wreath made from vines in the yard.
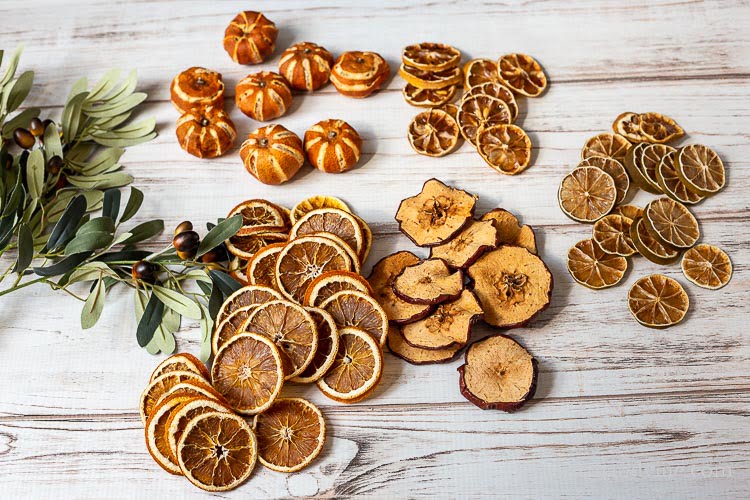
- Dried orange, lemon, lime, and apple slices (choose dark red apples for color)
- A little faux greenery if you like
- Glue gun and glue sticks
How to Dry Fruit Slices for Wreaths, Garlands or Potpourri
- Slice the fruit thin about 1/4 inch.
- Use paper towels or a cloth to blot up as much juice as you can.
- Place them directly on the oven grate or on an oven safe cooling rack in a low heated oven. Somewhere around 150 - 200 degrees Fahrenheit.
- Flip the fruit slices about every 30 minutes until they feel and look dry. It will probably take about 2 hours depending on your oven and the fruit.
- Remove the slices and place them somewhere cool and away from light to continue to dry overnight and the next day or so.
You can also try drying whole small fruit like the clementines shown above. They are a little more tricky and take some time but are beautiful. Using a garnishing tool peel away some of the rind for decoration, allow them to dry on a grate or basket where they will get good airflow all around. You can read more about them in my Dried Citrus Ornaments post.
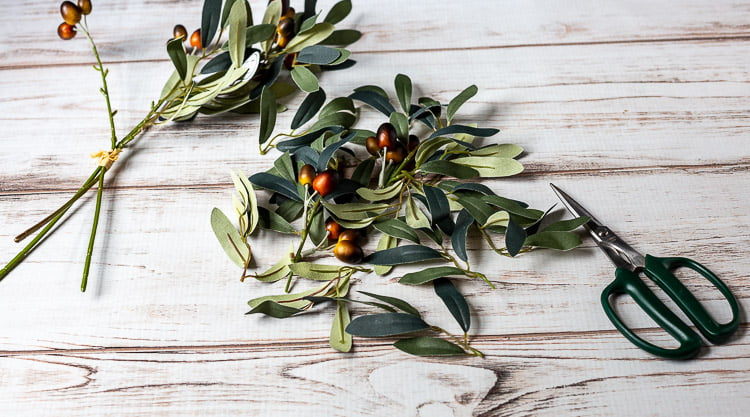
Adding Greenery
I decided that the wreath needed a little greenery so I bought a couple of bunches of faux olive branches and cut them up into smaller sections to use in the wreath.

One thing I did before gluing the fruit to the wreath was to stack some slices and glue them together to make larger pieces.
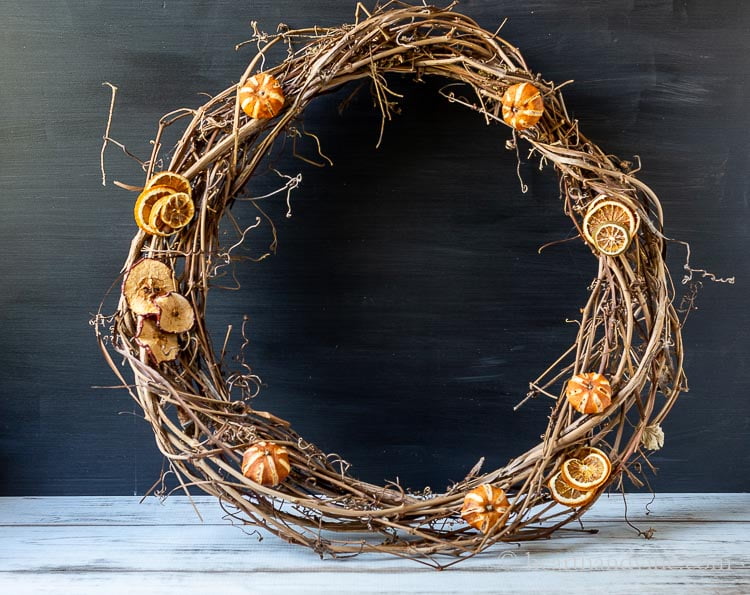
As with most arrangements. I like to start with the larger pieces first.
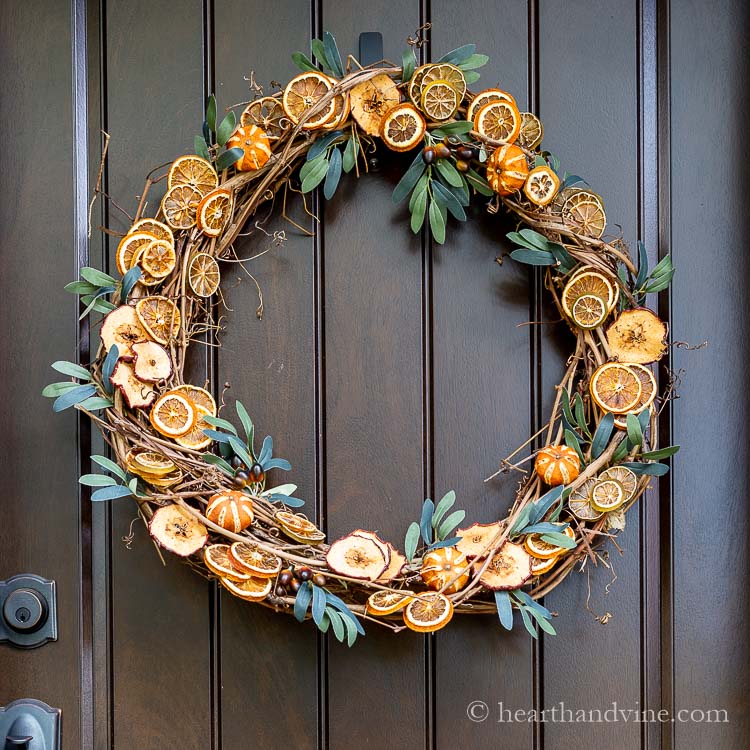
Making a Natural Dried Fruit Wreath
- Add the stacked dried fruit slices and whole oranges first.
- Vary the fruit types as you go.
- Stand back and look at the wreath to see where there are holes or spots you want to add more fruit.
- Add some single fruit slices to fill in.
- Finally, tuck in the pieces of greenery inside and behind the fruit.
Can You Hang a Dried Fruit Wreath Outside?
To be honest, I feel better keeping the wreath indoors. My other dried fruit projects have kept well for a long time stored properly after the holidays. In theory, it should be okay. Especially if your front door is covered and protected from the elements. You could also use a matte spray polyurethane to protect the wreath. However, I would be concerned about pests and animals being attracted to the scent of the fruit and possibly ruining it.

A beautiful natural dried fruit wreath is easy to create. It makes me think of Della Robbia wreaths and my Winter Wreath where I used fresh and artificial materials. Great for your holiday decor. Use it as a Christmas wreath and afterward consider keeping up for the entire next year.
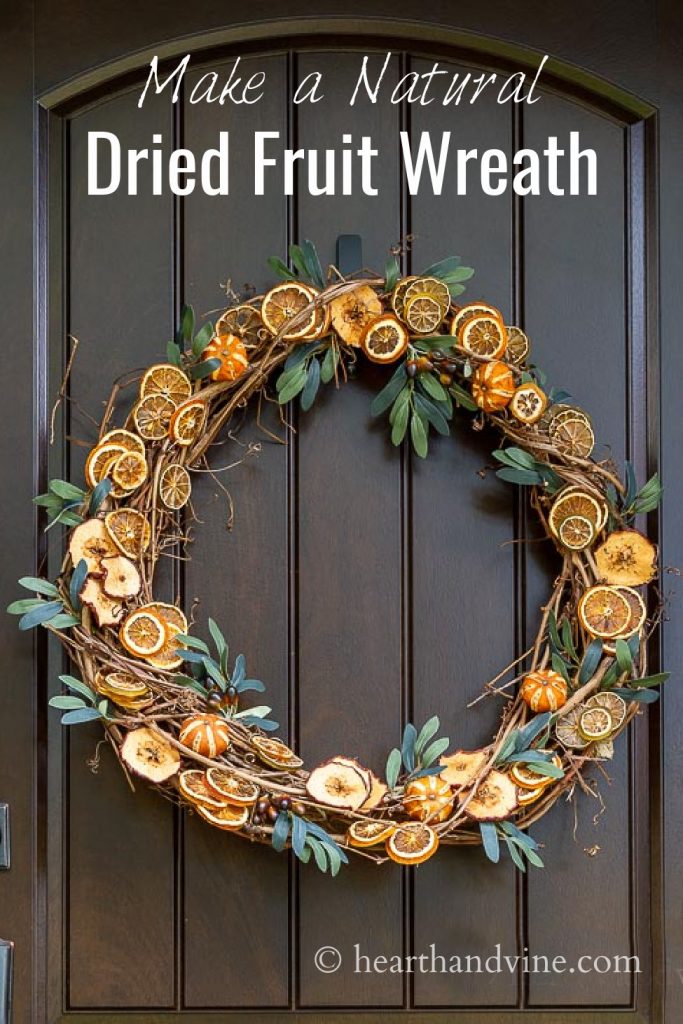
How to Make a Fragrant Natural Dried Fruit Wreath
Equipment
- Glue gun and glue sticks
Materials
- Wreath base
- Dried orange lemon, lime, and apple slices
- A little faux greenery if you like
Instructions
- Slice the fruit thin about 1/4 inch.
- Use paper towels or a cloth to blot up as much juice as you can.
- Place them directly on the oven grate or on an oven safe cooling rack in a low heated oven.
- Flip the fruit slices about every 30 minutes until they feel and look dry. It will probably take about 2 hours.
- Remove the slices and place them somewhere cool to continue to dry overnight and the next day or so.


Paulette Ridley
I love this beautiful wreath. My sister use to make the small dried apple wreaths years ago. It has always been a favorite. Yours is especially pretty with variety of fruit and touch of greenery. I am looking forward to your blog.
Patti Estep
Thank you Paulette. I'm so glad you like it.