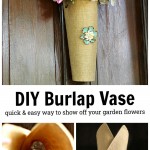

Learn how to make a simple burlap hanging burlap flower vase from a placemat. The process is easy, affordable, and a great way to show off all of your beautiful garden flowers.

Sometimes it seems like my plants are growing so fast. I'm afraid I'll blink and miss the show. This is especially true for peonies, lilacs, and other lovely sweet smelling plants that bloom in the spring. One day they are here, and the next, they're done blooming.
The burlap craze is still going strong. At least I still like it. I thought about making one of those super cute burlap wreaths that are made from a wire wreath and burlap ribbon that you weave in and out. Then I wondered how I could combine some of these lovely fresh flowers with burlap. Something like a wreath with a vase.
Hanging Burlap Flower Vase
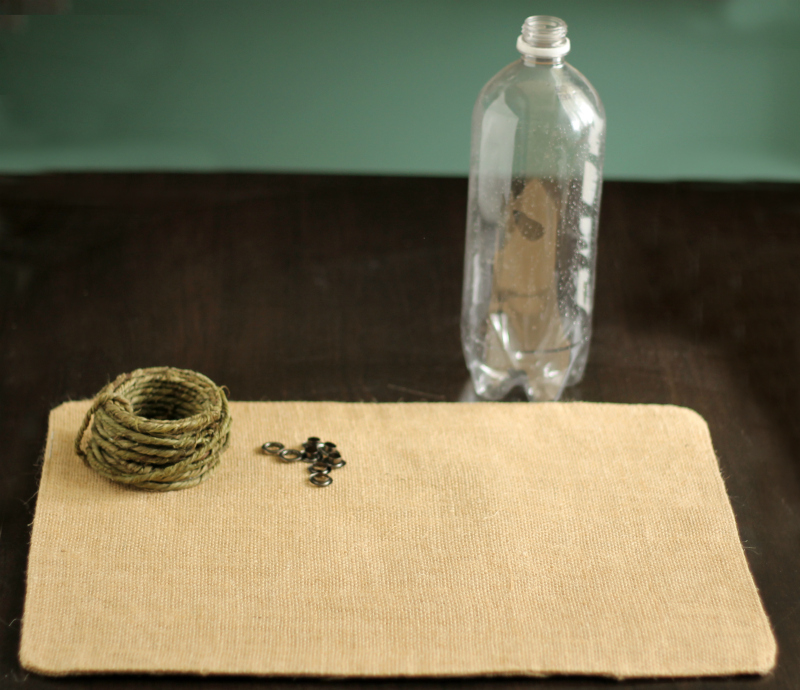
Supplies
- 1 standard burlap placemat
- 1 empty plastic liter bottle
- 2 small grommets
- 1 wire for hanging
- 1 extra-large safety pin
- Candle pin or brooch (optional)
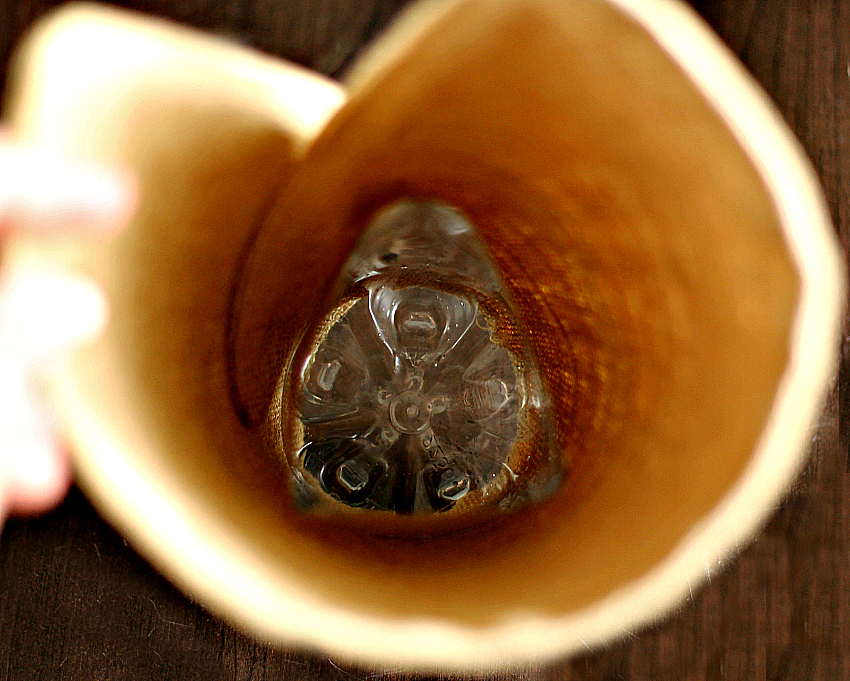
- First cut the top off a 1 liter plastic bottle. This will act as an insert to hold water and the flowers.
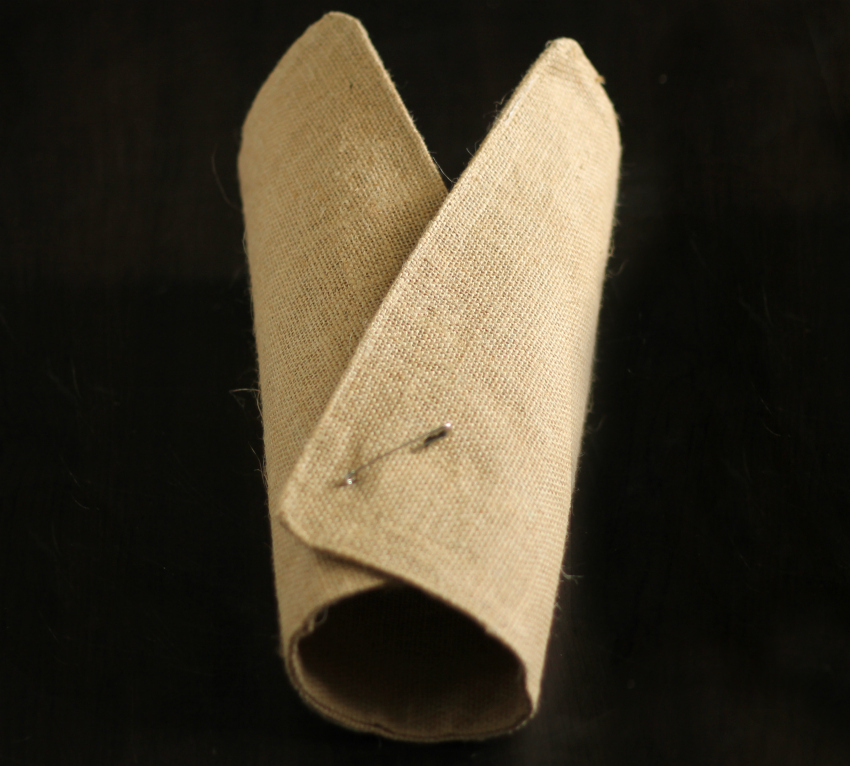
2. Fold the placemat around the bottle to ensure a snug fit.
3. Use a safety pin to hold it in place. It will be on the back where no one will see it. You could try hot glue if you don't like the idea of a safety pin.
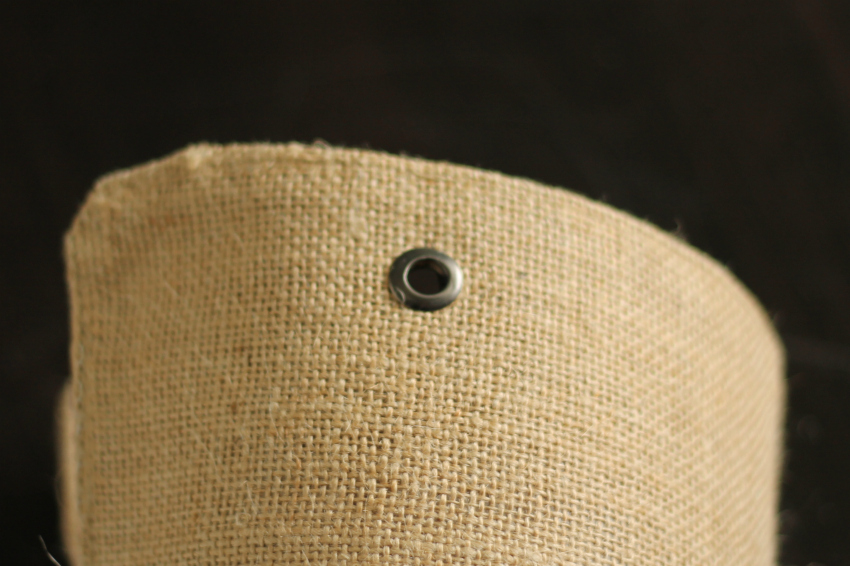
4. Next add some grommets at the top of the placemat, one on each side to hold the wire.
5. Then feed the wire through the grommets and twist the ends back on itself to create a secure hanger.
6. Now you can add water to the plastic bottle, about 2/3 full.
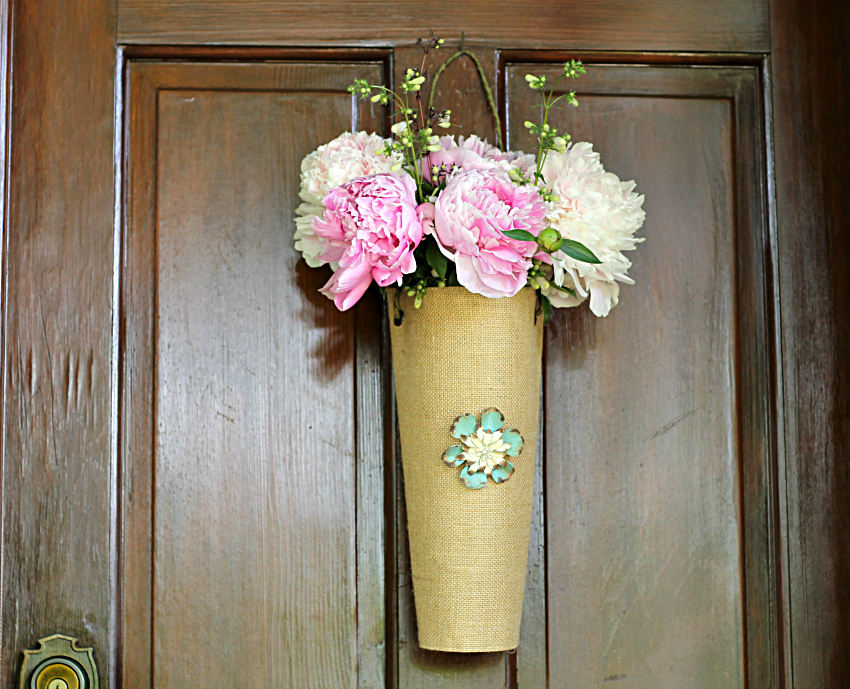
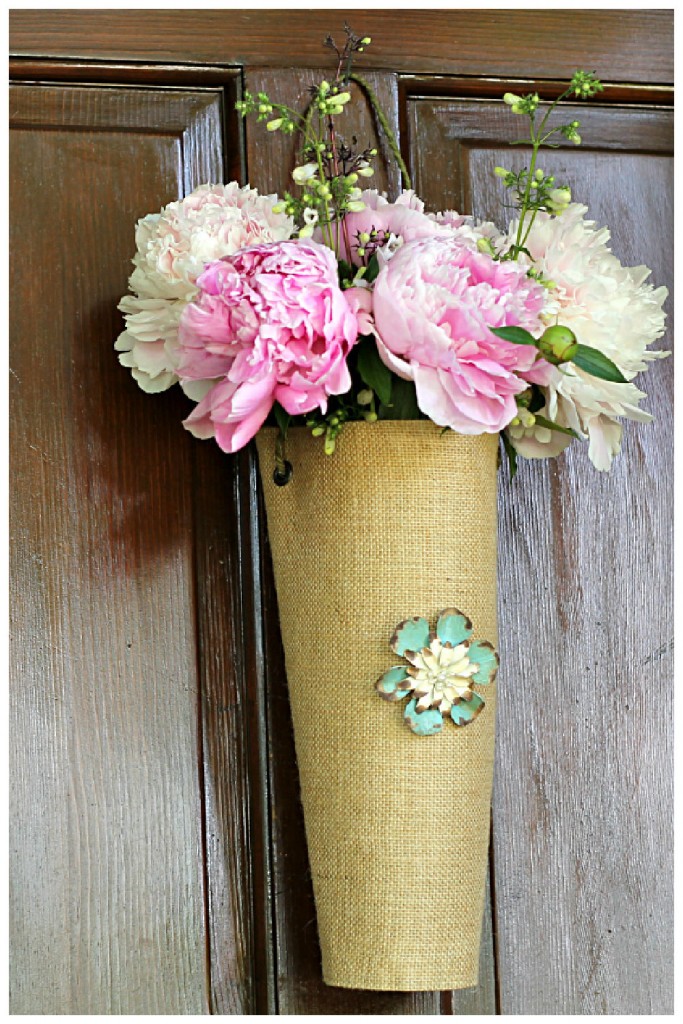
7. Place it in the burlap vase and hang. Then arrange your flowers inside.
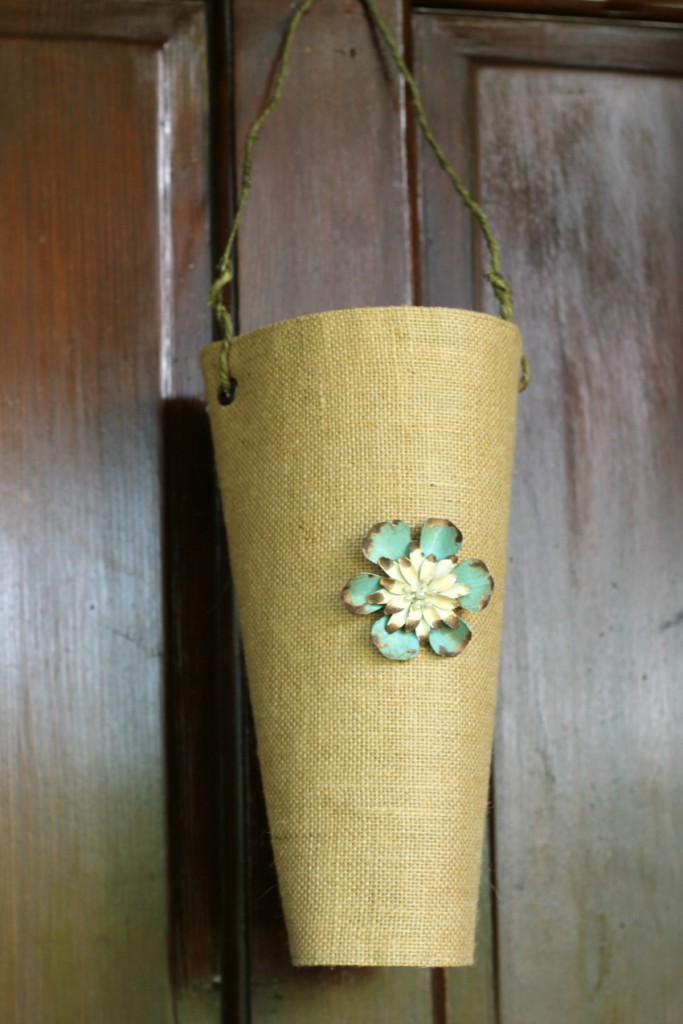
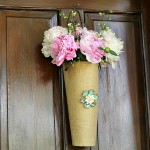
Add an antique brooch or something like this candle pin for extra charm. Or, let it plain. The flowers are really the stars of this show.
I love this hanging burlap flower vase. It looks great with these fragrant peonies greeting me, and everyone who comes to our door.
More Flower Vase Projects
Hanging Burlap Flower Vase
Equipment
- Grommet tool
- Scissors
Materials
- 1 standard burlap placemat
- 1 empty plastic liter bottle
- 2 small grommets
- 1 wire for hanging
- 1 extra-large safety pin
- Candle pin or brooch optional
Instructions
- First cut the top off a 1-liter plastic bottle. This will act as an insert to hold water and the flowers.
- Fold the placemat around the bottle to ensure a snug fit.
- Use a safety pin to hold it in place. It will be on the back where no one will see it. You could try hot glue if you don't like the idea of a safety pin.
- Add grommets at the top of the placemat, one on each side to hold the wire.
- Feed the wire through the grommets and twist the ends back on themselves to create a secure hanger.
- Add water to the plastic bottle, about 2/3 full.
- Place it in the burlap vase and hang.
- Arrange flowers inside and enjoy.
Patti
Love this! Thank you!
Donna Harvey
What a cute Idea. Everyone puts wreaths on their doors (me include, da) so this is really different and cute. I'll have to add silk flowers, as mine are not up yet. Now all a need is the grommet tool.
Patti Estep
Hi Donna,
I'm so glad you like this simple hanging vase idea. I did not use a grommet tool for this. Just poke a hole and place the raised grommet part through, from the outside of the fabric which will show on the final piece. Place it on a piece of scrap wood or some hard surface that you aren't worried about ruining. Then add the top flatter grommet piece on top and use a rubber mallet or a tap hammer to close it up.
I bought the grommets at Hobby Lobby but I bet you could find them at any place that sells sewing/crafts.
Your flowers will be out before you know it, in the meanwhile even a few branches from a flowering tree would look great.
Have a great week and thanks for stopping by,
Patti
Carole
I like this -reminds me of a May Day Basket. I need something new near the front door this might be a good option and I could probably find a place mat at the second hand store. Another great idea sweet friend! Thanks for the inspiration..
Patti Estep
Hi Carole,
Yeah this is a simple one but you know, sometimes they are the best. It's a good way to show off your flowers and decorate your front door at the same time.
Have a great week,
Patti
Lisa
Love this Patti! We need to take an antique / thrift shop run soon. This would be a fun way to use old costume jewelry (single clip on earrings are cheap)!
Patti
Definitely, and soon!!