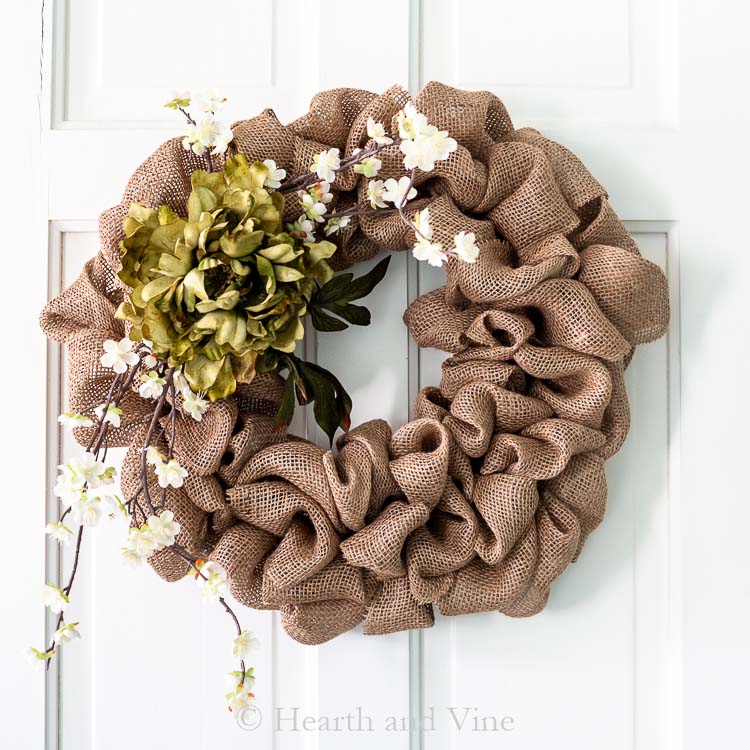
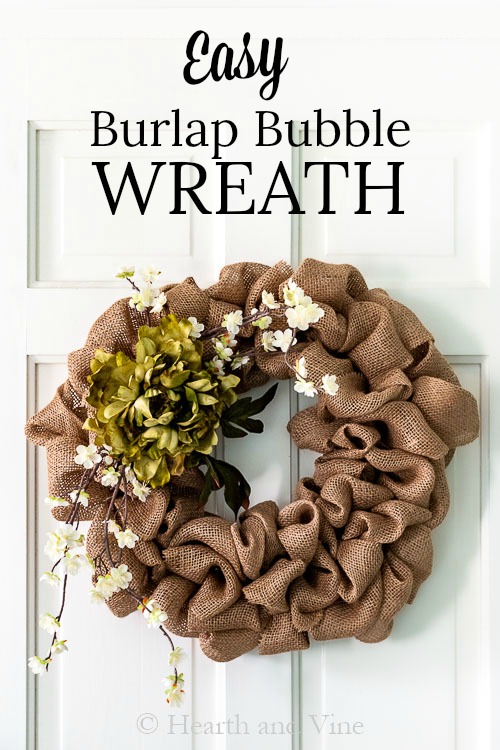
Learn how to make a burlap wreath with pretty flowers for spring or summer. This tutorial is very easy and can be completed in about 20 minutes.
Several years ago when I first started blogging using burlap was pretty popular in home decor and other DIY crafting. I created a fun herb garden in a burlap sack and an easy burlap hanging flower vase. And today, I'm sharing an easy burlap bubble wreath that I can make with my girlfriends on our annual weekend getaway.
This post contains some affiliate links (that means if you make a purchase after clicking a link, there's no additional cost to you, but I will earn a very small commission. ) i.e. as an Amazon Associate, I earn from qualifying purchases. Click here to read my full disclosure policy.
How to Make a Burlap Wreath
Supplies
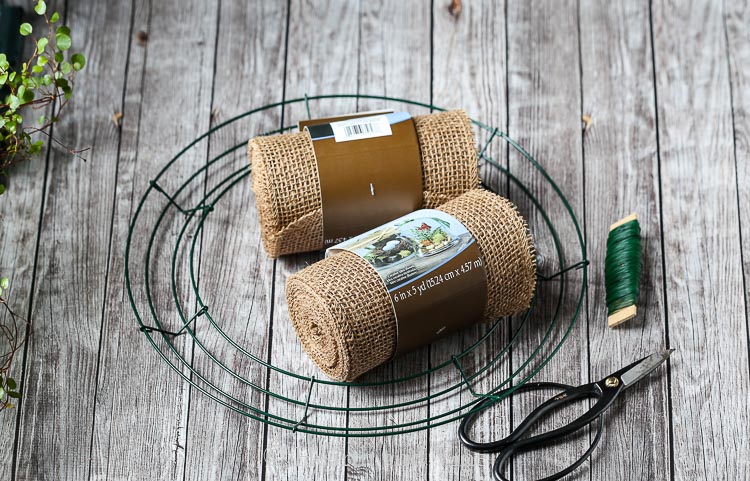
14-inch metal wreath frame
15 yards of 6-inch burlap ribbon
Floral wire or twist ties
Artificial flowers
Hot glue gun and glue
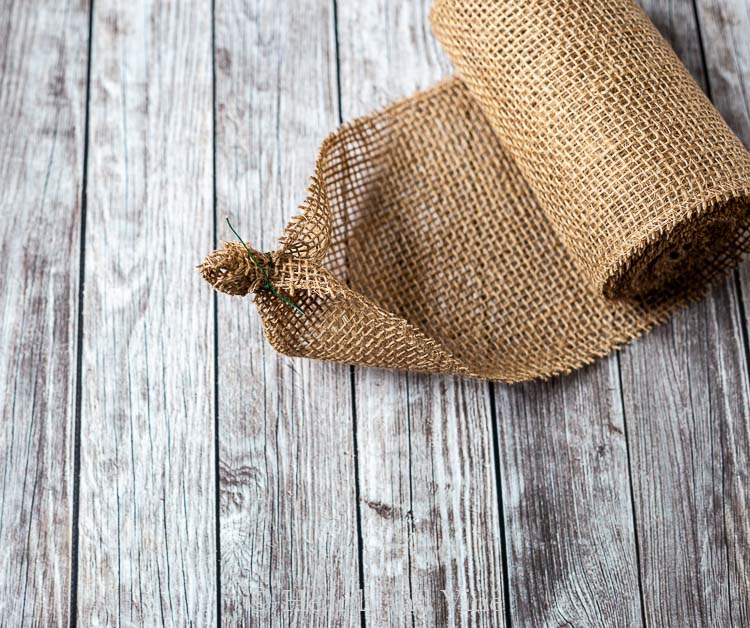
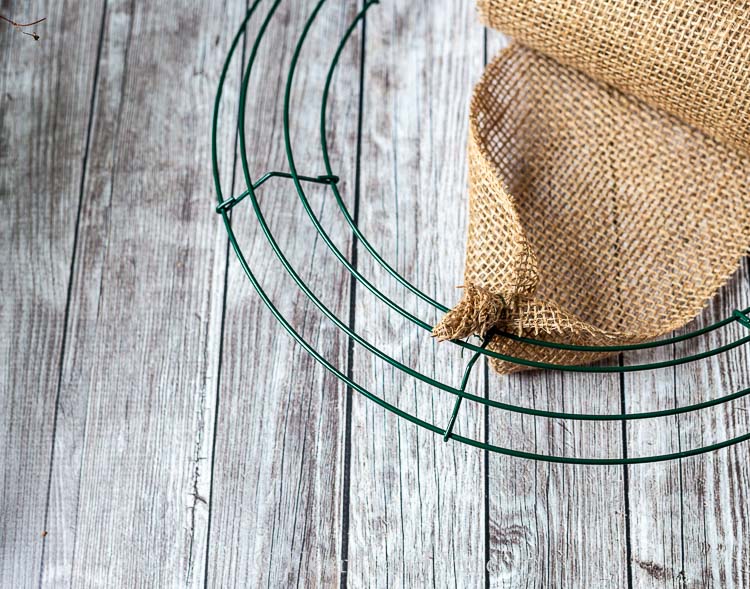
Start by gathering the end of the ribbon and wrap some wire around it.
Then attach the wire to the wreath at the bottom of one of the cross bars.
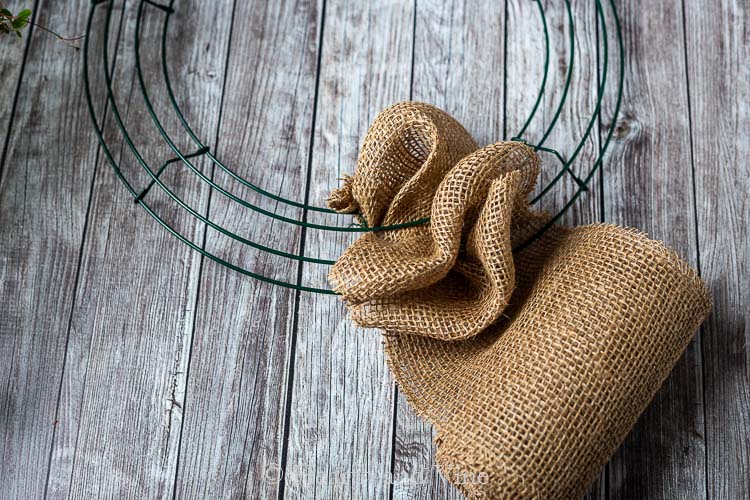
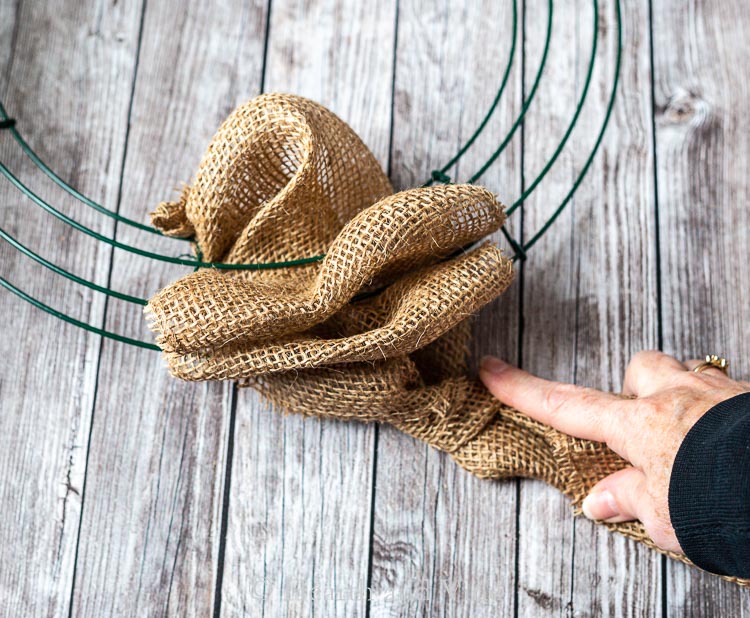
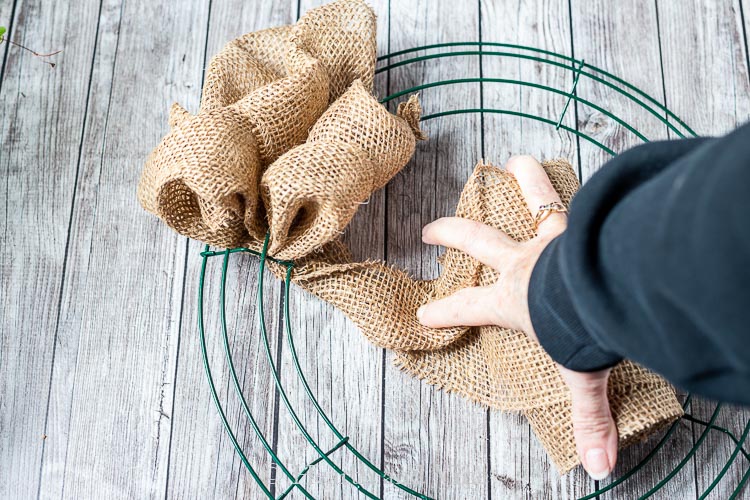
Begin pushing some of the ribbon up through the first opening at the bottom, between the wires on the frame, creating a loop or bubble a few inches above the frame. Repeat through the middle and top openings.
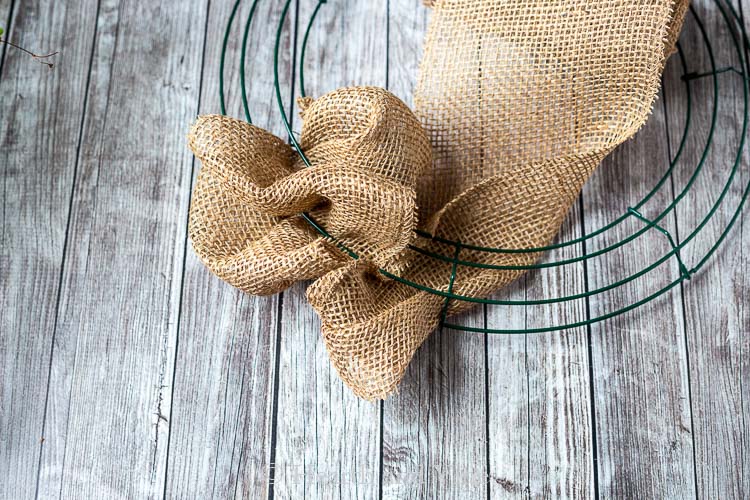
Next, twist the ribbon and then push a loop through the top opening either to the left or right of the first set of loops.
Then continue pushing ribbon through the middle opening and then the bottom inner opening creating a second row.
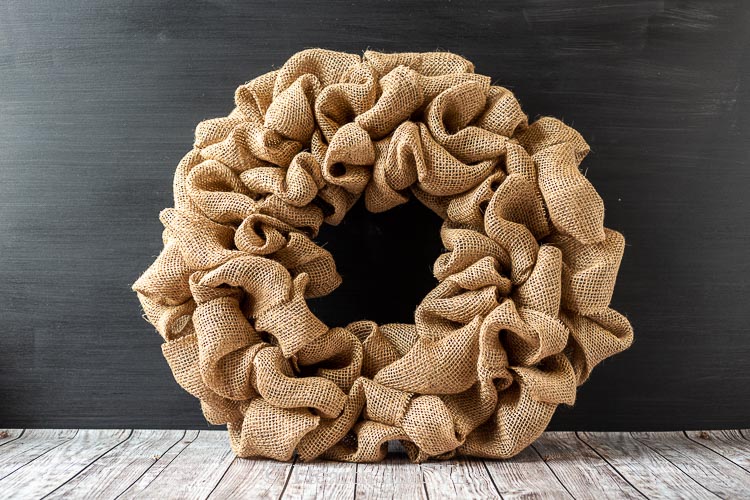
Once you have completed the second row, twist the ribbon again and repeat the same action for the next row, twisting the ribbon at the top or bottom, before starting again on a new row.
You can scrunch or push the loops to the side as you go along making the wreath as tight as you like.
When you run out of ribbon, use some wire to tie it to the closest wire on the frame and continue with a new roll of ribbon.
Decorating the Burlap Wreath
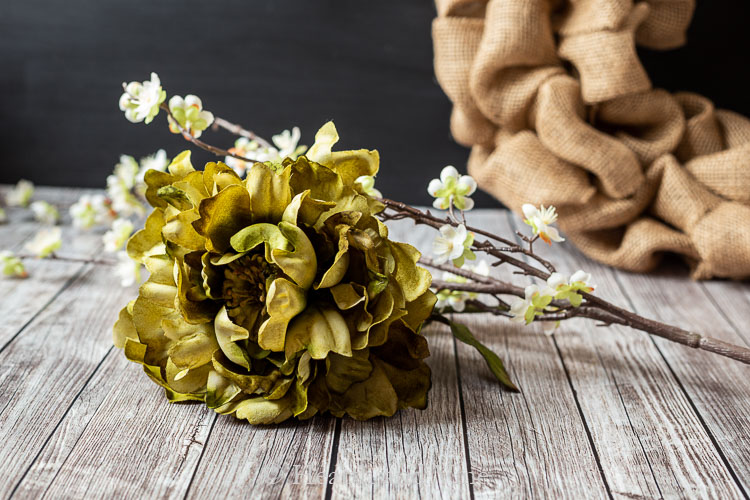
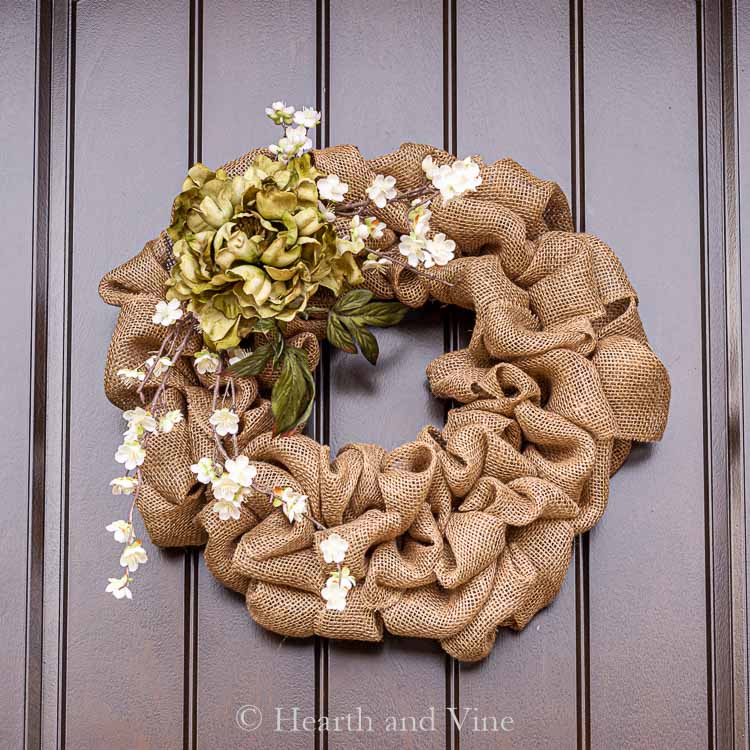
A nice large silk flower with some smaller branches of complementary flowers makes a nice adornment for this wreath. Just cut the branches up and lay them under the larger flower and hot glue them all into place.
The open wire frame construction makes it easy to hang this wreath on any door hanger or nail
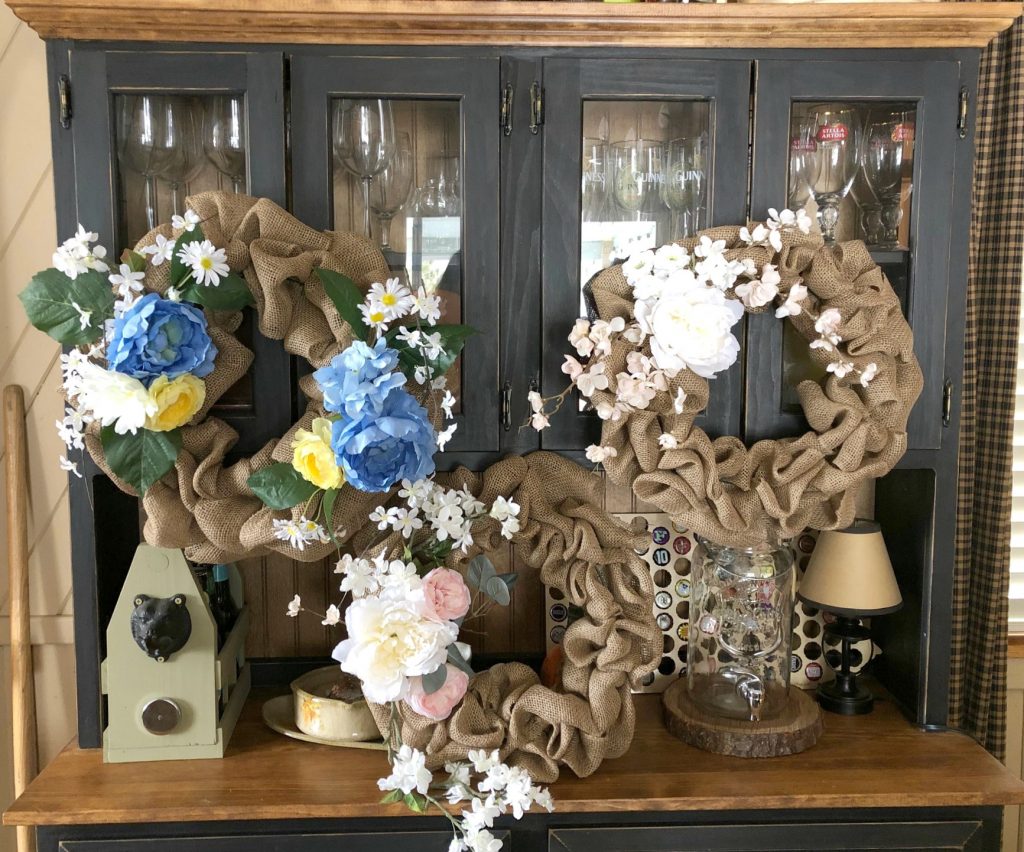
Here's a shot of my friends' completed wreaths.
Once you get started this project goes very quickly, making this a great project to create with others.
Click Here to Save to Pinterest!
How to Make a Burlap Wreath
Equipment
- Scissors
- Glue gun
Materials
- 14 inch metal wreath frame
- 15 yards of 6-inch burlap ribbon
- Floral wire or twist ties
- Artificial flowers
- Hot glue gun and glue
Instructions
- Gather the end of the ribbon and wrap some wire around it.
- Tie the wire to the wreath at one of the cross bars.
- Begin pushing some of the ribbon up through the first opening at the bottom, between the wires on the frame, creating a loop or bubble a few inches above the frame.
- Repeat through the middle and top openings.
- Next, twist the ribbon and then push a loop through the top opening either to the left or right of the first set of loops. Then continue to push the ribbon through the middle opening and then the bottom inner opening.
- Twist the ribbon again and repeat the same action for the next row, twisting the ribbon at the top or bottom, before starting the next row.
- You can scrunch the loops together as you go along making the wreath as tight as you want to.
- When you run out of ribbon, use some wire to tie it to the closest wire on the frame and continue with a new roll of ribbon.
- Once you have completed the wreath with wire add some flowers to the front with hot glue and hang in your favorite spot.




Sue Shafer
Going to make one next week. Thanks for the great tutorial.
Patti Estep
You are so welcome Sue. We had a great time making them and I just might leave mine up until fall.
Carole West
I love this and still use burlap. Mostly in the garden but also for decorating because I like the natural vibe. Great presentation and the flowers you chose - perfectly placed and simple. Definitely a fun activity to do with friends.
Patti Estep
Thanks Carole. We had fun making them.