Learn how to make a beautiful leaf embossed concrete fountain that also doubles as a bird bath. A pretty and functional piece for the garden.
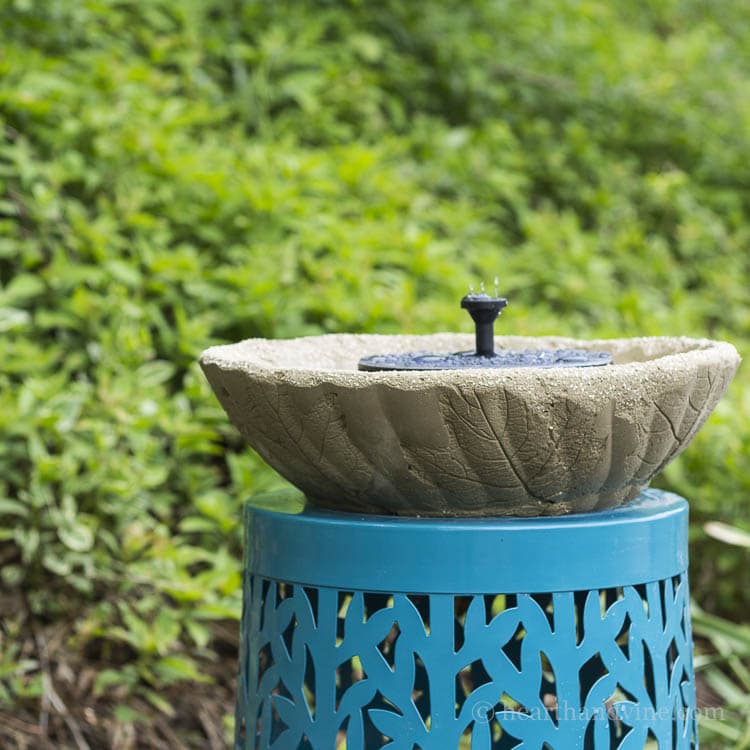
The concrete bird bath that we had on our hillside fell over and broke. So this week's Tuesdays in the Garden theme, DIY Garden Decor or any DIY How To Garden post, gave me the perfect excuse to create a new one. I wanted to make a leaf embossed concrete fountain that the birds could enjoy too.
Leaf Embossed Concrete Fountain or Bird Bath
Originally I was thinking about using mortar for the project, but then I remembered the product my cousin Michael shared with me called Makers Mix Concrete. I used it to make small concrete planters last summer, and it was great. Much more lightweight than regular concrete. I reached out and asked him what he thought about making a leaf embossed concrete fountain out of Makers Mix. Not only did he love the idea but he also shared their metal leaf adhesive for the leaves with me. This adhesive acts as a sticker, and helps them stay in place during the molding process.
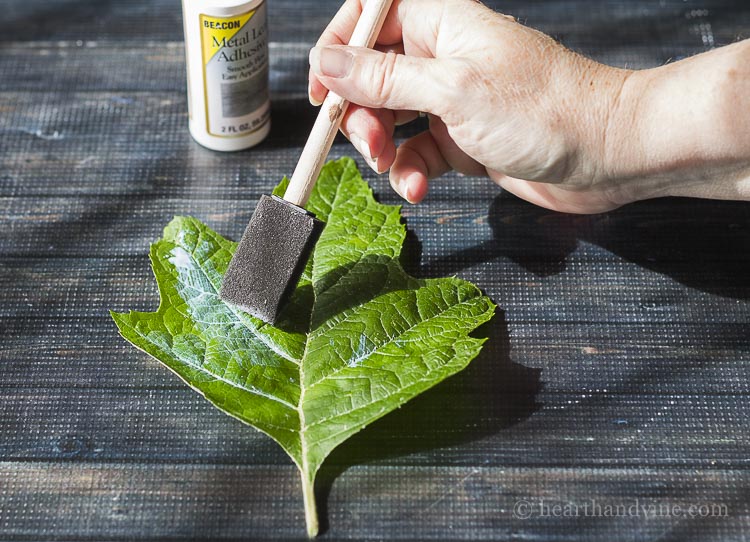
For this project you will need two bowls for the mold. I had a couple of plastic catering bowls leftover from a graduation party. I've seen the same bowls at the dollar store in smaller sizes. You won't want to use them for food after this project so recycling, or dollar store purchases are best.
Gather some leaves and brush on the adhesive. The backs of the leaves have lots of great veining, so you want to place the glue on the front side, then stick them to the bottom of the mold.
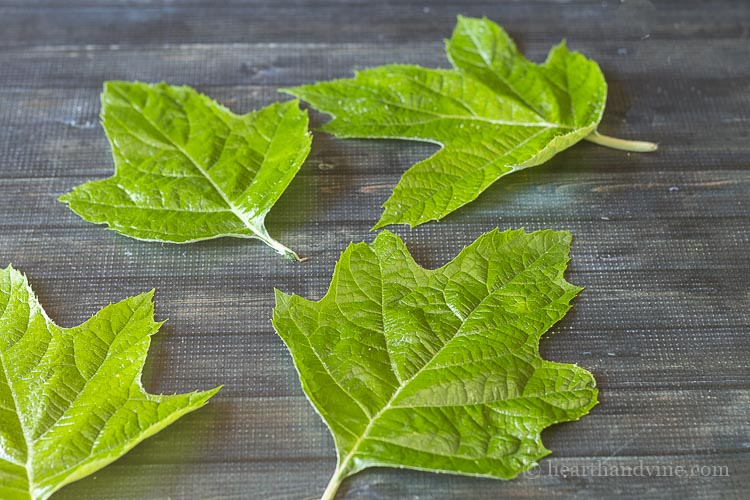
The glue will disappear and become very tacky after about 30 minutes. That's when you know they are ready for the mold.
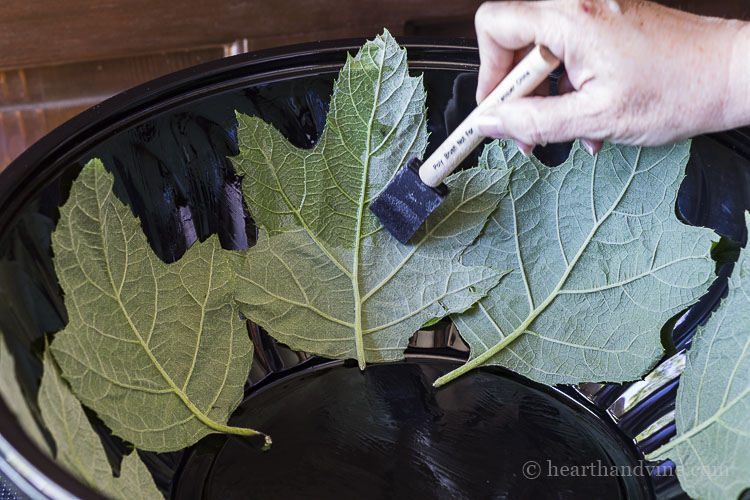
After you arrange your leaves on the inside of the bottom mold, you need to brush vegetable oil over the entire surface. Then brush oil on the outside of the top bowl.
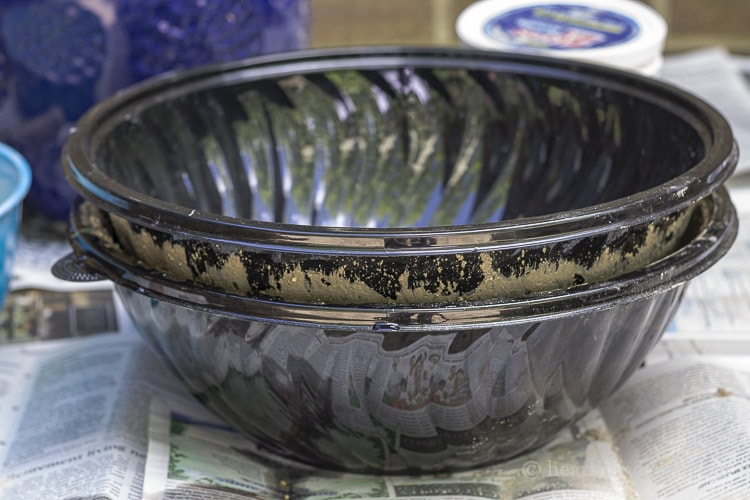
Mix up the concrete, pour it over the leaves, and place the other bowl on top. I used 3 containers for this project. Don't forget to wear a mask and gloves while mixing up the Makers Mix. You will want to place something heavy on top of the bowls to weigh them down.
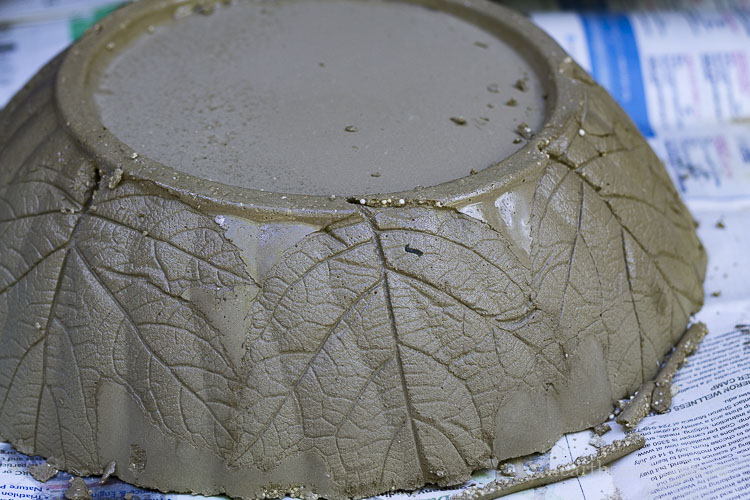
After about one hour you can remove your creation from the mold. You can gently sand down any rough spots at this time.
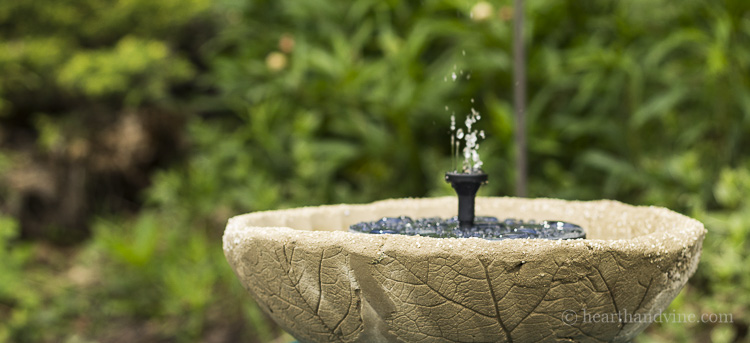
I waited overnight to add water and this cute solar powered fountain.

How to Make a Leaf Embossed Concrete Fountain
Materials
- Makers Mix
- Metal Leaf Adhesive
- Foam Brush
- 2 Plastic Bowls
- Mask and Gloves
Instructions
- Gather some leaves and brush on the metal leaf adhesive.
- Place glue on the front side, then stick them to the bottom of the mold.
- Let dry about 30 minutes until the glue is tacky.
- Arrange your leaves on the inside of the bottom mold, and brush on vegetable oil over the entire surface.
- Brush oil on the outside of the top bowl.
- Mix up the concrete and pour it over the leaves.
- Place the other bowl on top.
- Place something heavy on top of the bowls to weigh them down.
- Let dry for one hour.
- Gently sand down any rough spots at this time.


Angie Rose
I absolutely love your fountain Patti! The same thing actually just happened to me. My bird bath tipped over and broke. The embossed leaves really make it special. I would never even think to try that, but it’s brilliant and looks beautiful! I’ve been wanting to change to a solar power bird bath, since stagnant water sitting in a bowl can create problems. You make it look so easy that I just might have to give it a try 🙂
Patti Estep
Hi Angie,
I'm so glad you like the bird bath/fountain. So far it is working out great, and I hope it will continue to hold up all summer. I definitely plan on bringing it in during the winter, just in case.
Thanks for stopping by,
Patti
Barbara Chapman ~ French Ethereal
This is such a great idea, Patti!
I just bought a birdbath at Lowe's a couple of months back, but I also want to make some stepping stones. I accidentally left the cute heart-shaped one a friend made and I bought at her shop (before we became friends) at my last home. Another birdbath would be good, though.
Now, did you (1) mix up the Maker's Mix, the coloring, water, etc. then hand-press it into the bottom over the leaves; (2) set in the 2nd bowl and third bowl on top with rocks/weights? I'm just wondering how moldable is the Maker's Mix. Will it "move" on it's own just with pushing the second bowl down into it -- therefore pushing the mortar batter up the bowls' sides?
Thanks!
Need some fun projects for summer,
Barb 🙂
p.s. Pinned and G+ 😀
Patti Estep
Hi Barbara,
The Makers Mix is like a pudding consistency when wet. You pour it over the leaves.
Then you do need to weight down the top bowl for about 1 hr. I used a board with a heavy pot on top, but rocks would probably be perfect for this as well. The directions also talk about using it to make a hand mold-able project using less water too.
Can't wait to see what you come up with,
Patti
Shelly
This is such a great project. We have one fountain our front but it would be nice to have another in our backyard too. Thanks for sharing this project.
Patti Estep
Hi Shelly,
I don't think you can have too many fountains.
Let me know how it turns out!
Patti
Jeanne
Love this and the solar powered pump is a great find. Thanks!
Patti Estep
Hi Jeanne,
I'm so glad you like the project.
So far that little solar powered fountain gadget is working really well.
It comes with a couple of different sprayers too.
Thanks for stopping by,
Patti
Jami
I love this so much! And your tutorial looks really do-able for a sweet outcome - thanks, Patti. 🙂
Patti Estep
Hi Jami,
I'm glad you like the bird bath/fountain. It was pretty easy to make. I think finding the right pieces for your mold is the key.
Thanks for stopping by,
Patti
Diane Williams
Love this garden DIY project! I'm planning on a bird bath in my yard. This is a perfect solution for me. Thanks for sharing!
Patti Estep
Hi Diane,
So glad you liked it and please let me know how it goes.
Thanks for stopping by,
Patti
Carole
This project is perfect timing. I'm leaving our bird baths at the farm because I want something different at the new property. I never thought about making them - I could make three and place in a tier formation on the top of tree stumps. Oh you just inspired a future project - Fantastic!!
Patti Estep
Hi Carole,
I'm so glad you like this project, and I love the they you come up with ways to take it a step further.
Thanks for sharing all of your great ideas with our readers.
Patti