Learn how to easily create concrete mini planters with Makers Mix concrete compound and their handy molds.
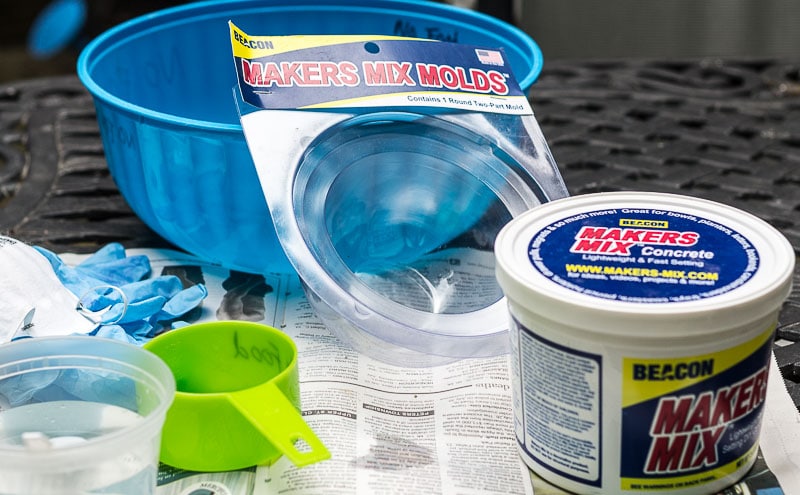
My cousin Michael Assisle, aka "The Glueologist," sent me a new product he is working with from Beacon, called Makers Mix Concrete. He also sent me one of their sweet little molds, so I thought it would fun to make a couple of concrete mini planters.
These were a breeze to make. You still needed to be careful by wearing gloves and a mask, but the process was much faster than my hypertufa project. Not exactly the same, but similar.
Materials
Makers Mix
Makers Mix Mold
Bowl
Measuring cup
Plastic spoon
Water
Gloves
Face Mask
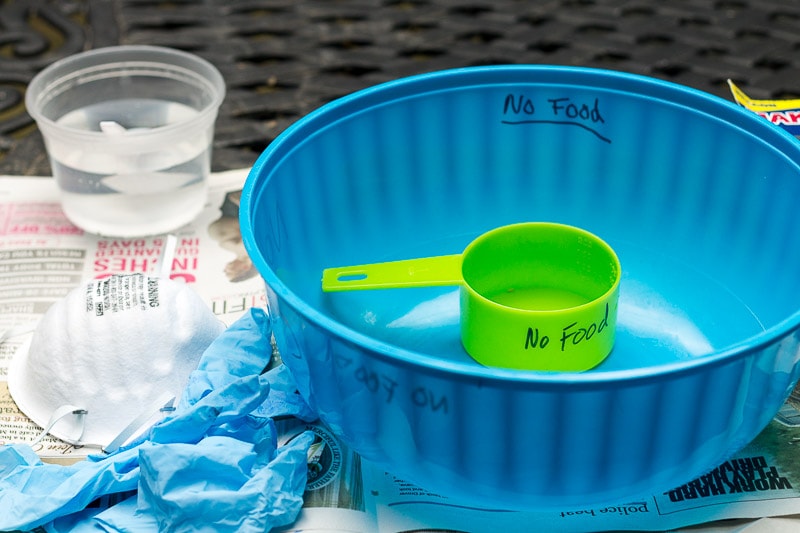
Look around the house for an old plastic bowl and extra 1 cup measuring cup and mark them "No Food," as you will not want to use these for anything food related in the future. You could also pick them up at the dollar store.
All you need to do is mix up the Makers Mix Concrete in a bowl with water according to the directions. I was able to make two pots and there is still some left over.
Then just pour the mix into the mold.
Tamp down on the table to remove any air bubbles, and then weigh it down for about 30 minutes before unmolding.
Note: Get rid of any excess product by wiping out your bowl with paper towels and throw them in the trash. Do not try to rinse any leftover product down the drain.
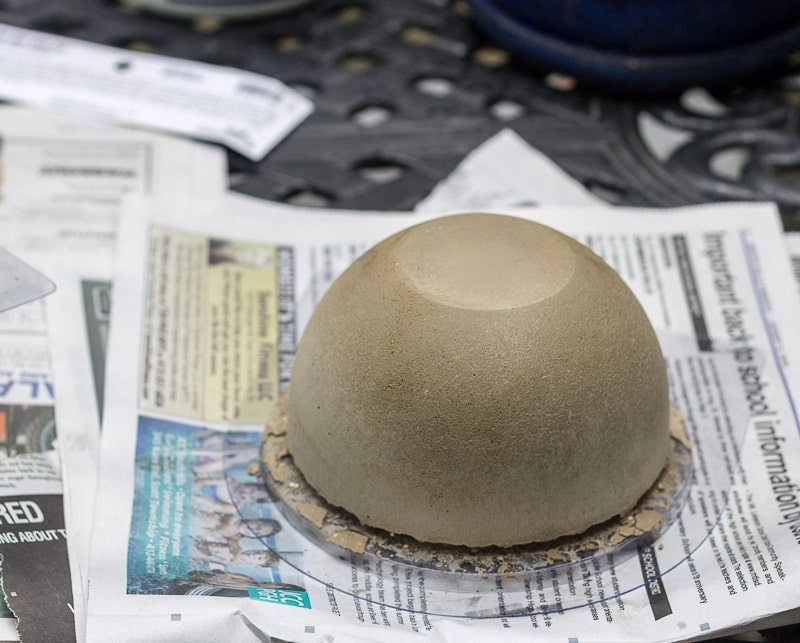
Here's what it looks like after 30 minutes.
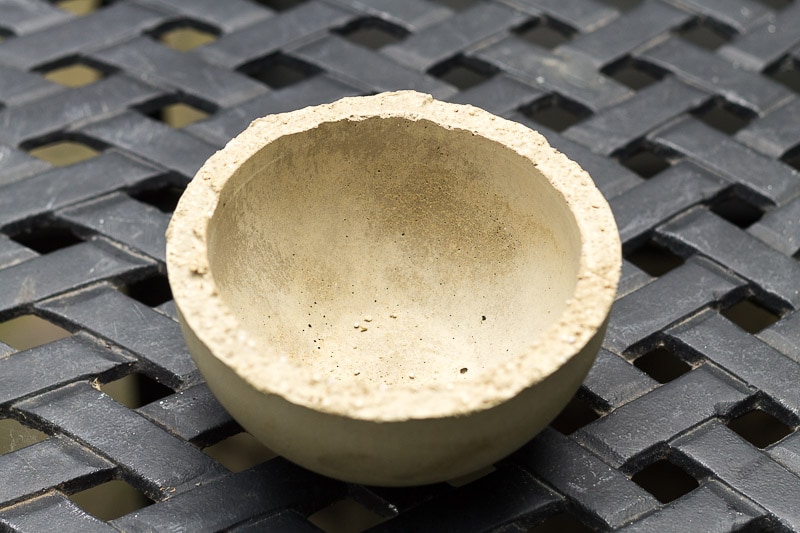
Here's what it looks like flipped over, 24 hours later. To top edge is a little rugged which I like, but you can easily smooth it out with sandpaper, or a metal file.
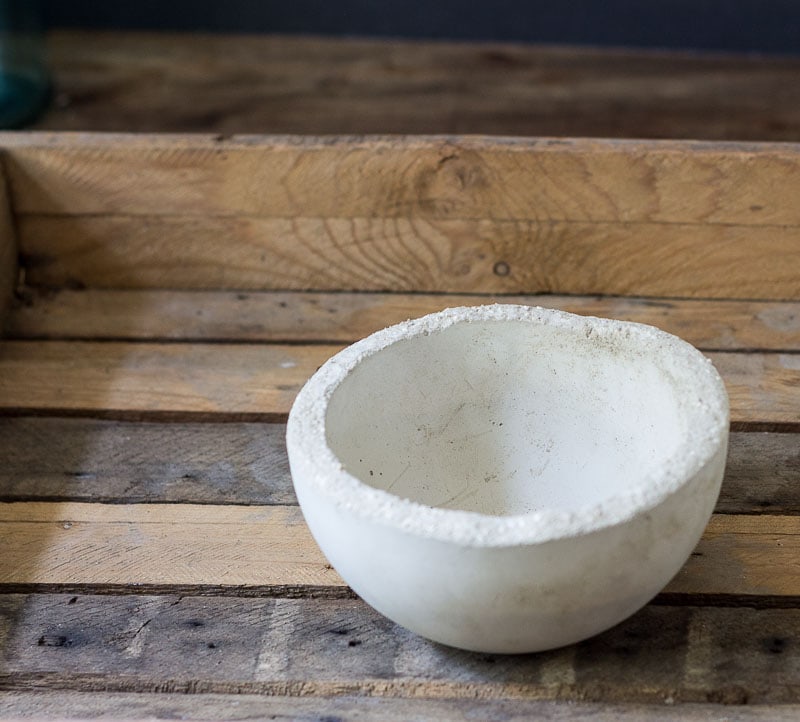
At this point, you can also paint your pot. They also sell pigment colors that you can add to the wet mix for a some added color.
Adding Plants
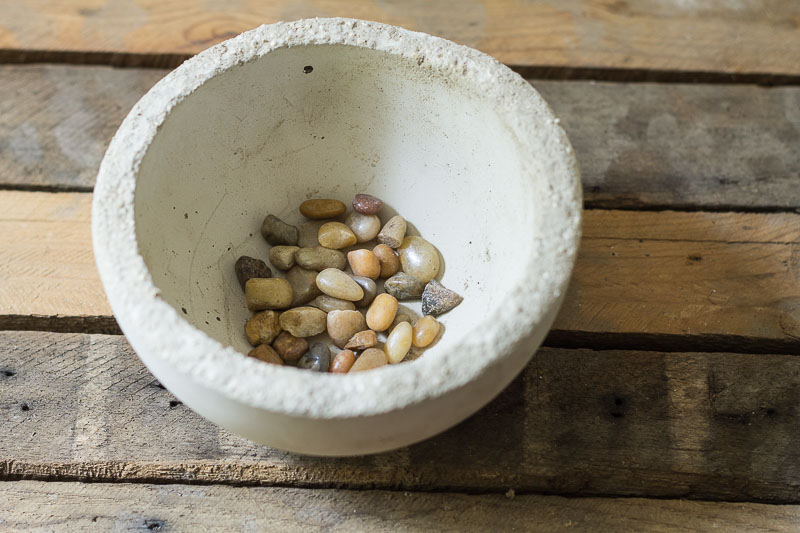
These pots do not have any drainage holes, however, you can place some pebbles on the bottom to help prevent root rot. Activated charcoal would be another great option.
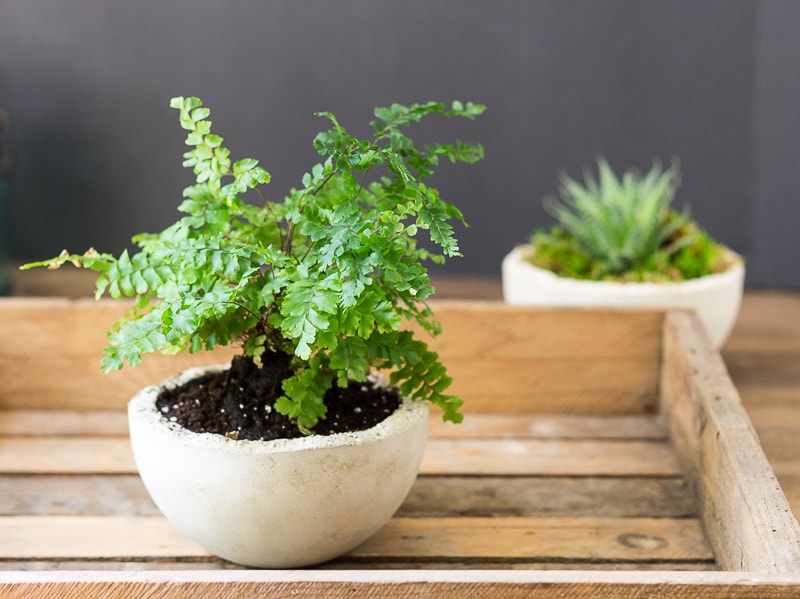
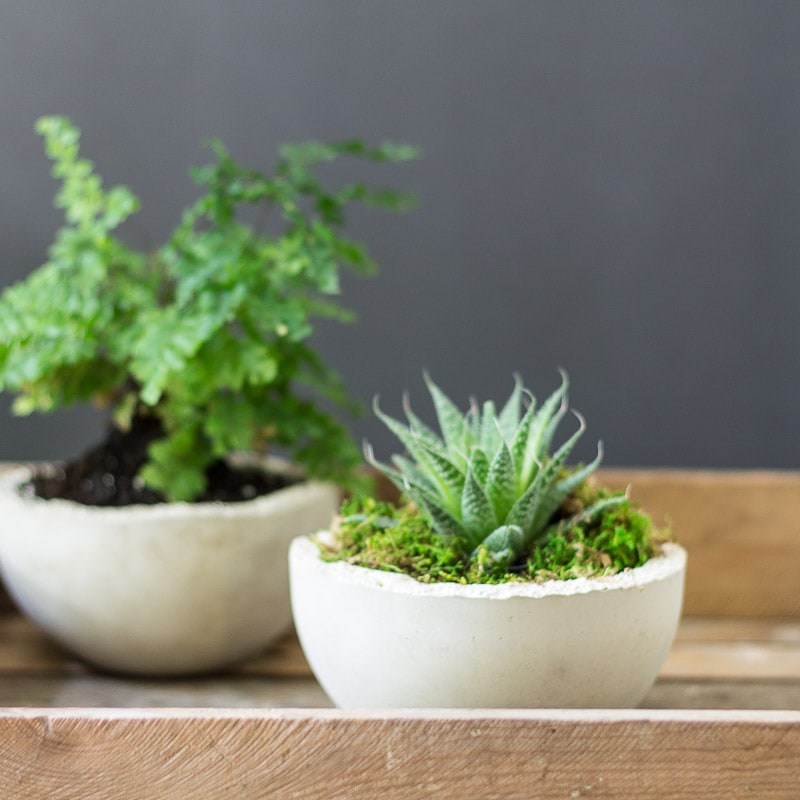
A fern like this Maiden Hair would be a good candidate for this pot, because it likes a good deal of water and doesn't need a lot of sunlight, so you can put it in a variety of spots indoors and out.
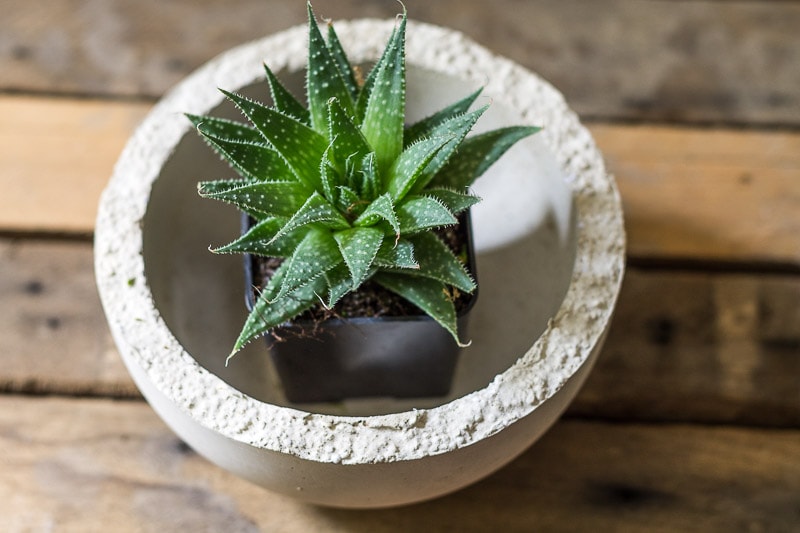
Another plant option would be a succulent which typically has a shallow root system.
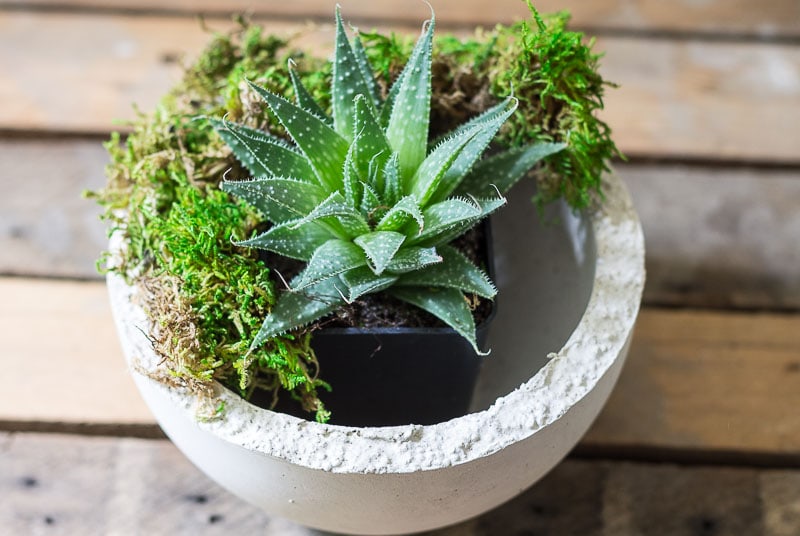
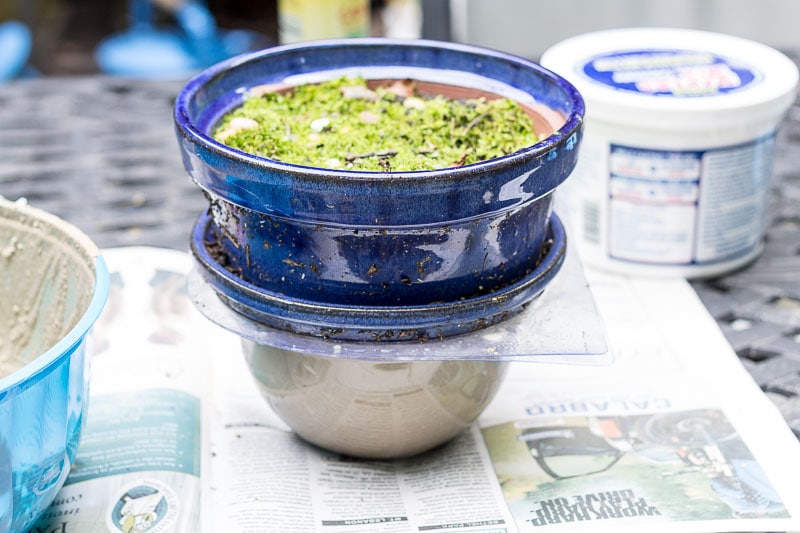
Here a little trick: Keep the plant in its original container and cover with moss.
This way you can take out the pot and water as needed, leaving the pot in the sink or somewhere to totally drain, and then place it back in the concrete planter.
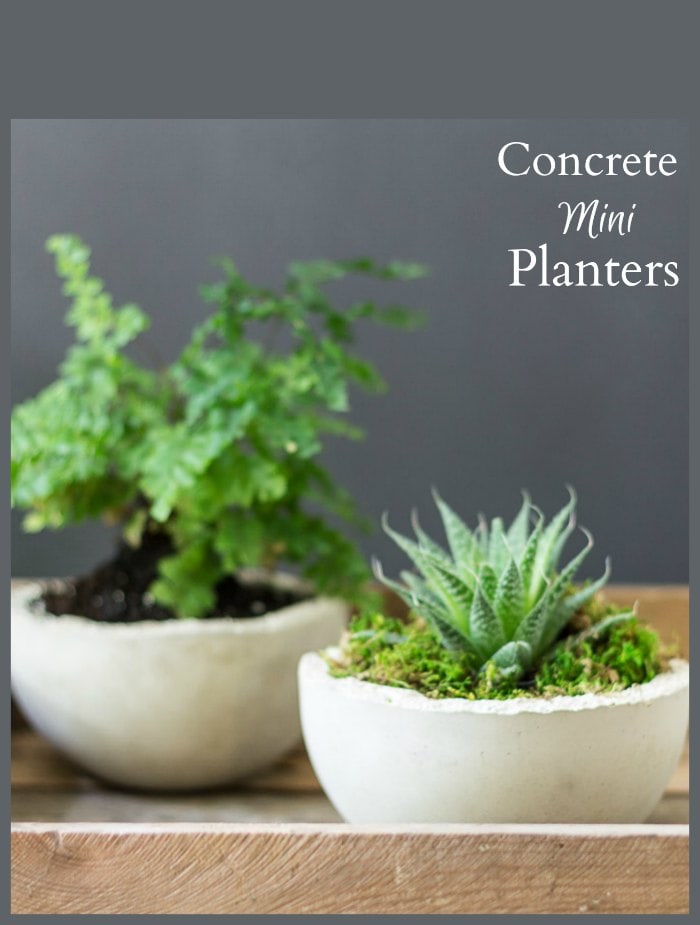
Concrete Mini Planters
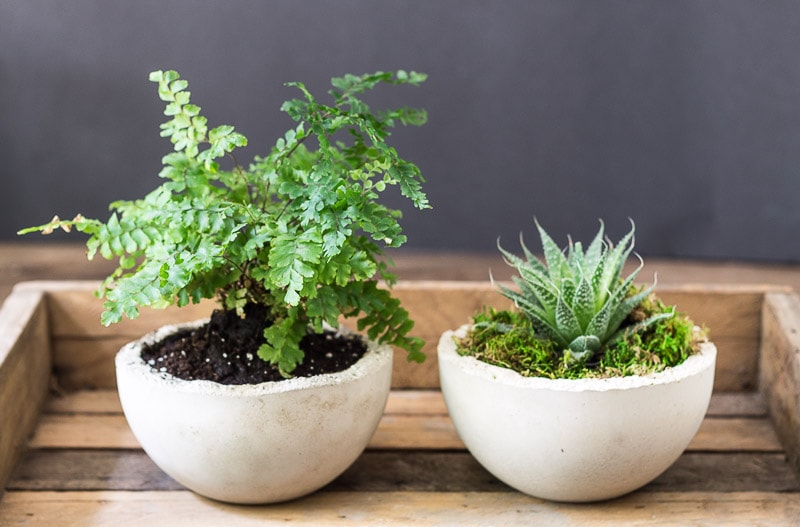
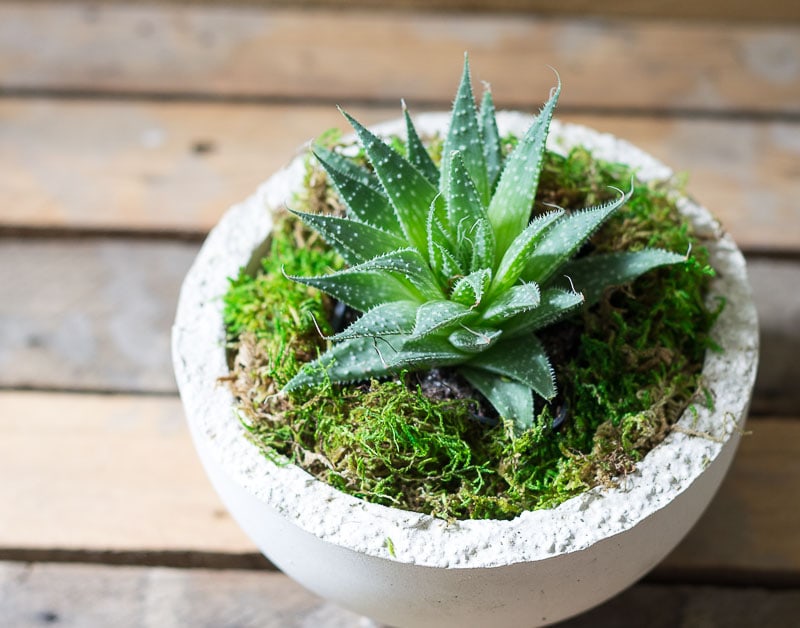
I really love the way these mini concrete planters turned out. Talk about instant gratification. 30 minutes is a super fast amount of time for this concrete to set up. Having to wait only one day to paint or use them is another bonus.
Hmmm, I think I have a perfect spot on the windowsill in my office for these two beauties.

Makers Mix Concrete Mini Planters
Materials
- Makers Mix
- Makers Mix Mold
- Bowl
- Measuring cup
- Plastic spoon
- Water
- Gloves
- Face Mask
Instructions
- Mix up the Makers Mix Concrete in a bowl with water according to the directions.
- Pour the mix into the mold.
- Tamp down on the table to remove any air bubbles, and then weigh it down for about 30 minutes before unmolding.
- Once you unmold, do not rinse any extra product down the drain.
- Use a paper towel to wipe the bowl down.
- You can smooth the concrete planter with sandpaper, or a metal file.
- You can paint the pot if you want, or keep it natural.
Lisa
Love, love, love this! I want to make one. I have a huge patch of moss if you need more!
Patti Estep
Hi Lisa,
So glad you like it and for the moss offer!
Have a great week!
Patti
CC
Where do you find this product
Patti Estep
Hi CC,
The website for this product is: makers-mix.com but it says you can find it on Joanns Fabrics and crafts in most cities.
Thanks for stopping by,
Patti
Mike
These came out great! Love how you made two different style plantings, the possibilities are endless! Thanks for the inspiration!
Patti Estep
Hi Mike,
Thank you for introducing me to this product. It was very easy to work with and has a lot of versatility.
Have a great week!
Patti
Denise wright
That's a great tip about the container.... you are so good at that stuff! Love how these turned out. You make me want to have more plants in my life.
Patti Estep
Ah Ha!! You've caught on to mind crafty plans to make everyone want to grow more plants!!
😉
Thanks for stopping by,
Patti