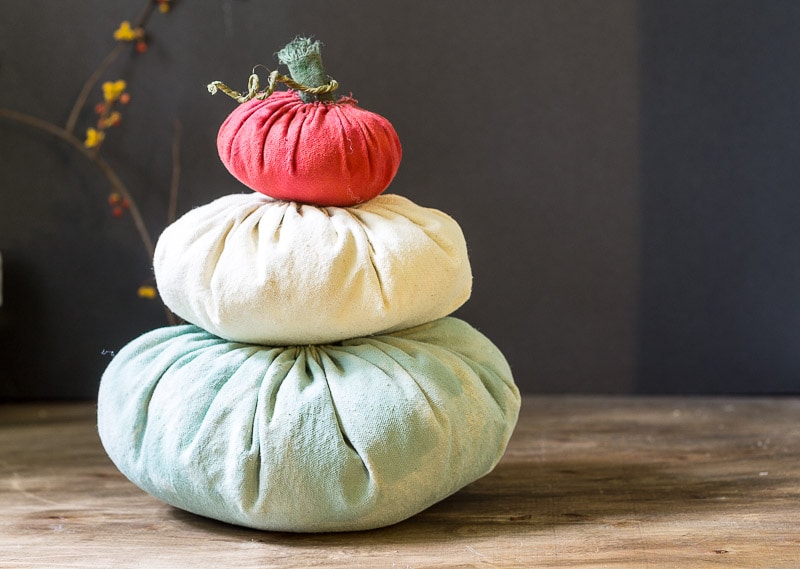
This fabric pumpkin craft Inspired by real Cinderella heirloom pumpkins. They are super easy to create and make a great accent piece for your fall decor.

Fall is a great time of year to entertain as the air gets crisp and the holidays are just around the corner. Decorating the insider of your home with pretty fall decor can be a big part of this, but it doesn't have to break the back. Creating and making your own fall decor like this fabric pumpkin craft, can be a great way to let your creativity shine and save you money.
Cinderella Fabric Pumpkin Craft
In the past, you could only find the standard orange pumpkins to decorate your home, but now, many nurseries, farms, and even some of the big box stores sell these lovely gems. The real Cinderella pumpkin comes from a French heirloom variety called "Rouge vif D'Etampes," a dark red-orange pumpkin with deep ribbing. The pretty blue-gray pumpkin is a variety called Jarrahdale, a cross between the Cinderella and Blue Hubbard gourd.
Materials
Drop Cloth Fabric
Batting for the stuffing
Craft Paint
Needle & Thread
Step 1
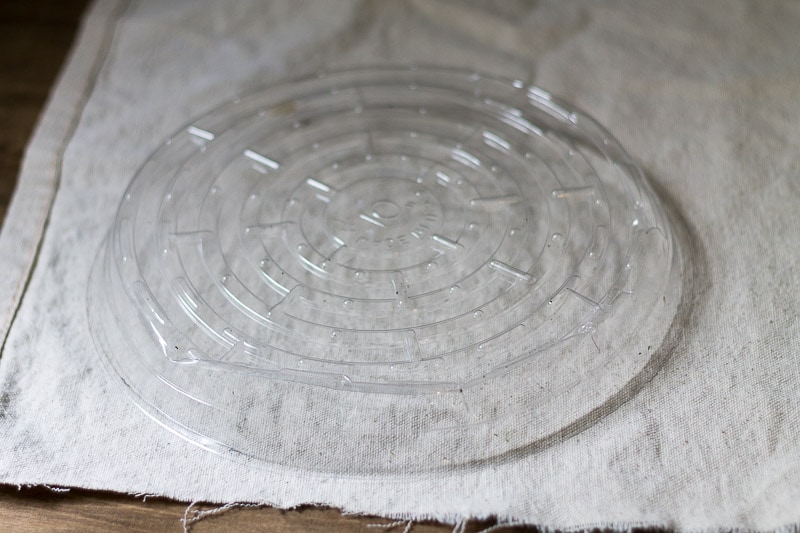
Use any round object and draw a circle around it. This one I used for the smallest pumpkin and it measured 10 inches in diameter. The middle one was 18 inches, and the largest, 24 inches.
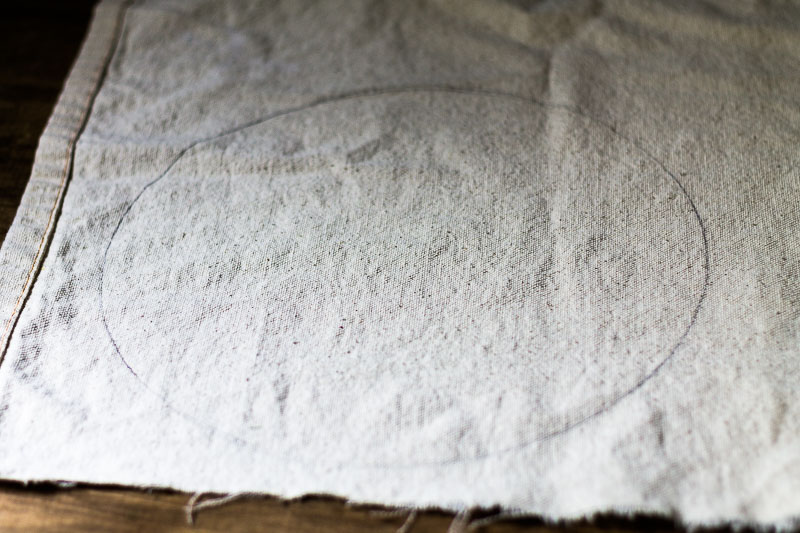
Cut out the circles.
Step 2
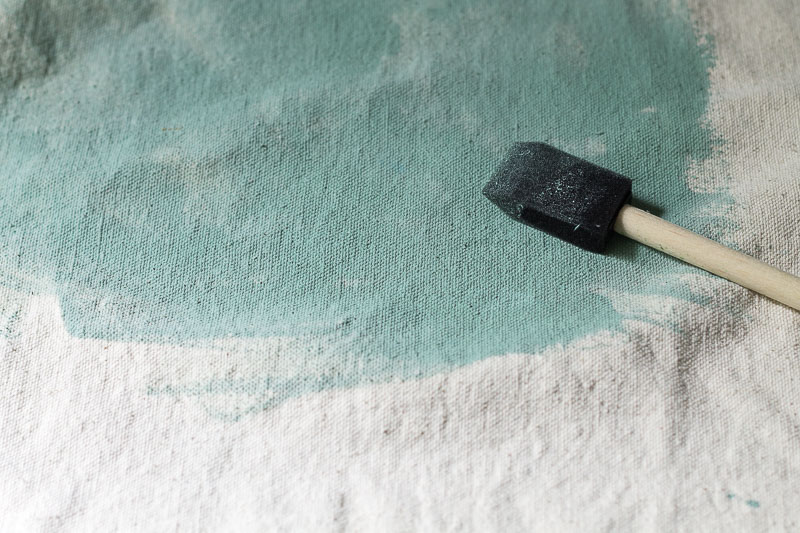
Paint the fabric with craft paint diluted with some water. Using a sponge brush paint one side of the fabric. Allow to dry.
Step 3
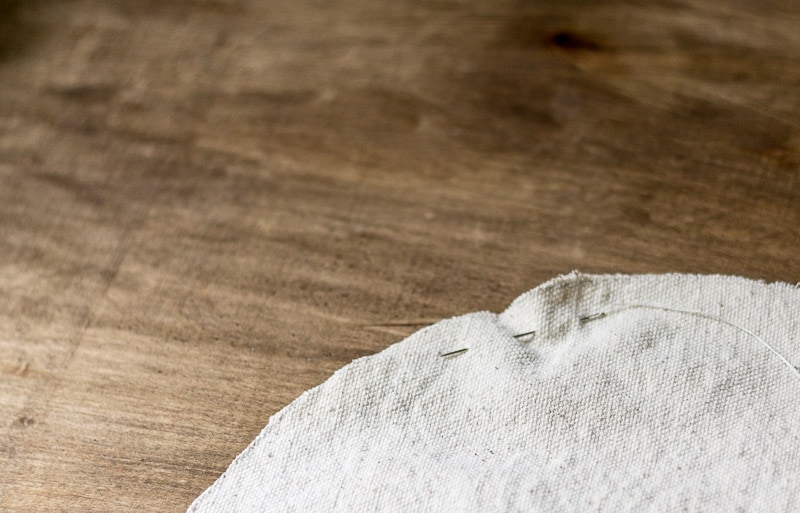
Cut out your circle, and sew basting or gathering stitches. Do this by threading a long piece of thread through your needle to the half waypoint. Gather the ends of the thread and tie a knot. Then sew up through the fabric about 1/4 of an inch from the edge. Sew nice wide stitches until you reach the other end.
Step 4
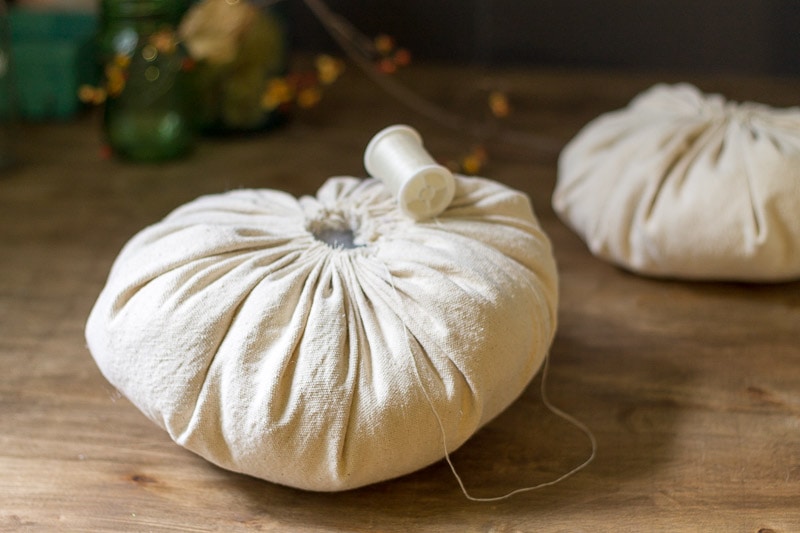
Pull-on the thread to gather the fabric into shape. You can pull it all the way closed or leave it a little open like the one shown above to get it a flatter shape, it will be covered if you are going to stack them. Make a knot by sewing close to the end and threading the needle through the loop.
Stuff the pumpkin with batting.
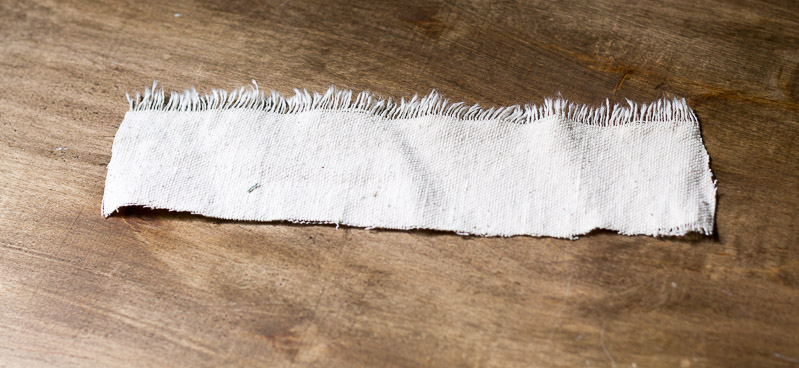
You can make a stem by cutting a long rectangle and painting it green. Then roll it up and glue the edge. Glue the stem into the pumpkin.
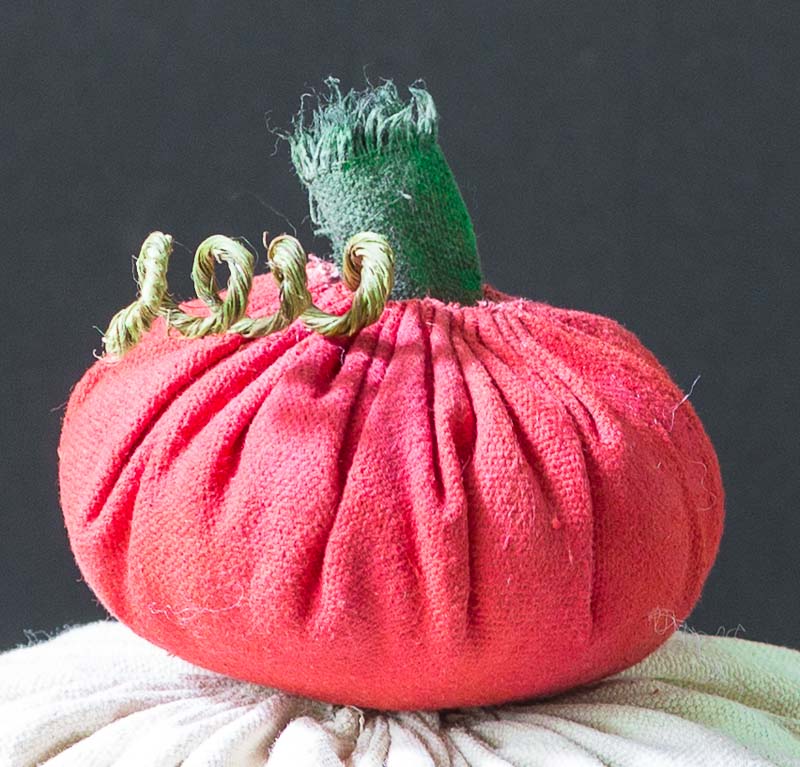
Add a vine by using a piece of green wire or a pipe cleaner, and wrap it around a pencil. Glue into the pumpkin.
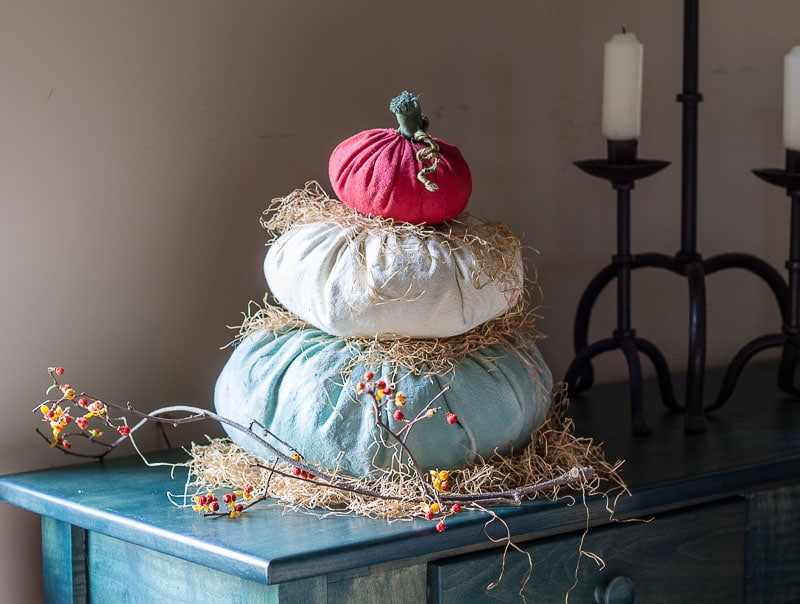
Stack your pumpkins on top of each other. You could secure them with glue or sew them together, but I didn't. Add a little hay, moss, or other fall material to give it an extra rustic look.
I'll probably buy some real Cinderella pumpkins this season, but it was fun to make this faux fabric pumpkin craft. So easy and affordable, with a little drop cloth fabric, batting, and paint.
They'll last a whole lot longer too.

More Fall Crafts:
DIY Cinderella Fabric Pumpkins
Equipment
- Circular object for tracing
- pencil
- Scissors
- Needle and thread
- Sponge paintbrush
Materials
- Drop Cloth Fabric
- Batting or polyfill for the stuffing
- Craft Paint
- Needle & Thread
Instructions
- Use any round object and draw a circle around it. This one I used for the smallest pumpkin and it measured 10 inches in diameter. The middle one was 18 inches, and the largest, 24 inches.
- Paint the fabric with craft paint diluted with some water. Using a sponge brush paint one side of the fabric. Allow to dry.
- Cut out each circle, and sew basting or gathering stitches. Do this by threading a long piece of thread through your needle to the half waypoint. Gather the ends of the thread and tie a knot. Then sew up through the fabric about 1/4 of an inch from the edge. Sew nice wide stitches until you reach the other end.
- Pull-on the thread to gather the fabric into shape. You can pull it all the way closed or leave it a little open like the one shown above to get it a flatter shape, it will be covered if you are going to stack them. Make a knot by sewing close to the end and threading the needle through the loop.
- Stuff the pumpkin with batting or polyfill.
- Make a stem by cutting a long rectangle and painting it green. Then roll it up and glue the edge. Glue the stem into the pumpkin.
- Add a vine by using a piece of green wire or a pipe cleaner, and wrap it around a pencil. Glue into the pumpkin.
- Stack your pumpkins on top of each other. You could secure them with glue or sew them together if you want to.
- Add a little hay, moss, or other fall material to give it an extra rustic look.
Dale
I love these Cinderella pumpkins! Is it possible to print the instructions without all of the ads?
Patti Estep
Dale, I've been working on adding "how-to" cards to my old posts so that they will be easier to print out. I just updated the Cinderella pumpkin post so now you should be able to print out the card at the end of the post without ads. Thanks for bringing this to my attention and I hope you enjoy your Cinderella pumpkins.
Kate
These are adorable DIY project!
Patti Estep
Thanks Kate!
Lisa
These are absolutely adorable!!!! I am ready for all things pumpkiny and fall.
Marci @ Stone Cottage Adventures
What pretty colors! I love a project that is both simple and beautiful! Thank you for sharing the tutorial! -Marci @ Stone Cottage Adventures
I am hopping over from your FB Share in Blogging Fifty
Anne
These are so beautiful! I've got a Craft Gossip post scheduled for tomorrow that features your tutorial:
http://sewing.craftgossip.com/?p=89376
--Anne
Patti Estep
Thanks Anne!
Florence
Those are sooo cute!!! Especially love the curlicue stem, which looks so realistic. Pinned. (from Blogging Fifty)
Patti Estep
Thanks Florence!
Pam Brand
I love these! They are as cute as a button and what a great color combination!
Stacey Keeling
So cute!! Pinning and sharing on Facebook. 🙂