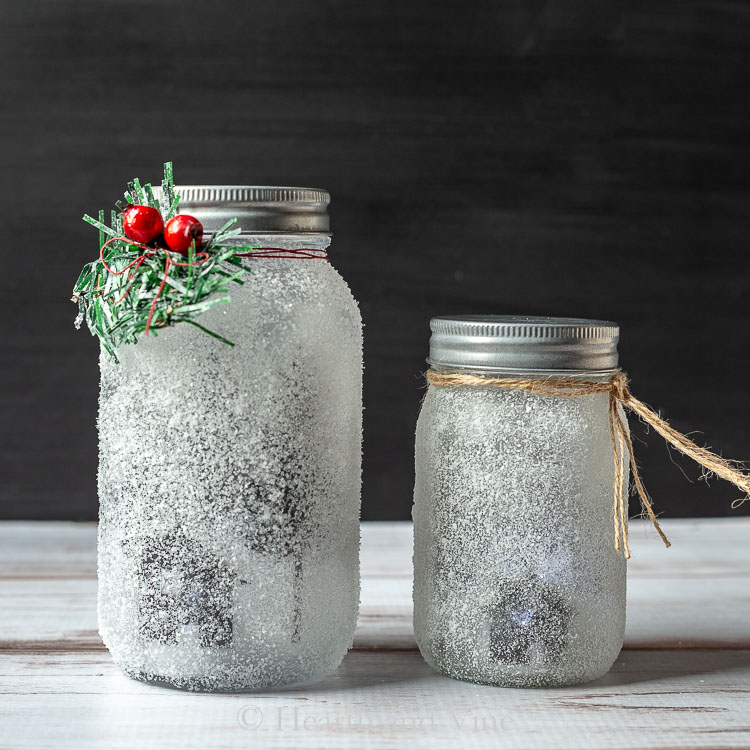
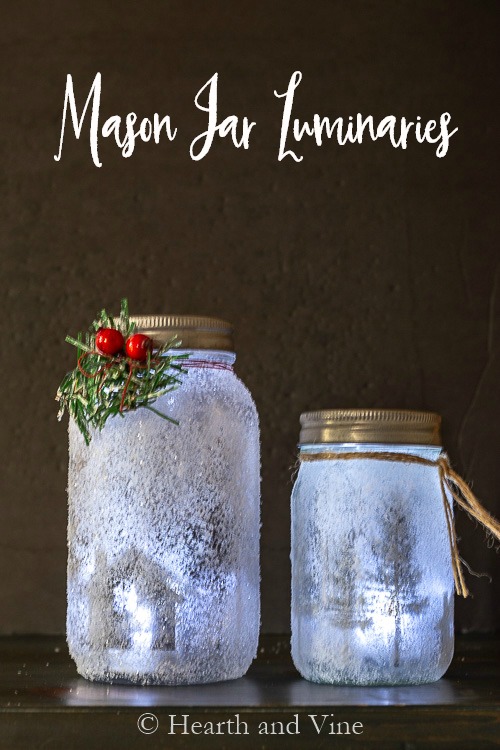
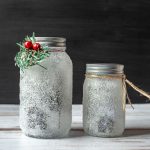
Learn how to make these beautiful mason jar luminaries complete with a free printable woodland image that you can use for your own project.
Do you create luminaries for your walk at Christmas? I remember doing this in one of the plans we lived in one year. It was really beautiful to see all the white bags light up the neighborhood.
These mason jar luminaries are a little too fragile to place on the walk but they might look great on a shelf next to the front door or in any darkened corner of your home.
This post contains some affiliate links (that means if you make a purchase after clicking a link, there's no additional cost to you, but I will earn a very small commission. ) i.e. as an Amazon Associate, I earn from qualifying purchases. Click here to read my full disclosure policy.
How to Make Mason Jar Luminaries
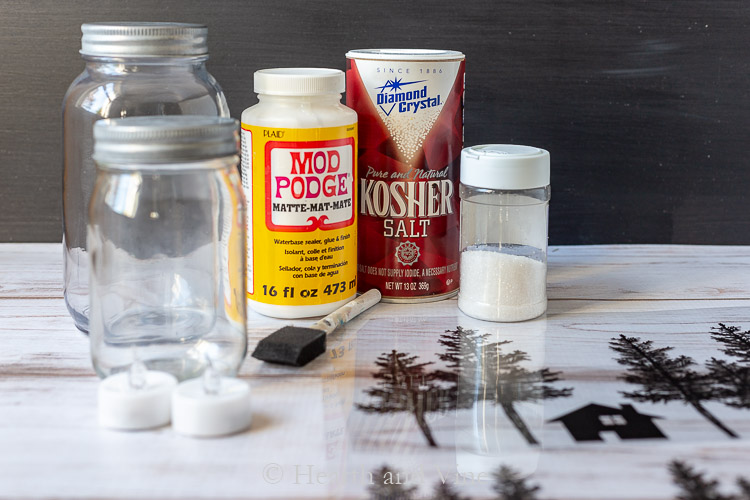
Supplies
- Quart Mason Jar (without markings)
- Pint Mason Jar (without markings)
- Mod Podge
or white glue that dries clear
- Transparency film for inkjets
- Galvanized Lids
(optional)
- Kosher Salt
or Glitter
- Battery Operated Tea Lights
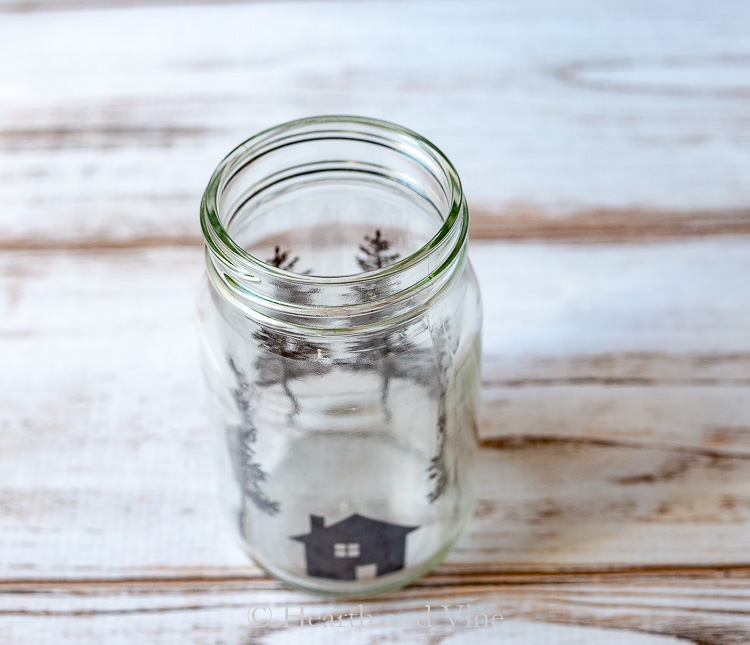
To start, print out a silhouette of any scene or shape that you like on some transparency film. Test it out on plain paper first to get the size you want for the jar you are using.
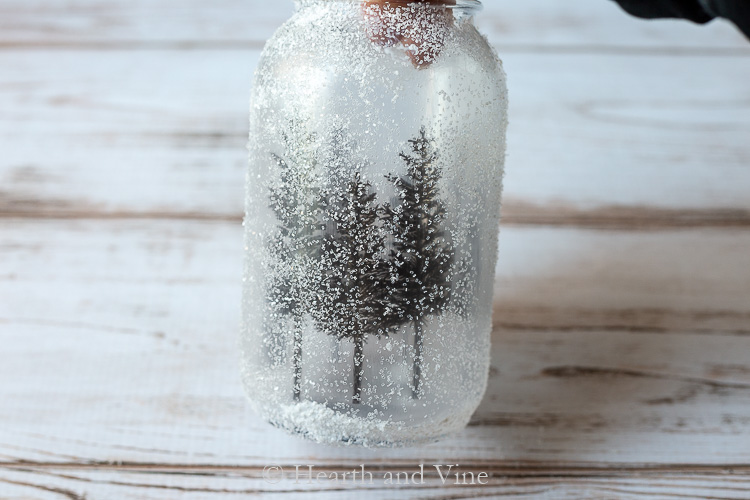
Once you have it cut to size, simply set it into the jar. The stiffness of the film should make the image stick to the outer edge inside the jar. However, you could also add a piece of clear tape at the edges to hold it in place.
Free Printables
Feel free to use either or both of my images. Just click on the image and you should be able to print it from there. You can also right-click and save the image to your computer first.
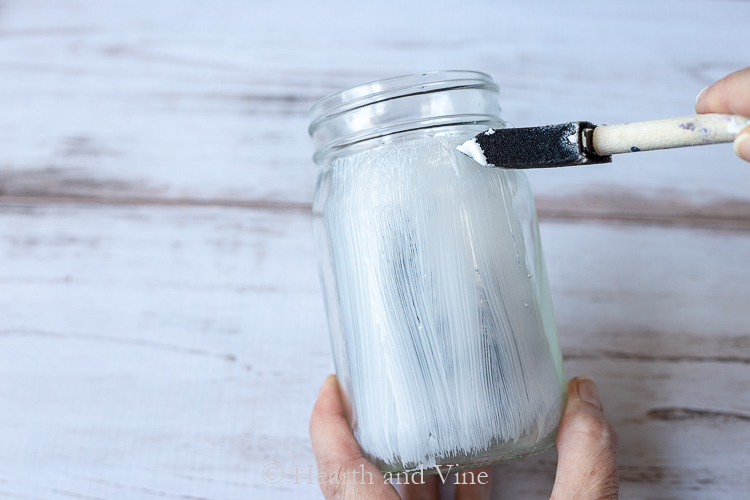
Next, apply Mod Podge or a white glue that dries clear with a sponge brush to the outside of the jar. I tried to brush it on as evenly as possible. Note that the thicker you apply the glue the heavier your frosted look will end up.
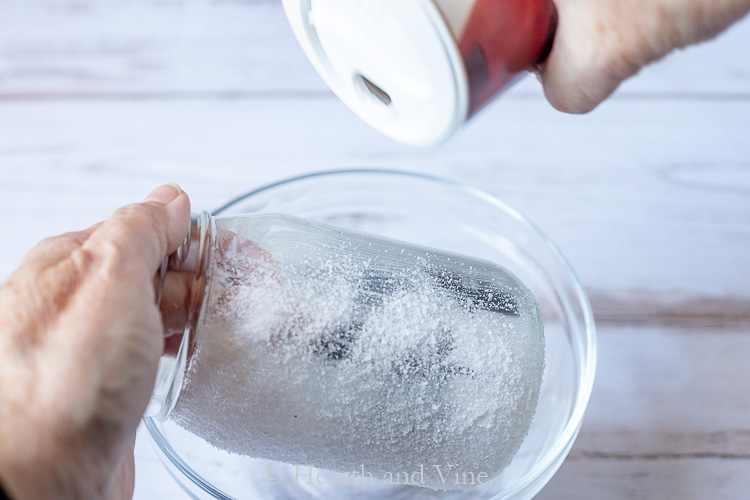
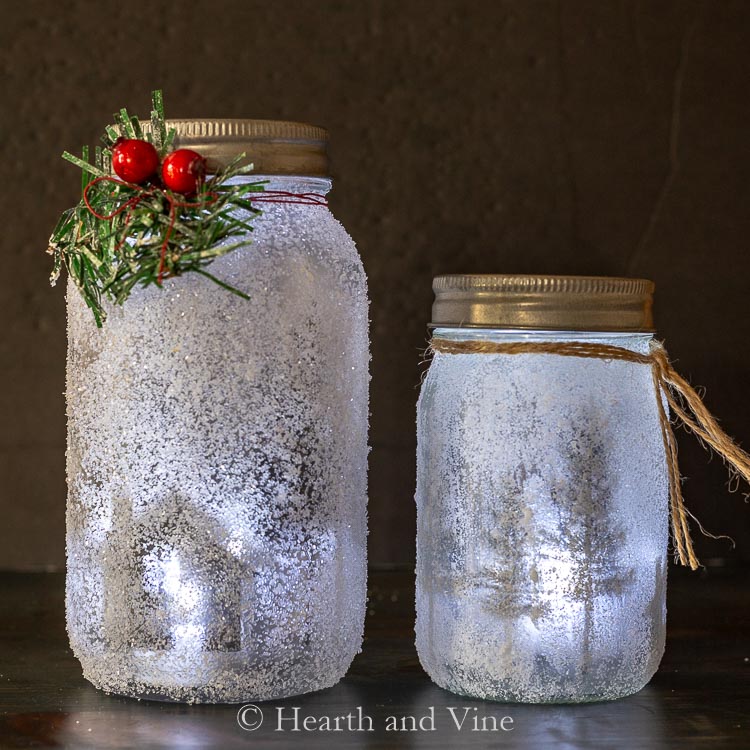
Next, pour kosher salt or glitter over the glue. I tried both. The pint-size jar has salt on it and the quart is covered in glitter. They both turned out great. The salt is a little finer and the glitter a little shinier but I can't really say that I like one better than the other.
You can vary the amount of salt or glitter depending on how thick you brush on the glue. If you want you can add a thicker amount of glue at the bottom for a snowy floor look.
I noticed that you could also rub off some of the salt/glitter after it dried to show more of the woodland scene in places.
Pop a battery operated led light inside and watch it glow.
Top with the traditional mason jar lid or buy some of these fancier galvanized lids.
A little embellishment of faux evergreens, berries or simple twine completes the look.
P.S. You may also like these Mason Jar Oil Lamps or these Pressed Flower Mason Jar Candles. You can find them and much more on my DIY Projects Page.
Click Here to Save to Pinterest!
How to Make Mason Jar Luminaries for the Holidays
Equipment
Materials
- Quart Mason Jar
- Pint Mason Jar
- Mod Podge
- Transparency film for inkjets
- Galvanized Lids optional
- Kosher Salt or Glitter
- Battery Operated Tea Lights
Instructions
- Print out a silhouette of any scene or shape that you like on some transparency film.
- Cut to size and simply set it into the jar.
- Apply Mod Podge with a sponge brush to the outside of the jar.
- Pour kosher salt or glitter over the glue.
- Add a battery operated led light inside.
- Top with the traditional mason jar lid.
- Add embellishments of your choice.






Carole West
These are cute and love the silhouette addition. I've got a few fun things to make later this week. Think they're good rainy day projects and one just happens to be jar lights. I got those fairy twinkle lights. Easy simple projects that's where I'm at...
Patti Estep
Thanks Carole. Have fun crafting!