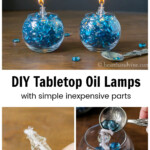
Learn how to make an inexpensive patio oil lantern for your porch. All you need is a lamp insert, a dollar store vase, and gems from the dollar store. In total, the cost is less than $10.
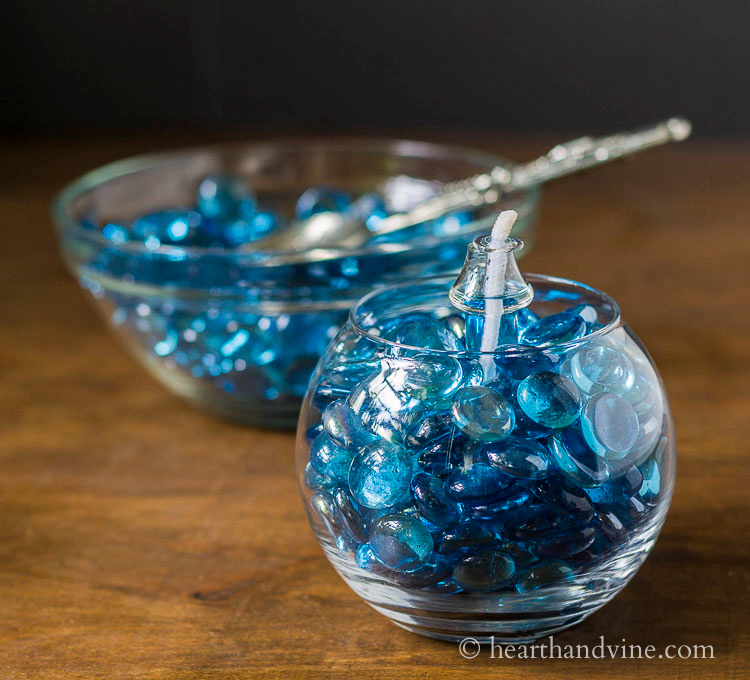
While visiting my sister in Florida, I was inspired by her latest decor idea. She was going to make oil lanterns with stemless wine glasses, oil lamp inserts, and tiny shells for her balcony. I loved this idea, so when I got home, I set out to create a similar inexpensive patio oil lantern, that would be perfect for any outdoor seating area.
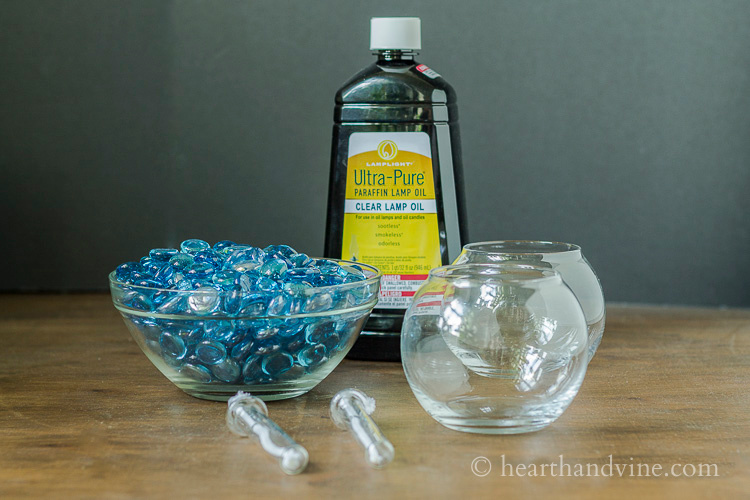
Supplies
- Glass container - stemless wine glasses or a votive vase
- Oil lamp insert
- Colored gems
, shells
or other decorative filler
- Clear premium lamp oil
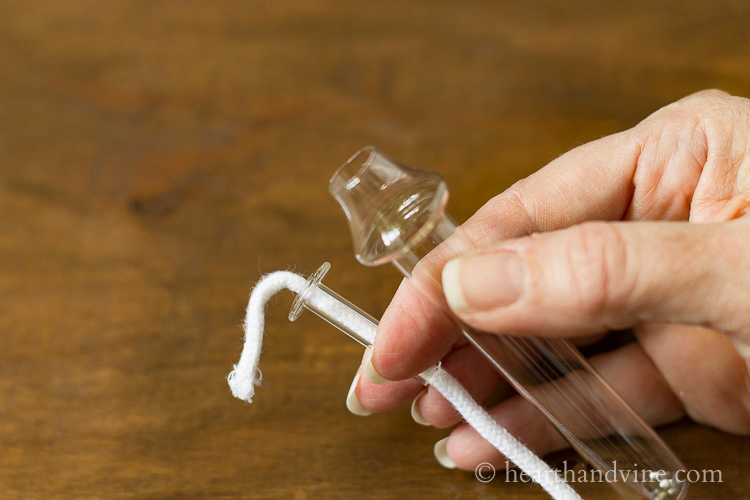
This is what the glass insert looks like. You can get three of them at Amazon from the link above. I also bought the lamp oil there, but you may be able to find that locally. The glass inserts measure approximately 4-1/4"L x 5/8"W.
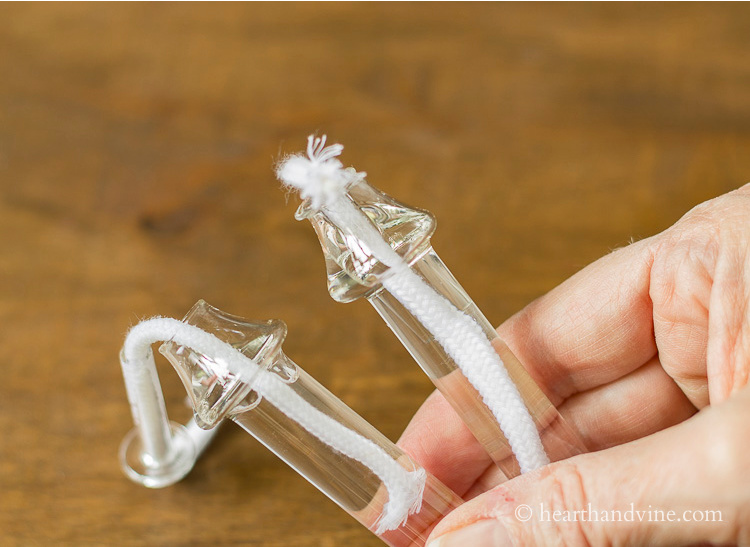
The wick lifts out so you can pour the oil into the tube. Though I liked the idea of stemless wine glasses, the ones I had were too big for the inserts, so I went to the dollar store and found these perfect glass votive holders.
Making Patio Oil Lanterns
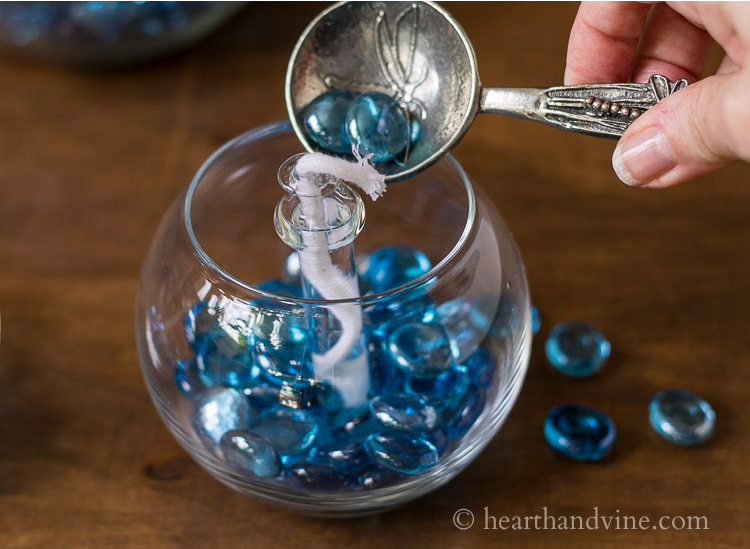
To create the lantern, all you need to do is nestle the insert within the filler. I also picked up a few bags of colored gems at the dollar store. Each holder used about 2 bags of gems. These particular bags were marked 14 oz each. I have linked gems and shells to Amazon, in case you don't have access to a dollar store and want to order some online.
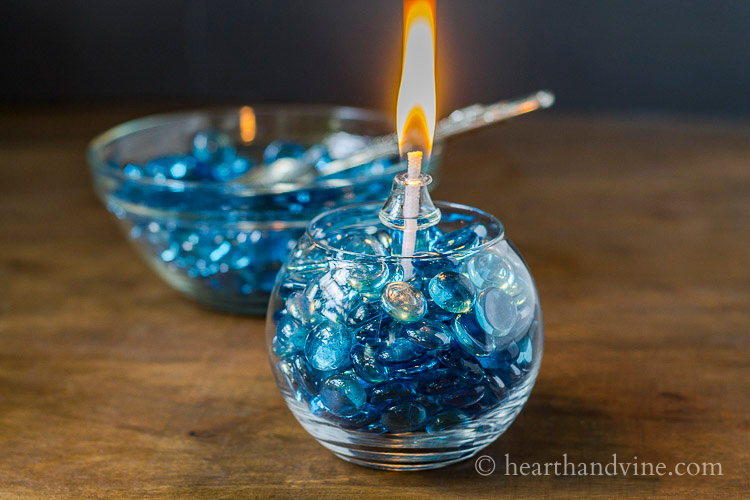
Per the manufacturer's suggestion, make sure to cut the wick as short as possible before lighting. Otherwise, you will have a really high flame.
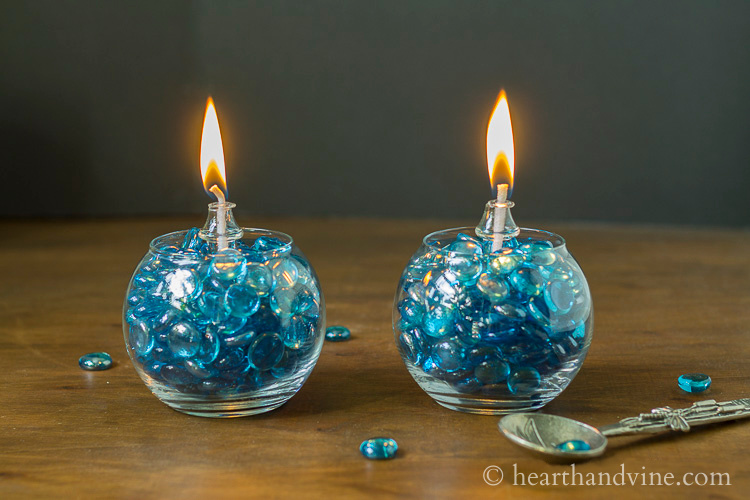
The lanterns turned out great. The only downfall is that they don't hold a lot of oil, and will only burn for 1.5 hours. Still, you can refill them, and I think they are really nice, especially considering how inexpensive they are to make.

More Fun Candle Lamp Projects
Make Your Own Inexpensive Patio Oil Lantern
Equipment
Materials
- Glass container - stemless wine glasses or a votive vase
- Oil lamp insert
- Colored gems shells or other decorative filler
- Clear premium lamp oil
Instructions
- Remove the wick from the tube and pour the oil into it.
- To create the lantern, nestle the insert within the filler.
- Add a few bags of colored gems. Each holder used about 2 bags of gems.
- Make sure to cut the wick as short as possible before lighting.




Dani
I love this idea! When lights go out this would help out too. Could you also put that citronella oil in during the summer to help with mosquitoes? I’m not very crafty so this is great. Thanks!
Patti Estep
I have not tried citronella oil but if it can be used in other oil lanterns and I really don't know if it can I would think it would work here.
Asha
Great idea mam
Karen
These are so pretty, Patti. I love the colored gems - they're so festive and perfect for spring. I can imagine these on an outdoor table all through the summer.
Terri Steffes
Too cute! I am inspired! Love the new look and name.
Patti Estep
Hi Terri,
I'm so glad you like the lanterns. Lots of possibilities here. Thanks for the kinds words about the rebrand. I've been wanting to do it for a long time.
Have a great week!
Patti
Carole @ Garden Up Green
I'm imagining these at Christmas... in red and green.... Love this idea and it's so simple!! Thanks for the inspiration my friend.
Patti Estep
Hi Carole,
Thank you for the great Christmas idea.
Have a great week!
Patti
Sandi C
Hi Patty,
These oil lamps are really cute. Think I'll make some with shells for our Florida condo. Just an FYI, I have an oil lamp that uses glass inserts that are open on the bottom so you can pour the oil into the container instead of the insert for longer burning time. They came with the lamp but think I'll look around and try to find some.
Love the new name!
Patti Estep
Hi Sandi,
Shells would be perfect, especially on the coast or anyone who loves the beach and I think that applies to most people.
Love your comment about the other kind of inserts. Let me know if you find them and I'll post it on the site.
Thanks for your kinds words about the new name, and enjoy the rest of your week.
Patti