Learn how to re-purpose a hanging basket into a 3 tiered basket stand with only a few simple hardware pieces.

Today I want to share with you how I repurposed a hanging fruit basket into a much-needed basket stand organizer for my office. The process is really easy and you'll end up with a pretty basket stand to display food or crafts or even interesting antique finds.
How to Make a 3 Tiered Basket Stand
This post contains some affiliate links (that means if you make a purchase after clicking a link, there's no additional cost to you, but I will earn a very small commission. ) Click here to read my full disclosure policy.
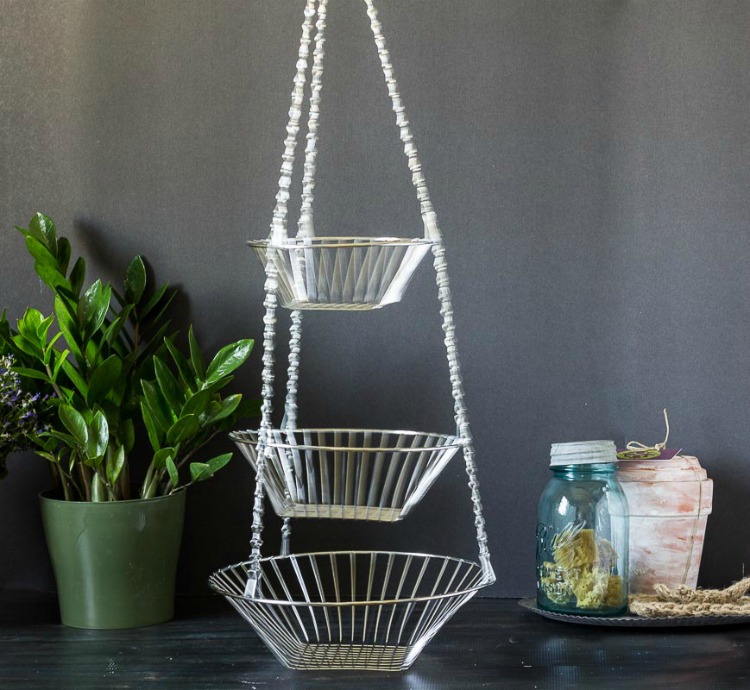
Here's what the purchased hanging basket originally looked like.
We have a great Ace Hardware store nearby. This local store has a little bit of everything, items are easy to find, and the customer service is great. So one evening my husband and I went on a hunt to find items to create a basket stand.
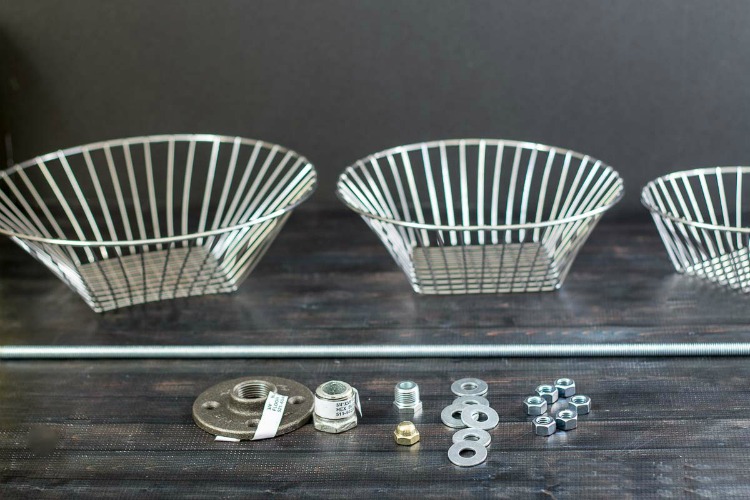
Materials Needed to Make the Stand
We found a rod that would fit through the holes at the bottom of each basket. Then we looked for nuts and washers to hold them in place on the rod.
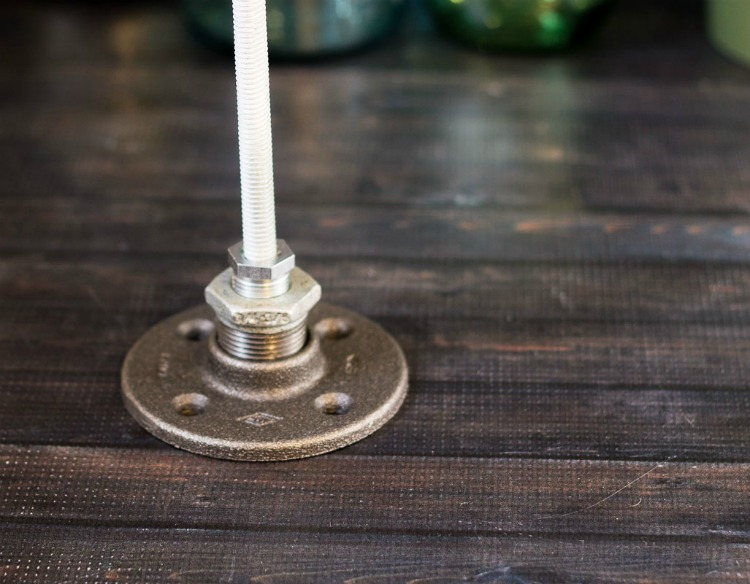
Then we had to find a base give it structure and balance. This took awhile. I was pretty picky about what I thought would look and work best. Finally, my husband found this great looking gasket. I really like the shape and color of it. Then we just had to find the right fittings to put it all together.
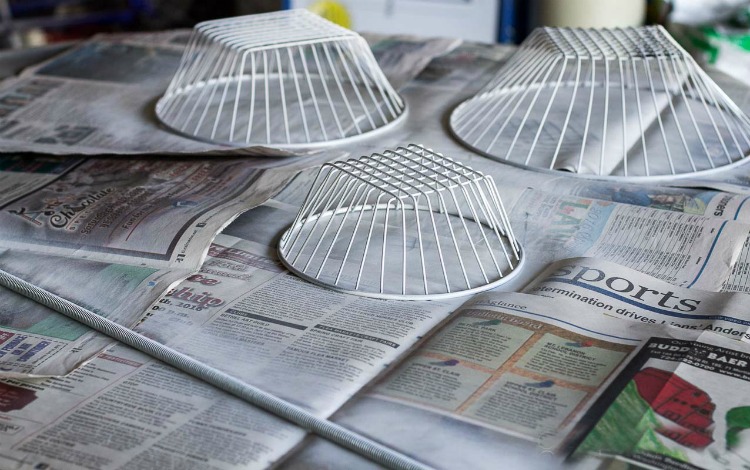
I primed the rod and baskets first, but not the gasket because I liked the industrial look it already had.
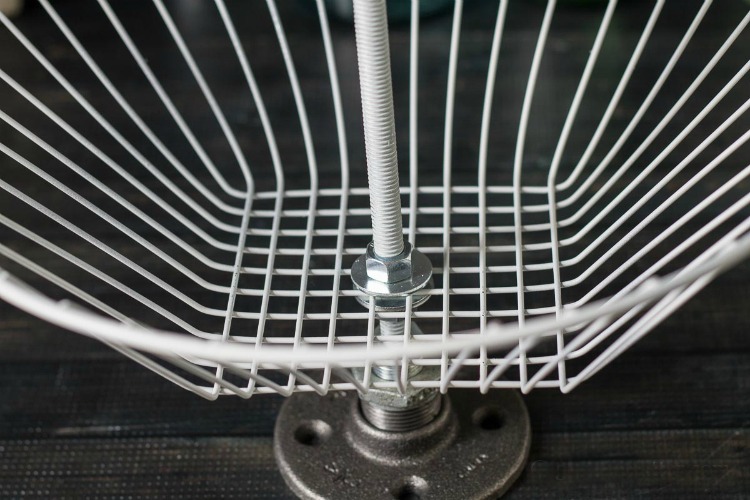
Then I put it all together with a washer on either side of the basket, and a nut after the washer, to hold each basket in place.
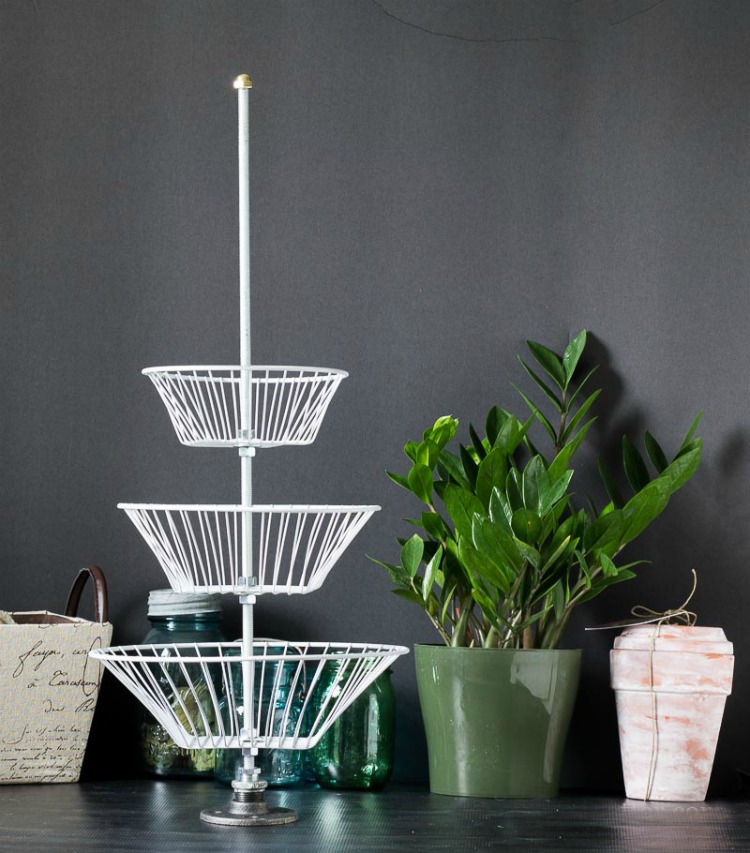
After I had it assembled I noticed that the rod was too tall so we cut it down a bit with a miter saw.
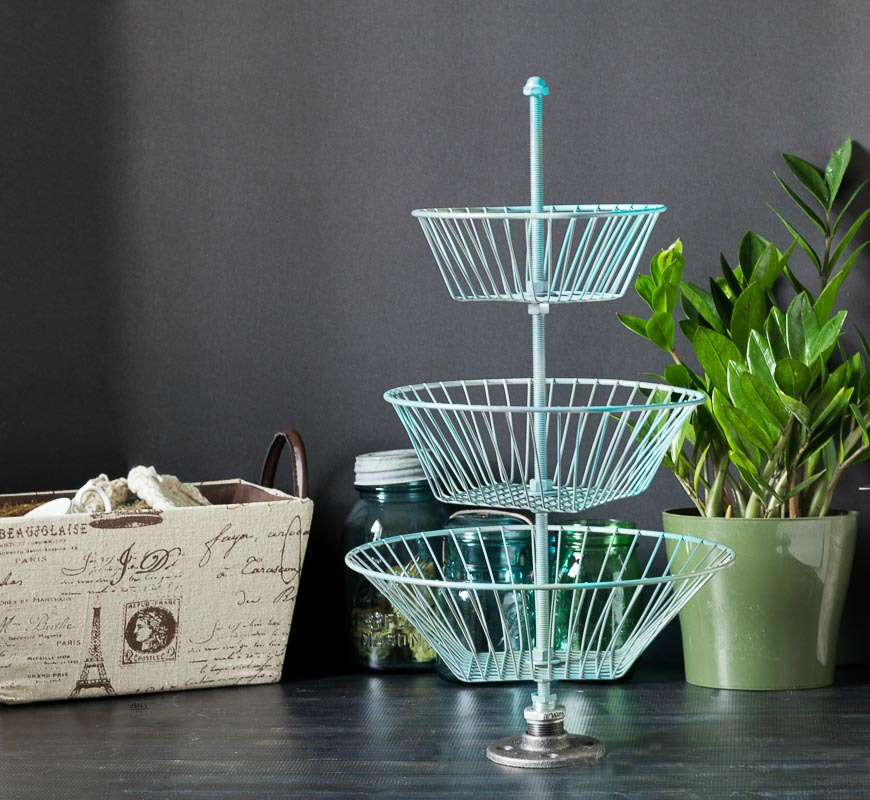
Then I tightened up the nuts, covered the base with masking tape, and I had fun with a few different cans of spray paint. I used aqua, green, and grey.
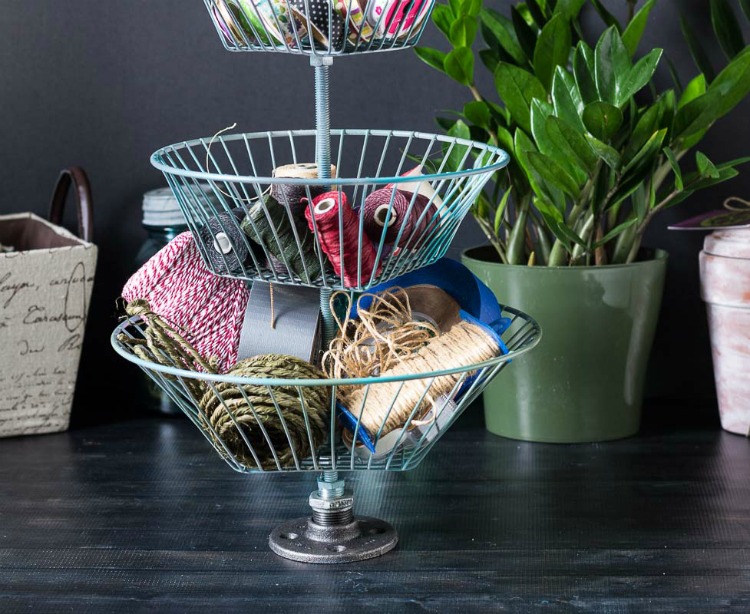
I love the way it turned out. ♥

It's perfect for storing all of my twines and tapes, which I normally have all over the house.
This would be great for all kinds of storage like craft paint, and even the original fruit and veggie use the basket was designed for, but more on display in this pretty basket stand.

P.S. If you enjoy repurposed projects you make also like my Leather Bracelet Cuff Project, Hanging Teacup Planter, or my post that shows you how to make mittens and a headband from an old sweater. You can find them and many more fun ideas on my DIY/Projects Page.
Click Here to Save to Pinterest!


3 Tiered Basket Stand Made from a Hanging Basket
Equipment
- Miter Saw
Materials
- Hanging Basket
- Rod to fit through hole
- Nuts and Washers
- Gasket for the stand
- Primer
- Spray Paint
Instructions
- Prime the rod and baskets.
- Put all the pieces together with a washer on either side of the basket, and a nut after the washer to hold each basket in place.
- Cut the rod down with a miter saw if it is too tall.
- Tighten up the nuts.
- Cover the base with masking tape.
- Spray paint the entire piece with the color of your choice.
- Remove the masking tape and you are done!
ColleenB.-Tx.
Also would be great to decorate up for the holidays
Patti Estep
Yes, it would Colleen. Thanks for the suggestion.
Komal
Hello
I love your blog of repurchased hanging basket. I have those hanging baskets for veggies but my husband told me that he will not hand just incase it will not be safe so I am using my baskets separately for veggies and it takes my lots of counter space but exactly I found out what I m going to do now in order for me to save counter space and it's all thanks to u.
Patti Estep
Hi Komal,
Using this basket stand for veggies is a great idea.
Thanks for stopping by,
Patti