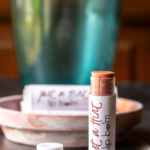

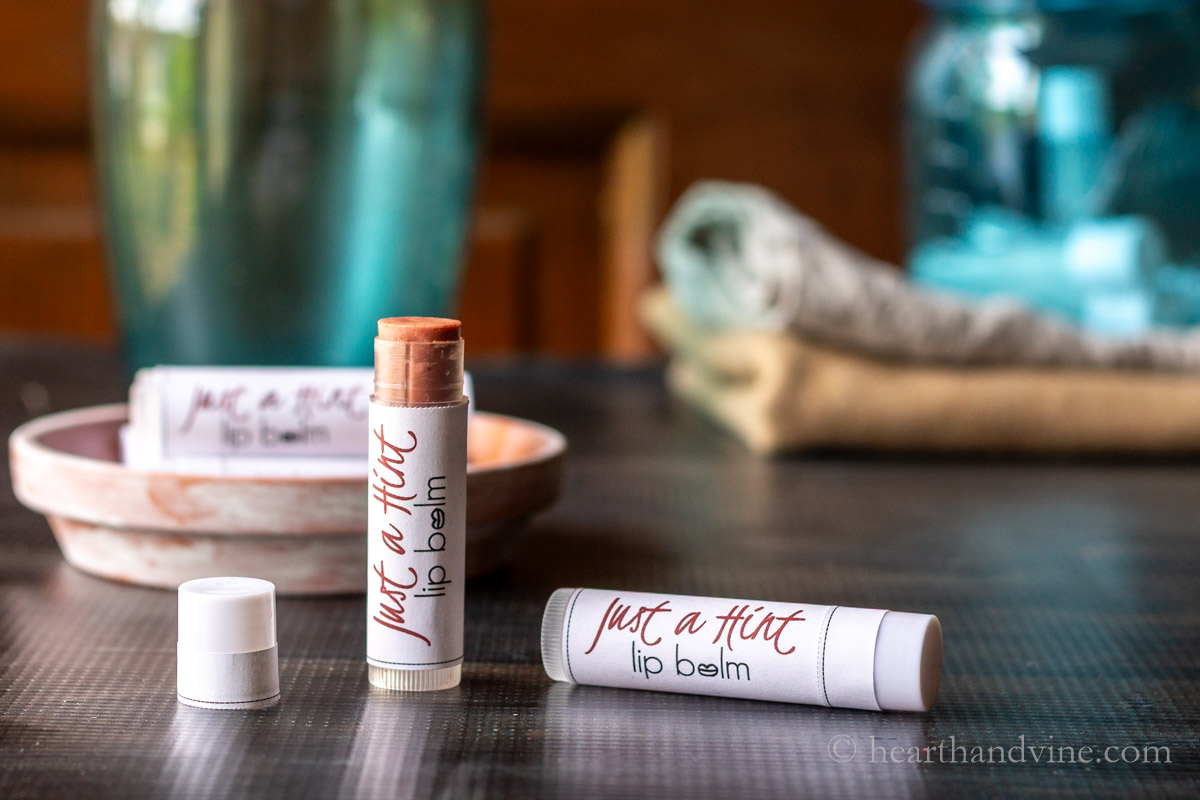
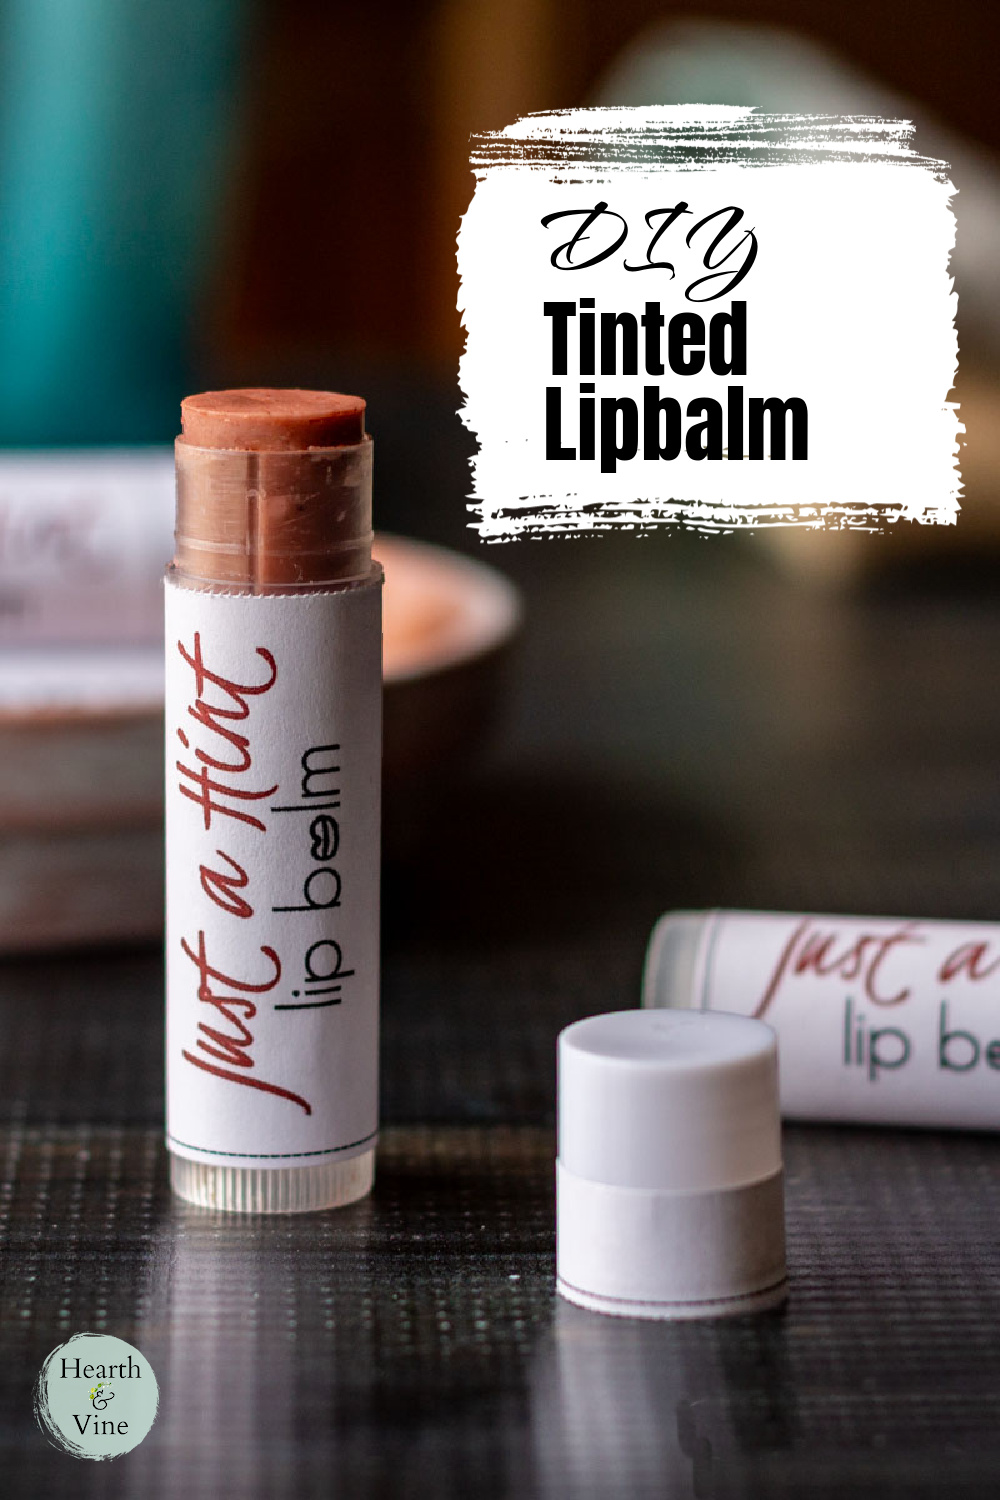
This DIY Tinted lip balm is easy to create and uses natural ingredients that you can feel good about. It also makes a great homemade gift.

There's a name brand of lip balm that has some color to it that I love. I really enjoy the emollient balm. It's great for my lips, but I still want a little color without having to wear lipstick. However, it's hard to find. So I decided to try and make something similar, and it turns out that it's pretty easy to do.
This post contains some affiliate links (that means if you make a purchase after clicking a link, there's no additional cost to you, but I will earn a very small commission. ) i.e. as an Amazon Associate, I earn from qualifying purchases. Click here to read my full disclosure policy.
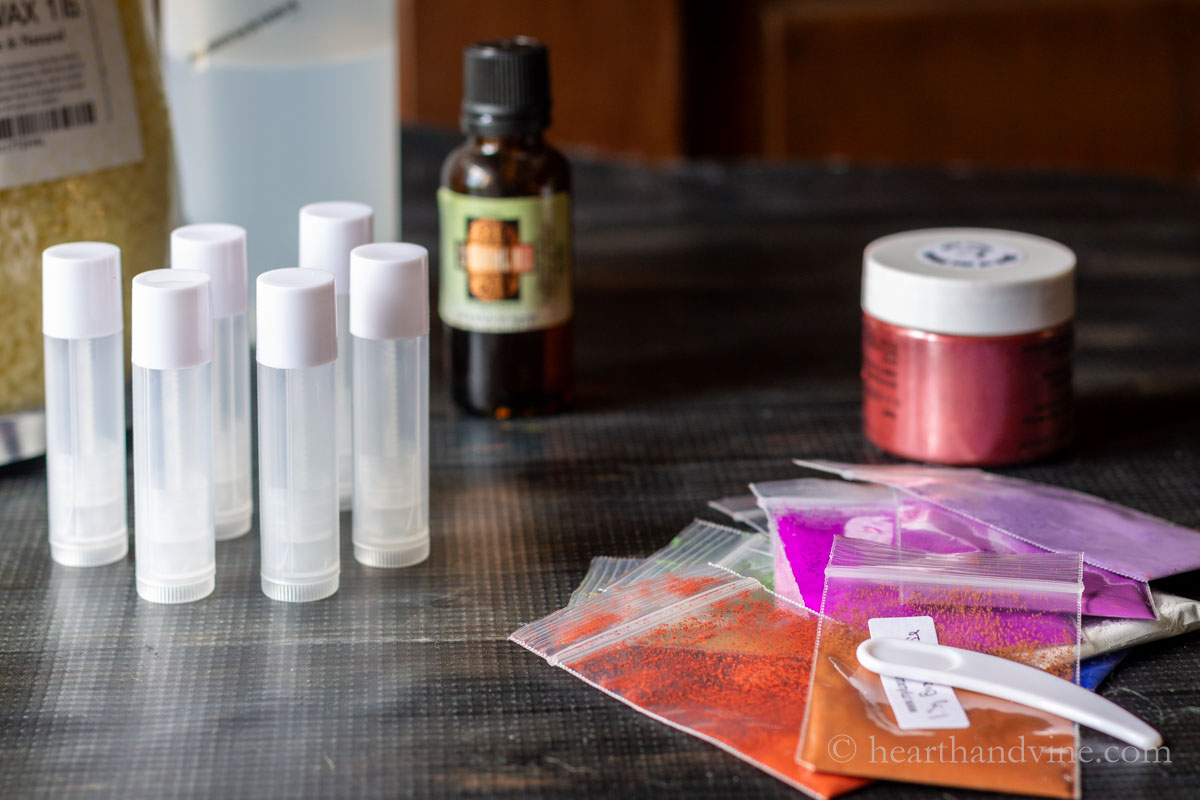
Supplies
- Fractionated Coconut Oil
- Beeswax pellets

- Matte Mica Powder
- Lip Balm Tubes or use lip balm tins
- Lip Balm Labels
- Essential Geranium Oil (optional)


 s
s (optional)
DIY Tinted Lip Balm Recipe & Tips
DIY Lip Balm Recipe
- 7 teaspoons of coconut oil
- 4 teaspoons of beeswax pellets
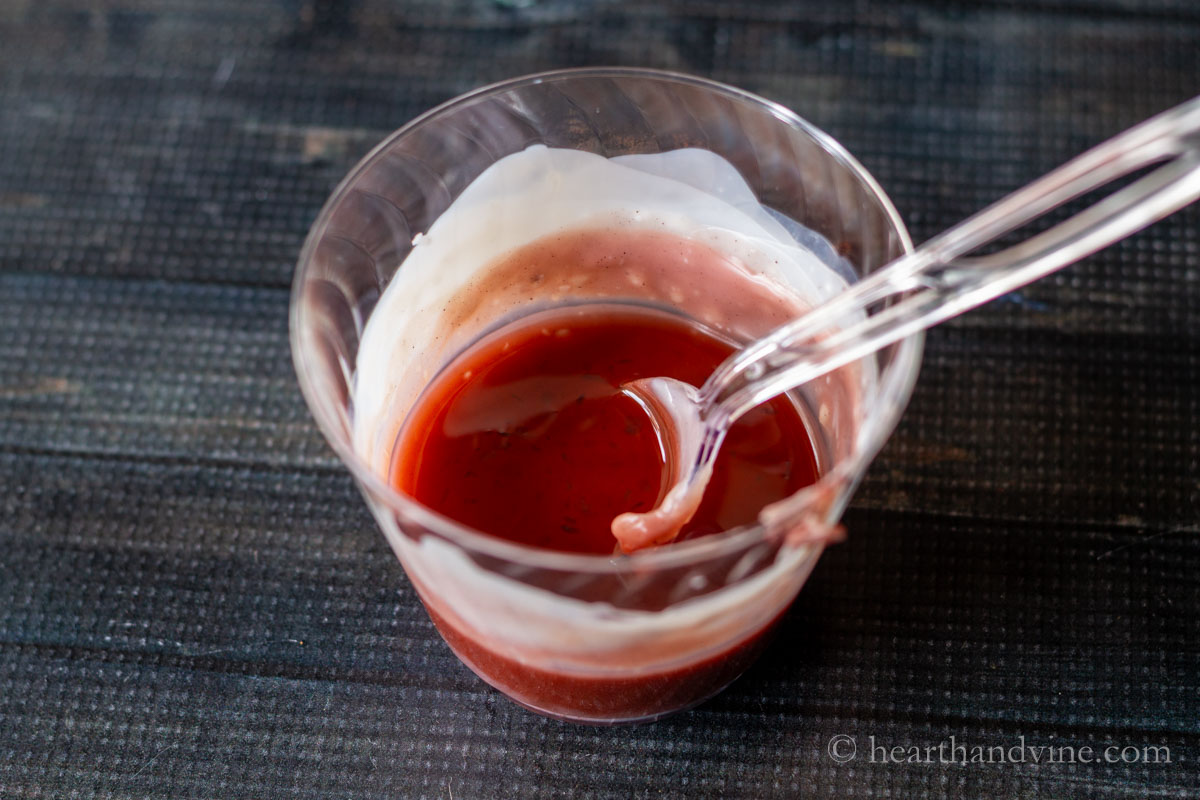
Use a plastic cup or small glass bowl to melt the coconut oil and beeswax in a microwave in 30-second intervals, stirring in between. About 2.5 minutes, depending on the wattage of your oven. You can also use a double boiler for this process, however, the amounts are so small that it's not really necessary.
Adding Natural Color to the Lip Balm
- 3 spatulas of red matte mica powder
- 2 spatulas of brown matte mica powder
Add in Essential Oils for Scent
- 3 drops of geranium oil (optional)
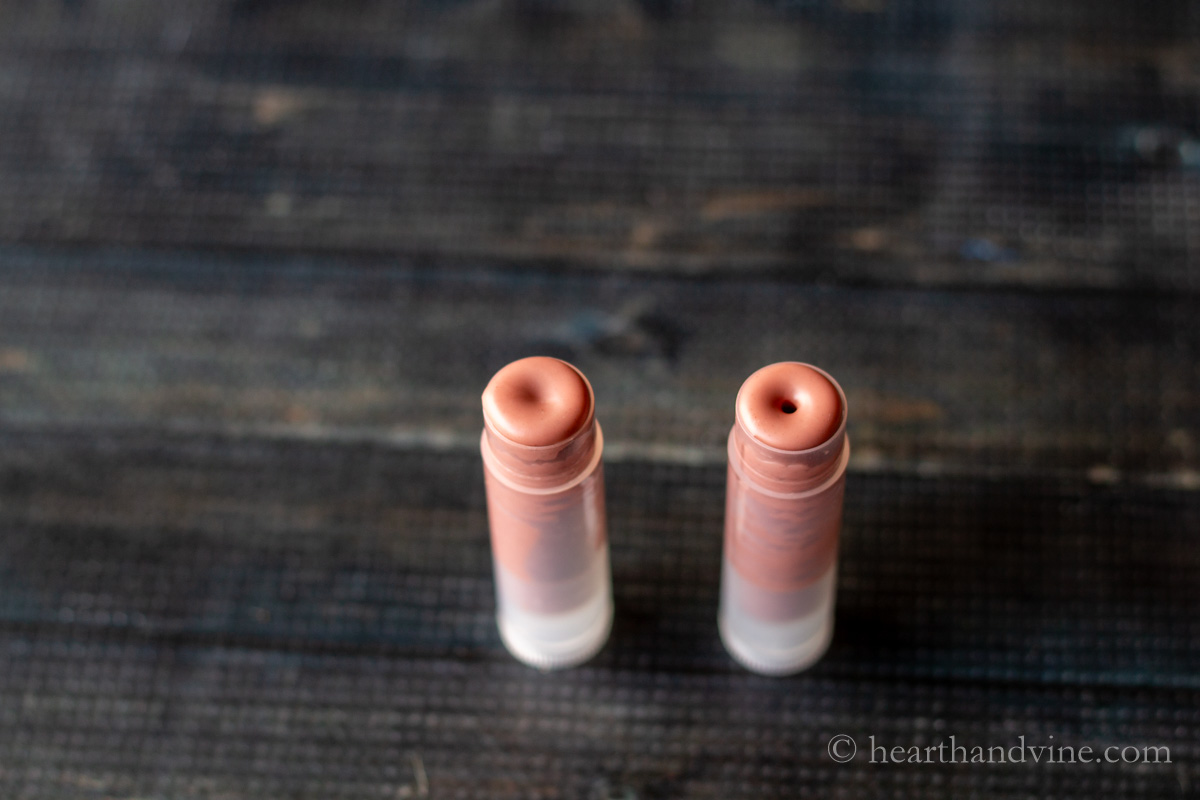
Stir well and pour into the lip balm containers. This amount makes approximately 7 -8 tubes of tinted lip balm.
DIY Lip Balm Notes and Tips:
- You can increase or decrease the amount of beeswax or oil to make the balm harder or more gloss-like. The more wax, the harder it will be. Test it by dipping a spoon in the melted mixture and setting it in the freezer for a minute. When you take it out, you can try it and see if you want to adjust the firmness accordingly.
- If your mixture comes out lumpy when you pour it into the tubes, you can use a dryer sheet to help smooth out the top of the balm.
- You can use your essential oil of choice. Flavored extracts like peppermint work well too.
- I used the little spatula that came with the mica powders. If you buy something different, you will just have to experiment with a plastic spoon to get the color in a shade you like. As you can see from the picture of the cup above, the color looks a lot darker in its melted state. Try using the spoon in the freezer test so you can see what the resulting color will be.
- Like many homemade recipes, you can use other carrier oils, such as avocado oil, jojoba, or sweet almond oil instead of coconut oil.

If you want to use my labels, just right-click on the image above, and it will take you to a Microsoft Word template.
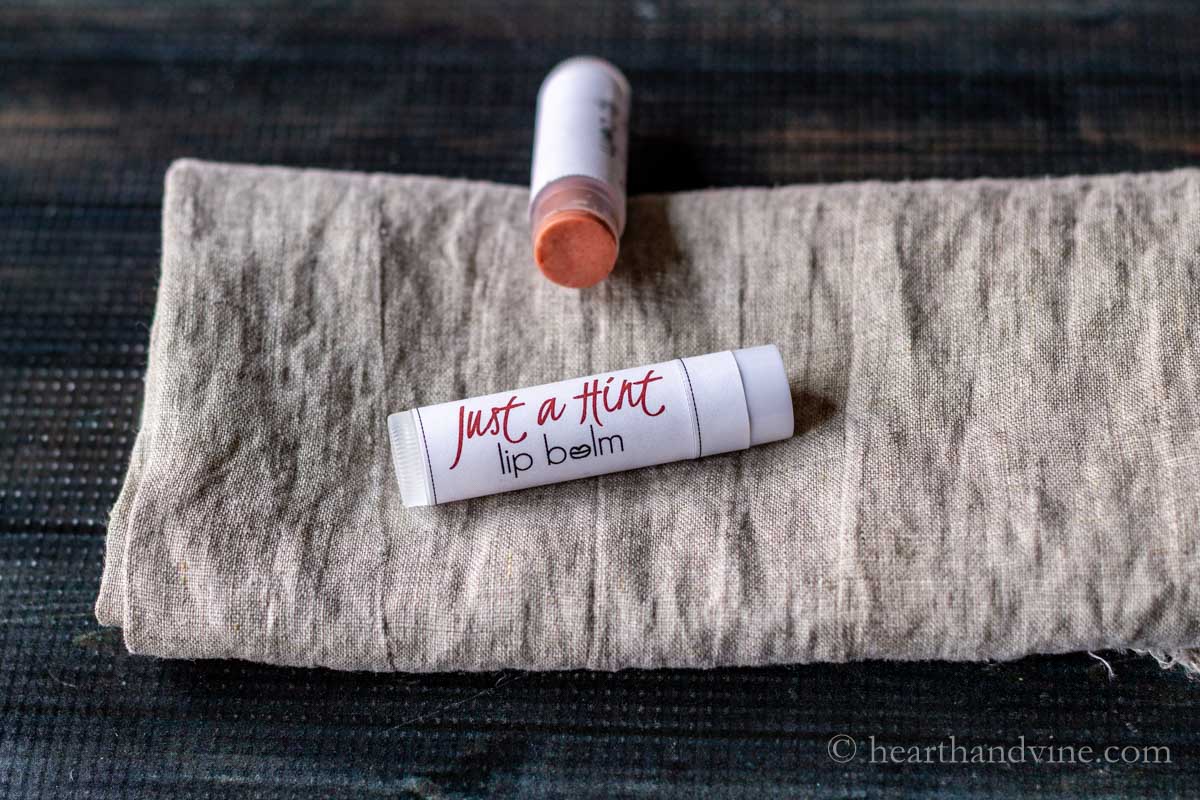
This tinted lip balm turned out perfect for me. It adds a nice pop of color so I can look pretty good when I go out to run errands. Plus, the beeswax and coconut oil are great for keeping my lips soft and smooth.

More Balm Recipes

DIY Tinted Lip Balm
Equipment
- Plastic cup and spoon
- Computer and printer for labels
Materials
Instructions
- Take 7 teaspoons of coconut oil and 3 teaspoons of beeswax pellets and melt them in a plastic cup in the microwave. Start at 30 seconds and stir until melted.
- Add 3 spatulas of red matte mica powder and 2 brown matte mica powder. Stir.
- Add three drops of geranium essential oil if desired.
- Stir well and carefully pour into the lip balm containers.
Notes
- You can increase or decrease the amount of beeswax or oil to make the balm harder or more gloss-like. The more wax, the harder it will be. Test it by dipping a spoon in the melted mixture and set it in the freezer for a minute. When you take it out you can try it, and see if you want to adjust the firmness accordingly.
- If your mixture comes out lumpy when you pour it into the tubes, you can use a dryer sheet to help smooth out the top of the balm.
- You can use any essential oils you like. Lavender is always a safe bet. Flavored extracts like peppermint work well too.
- I used the little spatula that came with the mica powders. If you buy something different, you will just have to experiment with a plastic spoon to get the perfect shade.
Jenn
Hello again from Minnesota!!
Quick question... Any ideas/thoughts on how to add a sunscreen with a higher SPF to this and not ruin the recipe?
Being from Minnesota, "The Land of 10,000 Lakes" (We actually have more than that!) we spend a lot of time on and in lakes. Whether it's fishing, kayaking/canoeing, water skiing, tubing, pontooning or just swimming.
With the reflection of the sun on the water, our lifestyle requires us to protect ourselves from the sun, skin damage and sunburn, which is especially painful on and around your lips!
Just curious if you had played with this at all and if you have, if you'd be willing to share to save time and frustration!!
Thank you!! 🙂
Fondly,
Rescuecatmom24 AKA Jenn
Patti Estep
Jenn, I haven't tried to use any specific SPF products in my homemade bath and body products. I have heard that many oils have natural SPF in them but the numbers are low, like SPF10. Still, it's better than nothing. You could try researching adding something like Zinc Oxide. I haven't tried it but I'm sure you'll find others who have.
Elizabeth
Thank you for the simple recipe. What is the approximate shelf life of this lip balm?
Patti Estep
Elizabeth, at some point the coconut may turn rancid. Also, as with any cosmetics bacteria will build up over time. I'd say it's safe within 6 months possibly as much as a year.
Darlene Palma
could you please post a swatch of this?
Patti Estep
Ok, here's a pic I took with my iphone of the lip balm on paper and my wrist. It's hard to get an exact color but you get the idea. I'd say in reality it's a bit lighter.
https://hearthandvine.com/wp-content/uploads/2018/07/tinted-lip-balm-arm.jpg
Patti Estep
Here's a pic with the lipbalm on paper and my wrist. This was taken with my iphone. I'd say in reality it's a bit lighter.
Tina
Do you have issues with beeswax separating over time and getting gritty/lumpy???
Patti Estep
Hi Tina,
No I haven't. I still have one of the one peppermint lip balms and it hasn't changed. However, I'm not sure if this batch with mica will change over time.
Carole
Awesome presentation as always - Love this idea and wish I had the space to make my own. I've been busy outside lately and have to say I need to remember my lip balm. Once we get moved into our tiny house.... I'm guessing a year from now there will be so many things I'm going to start making again. Another great project Patti and appreciate the detailed instructions.
Patti Estep
Thanks Carole. I know that time will be here before you know it.
Lupita
By The Way, is it Safe mica poder?
Patti Estep
Hi Lupita,
From what I can tell the concern with mica powder is the damage it may cause from inhaling it into your lungs. This recipe call for a very tiny bit of cosmetic grade mica and it is mixed in with the oil and beeswax so I would doubt that it is an issue. However, you will have to do your own research to determine if it is a concern for you.