• Skip to primary navigation
  • Skip to main content
  • Skip to primary sidebar
  • Home
  • DIY Projects
    • Homemade Bath and Body
    • Sewing
    • Flower Crafts/Decor
    • Thrift Store/Vintage
  • Gardening
    • Flower Gardens
    • Container Gardening
    • Houseplants
    • Indoor Gardening
    • Landscaping
    • DIY Garden Art
  • Decorate
    • Room Makeovers
    • Spring Decor
    • Summer Decor
    • Fall Decor
    • Winter Decor
    • Home Decor Projects
  • Recipes
    • Breakfast Recipes
    • Lunch Recipes
    • Dinner Recipes
    • Dessert
    • Salad Recipes
    • Soups and Stews
    • Side Dish Recipes
    • Appetizers and Snacks
    • Healthy Recipes
  • Holidays
    • Valentine's Day
    • Easter
    • Mother's Day
    • Halloween
    • Thanksgiving
    • Christmas
Hearth and Vine
menu icon
go to homepage
subscribe
search icon
Homepage link
  • Home
  • About Hearth and Vine
  • DIY Projects
    • ...Flower/Gardening Crafts
    • ... Bath and Body
    • ...Sewing/Fabric Crafts
    • ...Thrift Store/Upcycle
  • Gardening
    • ...Flower Gardens
    • ...Container Gardening
    • ...Indoor Gardening
    • ...DIY Garden Art
  • Decorate
    • ...Home Decor Projects
    • ...Spring Decor
    • ...Summer Decor
    • ...Fall Decor
    • ...Winter Decor
    • ...Room Makeovers
  • Recipes
    • ...Appetizers and Snacks
    • ...Dinner Recipes
    • ...Side Dish Recipes
    • ...Salad Recipes
    • ...Dessert
    • ...Drinks
  • Holidays
    • ...Valentine's Day
    • ...Easter
    • ...Mother's Day
    • ...Halloween
    • ...Thanksgiving
    • ...Christmas
  • Subscribe
  • Instagram
    • Email
    • Facebook
    • Instagram
    • Pinterest
    • Twitter
  • ×

    Home » DIY Projects

    DIY Whipped Body Butter

    October 14, 2019 by Patti Estep 6 Comments

    Jump to How-to Card
    Two jars of body butter and a few sunflower petals.
    Jar of body butter and sunflowers

    Learn how to make this rich and creamy whipped body butter made with shea butter and oils to help protect and soothe your dry skin

    Whipped body butter

    Dry skin is a real problem for some. For me, it's my hands. I'm constantly washing them from gardening, crafting and cooking. 

    Lotions and hand creams are great but I wanted to try making a whipped body butter with natural ingredients to try and perhaps give some as gifts.

    This post contains some affiliate links (that means if you make a purchase after clicking a link, there's no additional cost to you, but I will earn a very small commission. ) i.e. as an Amazon Associate, I earn from qualifying purchases. Click here to read my full disclosure policy.

    Melting butters in oil

    How to Make Whipped Body Butter

    For this recipe I chose, shea butter, mango butter, coconut oil, and sweet almond oil. You can also try experimenting with other hard butters such as cocoa butter. And you can try different carrier oils like avocado oil or safflower oil for this project.

    Melting butters in oil

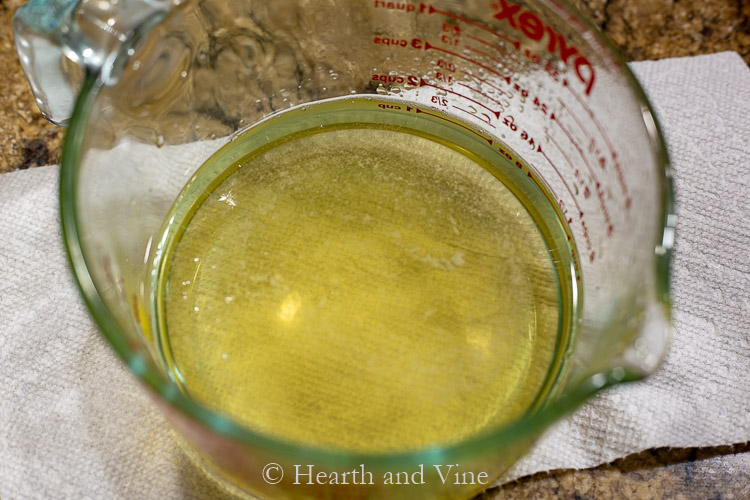
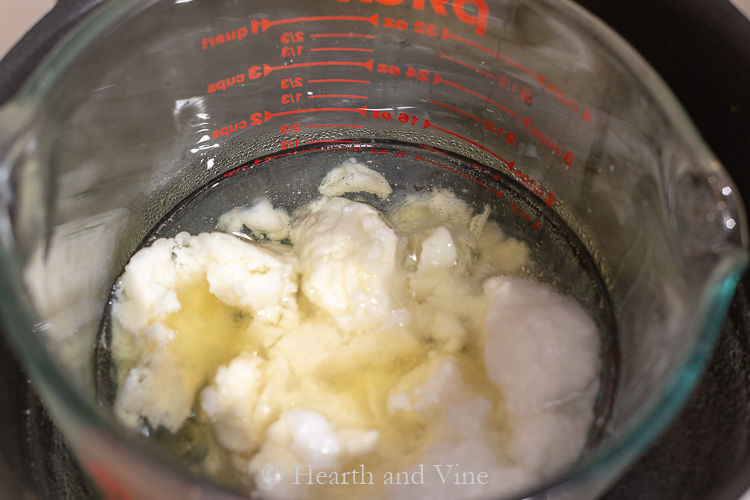
    Melt them in a large pyrex measuring cup that was placed in an old pot of simmering water.

    Once melted and cooled slightly you can add essential oils for extra fragrance. I used a blend of essential oils called Happiness, but you can use a single essential oil or any combination you like.

    Whipping cold butters

    Next, the butter needs to cool and slightly harden in the freezer.

    Then you can whip it up with a hand mixer.

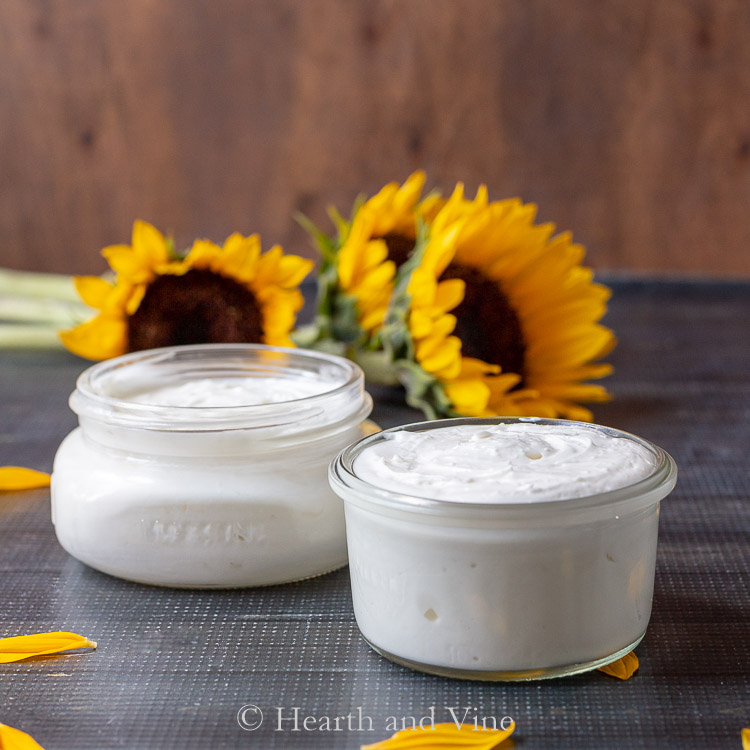
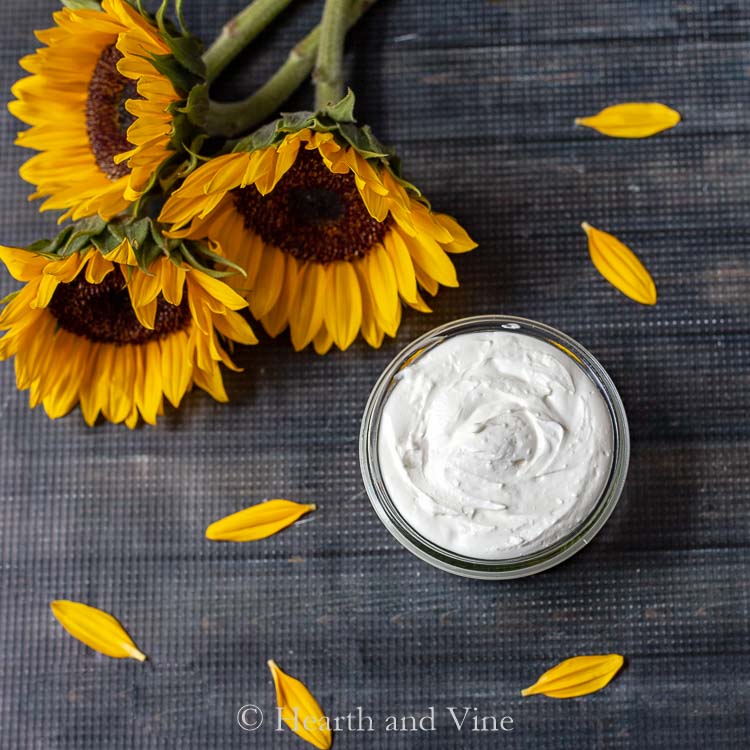
    Pour the whipped body butter into small jars and keep it in the refrigerator. You can store it somewhere else that is cool, but if it gets warm, it will soften. 

    If the product is difficult to scoop into jars consider using a plastic baggie. Fill the baggie with the body butter, cut off one of the corners, and then squeeze it into the jars just like frosting.

    Jar of whipped body butter

    This whipped body butter should last for several months. However, making small batches is always a good idea when creating homemade skincare. This way you will probably use it up before having to worry about the product going bad.

    Also, consider buying spatulas or using a wooden craft stick for application. This will reduce the possibility of introducing bacteria from your hands.

    So far I've been really enjoying this body butter on my hands. Like many homemade creams and salves, it's very greasy going on. However, it does absorb into the skin after a few minutes and it makes my skin feel great.

    Patti signature

    More Homemade Skin Care Projects

    • Foot Pampering Scrub
    • Blush Sugar Scrub
    • Homemade Lotion Bars

    Click Here to Save to Pinterest!

    Jars of whipped body butter and sunflowers.
    Jar of whipped body butter
    Print

    Whipped Body Butter DIY

    Learn how to make this rich and creamy whipped body butter made with shea butter and oils to help protect and soothe dry skin.
    Prep Time5 mins
    Active Time10 mins
    Additional Time1 hr
    Total Time1 hr 15 mins
    Course: Skin Care
    Yield: 2 cups
    Author: Patti Estep

    Equipment

    • hand mixer
    • 4 cup pyrex measuring cup
    • saucepan
    • wooden or plastic stirrers
    • measuring cups

    Materials

    • 1/2 cup shea butter
    • 1/2 cup mango butter
    • 1/2 cup coconut oil
    • 1/2 cup sweet almond oil
    • 50 drops of essential oil

    Instructions

    • Melt the butters, coconut oil and almond oil in a large pyrex container set in a pot of simmering water.
    • Once melted remove from heat and allow to cool slightly.
    • Then add essential oils of your choice and mix well.
    • Place the pyrex container in the freezer for 30 - 45 mins to harden.
    • Remove from the freezer and beat with a hand mixer for about 5 minutes until smooth.
    • Pour into sterilized glass jars. (you can also place some of the body butter into a plastic bag and then squeeze it into the jars)
    • Keep the jars in a cool place or refrigerator for up to 4 months.

    Notes

    Making small batches is always a good idea when creating homemade skincare. This way you will use it up before having to worry about the product going bad. Also, consider buying spatulas or using a popsicle stick for application. This will reduce the possibility of introducing bacteria from your hands.

    More DIY Projects

    • Make Your Own Corn Heating Bags
    • How to Make Your Own Birdseed Cakes
    • Make an Emergency Candle Kit for Power Outages
    • Homemade Dusting Spray

    About Patti Estep

    Patti is the creator of Hearth and Vine, a home and garden blog filled with projects to inspire your creative side. She loves crafting, gardening, decorating and entertaining at her home in Pennsylvania. When she is not working on a project at home or searching for treasures at nurseries and thrift stores with her girlfriends, you’ll probably find her with family and friends, at a restaurant, or home party enjoying new and different food adventures.

    Reader Interactions

    Comments

    1. Tanzeel

      September 17, 2020 at 11:04 am

      I am planning to try this making today, I have one question. Are their any chances of this getting hard after whipping? May be the next day. I read in other articles people discussing this issue . I am trying this for the very first time ,please help.
      I have all the ingredients that goes in your recipe.

      Reply
      • Patti Estep

        September 17, 2020 at 11:14 am

        Tanzeel, yes it did harden a little for me once I refrigerated it. However, the ingredients were still emulsified and I enjoyed using it on my dry skin areas.

        Reply
    2. Gwen

      October 15, 2019 at 3:50 pm

      How long do you whip it?

      Reply
      • Patti Estep

        October 16, 2019 at 6:45 am

        Gwen, just enough to get it smooth and light. For my batch, it was about 5 minutes.

        Reply
    3. Julie Briones

      October 14, 2019 at 3:31 pm

      What a great tutorial, Patti! Love that you can customize the fragrance, too!

      Reply
      • Patti Estep

        October 14, 2019 at 3:44 pm

        Thanks Julie. It's coming in handy with the cooler weather. My hands are drier than ever. 

        Reply

    Leave a Reply Cancel reply

    Your email address will not be published. Required fields are marked *

    Recipe Rating


    Primary Sidebar

    Follow Me

    • Email
    • Facebook
    • Instagram
    • Pinterest
    • Twitter

    Patti profile pic

    Hi! I'm Patti

    Join me to create lots of fun DIY projects including crafts, gardening, home decor and tasty recipes.

    more about me

    Popular Posts

    Blue jean crossover bag

    DIY Crossbody Bag from Jeans

    tabletop water gardens

    How to Make an Indoor Water Garden

    Echievera planter

    What to do With a Stretched Succulent

    Fabric bowl covers in 3 prints

    How to Make Fabric Bowl Covers

    Collage of flowers including russian sage, pink hydrangeas, coneflower and yarrow.

    10+ Long Blooming Plants

    Chicken black bean tortilla casserole

    Chicken Black Bean Casserole Recipe

    Footer

    ^ back to top

    About
    Privacy Policy
    Disclosure Policy

    Sign Up Here!
    for our weekly
    newsletter &
    special offers

    • Shop
    • Web Stories

    As an Amazon Associate, I earn from qualifying purchases. i.e. as an Amazon Associate, I earn from qualifying purchases.

    Copyright © 2021 Hearth and Vine