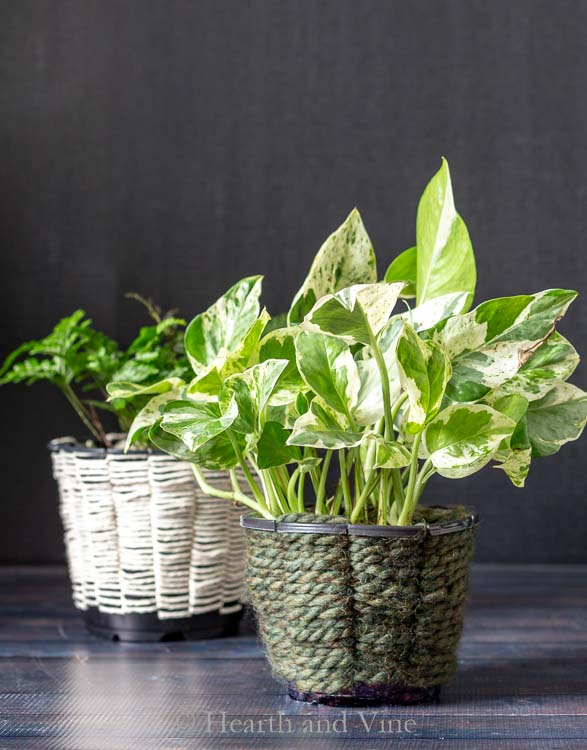
Put those empty plastic nursery pots to good use by recycling them to making beautiful woven planters with yarn, twine, string or cording.

One thing I always have an abundance of is plastic nursery pots. I keep them to use as temporary housing for divided perennials and volunteers and use them for other gardening projects.
However, recently I came across the art of cup weaving. This is something that is often made with kids in mind, but I thought the same practice would be great for making little woven planters for some of my houseplants.
This post contains some affiliate links (that means if you make a purchase after clicking a link, there's no additional cost to you, but I will earn a very small commission. ) Click here to read my full disclosure policy.
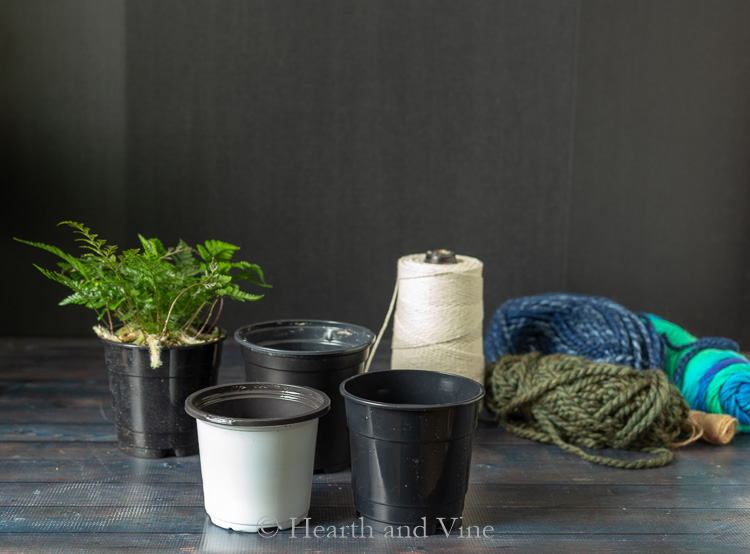
Supplies for Woven Planters
- Plastic Nursery Pots
- Yarn, Twine
 , or Cording - Any fiber used for weaving
 - A soft tape measure
- Scissors
- Pencil or marker to mark the pots
 , or Cording - Any fiber used for weaving
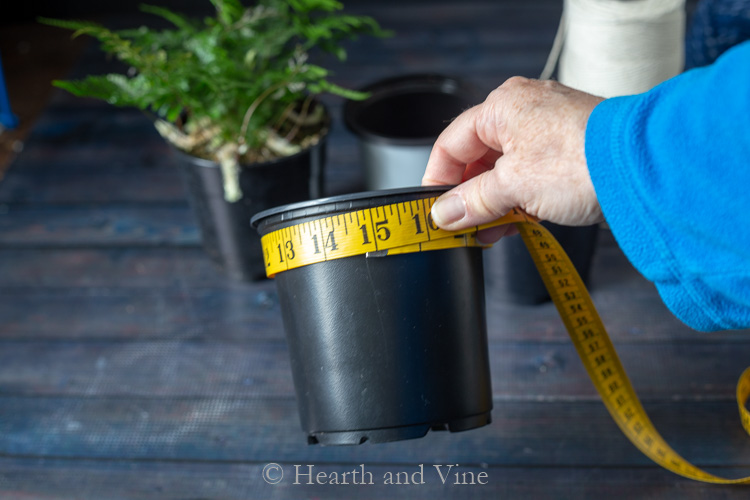
How to Make a Woven Planter
Step 1 - Measure your pot
Use a soft tape measure to measure around the top of the pot.
You need to make sure that you have an odd number of spokes for the weaving. Since this pot is 15 inches I made a mark every one inch for fifteen spokes. If your pot is an even number you will need to slightly increase or decrease the measurement to get an odd number.
For example, if the pot measures 12 inches you could make the marks at 3/4 inch and you will end up with 9 spokes. Or you could use 1.09 inches and have 11 spokes.
You could try and eyeball the cuts but that's a little risky.
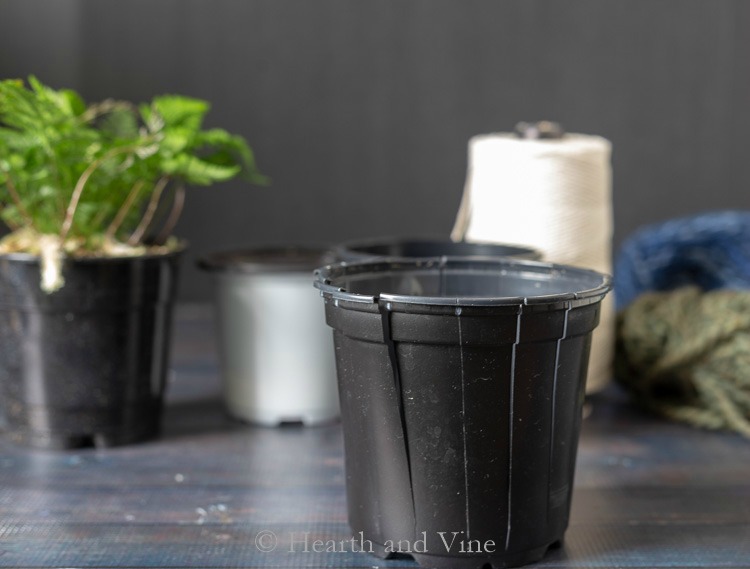
Step 2 - Cut the sides of the pot to create your spokes.
Using sharp scissors cut from the mark at the top straight down to the bottom.
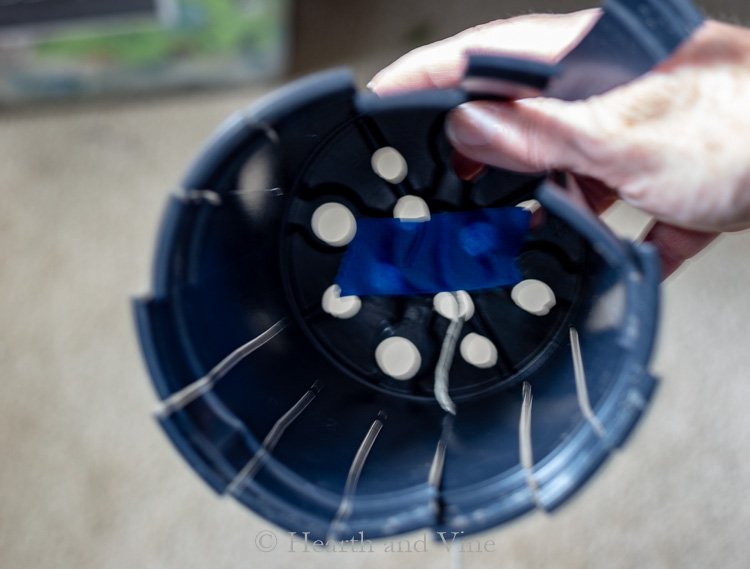
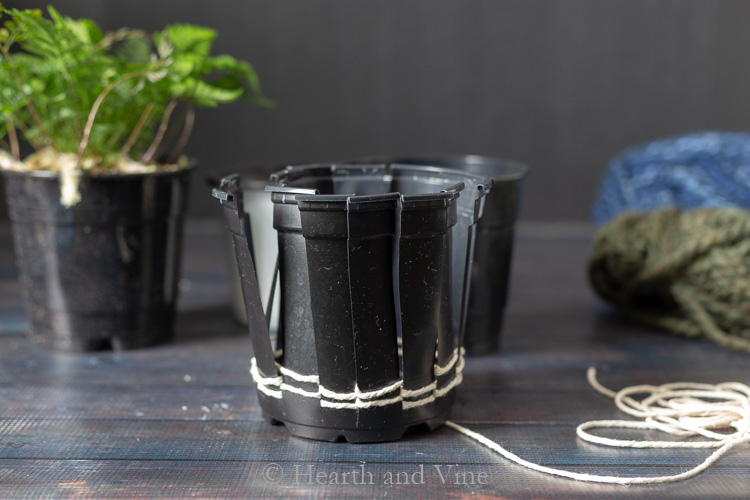
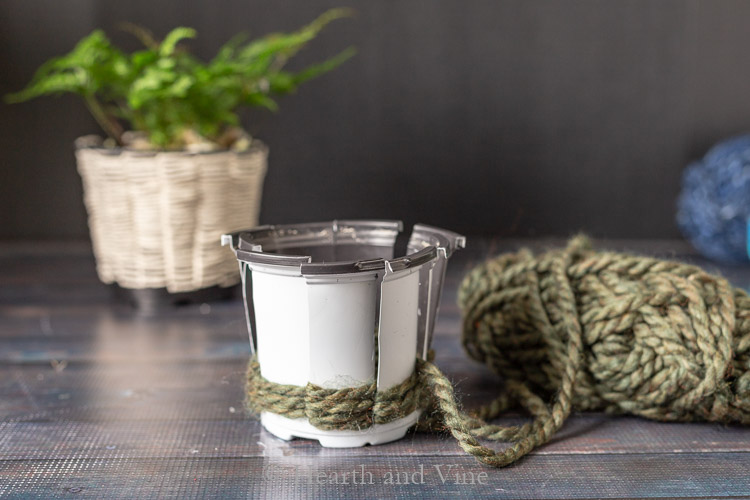
Step 3 - Tape one end of the yarn to the bottom of the inside of the pot.
Tape the end of the yarn, or twine to the bottom of the pot and then thread the rest through one of the plastic spokes at the very bottom.
Step 4. Begin Weaving
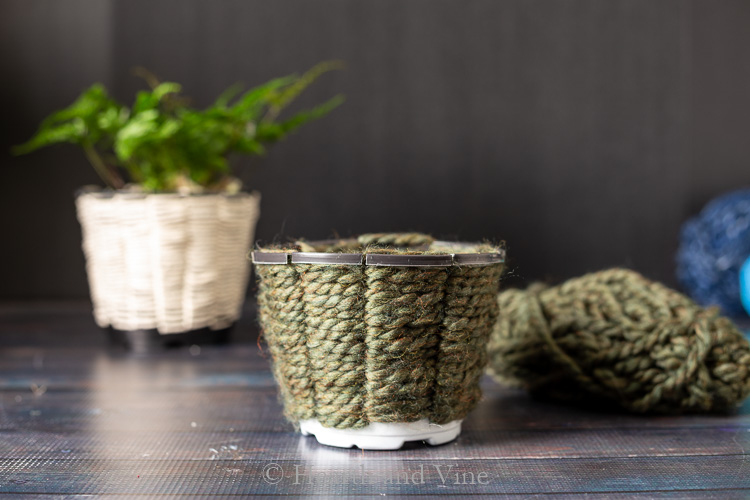
Weave the cotton thread over and under each spoke.
Step 5. Finish by knotting the thread inside of the pot.
Once you get to the end of the pot, take your thread and weave it under in some of the thread on the inside, and then tie it off in a knot. Cut off the extra string and enjoy.
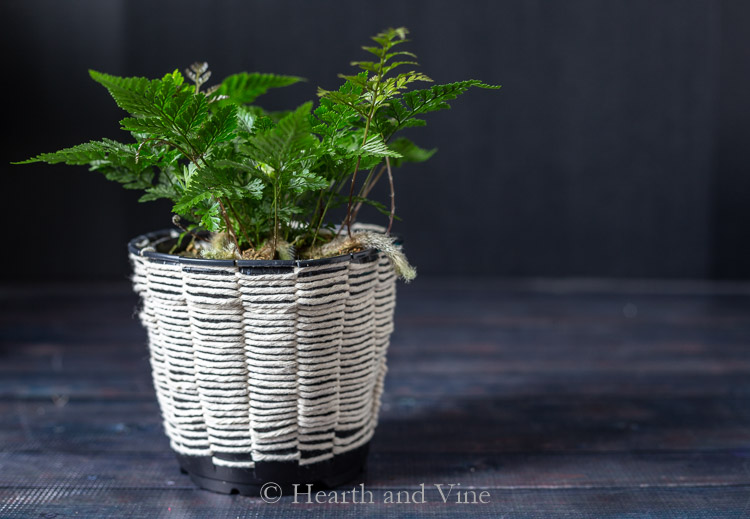
The cotton twine is really pretty but was a little hard to work with. I still like the overall look but as you can see, using a soft bulky yarn make for a much tighter weave.
Woven Planter Tips
- Don't pull too hard as you weave the yarn onto the pot. Keep your tension a little loose, all the while pushing push down slightly as you go to make sure your yarn is close together.
- Stop and check to make sure you didn't miss one. It will be very obvious and you can easily take the yarn back to the point where the mistake happened and correct it.
- One final tip. If you want to you can use a sharpie or paint to color the bottom or top of a pot if needed. I used a black sharpie to cover the white part of the bottom of the second pot. (see below) I've also seen others use more yarn, or even a braided yarn, glued to the bottom and/or the top of the pot to add additional coverage.
If you are a crafter or DIY project maker and love plants like me you probably already have all of the tools and supplies to make this fun project.
I think it would make a wonderful gift. Pick up a potted plant or flower from the grocery store and make it look a little more special with one of these pretty woven planters that you made from a recycled pot.

P.S. Another fun project for recycling nursery pots is this DIY Cheap Flower Pot project. Or for something more in line with fiber arts try this Wall Hanging Weaving Basics idea. You can find these and many other fun ideas on my DIY Projects page.
Click Here to Save to Pinterest!
Beautiful Woven Planters Made From Recycled Nursery Pots
Equipment
- Scissors
Materials
- Plastic Nursery Pots
- Yarn Twine, or Cording
- A soft tape measure
- Pencil or marker
Instructions
- Use a soft tape measure to measure around the top of the pot.
- Make a mark every one inch for fifteen spokes.
- Using sharp scissors cut from the mark at the top straight down to the bottom.
- Tape the end of the yarn to the bottom of the pot.
- Thread the rest through one of the plastic spokes at the very bottom.
- Weave the cotton thread over and under each spoke.
- Take your thread and weave it under in some of the thread on the inside.
- Tie it off in a knot.
- Cut off the extra string and enjoy.
Venessa
Such a nice idea to recreate potplants, but I wonder though, when watering the plants, doesn't the water leak out from the sides or is the string/rope tight enough to stop it?
Patti Estep
Venessa, I don't plant directly in the woven pots but place another nursery pot inside so that they are really just a cover.
Susan
Love these types of crafty projects! I think I have everything in my garage. I have a couple of spots I've been wanting to hang some smaller plants from. This will be perfect for that!
Patti Estep
Thanks Susan. It's a great way to use up extra stuff you already have.
Naomi S
What a good idea, Patti! I have tons of those little, and some biggish, pots. The only thing I don't like about the end product is the visibility of the top edge of the plastic pot. I wonder if there is a way to wrap it so it was covered with the weaving material, too. Maybe start the slits for the spokes just under the top rim so it forms an intact ring that you could wrap. I'll have to try it and see if it works. It's a great re-cycling project, though. Thanks for the idea!
Patti Estep
Naomi, I know what you mean. One thing I did see on a cup weaving post was taking the yarn (especially if it's thin) and making a braid that you can glue on the rim. Let me know how yours turns out.
Susan @ Simply Sundays
Love these! Great project for my daughter and I to work on together this Spring. Thanks for sharing!
Patti Estep
Thanks Susan. I think its a great project to make with older kids.
Barbara Chapman
These are sooo cute, Patti! I do have a few planters around since I was just potting up some tulips and a young hydrangea ~ may have to make a few!!! Pinning, of course, and will share to my FB page.
Thank you for the wonderful and easy idea,
Hugs,
Barb 🙂
Michelle
These are fantastic! What a great way to dress up those, less than attractive, pots.