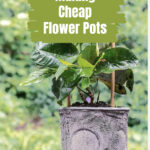

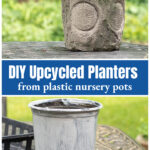
Learn how to make an upcycled planter by dressing up a basic black plastic nursery container. No need to repot. This is especially nice for gifts and for those plants that only last for the season.

Sometimes I come up with ideas, actually, many times, after the fact. I bought my sister and good friend some Thunbergia plants, aka Black-Eyed Susan Vines, for their birthday. I did not take the time to purchase a new pot for this gift but gave it to them with the standard nursery pot.
More Flower Pot Projects: Flower Pot Centerpiece.....DIY Woven Planter.....DIY Mosaic Pots
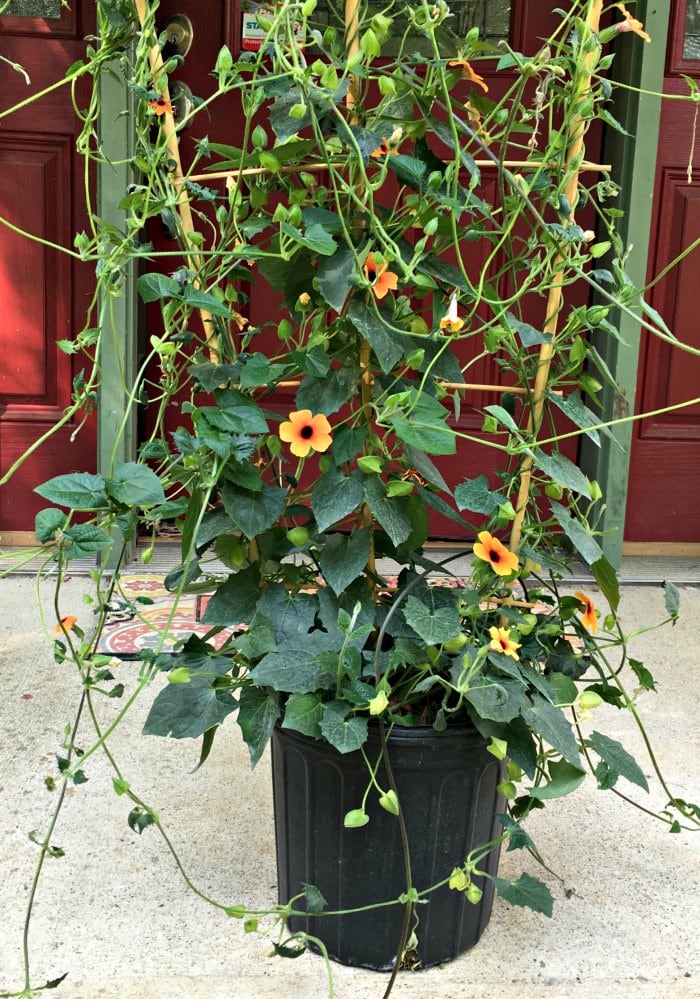
They may decide to plant it in the ground, and then the pot would not matter. However, this vine will not make it through our winter, so a pot would be a nice touch.
This problem made me start thinking about how one could dress up a plastic nursery pot on the cheap instead of buying a new pot to replant the flowers in.
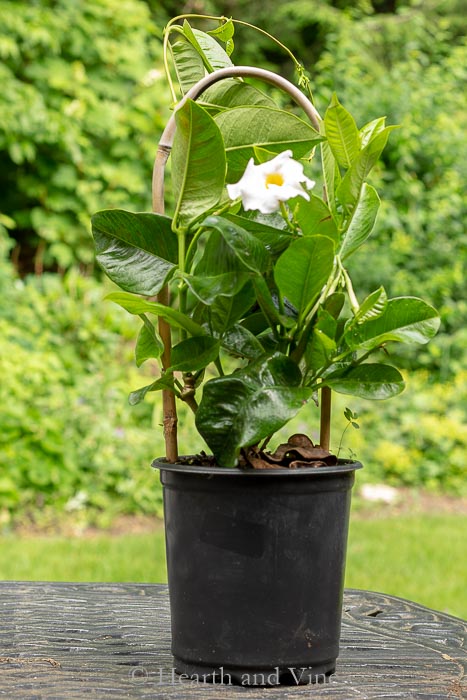
So I picked up a Mandevilla vine, also not hardy, and tried to come up with a way to create a cheap flower pot out of this basic black plastic one. First I tried plaster, but it did not stick. Then I tried glue with peat moss and paint for a textured look. This was a bad look. Finally, I used pre-mixed white grout , and the effect, though maybe temporary, was just the kind of thing I was looking for.
Supplies
- Paint Brush
- Plastic Spoon or Knife
- Plastic Nursery Pots
- Plant
- Pre-Mixed White Grout
- White Paint
- Decorative Bowl

How to Upcycle Plastic Plant Pots
First, start by painting the pot with primer, so the grout has something to stick to.
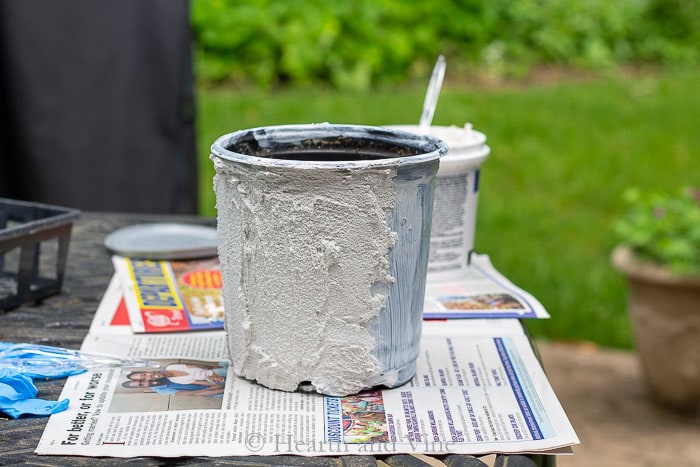
Then, just like icing a cake, spread the grout all over the pot using a plastic spoon or knife.
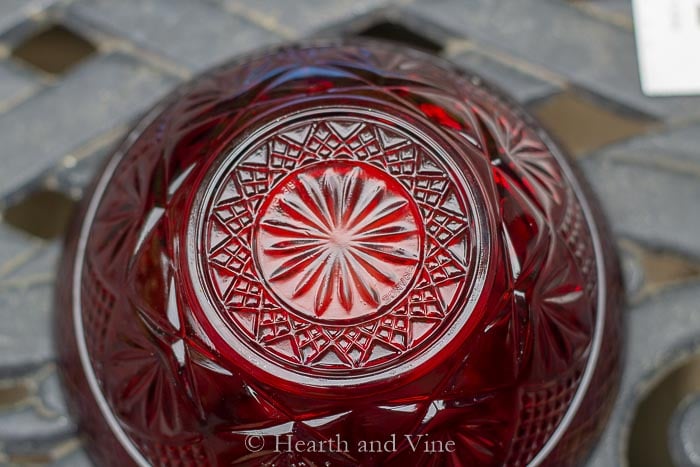
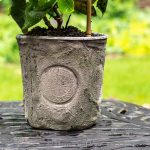
I wanted to give the grout some dimension, so I used the bottom of this bowl.
Wait about 4 hours before attempting to stamp the pot. Use a little cooking spray on the bowl first for easy release.
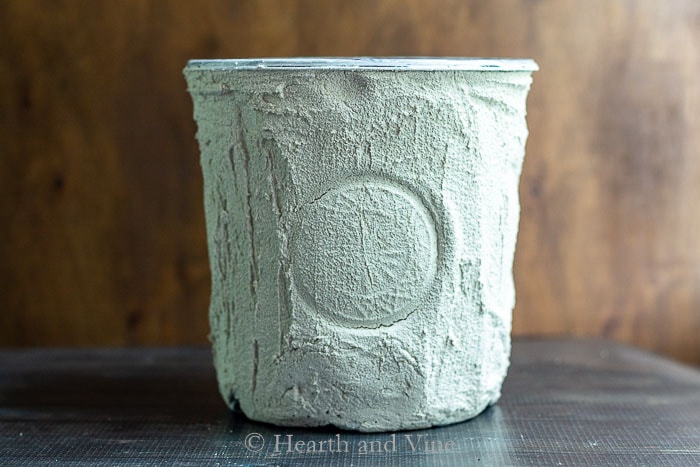
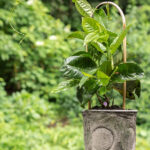
I brought the grouted pot indoors to dry out. This took about 2 days, and then I used some gray and green craft paint to give the pot an aged cement look.
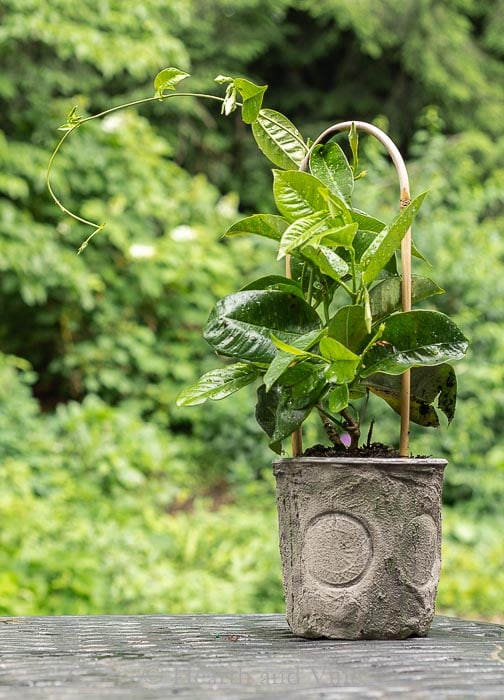
Pretty neat, huh? Who would have thought it would be so easy to decorate black plastic pots? They are already set with a drainage hole and the proper soil from the nursery. However, this technique gives the pot new life with little money or effort.
You may have the supplies to make this fun craft already on hand. I had to buy my grout, which was just a little over $10, and I have enough left over to make 2 more pots.
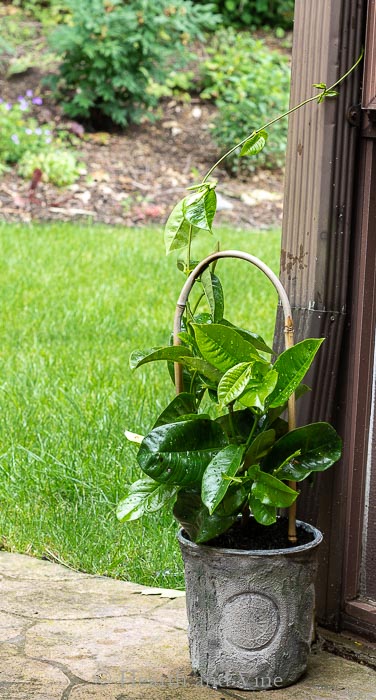
FYI, this pot had no problem lasting the entire season. However, it did get thrown out during the winter cleanup. I'll have to make another and make sure that it doesn't get tossed with the garbage so I can see if it will last year after year.

How to Make Upcycled Planters with Basic Plastic Planters
Equipment
- Paint Brush
- Plastic Spoon or Knife
Materials
- Plastic Nursery Pots
- Plant
- Pre-Mixed White Grout
- White Paint
- Decorative Bowl
Instructions
- Paint the pot with primer.
- Spread the grout all over the pot using a plastic spoon or knife.
- Let dry for 4 hours.
- Spray a little cooking spray on the decorative bowl and stamp the pot.
- Bring inside and let it dry for 48 hours.
- Paint the pot with gray and green craft paint to give it an aged cement look.
Linda Bricker
Have you thought about thinset. It would hold up much better and it is as easy as the grout you used. It can be painted and stamped. I'm a mosaic artist and I use these products all the time. Thanks
Patti Estep
That's a great idea Linda. Thanks for sharing.
Corina istan
Great idea! How did it fare ?
Patti Estep
Thanks Corina. It was great for the entire season. I didn't keep it afterward but now I wish that I did.
Marie
I just came across this post now. It is a couple of years old I think so I am wondering how the pot lasted?
Patti Estep
Marie, the pot did great throughout the summer but I threw it out with the in late fall. The Mandevilla is not hardy where I live and I didn't want to try and over-winter it inside. However, I would guess that it might last quite a while. The grout is made for bathrooms. I suppose it would eventually break down depending on the weather but you could protect it during winter and bring it out again next season.
Julie Briones
Quite ingenious, friend! Wow! Pinning!
Patti Estep
Thanks Julie! I'm so glad you like it.
Karen
Patti, I really have a thing for faux finishes because you can pull of such a great look for mere pennies compared to what the "real deal" would cost. I've had the same thought about those plain black plastic planters - I know they're kept cheap for just getting plants to consumers, but this is a really smart way to reuse them, even if you don't use the original plant.
I'm sharing this in our Facebook group since we focused on planters all last week. Great project! 🙂
Patti Estep
Thanks Karen. I do love a cute vintage pot. We'll see how this one holds out. I've had it outside for a couple of weeks not and so far so good. Thanks for sharing in your community group.
Carole West
Love this idea and it will be interesting to see how it holds up. Adding the bowl stamp was a neat idea. You're always thinking outside the box and I love that. I have an idea on the moss thing, after you add it then wrap raffia around the base. Visually I'm thinking it would look good but I've never tried this so I'm not sure.... We have moss out here so I may try something like this around Christmas. Great project!
Patti Estep
Thanks Carole. Moss and raffia sound perfect together. Can't wait to see it.