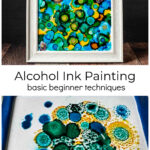
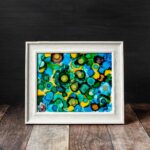
Learn how to use alcohol ink on glass to create a beautiful piece of artwork. A great creative project to try alone or with friends.
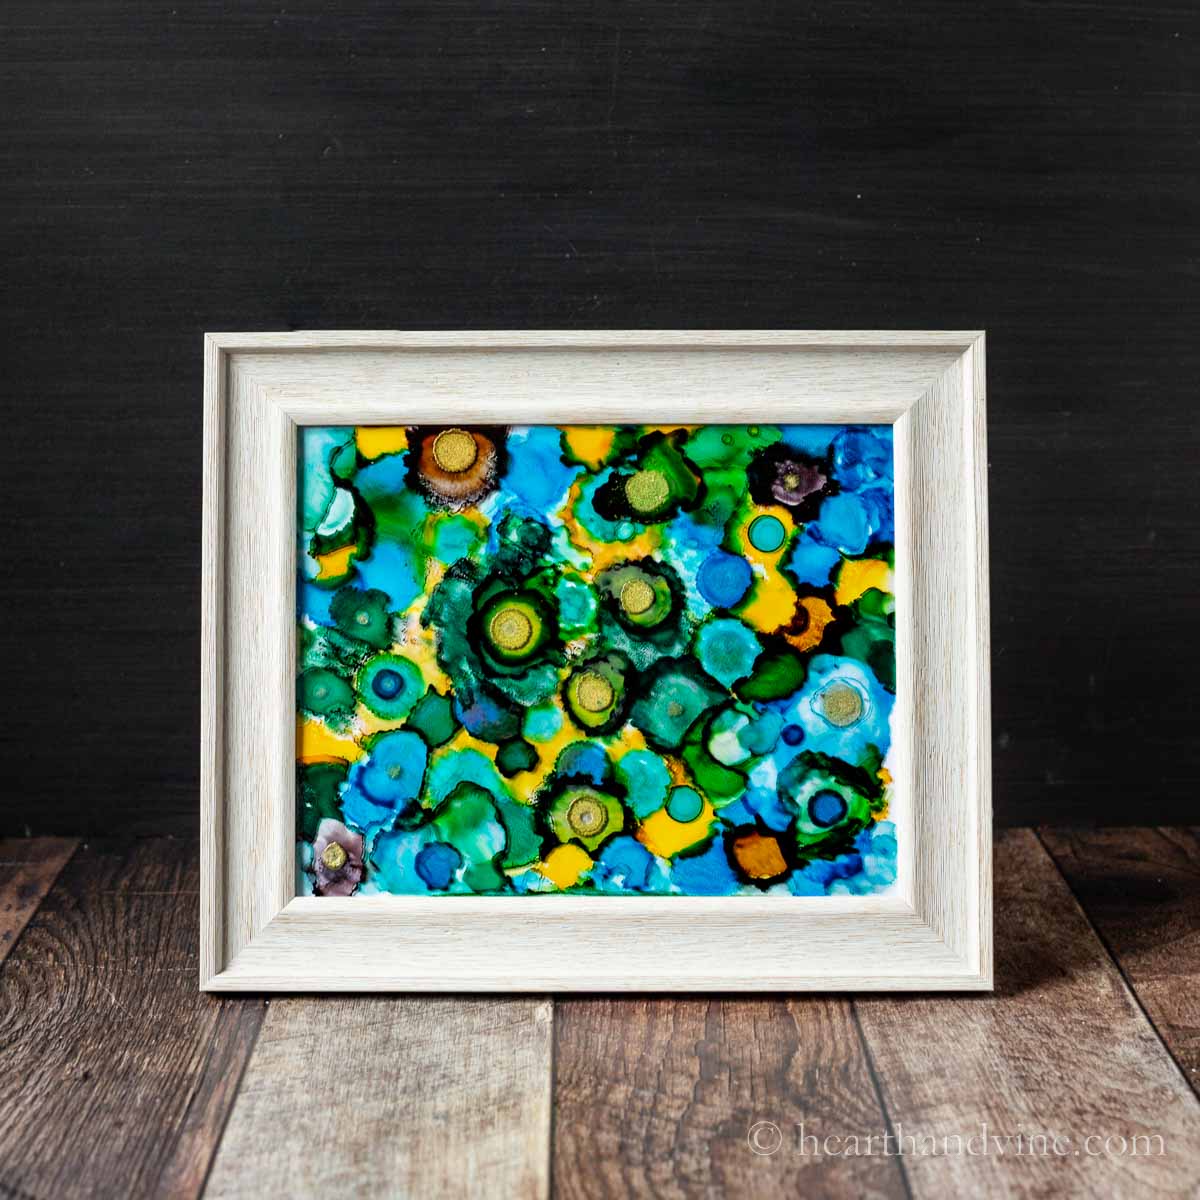
Ever since I made jewelry dishes with alcohol inks I've been hooked on this gorgeous medium. I've made many projects with them (see below). However, I've never tried creating a painting with alcohol inks.
There is a special paper called Yupo Paper that is typically used for creating paintings with alcohol inks because it is waterproof and nonporous. However, I have noticed a few projects that use these inks on stem glassware. So I thought it would be fun to try creating a painting directly on the glass of a photo frame.
You can use any frame with glass. It's that slippery nonporous surface that makes the inks work. Pick up one or more cheap frames at the dollar store. Or check out your local thrift store for a large glass frame at a bargain price.
This post contains some affiliate links (that means if you make a purchase after clicking a link, there’s no additional cost to you, but I will earn a very small commission. ) i.e. as an Amazon Associate, I earn from qualifying purchases. Click here to read my full disclosure policy.
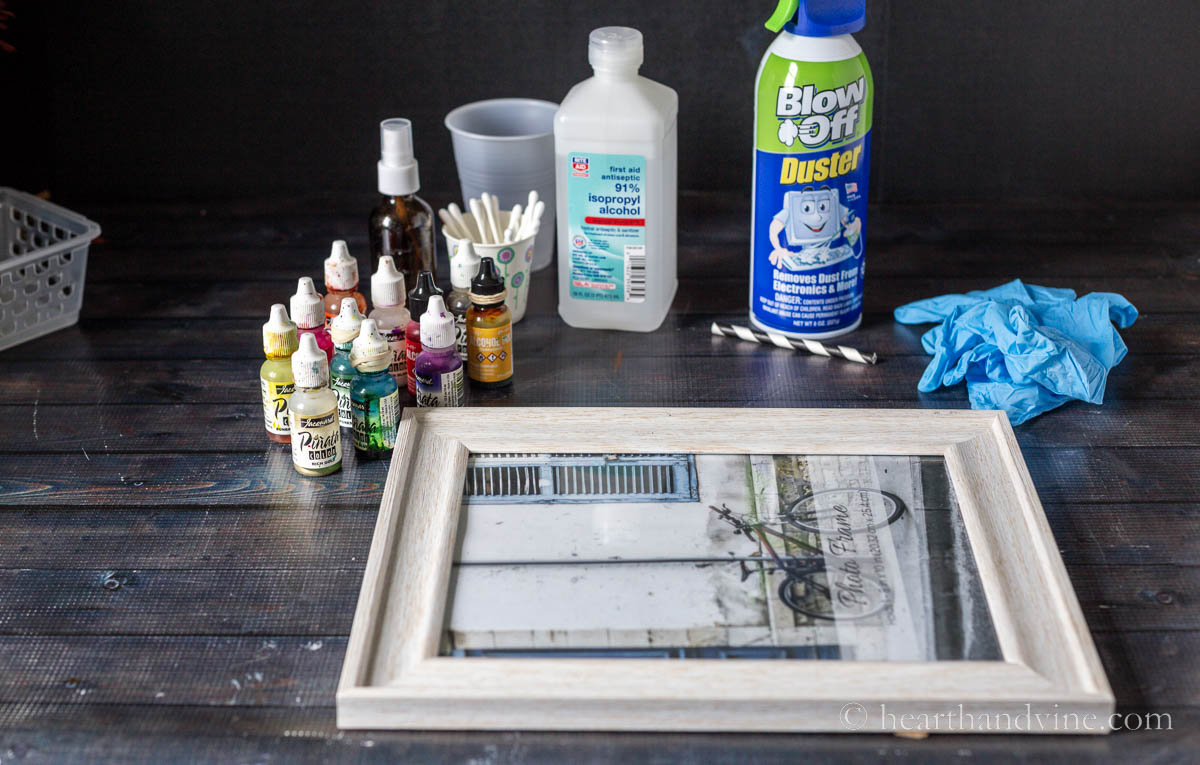
How to Paint with Alcohol Inks on Glass
Supplies
- cotton pads and swabs
- plastic cup
- small spray bottle
- can of air or a straw
- disposable gloves
- alcohol inks
- isopropyl alcohol - rubbing alcohol
- photo frame with glass cover
- painters tape or masking tape
- clear coat gloss top coat
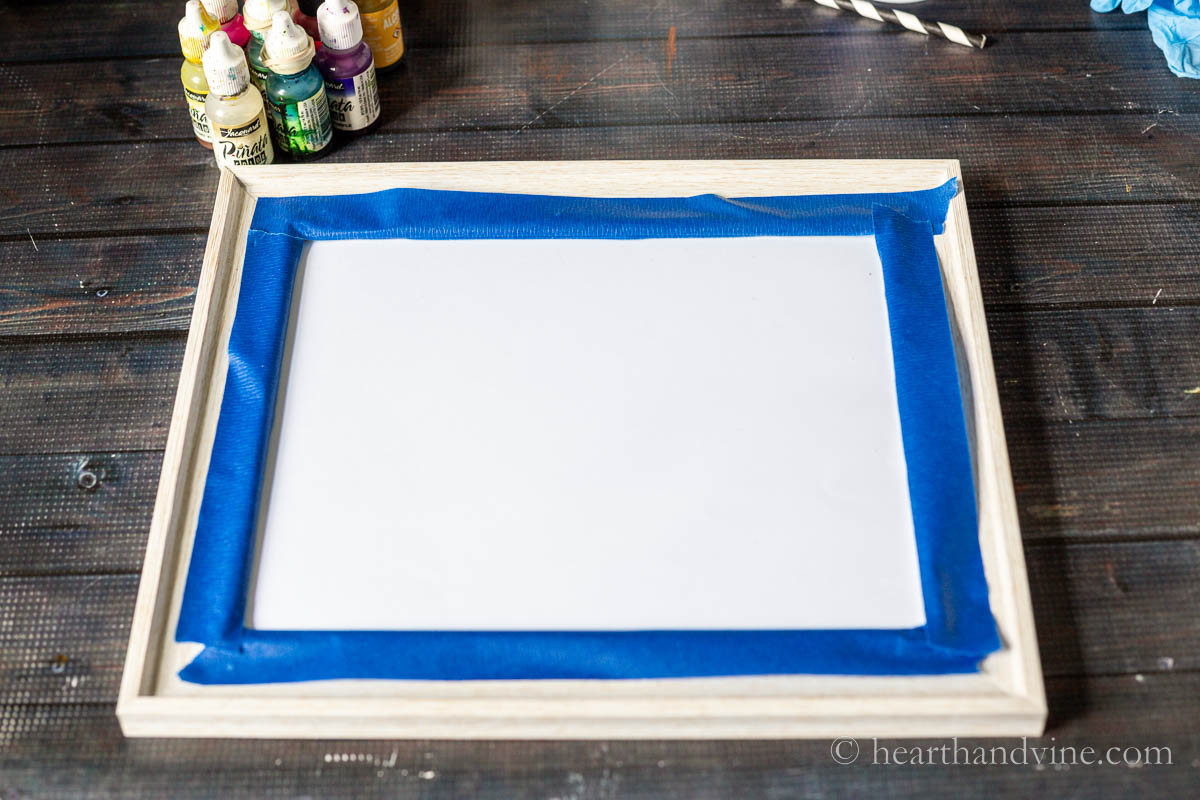
Place a piece of white paper or cardstock in the picture frame to give yourself a neutral background.
Next, mask off the frame with painter's tape and clean the glass with some isopropyl alcohol.
Note: These inks are pretty messy so you may want to wear gloves and cover the surface of your work area.
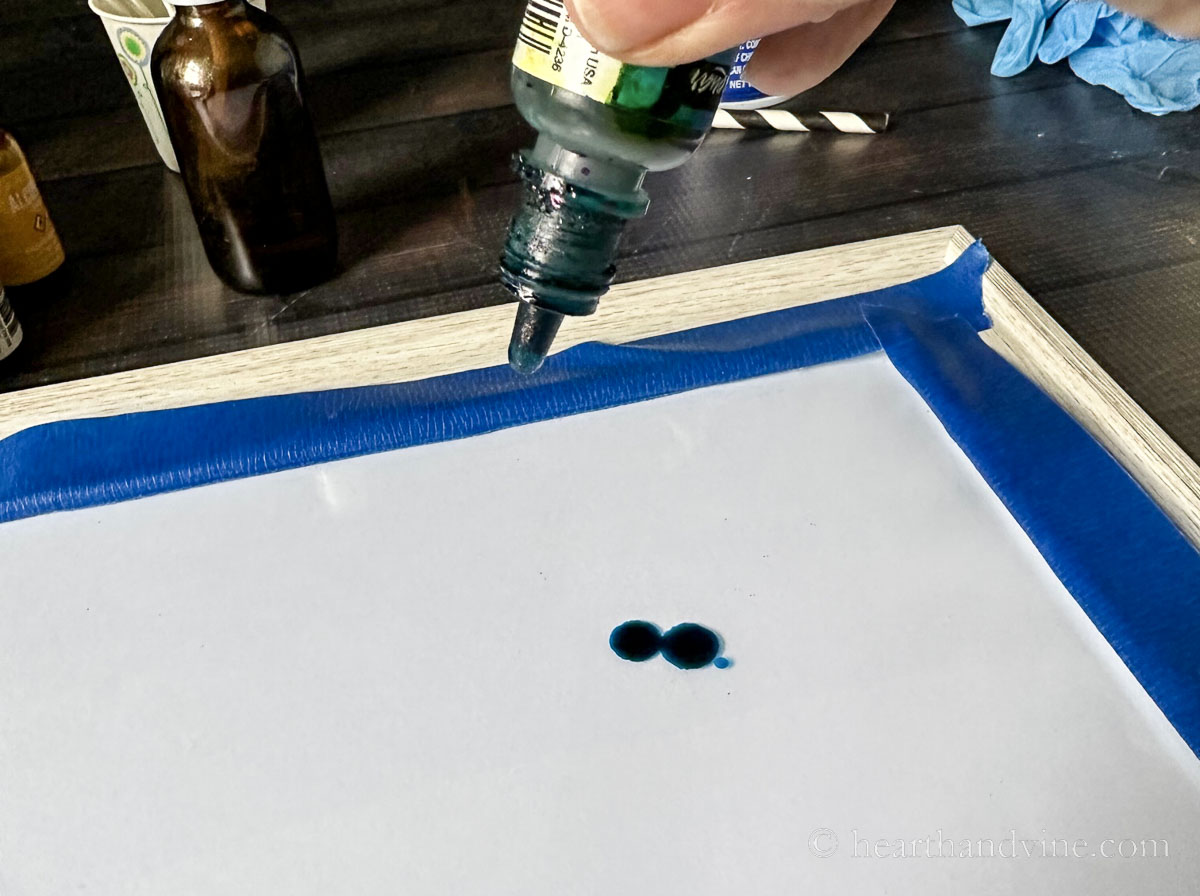
Now comes the fun. Squeeze a few drops of the alcohol ink onto the glass.
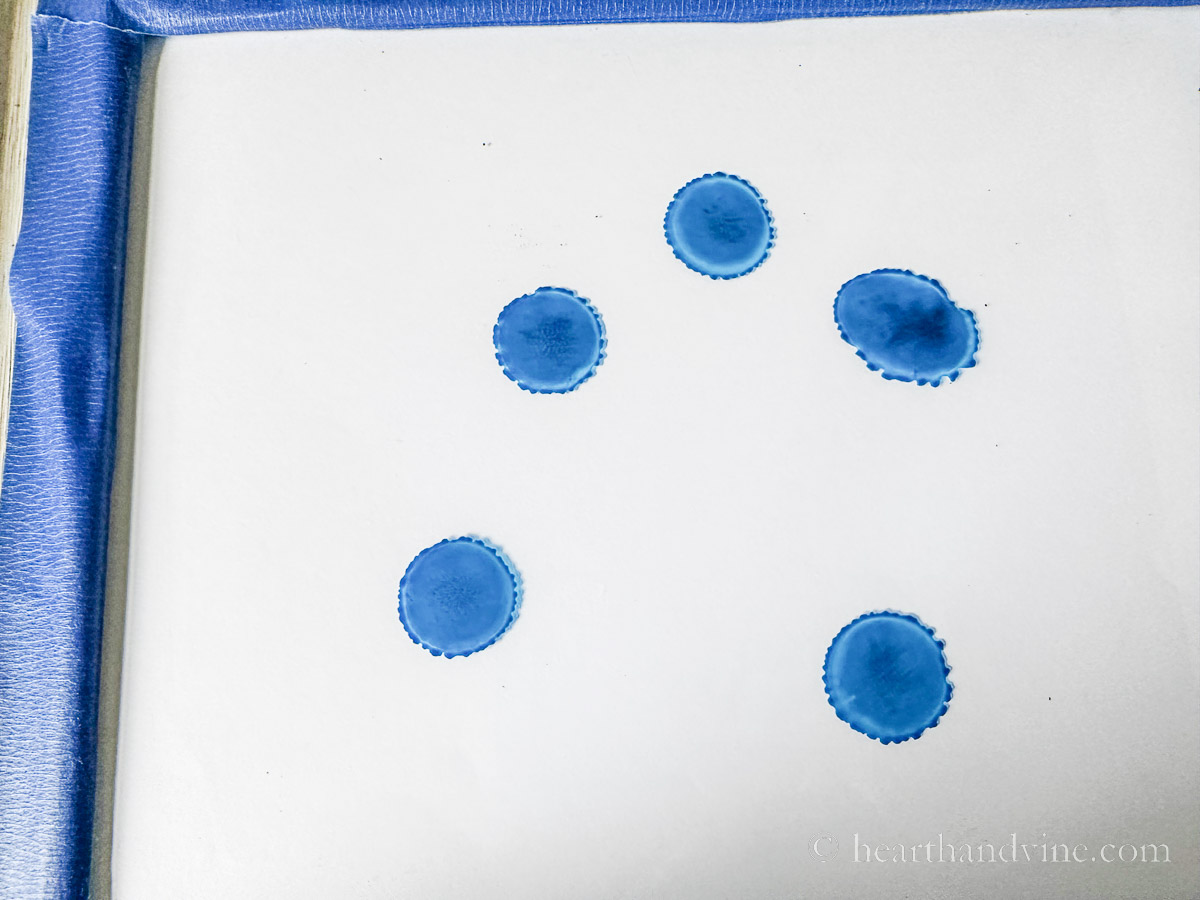
Watch as each drop of ink spreads and thins out.
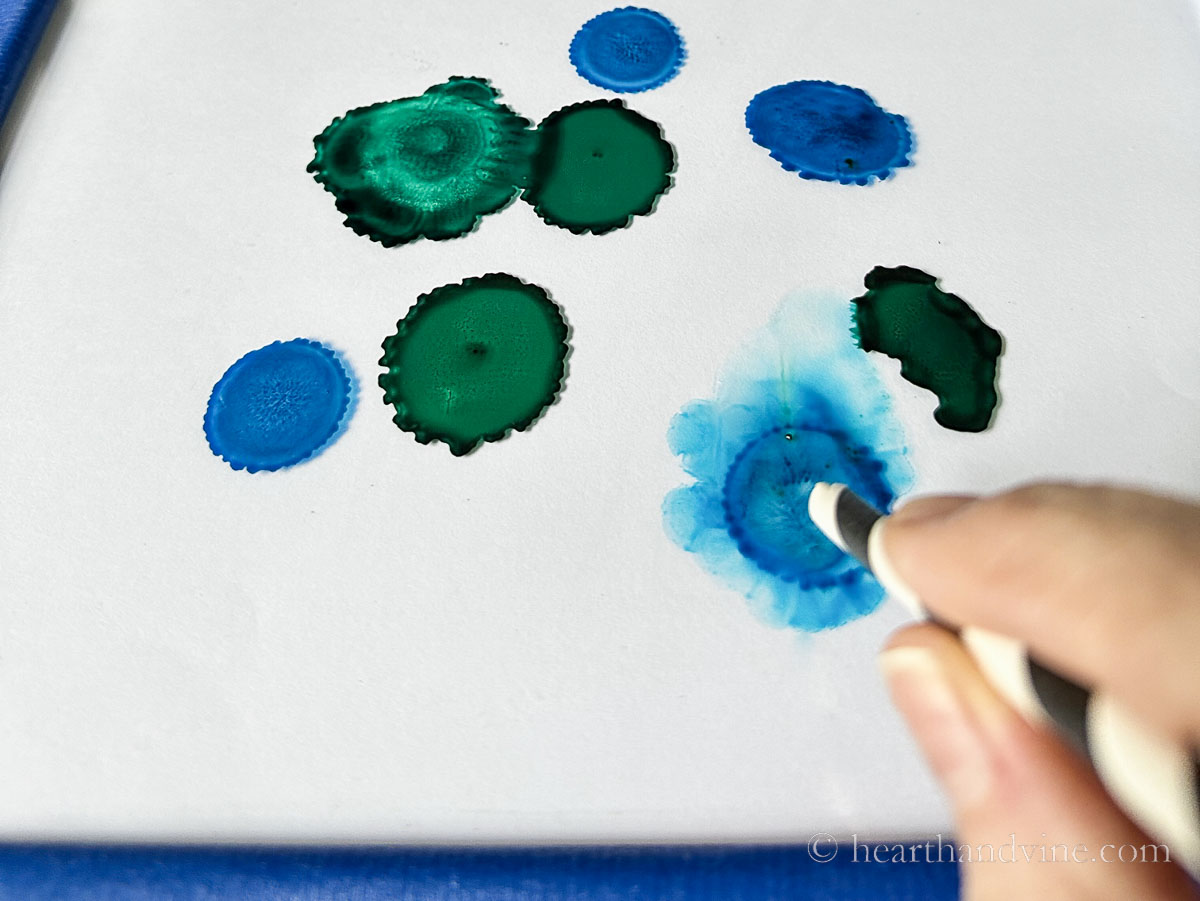
You can practice using air with a straw to blow the ink in a direction you like.
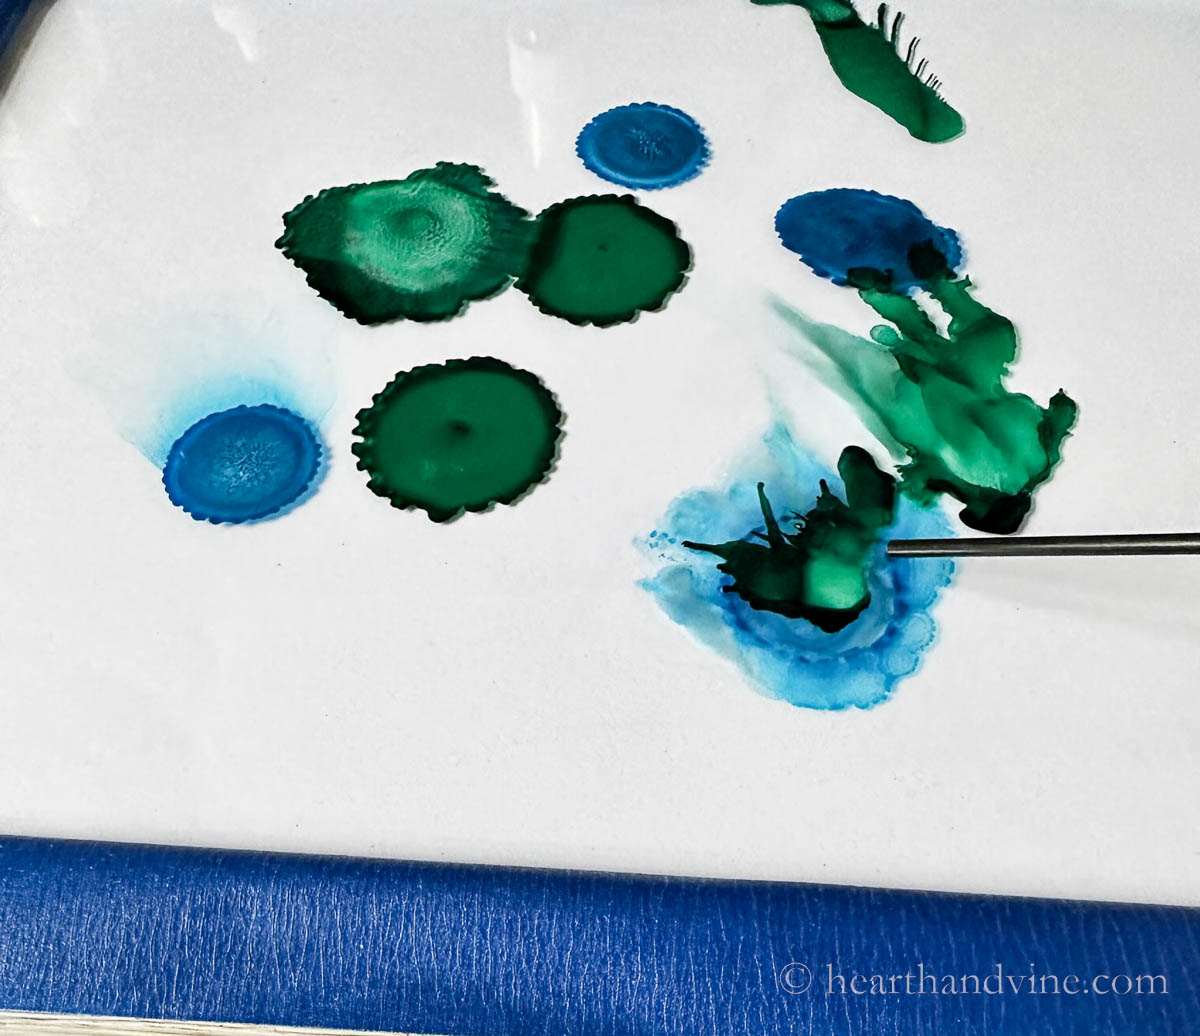
Or use a can of air for a slightly different effect.
Drop different colors on top of each other and watch as they blend and work together.
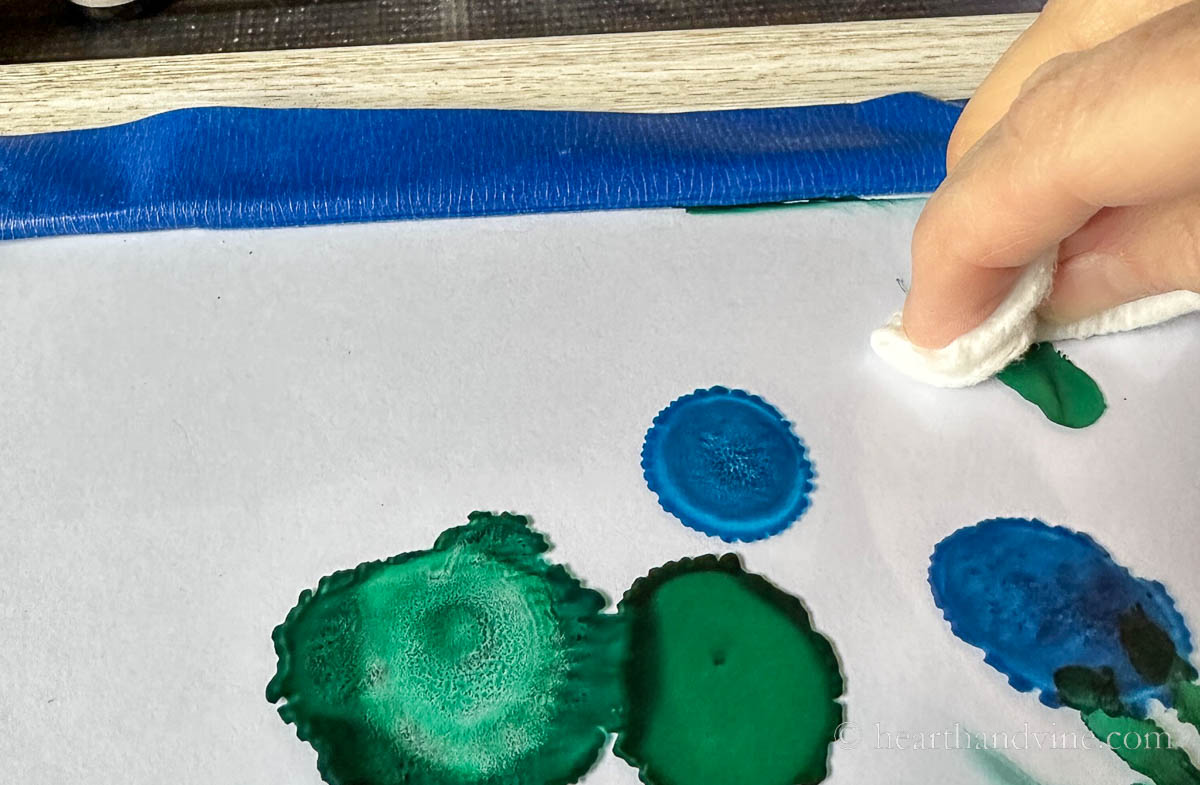
If you make a mistake that you really hate, simply place some isopropyl alcohol on a cotton pad and wipe it away.
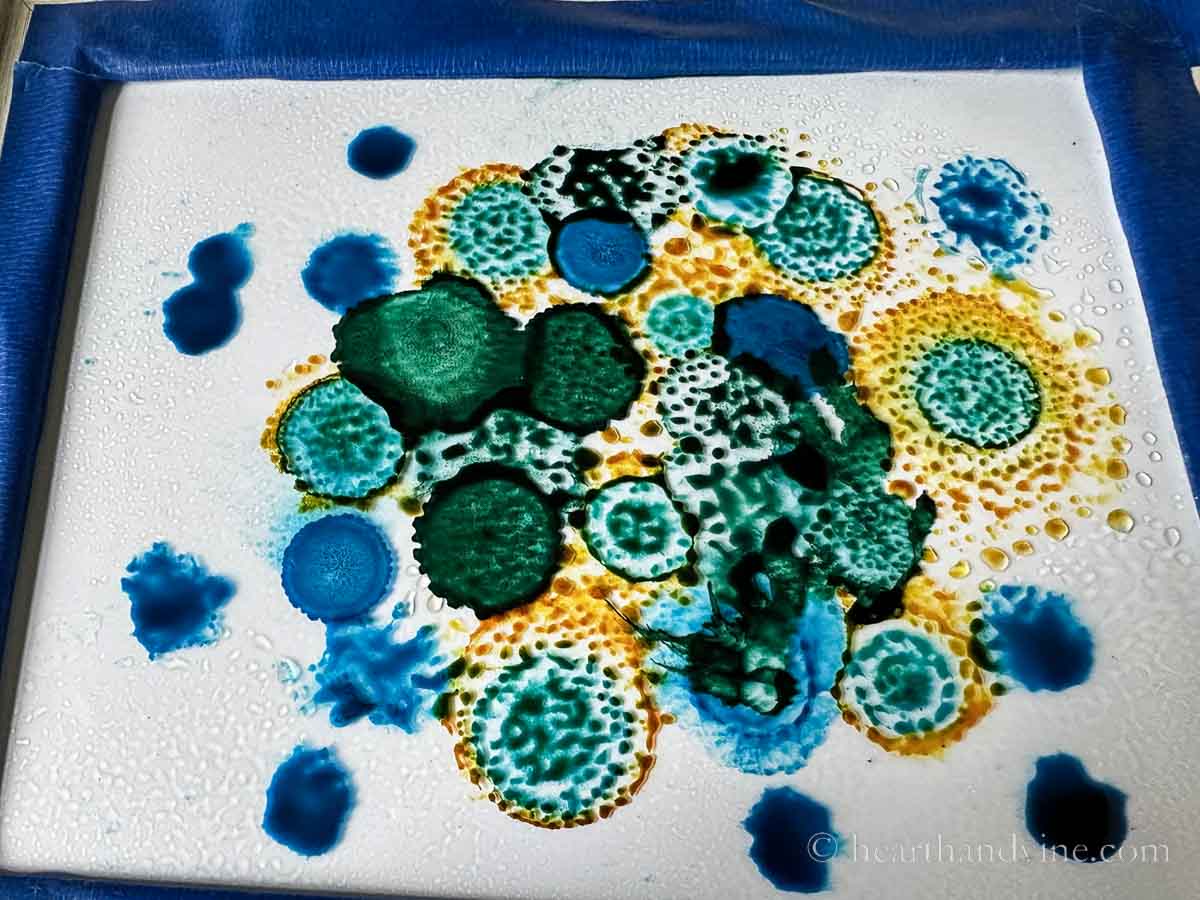
The isopropyl alcohol causes the ink to disperse, spread, and dilute the inks. The image above shows what it looks like if you spray some on as you are working from a spray bottle.
You can also use cotton swaps dipped in isopropyl alcohol or the actual ink to dab onto the painting for more controlled effects.
If you want less movement wait until the ink dries a bit or use a hair dryer on low to speed up the drying process.
Conversely, you can also buy a special blending solution to work with alcohol inks. It's a little stickier than isopropyl alcohol and is more expensive but it does give you a little more time with blending.
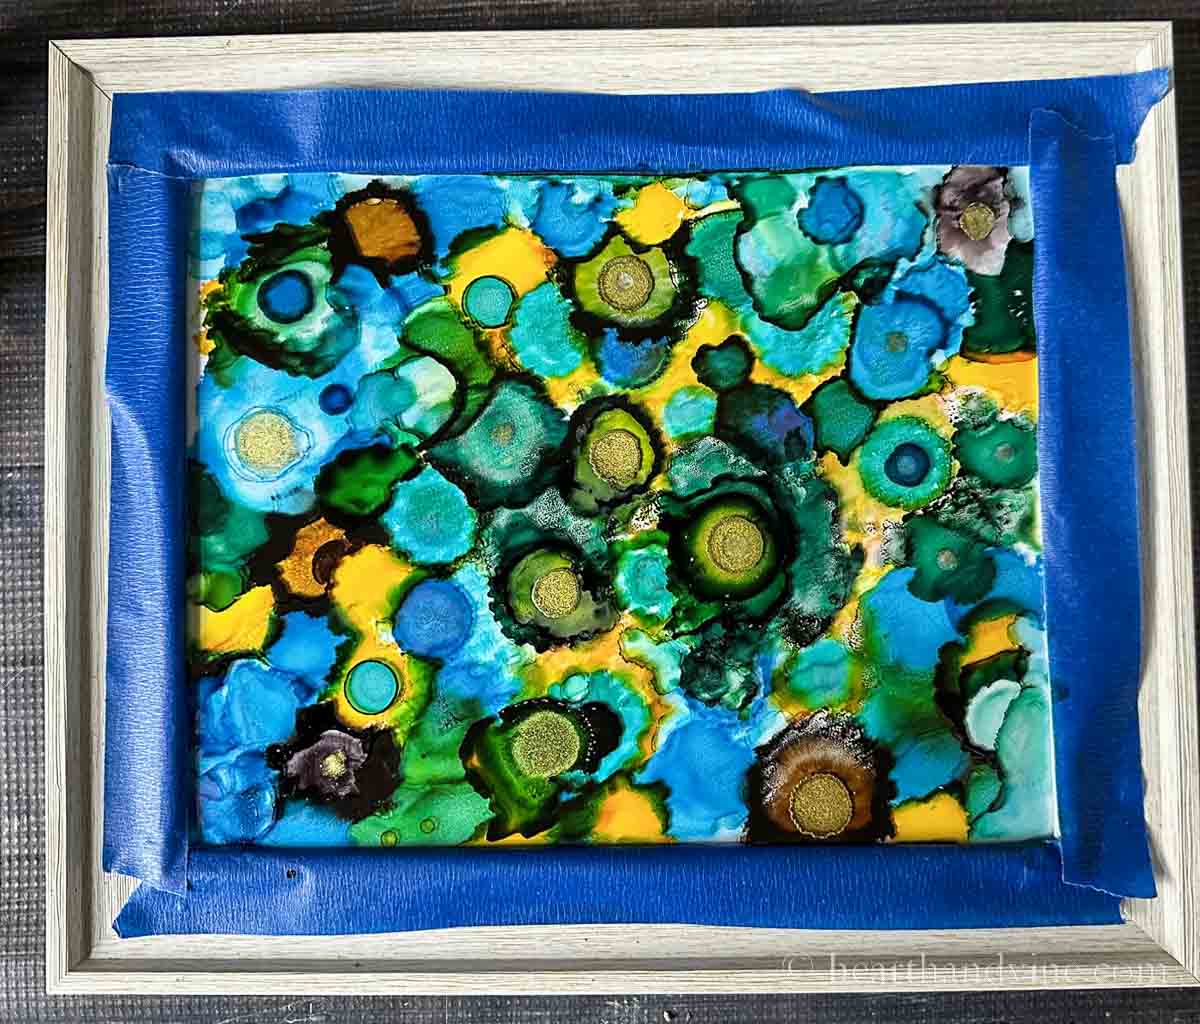
I like to add a little gold at the end for extra shine. The gold alcohol ink is a little different. It's metallic and doesn't blend as much but that's what makes it nice.
Use a top coat for artists' work such as Kamar Varnish as a sealant to protect your masterpiece. You can choose a matte or glossy finish whatever you like best.
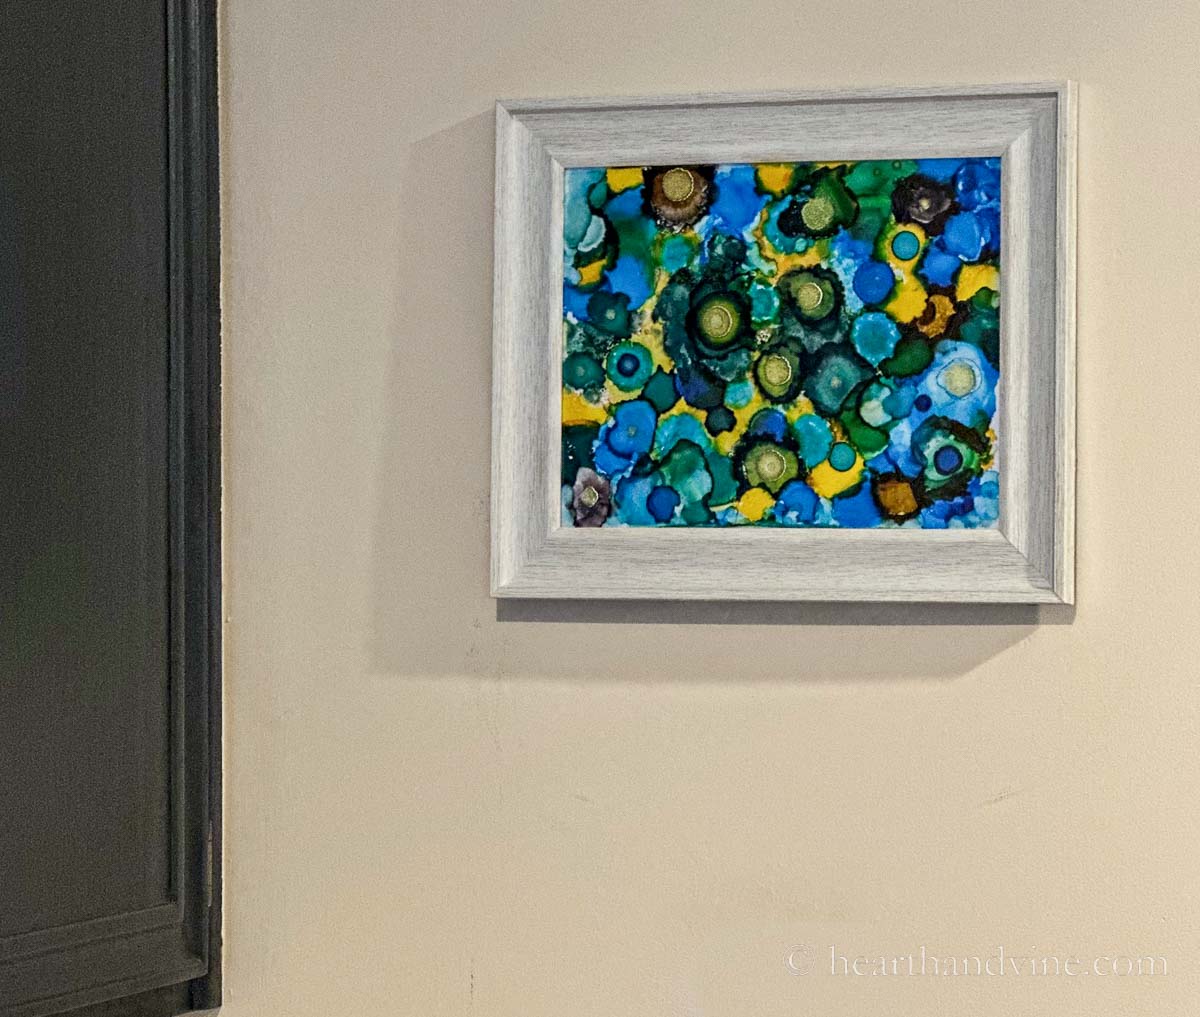
In the end, only you can decide when your alcohol ink art project is finished. Sometimes more is more and sometimes you just have to know when to stop.

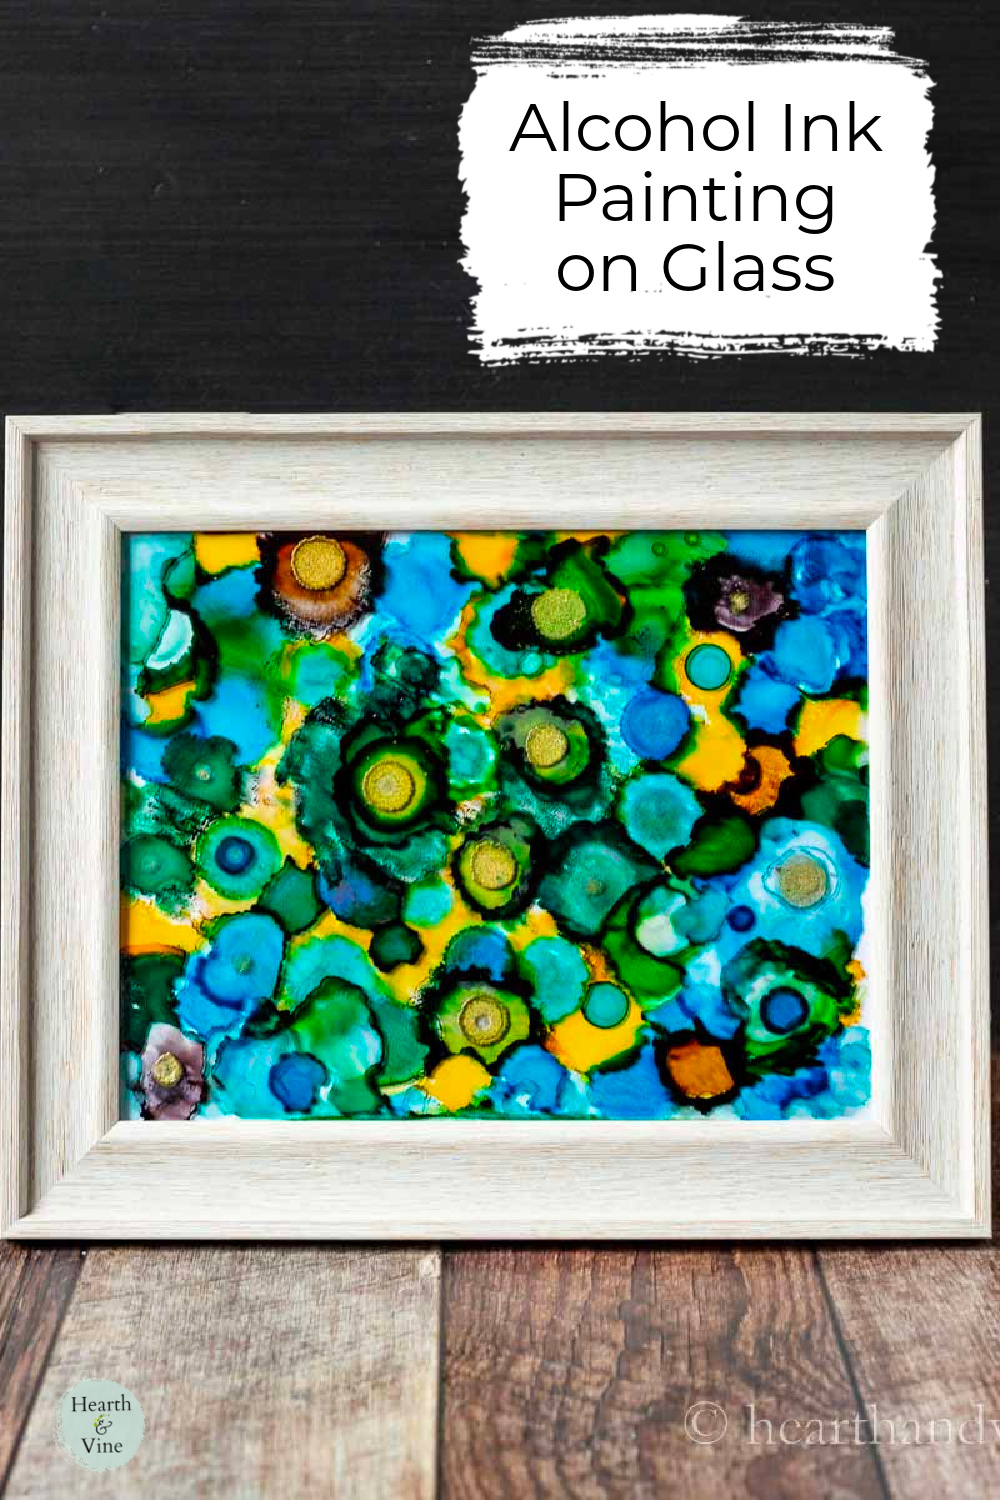
Alcohol Ink on Glass Tutorial
Equipment
- cotton pads
- cotton swabs
- plastic cup
- small spray bottle
- can of air or a straw
- disposable gloves
Materials
- alcohol inks
- isopropyl alcohol > 90%
- photo frame with glass cover
- painters tape or masking tape
- clear coat gloss top coat
Instructions
- Tape off the edges where the frame meets the glass of the photo frame with painter's tape or masking tape.
- Wipe the glass with isospropyl alcohol.
- Start using the alcohol inks dropping different colors on the glass.
- Watch as the drops grow.
- Add more color around and on top of the first drops.
- Use a straw or can of air to blow the ink around in different directions.
- Try spraying a little isospropyl alcohol to dispurse the color.
- If you make a mistake or don't like something use a cotton pad with isopropyl alcohol or a cotton swap dipped in isopropyl alcohol to remove the ink.
- Continue painting with the inks until you are satisfied with the results.
- Let the ink dry before removing the painter's tape.
- Once completely dry add a few thin coats of varnish in a matte or glossy finish.
- Hang and enjoy.



Lisa
How fun and what a beautiful painting! My husband and I were just talking about creating a little Art studio in the house we plan to buy in retirement next year. This Art project is definitely on the list. Thank you!
Patti Estep
Lisa, what a wonderful idea! I would love a dedicated art studio. I'll have to put it on my wish list for the future. The inks are really fun. I think you'll really love them.