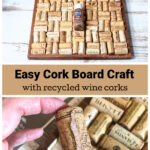
See how easy this cork board DIY project is to create. It makes a fun and practical welcome board that you can pin all your notes and pics.
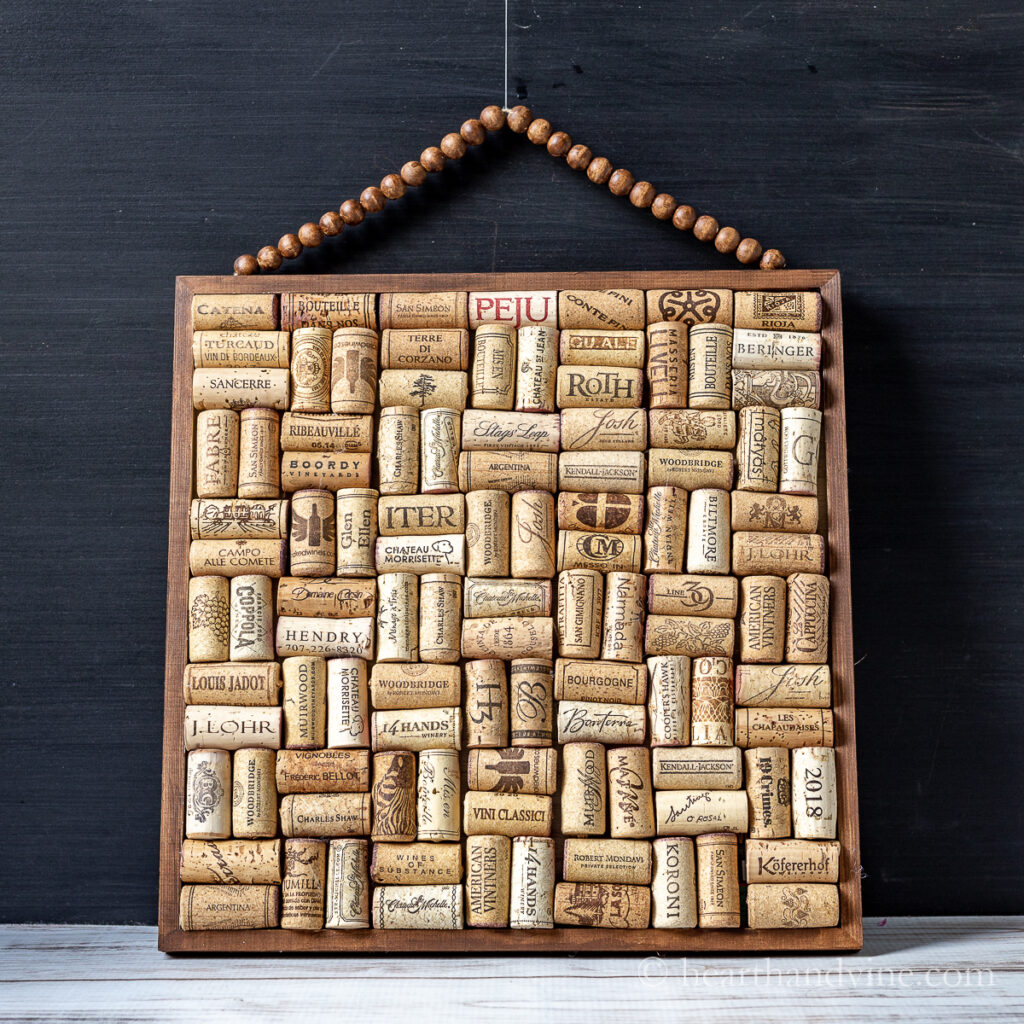
Are you one of those people who liked to collect old wine corks? Maybe you've thought about it but never actually collected them. Whether you collect corks or just like the idea of them you can make this fun cork board for your home. Or make one to give to a friend.
This post contains some affiliate links (that means if you make a purchase after clicking a link, there’s no additional cost to you, but I will earn a very small commission. ) i.e. as an Amazon Associate, I earn from qualifying purchases. Click here to read my full disclosure policy.
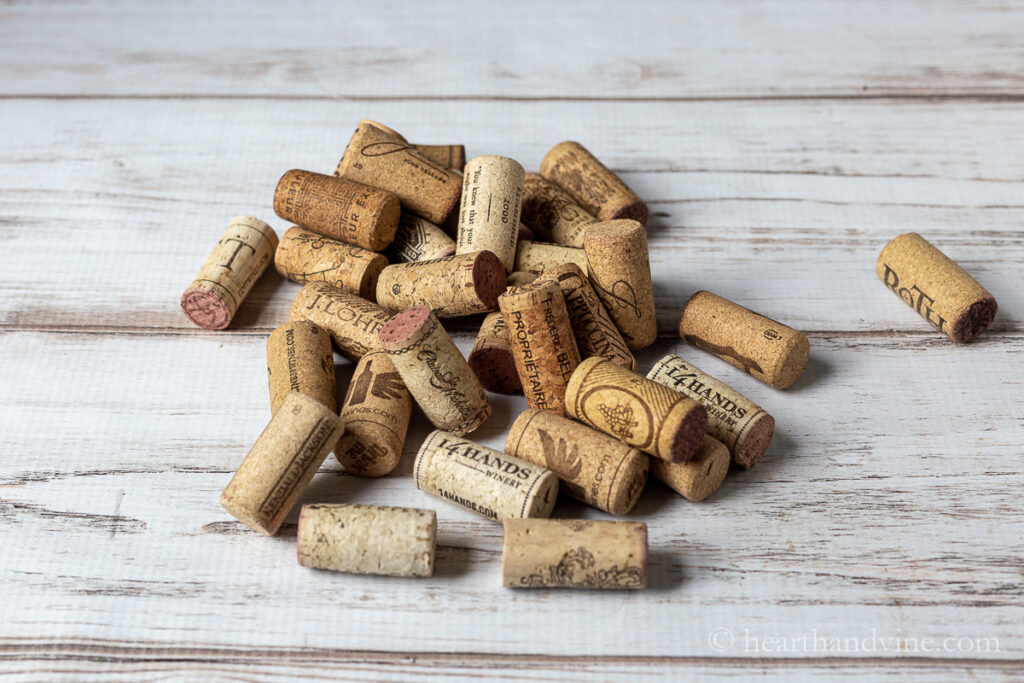
DIY Cork Board Project
You do need wine corks. You can buy them at craft stores either new or recycled corks like the ones I bought shown above.
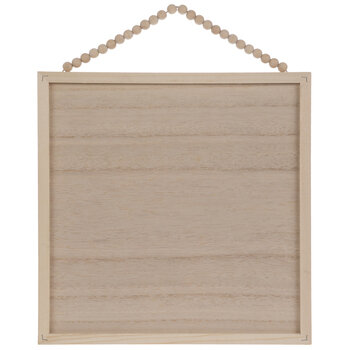
You'll also need a frame. I found this fun unfinished wood frame at Hobby Lobby but you can use an old picture frame from home or something you picked up at a thrift store.
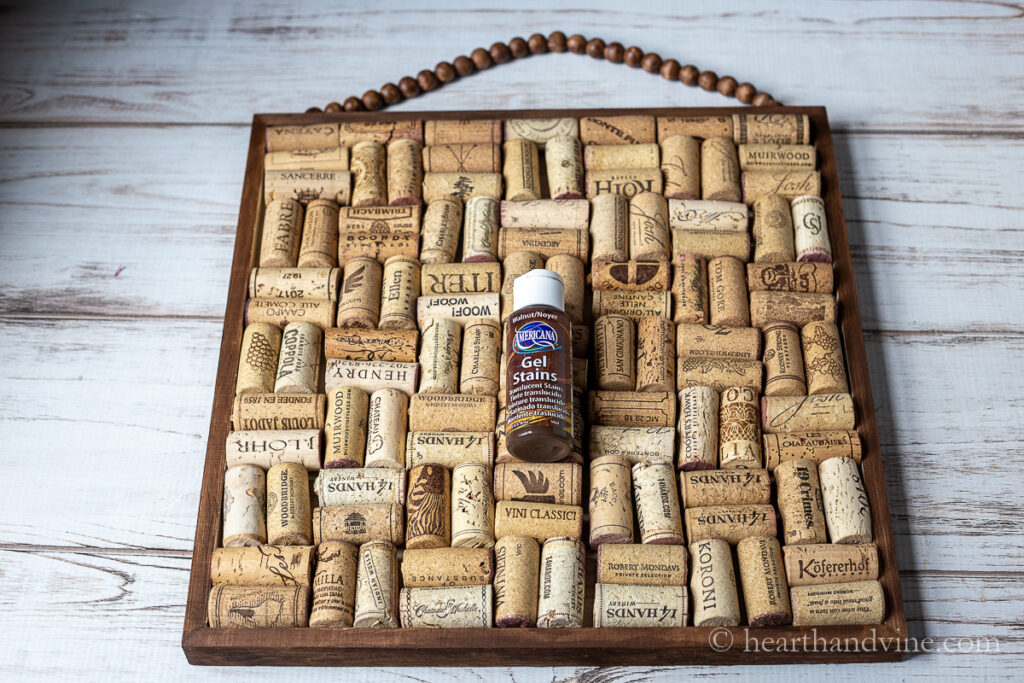
Since my frame was unfinished I used this gel stain to pretty it up. It's much easier to work with than regular wood stain and it doesn't smell.
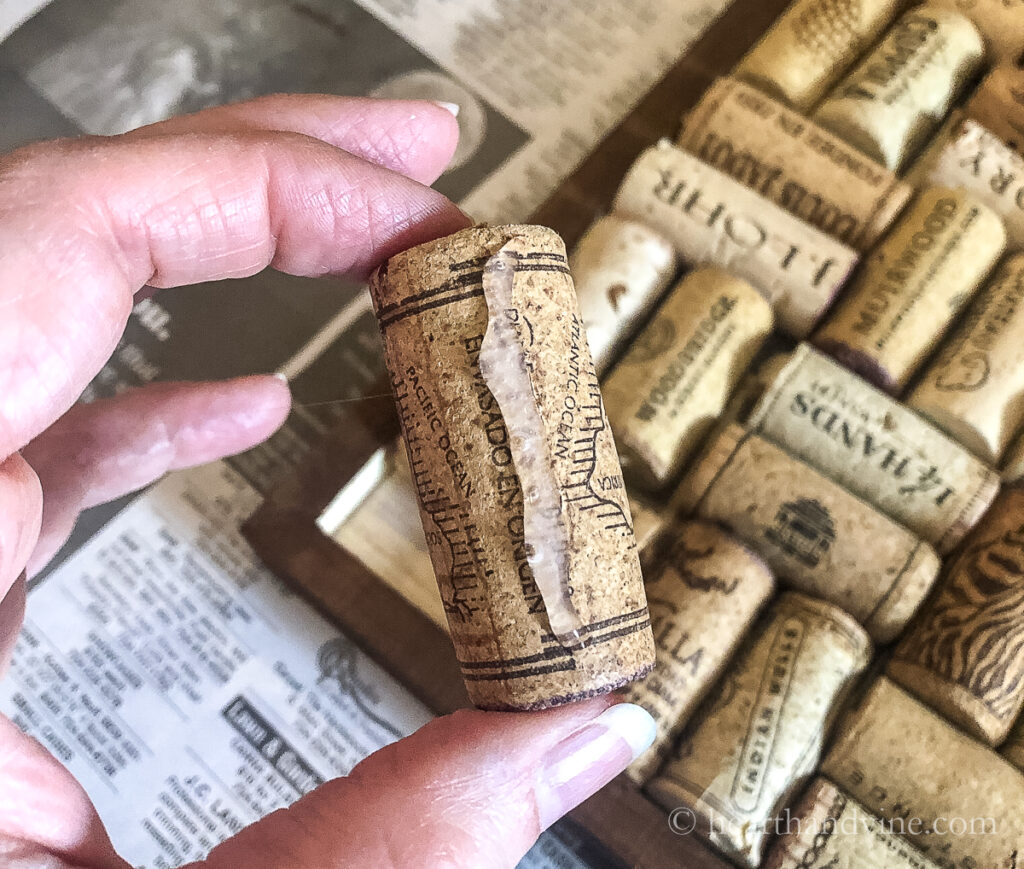
Make a pattern that you like with the corks first. They could all be placed in a straight line or a pattern like the one I used. Hopefully, the corks will fit in the frame fully. If not you can cut the corks or add some wood trim around the frame as filler.
Once you have a pattern in mind add a little hot glue to the back and press it into place. It's that easy.
Note: It's really easy to burn your fingers with hot glue. You may want to wear a plastic glove to protect your fingers.
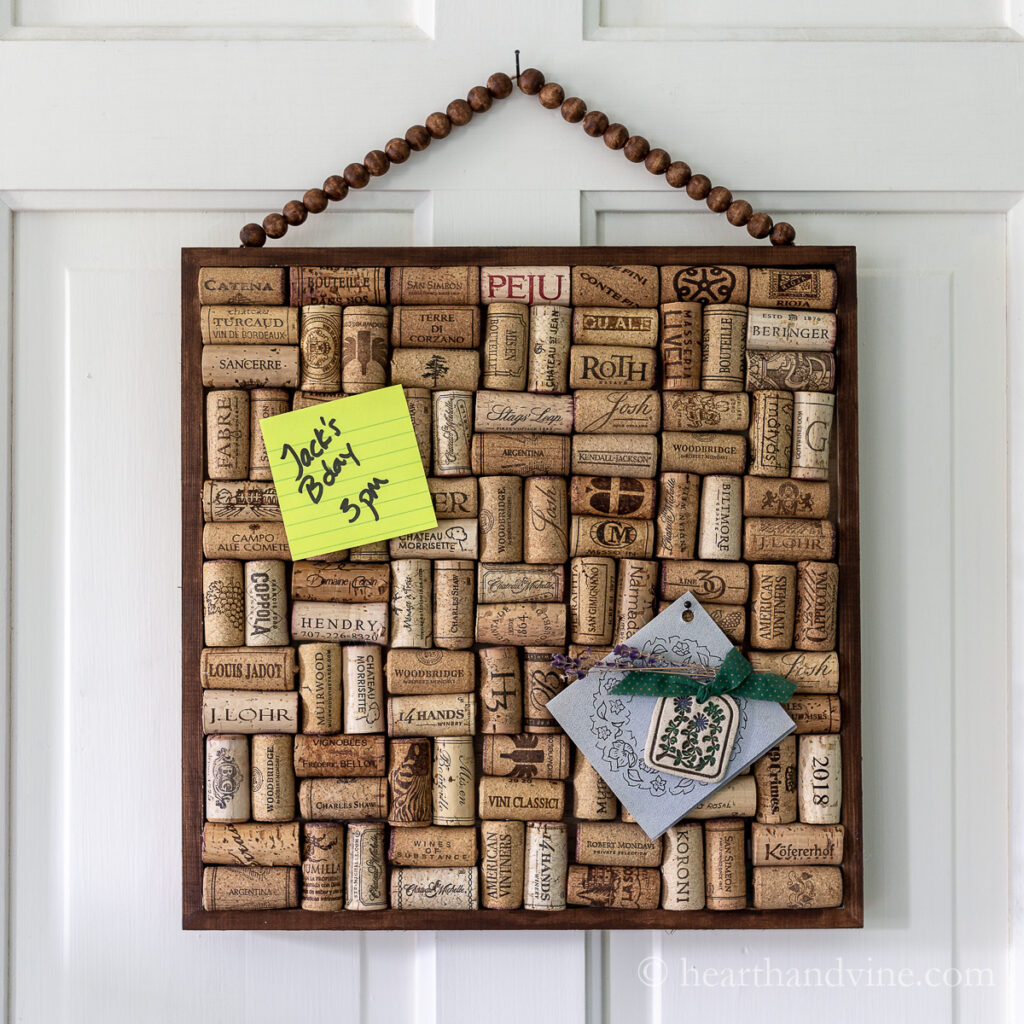
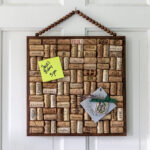
Now you have a beautiful cork board made with recycled wine corks for that perfect spot. You can place post-its, pin messages, "Save the Date" notices, special pictures, etc.

More Board Ideas
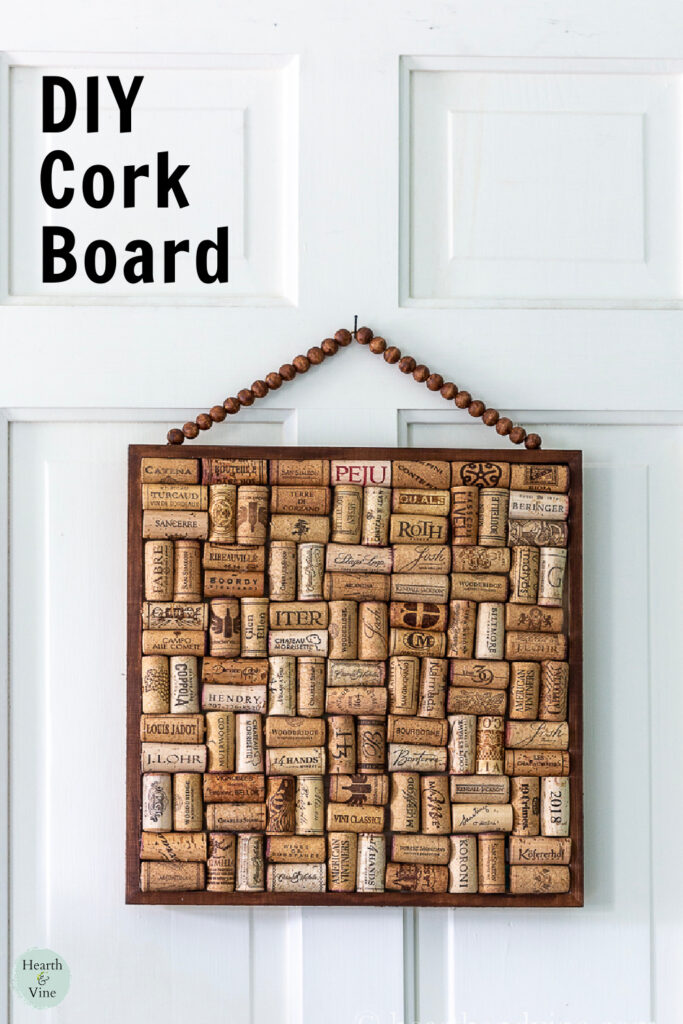
DIY Cork Board Craft
Equipment
- Hot glue gun and sticks
Materials
- Wood Frame
- Recycled wine corks
- Gel Stain optional
Instructions
- Paint the frame with gel stain or paint if desired.
- Arrange the corks in a pattern to fit the frame. If they don't fit exactly try adding some wood trim, or other filler on the outside edges. You could also cut the cork to fit.
- Place a line of hot glue on the back of each cork and set them in place.
- Hang and place post-it notes or pin important notes to the corks.



Joanne
I love your blog! You are both creative and practical. What a cute cork board! I have a bowl of corks that I knew would be handy when a great project came along, and here it is!
I think you have a typo. Your board only has 105 corks on it, not 150. Good news for someone trying to save enough corks to make it! Of course, the number needed will vary with the size of frame chosen.
Here’s a quick way to estimate how many corks you’d need for any rectangular frame. I based this on the size of the frame you linked to and the number of corks used in your photo of the finished board.
Multiply the (interior) length in inches times the (interior) width in inches find the interior area of the frame in square inches. Then multiply by 0.62. That should tell you about how many corks it would take to fill your frame.
Patti Estep
Joanne, you are correct I must have transposed those numbers. There were exactly 105 corks used for that board. And, I love your suggestion for estimating the number of corks needed. Thanks so much for sharing your ideas and lovely comments.