• Skip to primary navigation
  • Skip to main content
  • Skip to primary sidebar
  • Home
  • DIY Projects
    • Homemade Bath and Body
    • Sewing - Fabric Crafts
    • Flower Crafts/Decor
    • Thrift Store/Vintage
  • Gardening
    • Flower Gardens
    • Container Gardening
    • Houseplants
    • Indoor Gardening
    • Landscaping
    • DIY Garden Art
  • Decorate
    • Spring Decor
    • Summer Decor
    • Fall Decor
    • Winter Decor
    • Home Decor Projects
  • Recipes
    • Breakfast Recipes
    • Lunch Recipes
    • Dinner Recipes
    • Dessert
    • Salad Recipes
    • Soups and Stews
    • Side Dish Recipes
    • Appetizers and Snacks
    • Healthy Recipes
  • Holidays
    • Valentine's Day
    • Easter
    • Mother's Day
    • Halloween
    • Thanksgiving
    • Christmas
Hearth and Vine
menu icon
go to homepage
  • About
  • DIY
    • ...Flower/Gardening Crafts
    • ... Bath and Body
    • ...Sewing/Fabric Crafts
    • ...Thrift Store/Upcycle
  • Gardening
    • ...Flower Gardens
    • ...Container Gardening
    • ...Indoor Gardening
    • ...DIY Garden Art
  • Decorate
    • ...Home Decor Projects
    • ...Spring Decor
    • ...Summer Decor
    • ...Fall Decor
    • ...Winter Decor
    • ...Room Makeovers
  • Recipes
    • ...Appetizers and Snacks
    • ...Dinner Recipes
    • ...Side Dish Recipes
    • ...Salad Recipes
    • ...Dessert
    • ...Drinks
  • Holidays
    • ...Valentine's Day
    • ...Easter
    • ...Mother's Day
    • ...Halloween
    • ...Thanksgiving
    • ...Christmas
  • Subscribe
  • Instagram
    • Facebook
    • Instagram
    • Pinterest
    • Twitter
  • subscribe
    search icon
    Homepage link
    • About
    • DIY
      • ...Flower/Gardening Crafts
      • ... Bath and Body
      • ...Sewing/Fabric Crafts
      • ...Thrift Store/Upcycle
    • Gardening
      • ...Flower Gardens
      • ...Container Gardening
      • ...Indoor Gardening
      • ...DIY Garden Art
    • Decorate
      • ...Home Decor Projects
      • ...Spring Decor
      • ...Summer Decor
      • ...Fall Decor
      • ...Winter Decor
      • ...Room Makeovers
    • Recipes
      • ...Appetizers and Snacks
      • ...Dinner Recipes
      • ...Side Dish Recipes
      • ...Salad Recipes
      • ...Dessert
      • ...Drinks
    • Holidays
      • ...Valentine's Day
      • ...Easter
      • ...Mother's Day
      • ...Halloween
      • ...Thanksgiving
      • ...Christmas
    • Subscribe
    • Instagram
    • Facebook
    • Instagram
    • Pinterest
    • Twitter
  • ×
    Home » DIY Projects

    DIY Lighted Sign for Your Christmas Mantel

    by Patti Estep · Nov 22, 2023

    Jump to How-to Card
    Tis the Season to Eat, Drink and Be Merry sign on canvas set on a mantel.

    Learn how easy this DIY lighted sign is to create. You can use any saying you like to create a chalkboard like look with LED lights scattered around for a lovely holiday display.

    Black chalkboard sign with lights saying Tis the season  to eat, drink and be merry.

    Today's fun DIY is similar to the "Merry and Bright" Christmas sign I made a few years ago but this time I've added LED lights. I really like the look of the white script on a black background and the lights give it extra sparkle for our holiday decor.

    This post contains some affiliate links (that means if you make a purchase after clicking a link, there’s no additional cost to you, but I will earn a very small commission. ) i.e. as an Amazon Associate, I earn from qualifying purchases. Click here to read my full disclosure policy.

    Supplies including a painter's canvas, black chalkboard paint, a white chalk paint marker and a set of mini LED lights with a battery pack.

    What You'll Need

    • Computer
    • Printer
    • Sponge paintbrush
    • Fine Paintbrush
    • Computer Paper
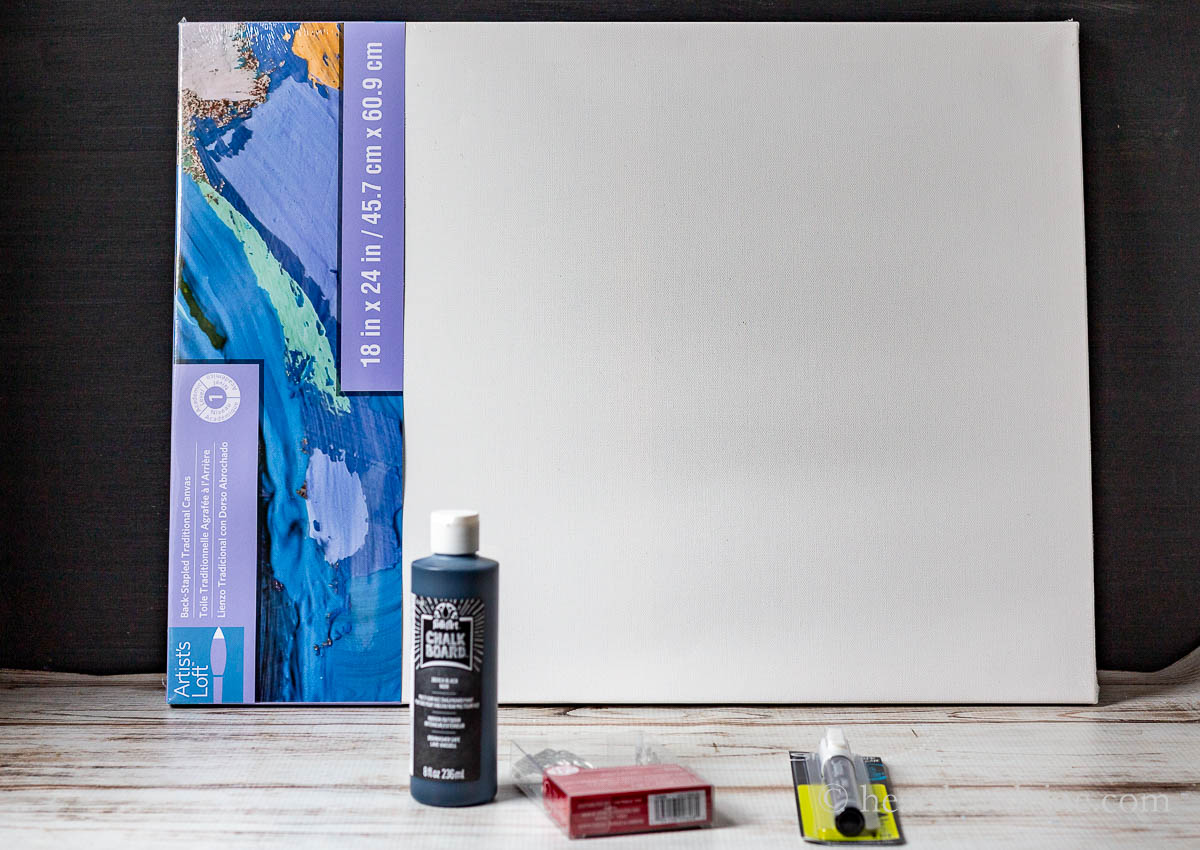
    • Blank Canvas 18 x 24 inches
    • Black Chalkboard Paint  or black craft paint
    • White Chalk White
    • Pencil
    • White Chalk Paint Pen
    • LED Mini Lights Battery Operated
    • Batteries
    • Tape (masking, clear or painters)
    Canvas painted with black chalkboard paint.

    How to Make a Lighted Sign

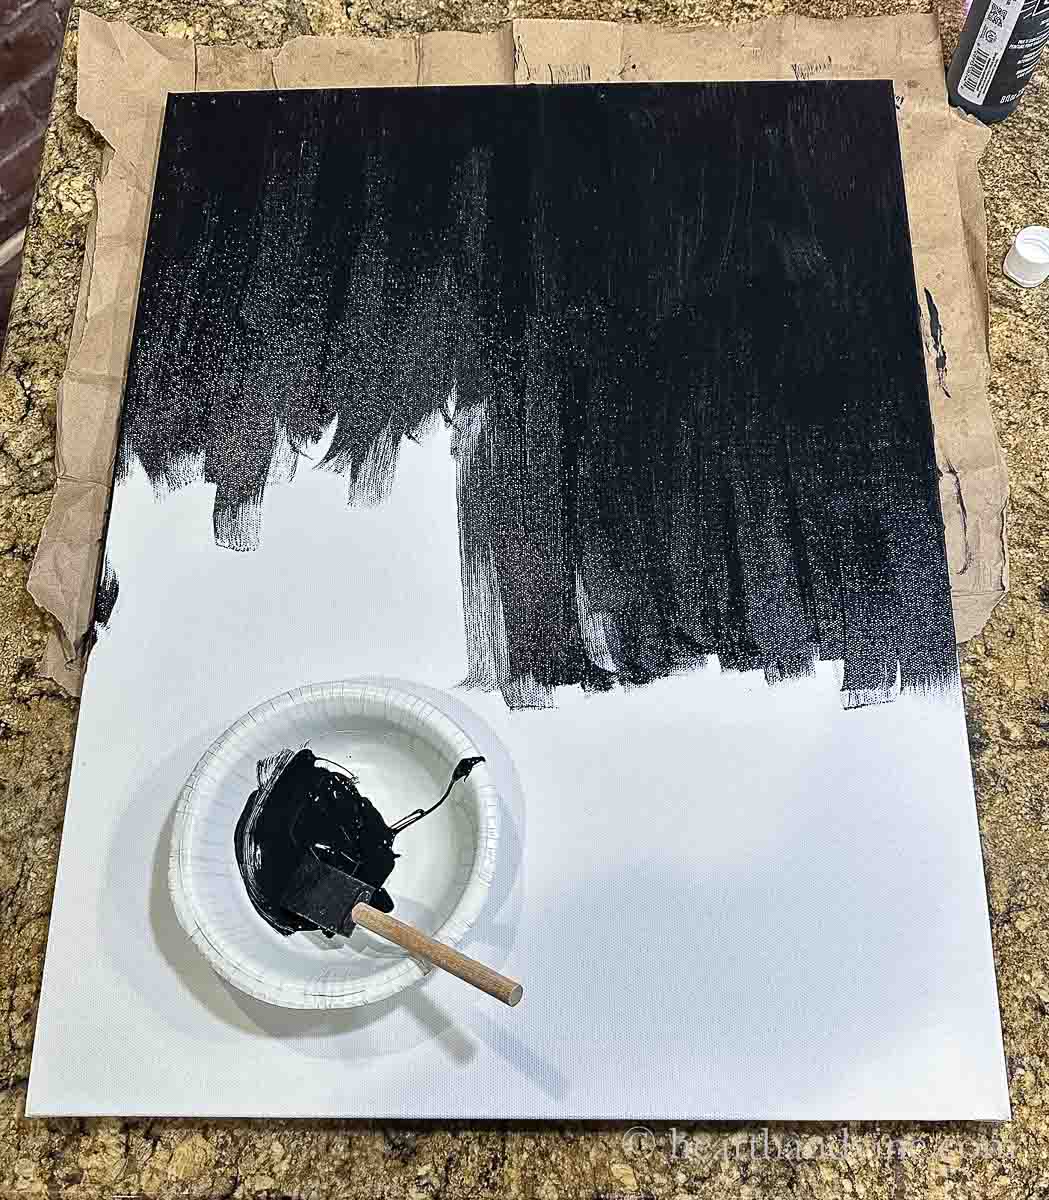
    Start by painting the canvas black. I used a black chalkboard paint. However, you could use regular black craft paint.

    Four pages of computer paper printed out to create a large sign saying Tis the Season to Eat Drive and Be Merry, taped onto the black painted canvas.

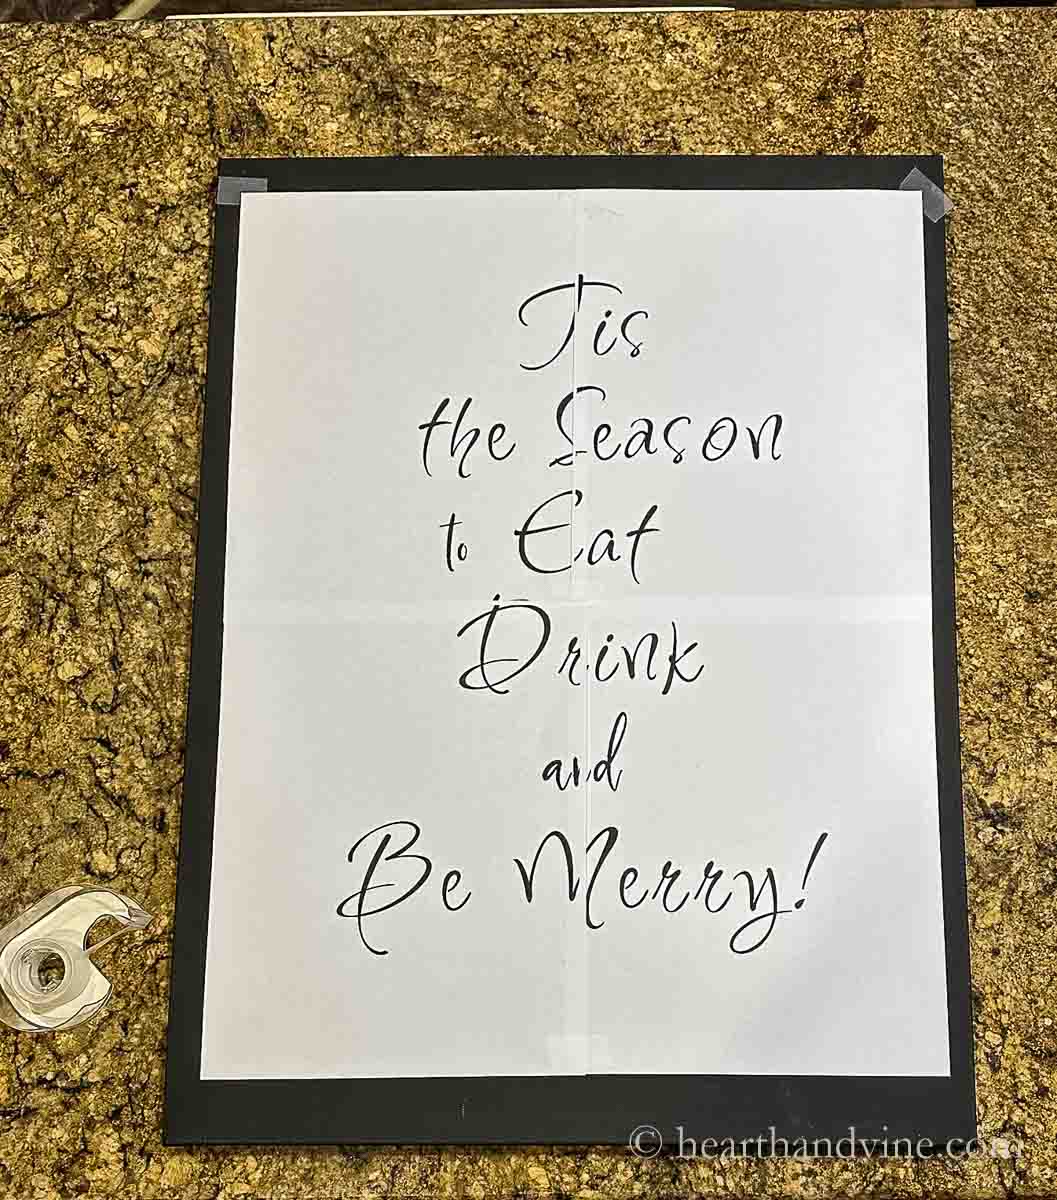
    While the paint dries print out a saying or quote on your printer that you like. To make it large enough create a pdf file. Then open it in Adobe Acrobat. Change the printer setting to "portrait," choose "poster" size, and set the Tile Scale to 150%. This should change the size to 17" x 22".

    To the right, you should see four sheets of regular 8.5" x 11" pages that slightly overlap.

    Print them out then tape the sheets of paper to the painted canvas.

    Newsletter Signup
    Join Our Newsletter List!

    Be the first to receive new posts and get access to our Subscribers Only Page.

    PS: I used the font "Inspiration". If you want to use this exact saying you can use the pdf file here.

    The back of the printed sign and a piece of white chalk for transferring the print.

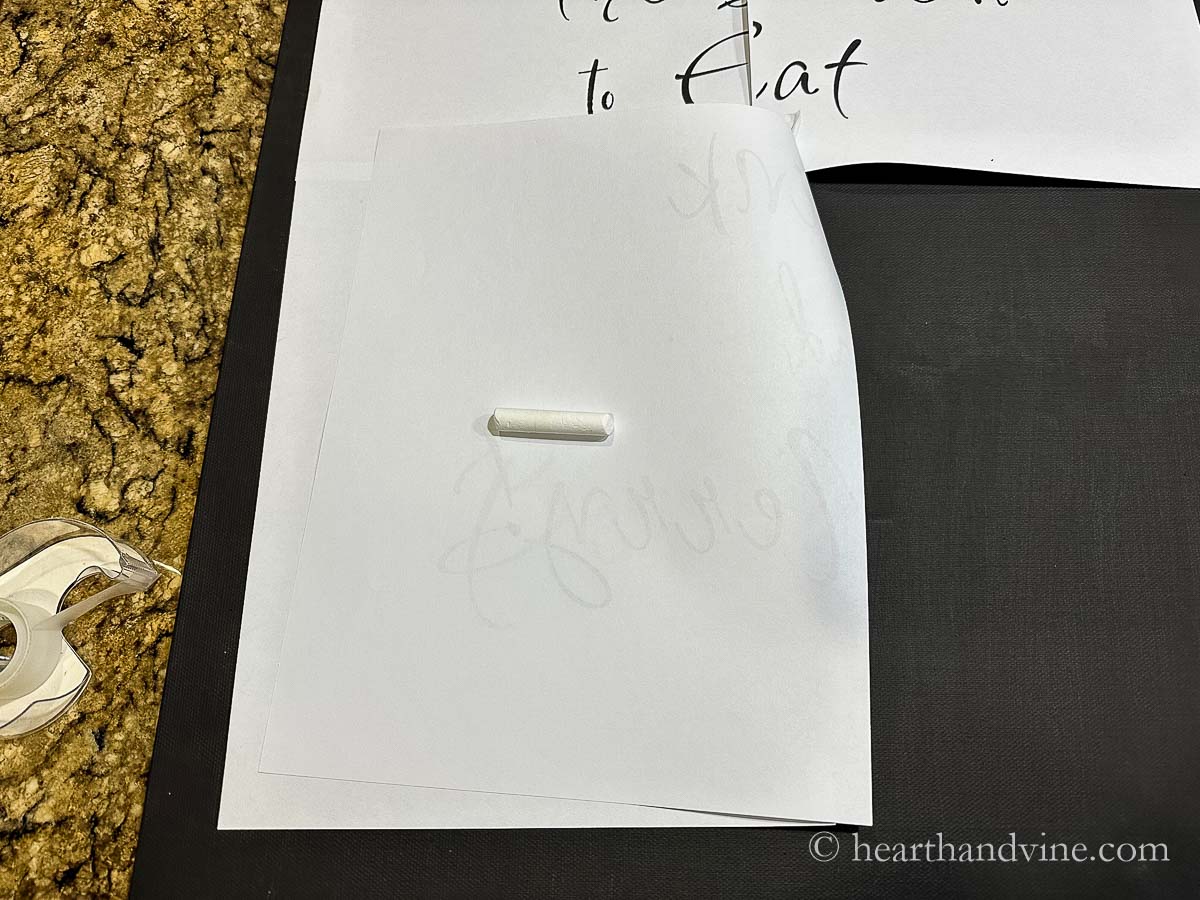
    Next, carefully lift up each section and coat the back of the lettering area with white chalk.

    Place the paper back into place and trace over the letters with a pencil.

    Paper lifted up to show the chalk transfer underneath showing the word "Tis."

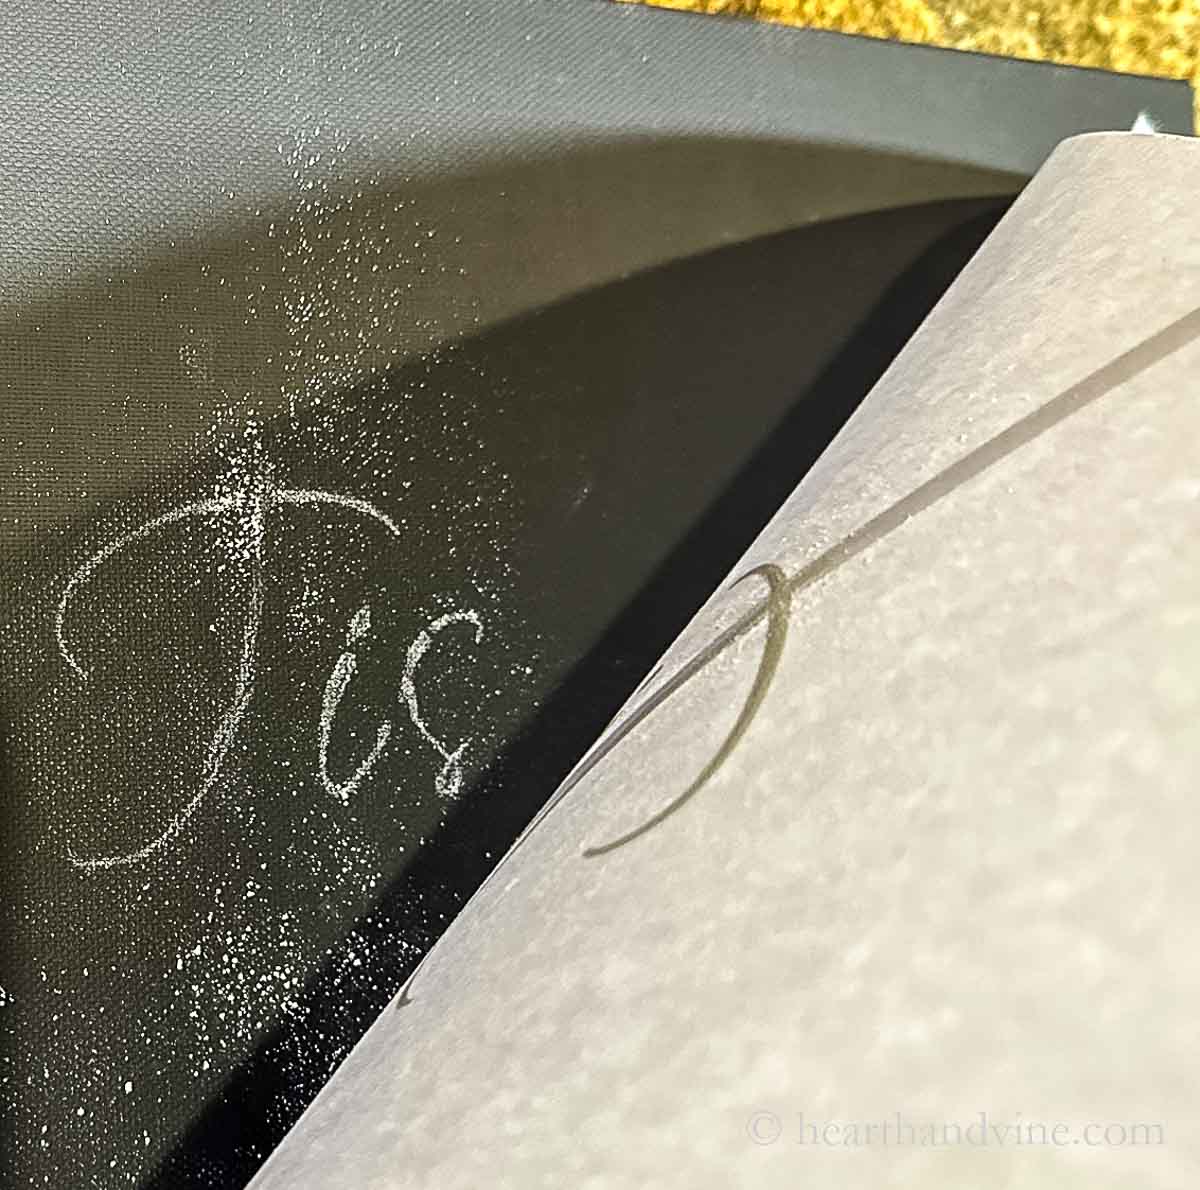
    Lift up a section to see if the chalk has transferred properly.

    The painted canvas with the saying transferred in white chalk.

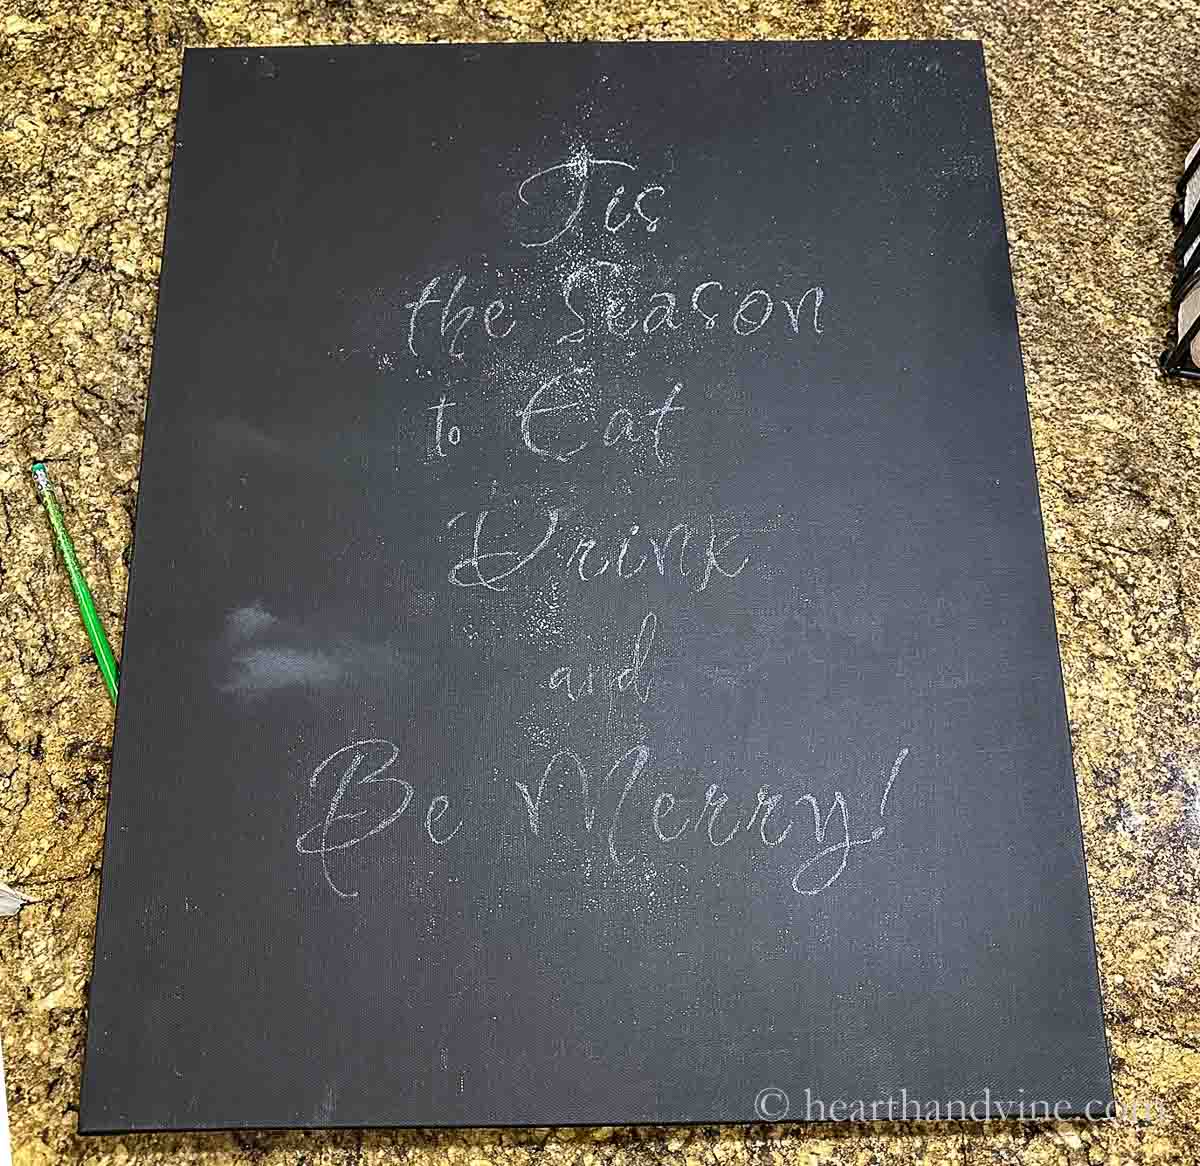
    Ta da! The entire saying is now on your black canvas. Don't worry about the extra chalk dust. You can remove it later.

    A close up image of the white paint chalk marker and part of the sign drawn with the same marker.

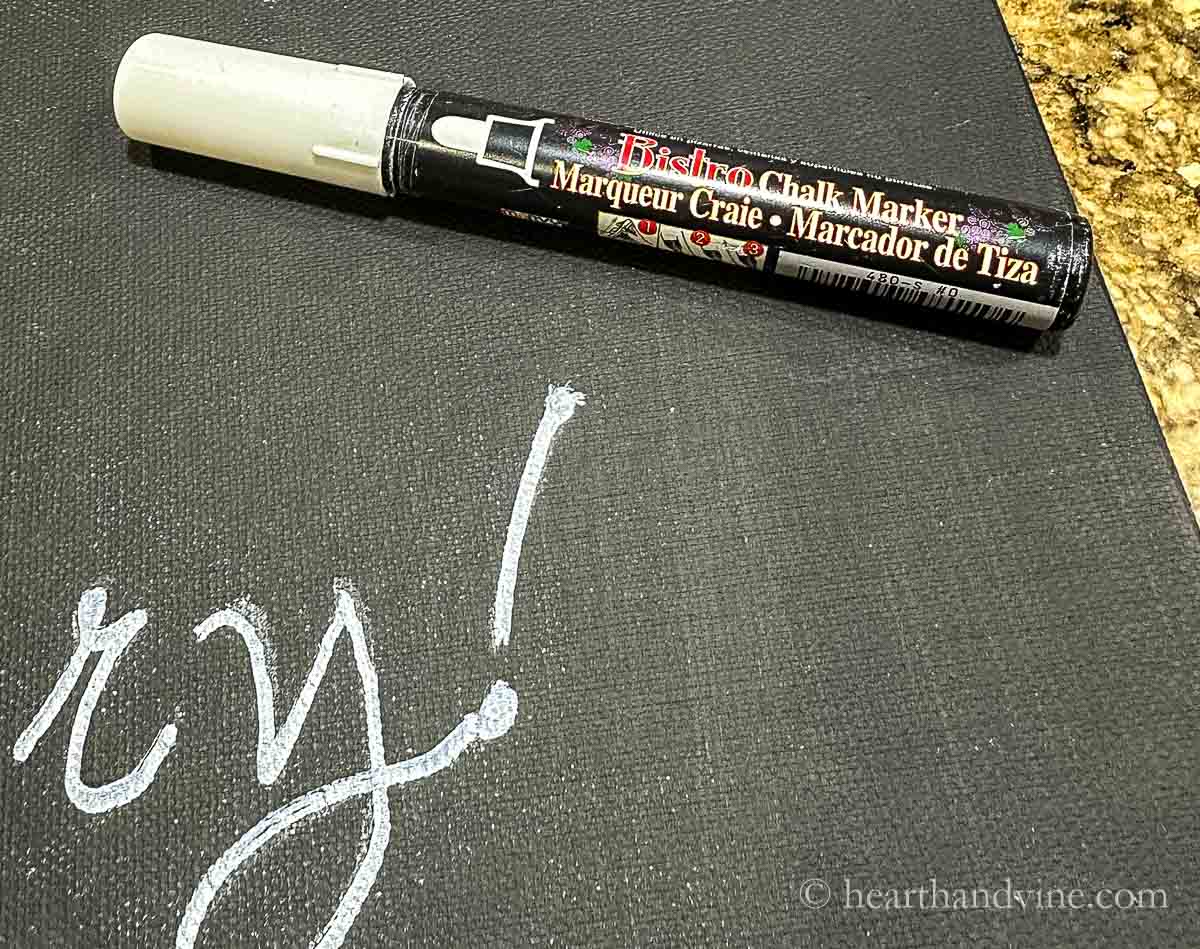
    Instead, take a white chalk paint marker and paint over the chalk transfer. Feel free to give it a second coat if needed.

    A fine paint brush with black chalkboard paint fixing some of the white chalk marker mistakes.

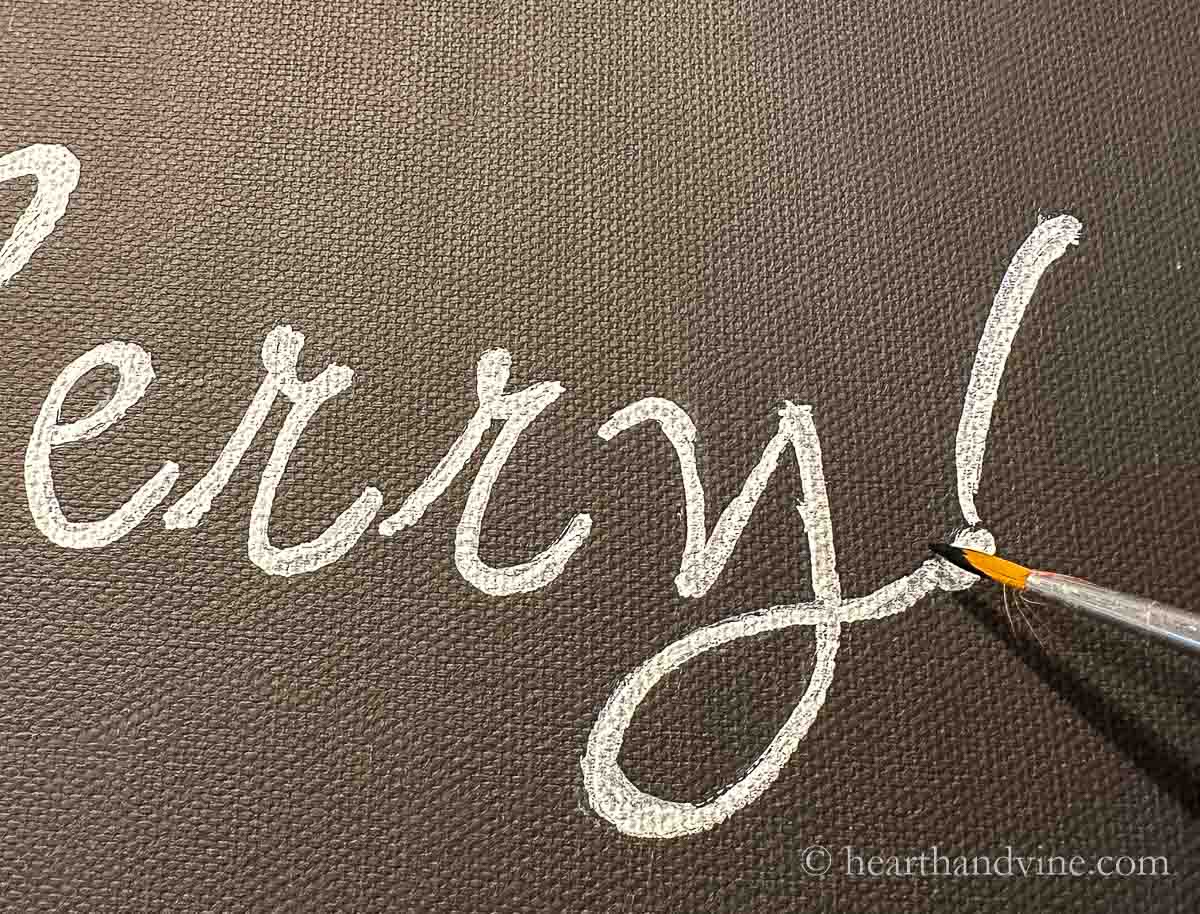
    If you make a mistake use a fine paintbrush and some of the same black paint to fix it.

    The sign with the entire saying in white chalk paint.

    It's pretty cute on its own. However, a few twinkle lights would be even better, right?

    A small screwdriver poking a hole from the back of the canvas the one of the LED mini lights.

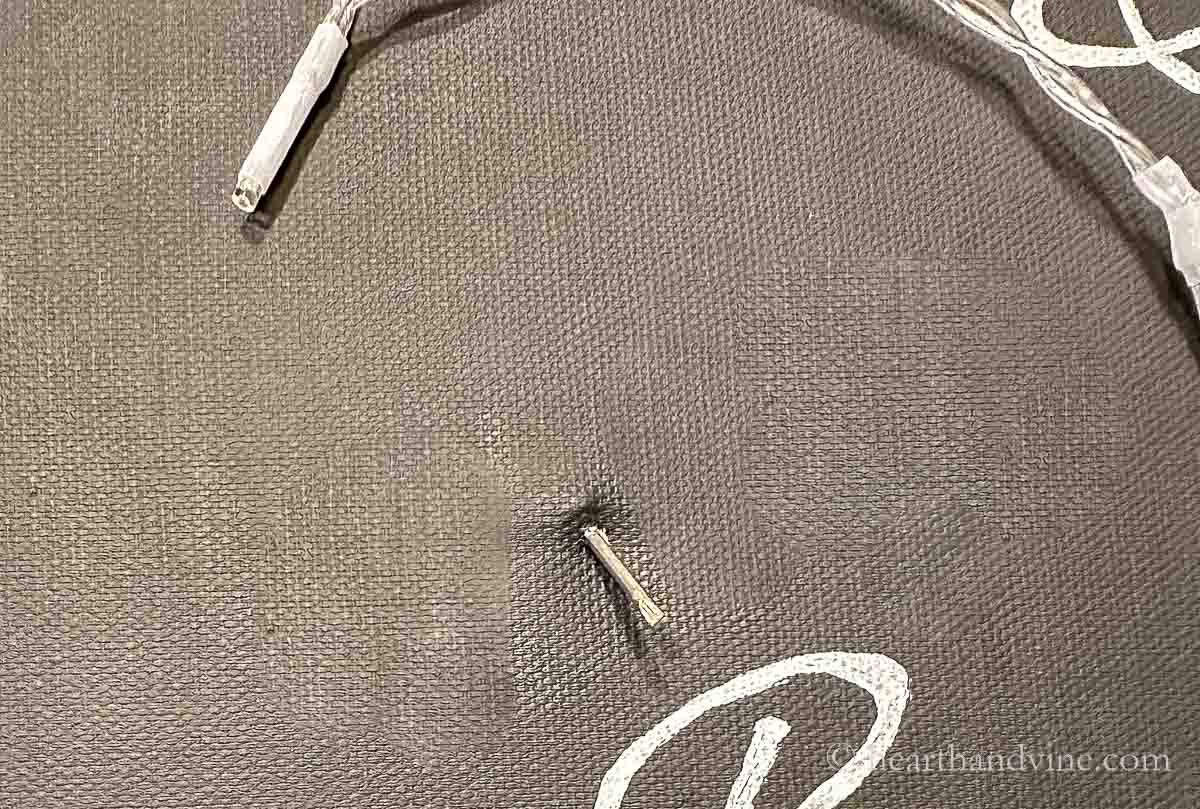
    Use something sharp to poke holes for each light from the back of the canvas. Then, take the LED strip of lights and place them in their holes.

    The back of the canvas showing all the mini lights and the battery pack taped down with painter's tape.

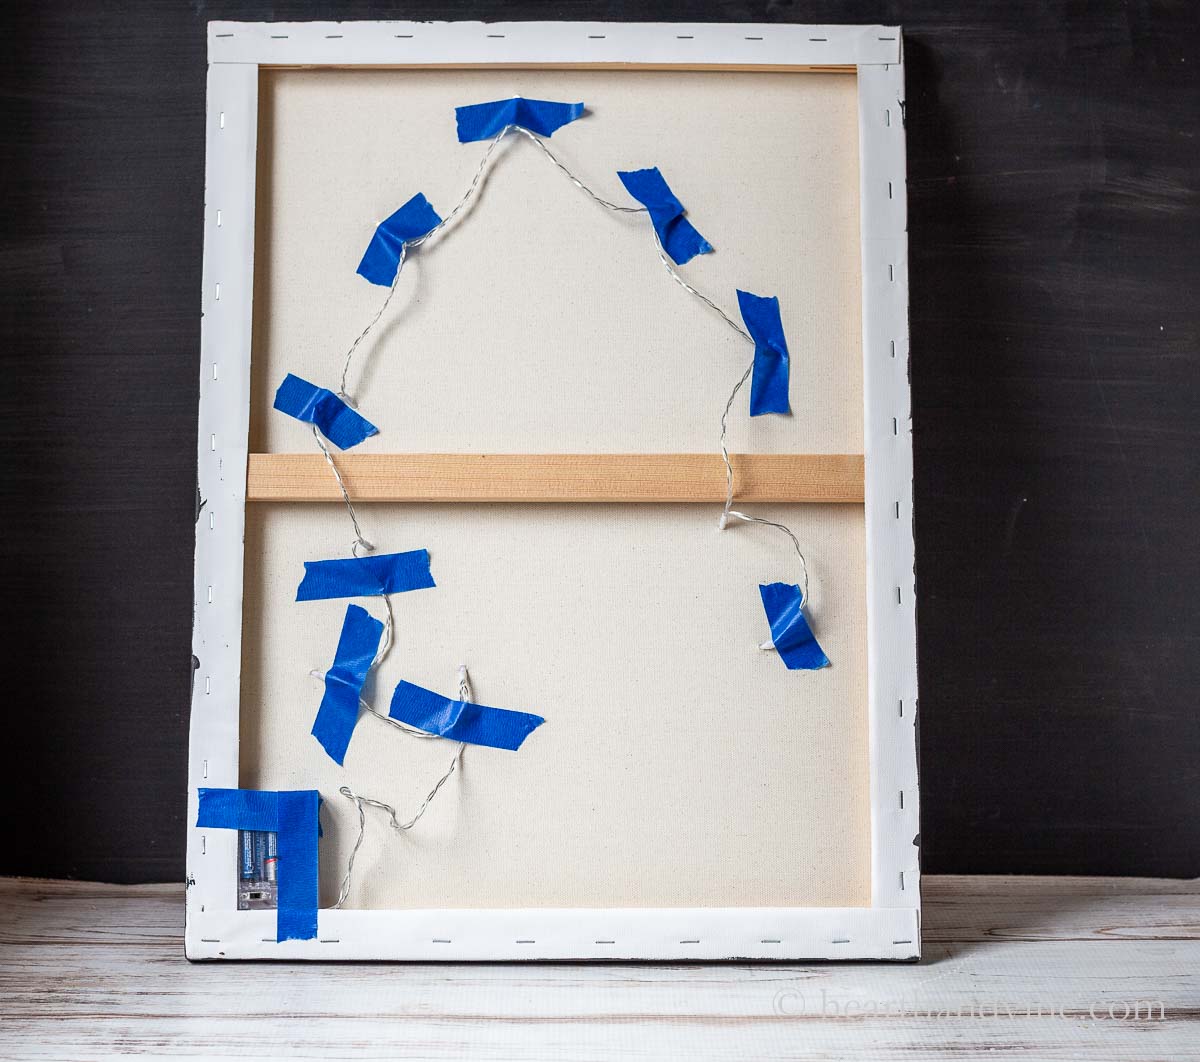
    Place the battery pack at the bottom corner for easy access to the power source. Then gently tape them all in place.

    The completed sign with the lights on set on a table.

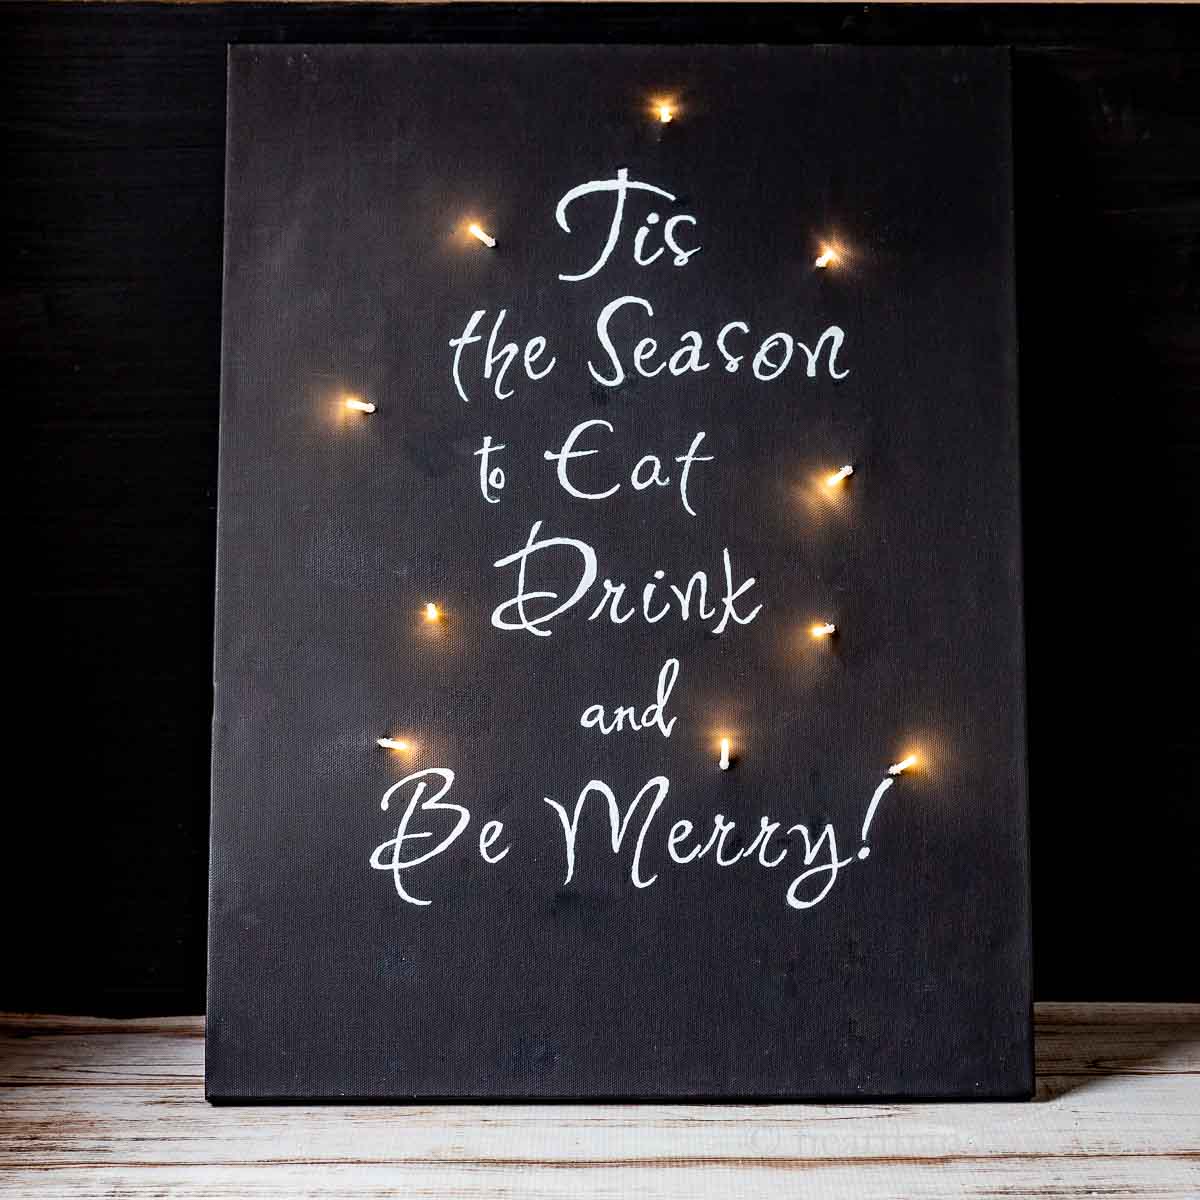
    I think my guests will love this fun sign during the holidays this year and it was really easy to create.

    The DIY lighted sign on a mantel with trees and candles.

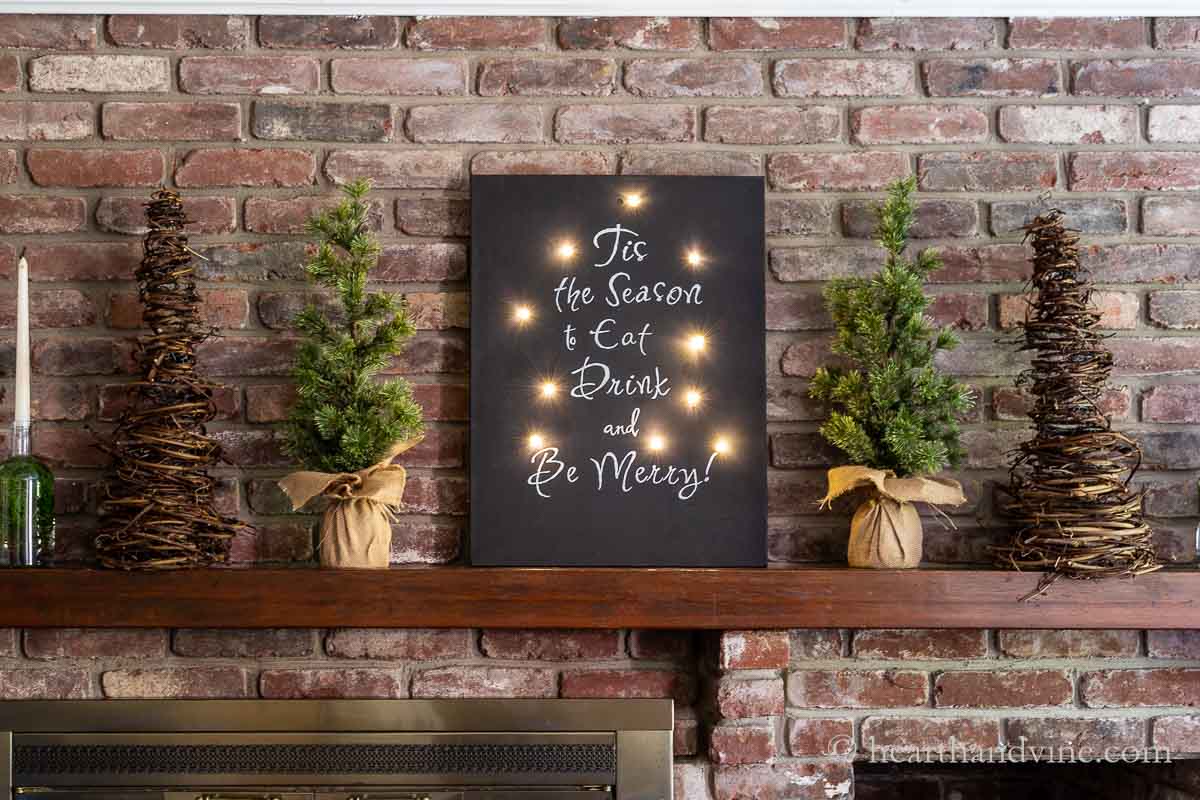
    Here it is on our mantel with the grapevine trees I shared recently.

    Do you like the bottles with the white taper candles? I put a little fresh cedar from a shrub outside and filled them with water.

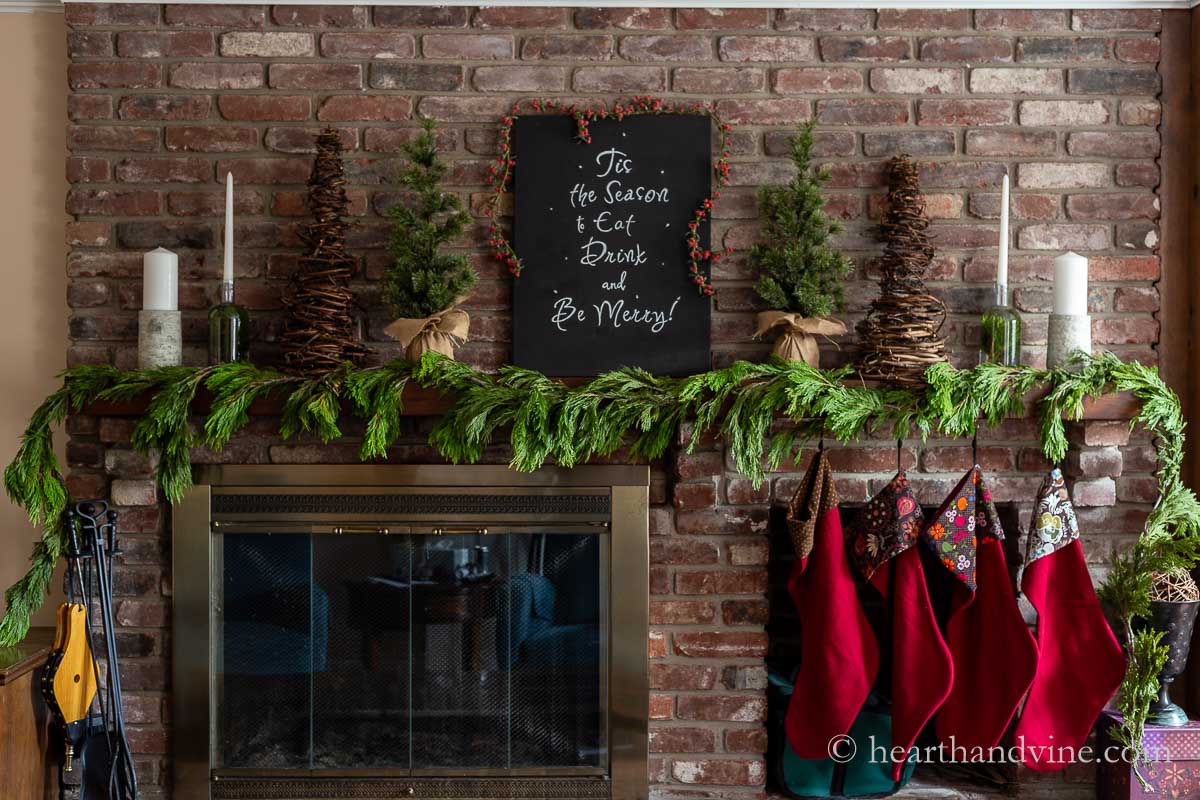
    I also added some pretty red berry garland around the sign and hung our family's large red stockings for a pop of color. The final touch is some fragrant fresh cedar garland hung on the mantel to complete the look. It's beginning to look a lot like Christmas....

    Patti signature

    More DIY Signs

    • Pineapple Welcome Sign
    • Merry and Bright Wood Look Sign
    • Welcome Home Sign
    A black chalkboard look canvas with a white saying, "Tis the Season to Eat Drink and Be Merry" with LED lights around the edge.
    Black chalkboard sign with lights saying Tis the season to eat, drink and be merry.
    Print

    DIY Chalkboard Sign for Christmas

    Learn how to make this lighted sign with your favorite Christmas or Holiday saying all lit up for the season.
    Prep Time20 minutes mins
    Active Time1 hour hr 30 minutes mins
    Total Time1 hour hr 50 minutes mins
    Yield: 1

    Equipment

    • Computer
    • Printer
    • Sponge paintbrush
    • Fine Paintbrush

    Materials

    • Computer Paper
    • 1 Canvas
    • Chalkboard Paint Black
    • Chalk White
    • Pencil
    • Chalk Pen White
    • LED Mini Lights Battery Operated
    • Batteries
    • Tape masking, clear or painters

    Instructions

    • Paint the canvas with black chalkboard paint and let it dry.
    • Type out your saying and make it a PDF document.
    • Print out your saying in Adobe Acrobat. Set the print to Portrait.
    • Choose Poster under page size and handling. Set the Tile Scale to 150% and overlap .005 in
    • To the right, you should see the size as 17 x 22 inches with the saying split into four pages.
    • Tape the four pages to the canvas in the center.
    • Carefully pull back each page and rub white chalk liberally on the lettering areas.
    • Set the pages back in place and trace all the letters with a pencil.
    • Peek underneath to see if the chalk transferred as expected.
    • Remove the paper and begin covering the transferred chalk image with a white paint chalk marker.
    • Use a second coat of chalk paint if needed.
    • Once dry wipe off any excess chalk dust and touch up any mistakes with a fine paintbrush and more black chalkboard paint.
    • When all the paint has dried determine where you would like to place the lights.
    • Place batteries into the box provided with the LED lights.
    • Use a small screwdriver or anything sharp to poke a hole for each light.
    • Set the lights into their holes and set the battery box in the bottom corner for easy access.
    • Tape down the battery box and lightly tape the lights with just the tip of the light showing.
    • Set your art on the mantel or hang it on the wall for all to enjoy.
    Tried this project?Tag @hearthnvine on Instagram
    « DIY Grapevine Christmas Tree Craft
    Leftover Mac & Cheese Recipe Your Family Will Eat Up »

    About Patti Estep

    Patti is the creator of Hearth and Vine, a home and garden blog filled with projects to inspire your creative side. She loves crafting, gardening, decorating and entertaining at her home in Pennsylvania. When she is not working on a project at home or searching for treasures at nurseries and thrift stores with her girlfriends, you’ll probably find her with family and friends, at a restaurant, or home party enjoying new and different food adventures.

    Reader Interactions

    Leave a Reply Cancel reply

    Your email address will not be published. Required fields are marked *

    Recipe Rating


    Primary Sidebar

    Tis the Season to Eat, Drink and Be Merry sign on canvas set on a mantel.
    Patti Estep Profile Picture

    Hi!

    I'm Patti

    Join me to create lots of fun DIY projects, including crafts, gardening, home decor, and tasty recipes

    More about me

    Popular Posts

    • Baked zucchini bite on a slated tray with a bowl of horseradish sauce.
      Make Tasty Zucchini Bites in Under an Hour
    • Three tin cans in descending sizes hanging from twine.
      DIY Wind Chimes with Tin Cans
    • Blue jean crossover bag
      DIY Crossbody Bag from Jeans
    • Ham barbecue sandwich on plate
      Chipped Ham Barbecue Sandwiches - A Pittsburgh Favorite
    • Echievera planter
      What to do With a Stretched Succulent
    • Make a Mason Jar Oil Candle Lamp with botanicals and essential oils. ~ gardenmatter.com
      DIY Oil Candle - Gifts for the Holidays

    Footer

    Tis the Season to Eat, Drink and Be Merry sign on canvas set on a mantel.

    ^ back to top

    About
    Contact
    Privacy Policy
    Disclosure Policy

    Sign Up Here!
    for our
    newsletter &
    special offers

    Follow Me

    facebook
    Pinterest
    instagram

    As an Amazon Associate, I earn from qualifying purchases. i.e. as an Amazon Associate, I earn from qualifying purchases.

    Copyright © 2025 Hearth and Vine

    Rate This Recipe

    Your vote:


    A rating is required
    A name is required
    An email is required