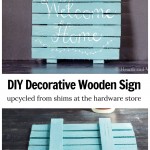
This easy wooden sign tutorial shows you how to make a fun rustic pallet-like sign, with contractor shims, glue, and chalk paint. Perfect for any favorite saying and can be easily hung anywhere in the house.
I love the pallet projects I see others making and have also made a couple of my own. However, one day I came across a pack of contractor shims, and they reminded me of the raw rough wood that you see in pallets.
I thought it would be fun to use them to make a wooden sign, Something you could give as a gift for Mother's Day, Teacher Appreciation Day, or enjoy in your own home.
How to Make a Wooden Sign from Shims
Supplies
Contractor shims (I used 18 12 inch shims for this project)
Wood Glue
Paint  (I used FolkArt Chalk in Cascade)
White Chalk Marker
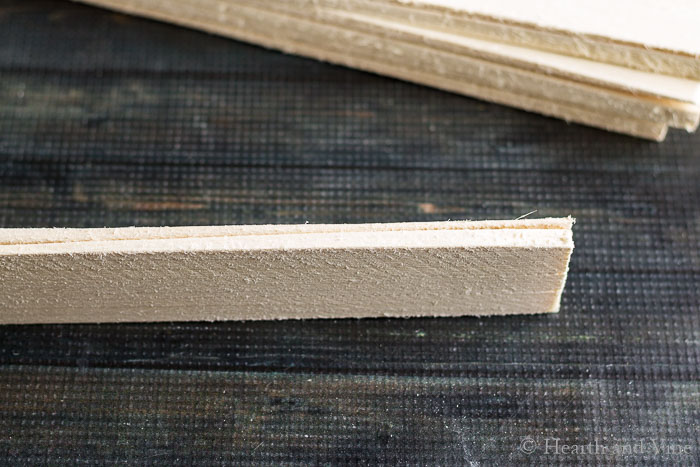
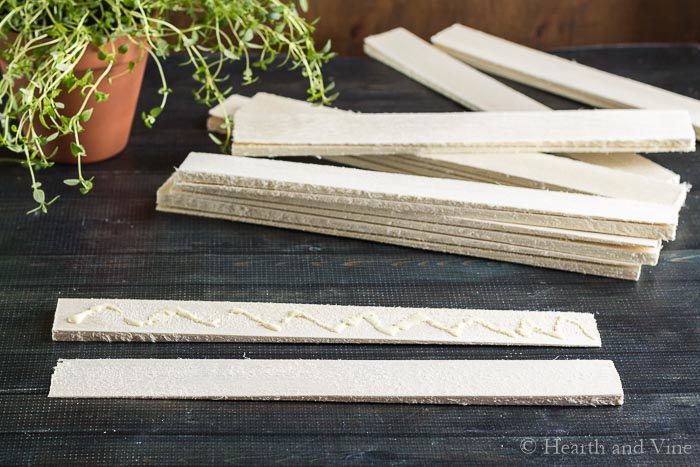
- Start by gluing the shims together, with the thin tapered end of one piece, matched up to the thicker end on the other. This makes a nice even piece of wood. If your shims are particularly rough, you may want to run a bit of sandpaper over them first.
2. Paint the wood pieces with your favorite color paint.
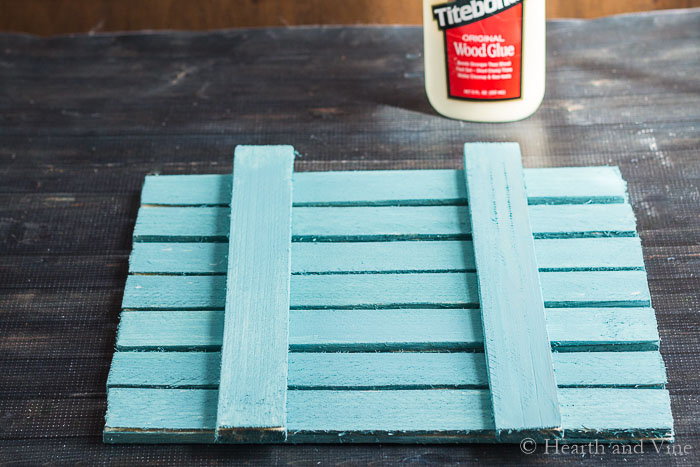
3. Then, arrange them with a little bit of spacing between, and enough space for two additional wood pieces to cover the back. I used 7 pieces for this sign. You could use more or less, depending on what looks good to you.
4. Once you get the layout that you want, glue the back pieces perpendicular on top of the others.

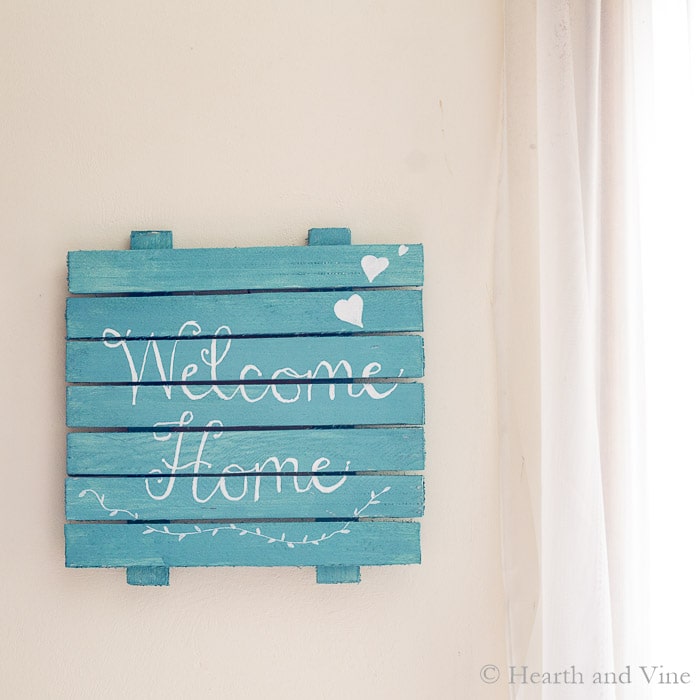
5. Print out some words on your computer to trace onto the sign. I went with a welcome home statement, but the options are endless. A monogram, someones name, or just search google for favorite quotes like Worlds Greatest Mom, Home Sweet Home, You Are My Hero, etc..
6. Use a pencil to rub all over the back, and then trace it onto the wood by pressing firmly all along the printed letters.
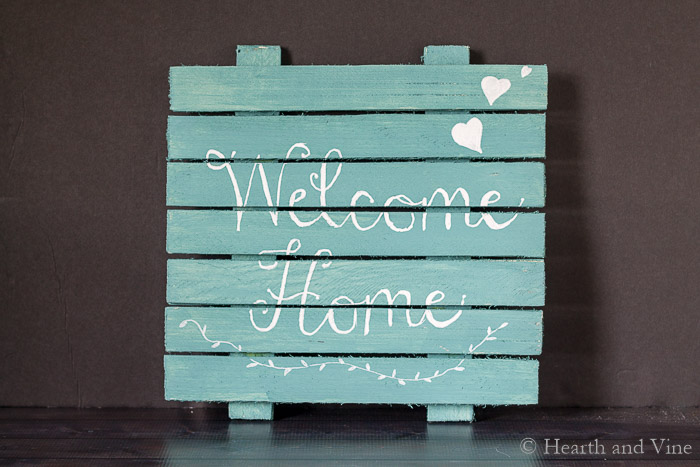
7. Then use a chalk pen to fill in your pencil tracing and add a few freehand doodles.
You could add a picture hanger
 to the back, and that may be a nice touch if you're are giving it as a gift. Otherwise you can just rest a nail on the opening between the slates.
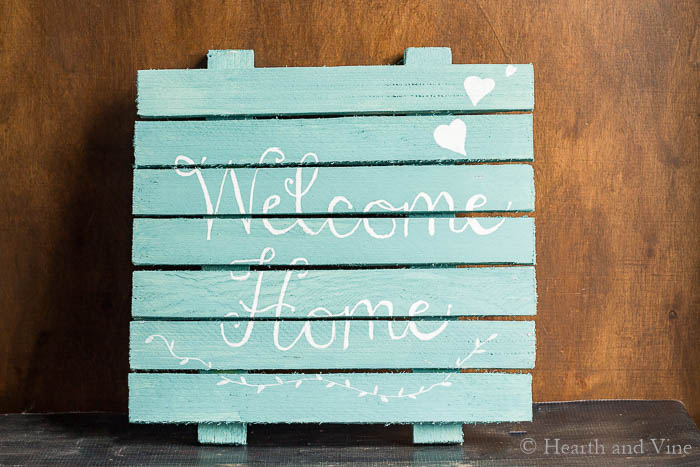
I think it turned out pretty darn cute.
More Easy Wood Projects:
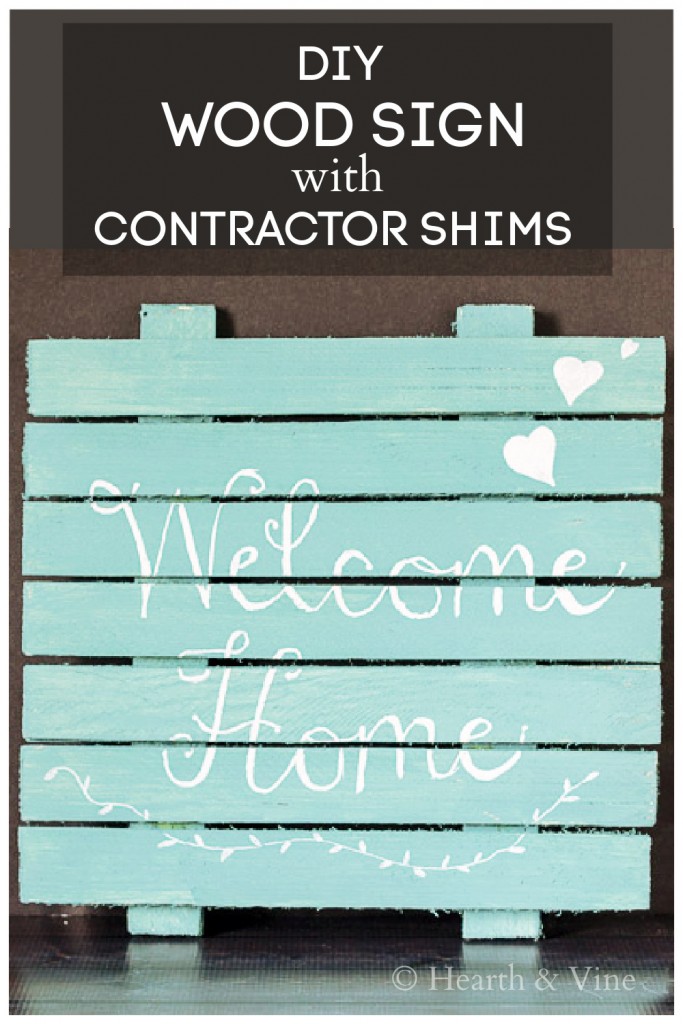

Wood Shim Welcome Sign
Equipment
- Computer and printer
- pencil
Materials
- Contractor shims I used 18 12 inch shims for this project
- Wood Glue
- Paint I used FolkArt Chalk in Cascade
- White Chalk Marker
Instructions
- Start by gluing the shims together, with the thin tapered end of one piece, matched up to the thicker end on the other.
- Paint the wood pieces with your favorite color paint.
- Arrange them with a little bit of spacing between, and enough space for two additional wood pieces to cover the back.
- Glue the back pieces perpendicular on top of the others.
- Print out your favorite saying on your computer.
- Use a pencil to rub all over the back, and then trace it onto the wood by pressing firmly all along the printed letters.
- Then use a chalk pen to fill in your pencil tracing and add a few freehand doodles.
Phyllis
Hi. Another shim use. I put together shelves from kits. A lot of time I wish they were a little more solid. (I like my shelving to stand like a rock.) So on the back side I use a measured and cut shim to make an angled brace from the top or bottom to the side about the height of the first (or bottom) shelf. Up to 4. Have been known to make one or two vertically down the back. No one sees it anyway it's against the wall. But it makes a real difference..... Have a wonderful day. 😆
Patti Estep
That's a great idea Phyllis. Thanks for sharing.
Karen
I agree with you, Patti - it’s adorable! And I love your paint color. This is a really fun and versatile project. You really could adapt it so many ways.
Funny about the pallets - I’m working on my first pallet project this week. My husband knew of a warehouse a few miles away that is happy for people to haul off the pallets, and I was able to find a pretty nice one.
Thanks for sharing your stencil technique - brilliant!
Lisa Weinstein
I love it!! Looks simple enough that even I could do it. Love that it doesn't use power tools! I really don't know where all these people get their "free" pallets anyway, so this is perfect for a small project. Thank you!!!
Patti Estep
I'm so glad you like it Lisa. It was really easy to make and one of these days I will find a free pallet to make something.
Carole West
You're not alone I haven't used pallet wood yet either... Mainly because I've never been able to find any where the wood was worth my time. I love this color and I never thought about transferring a message this way... I need to try this!
Patti Estep
One of these days Carole. I'm just keeping my eye out for some lonely pallet left somewhere. Also, I know you would make something really special with this idea and I can't wait to see it.