Here's an easy dresser makeover transforming a basic IKEA Rast. Perfect for adding more storage in my dining room while creating a stand out feature furniture piece in our home.
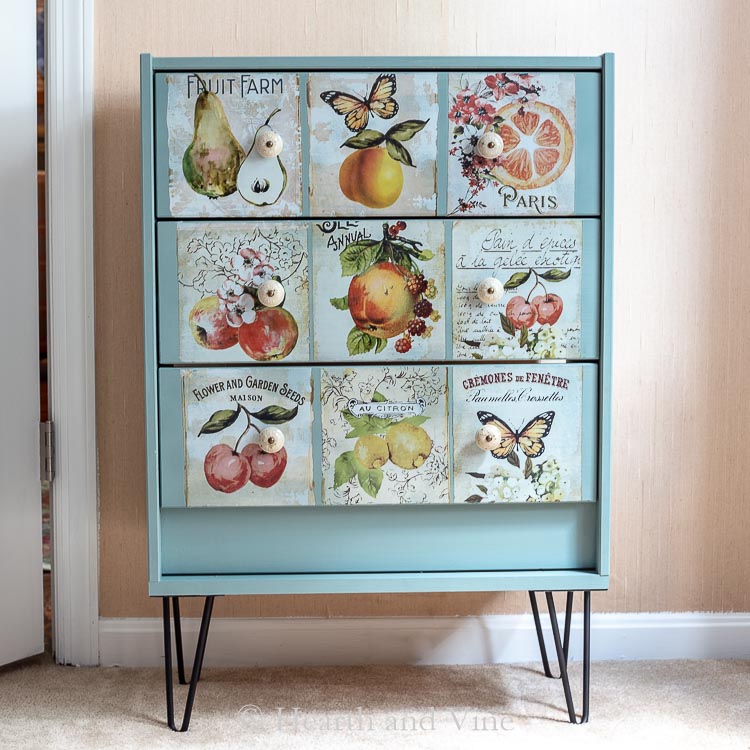
When I started blogging I noticed many of my fellow bloggers creating fantastic furniture pieces from a very basic IKEA Dresser called Rast. This 3 drawer chest or dresser is only $39 and comes all together in one box for you to build.
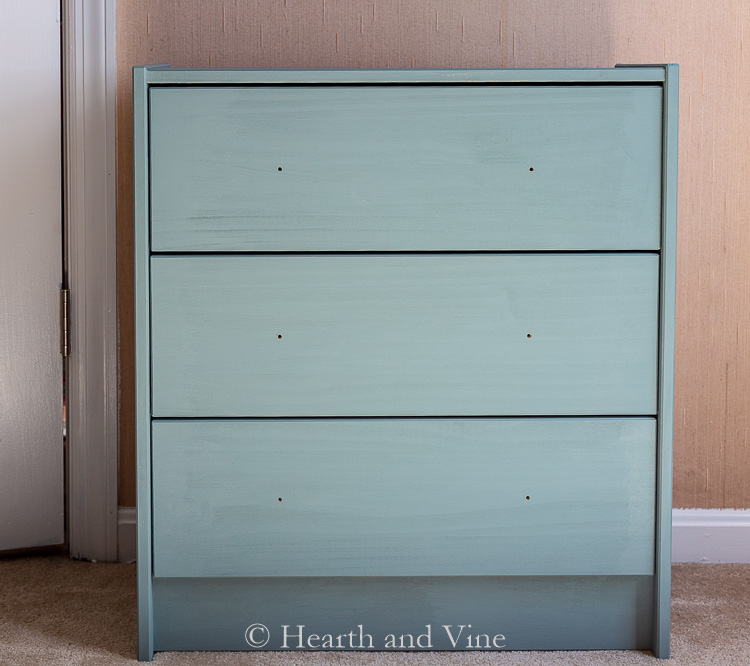
IKEA Rast Dresser Makeover
We really needed more storage in our dining room and I feel like we have space for a nice chest or dresser. Why not use the Rast and create something pretty and functional.
The first thing I did was paint the dresser. Choosing the color was really hard. After hours of looking, I ended up with this Vintage Duck Egg Blue from Dixie Belle Paints. At first, I thought it was too green but once I painted the entire piece it looked a lot bluer and I loved it.
I used two coats of paint and once it was dry I finished it with some of Amy Howard's Mind Your Own Beeswax.
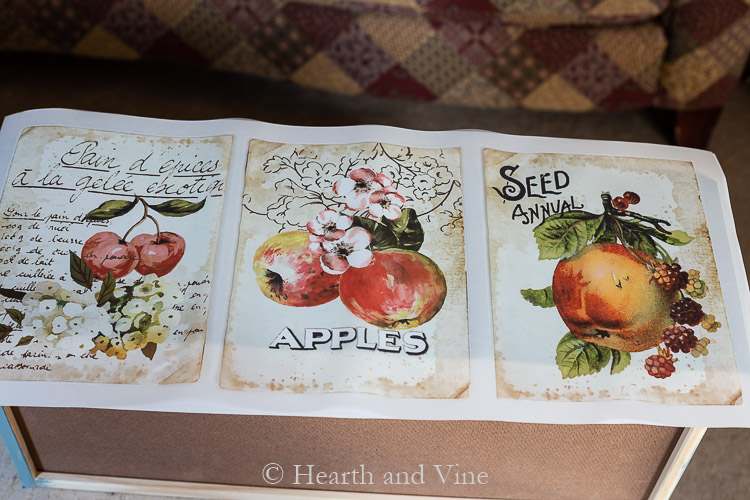
Next, I used a rub-on transfer also from Dixie Belle called Sweet Apricot Transfer. I do love a botanical print and this did not disappoint. As you can see, the transfer is a little too big for the drawers so I cut it into sections with a paper cutter. This way I could position the prints exactly where I wanted them.
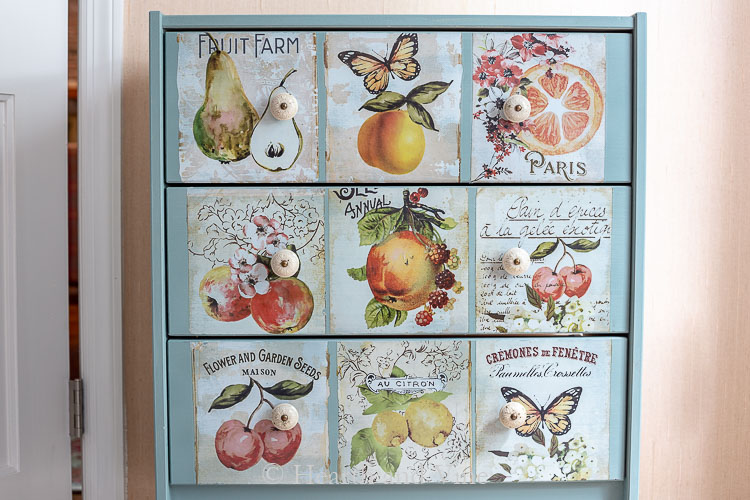
The IKEA Rast comes with tiny basic wooden drawer pulls but I had to replace them with something a little prettier. I used these antique looking cream drawer knobs from Hobby Lobby.
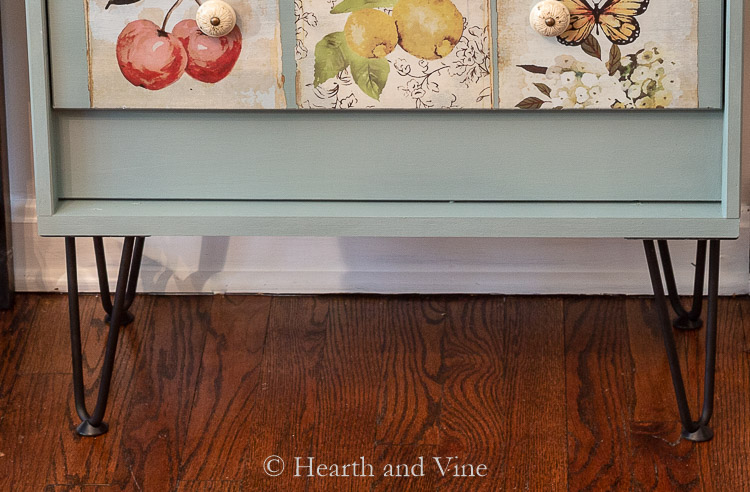
Lastly, I really felt like this dresser needed some height so I ordered four 8" hairpin legs online.
However, there was a problem. The legs needed a base to screw into which the Rast doesn't have. So I bought a piece of wood at Home Depot and had my husband cut it down to fit. We used a few finishing nails to tack it to the bottom. Then I painted it with the same blue paint.
This allowed the legs to be screwed to the bottom, and I think they really add a lot to the overall look of the piece.
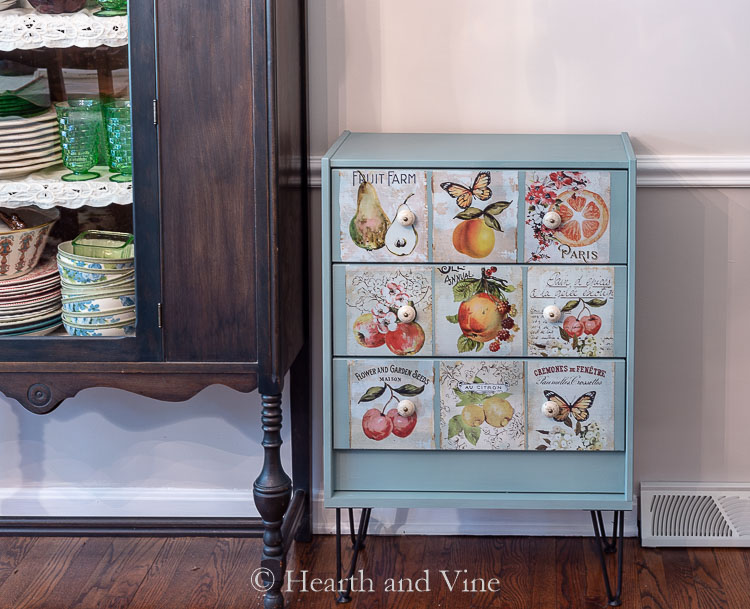
I'm super happy with the way this dresser makeover turned out.
I really think it would look good in any room at our house.
However, I really like the way it looks in the dining room. Now it's time to fill it up.




Danhy Clermont
Hi there, did you use 16" hairpin legs?
Patti Estep
Danhy, I'm sorry I ordered the 8 inch hairpin legs, not 16. I don't know why it was highlighting 16 inches but I think I fixed it. Thanks for letting me know.
Maria
patti, this dresser makeover is lovely and I'm going to do one too! can you give me a bit more info about the wood on the bottom to attach the hairpin legs? one piece to fit the bottom of the dresser, or 1 piece on each side? how thick? thanks so much.
Patti Estep
Maria, I went to Home Depot and bought a piece to fit the entire bottom. I was a 1" x 12' x 36" piece of pine which was a little longer so we cut it down to fit. However, you can ask them at the store to cut it for you. Also, when they say 12" at the store you are really getting 11 1/4 " so while the front is flush the back is a little under. You could by something bigger an have it cut down to fit exactly.
Barbara Warner
What a beauty! It's a radical improvement on its original look. I love hairpin legs and the transfers are stunning. This is a gorgeous dresser.
Patti Estep
Thanks Barbara. I'm so happy with the way it turned out and have already put it to good use.