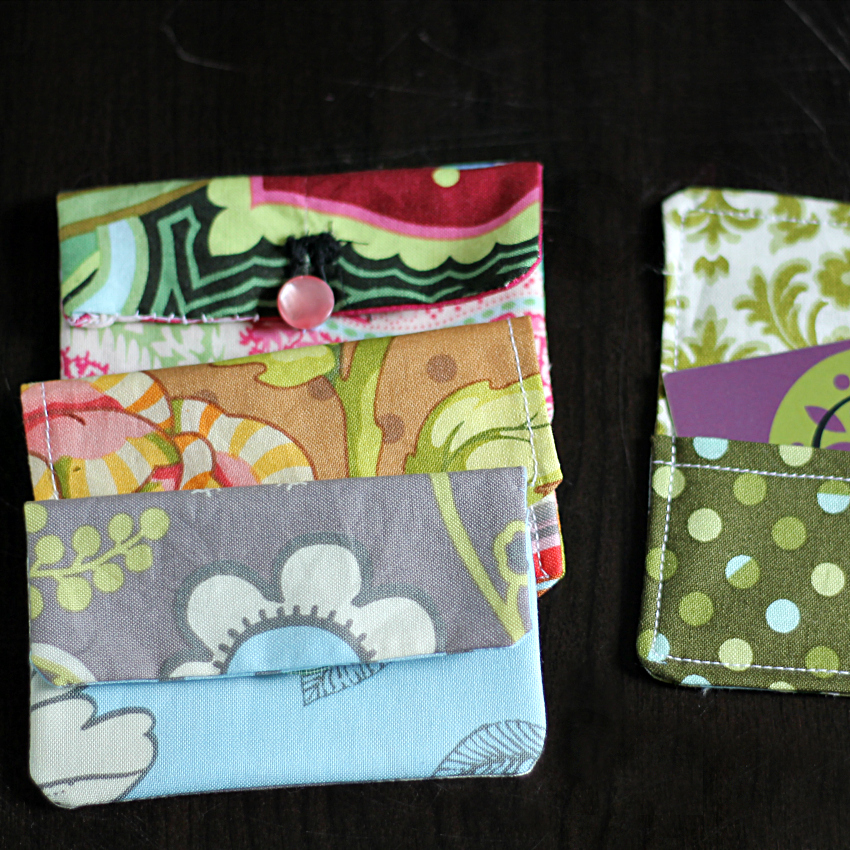
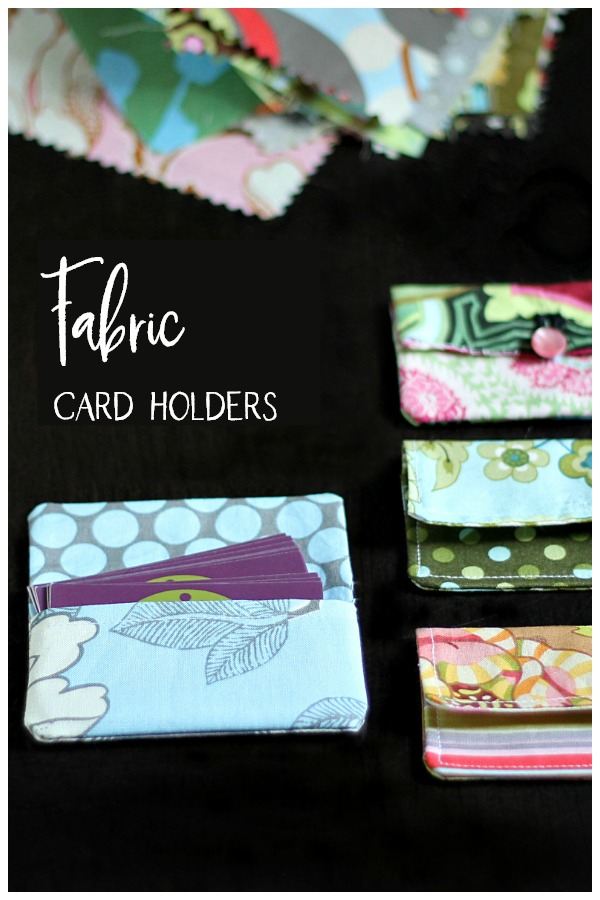
Learn how to make simple fabric card holders from 5 in squares of coordinating material. Use for business cards or a gift card package.
Have you noticed how beautiful the designer fabric is now? I fell in love with Amy Butler and a few others not long ago and bought a bunch of charm packets to use for quilting.
Needless to say, I never got around to making any quilts, just a runner for my dining room buffet. Still, I'm always thinking of ways to use this pretty fabric. A while back, I made spice filled mug mats, and today I'm sharing a new project.
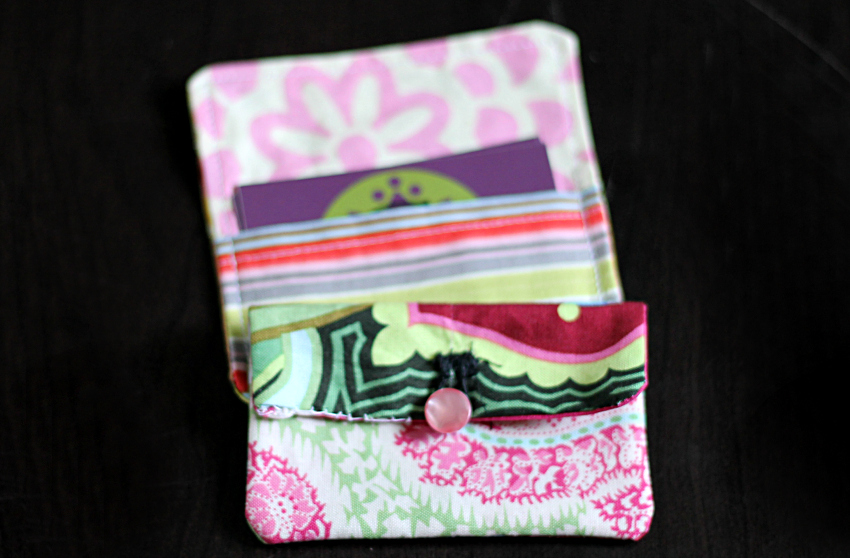
These fabric card holders can be used for your own business cards. However, I think they also make a beautiful gift card holder.
Charm Square Fabric Card Holders
DIY Card Holder Supplies:
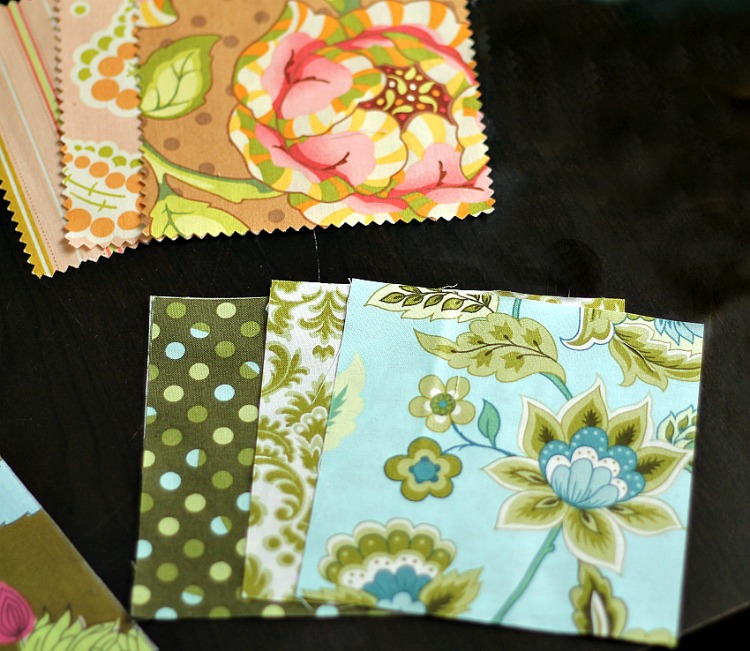
- 3 coordinating fabrics cut into 5-inch squares
- sewing machine
- some kind of closure such as a button, snap or velcro (optional)
How to Make a Fabric Card Holder
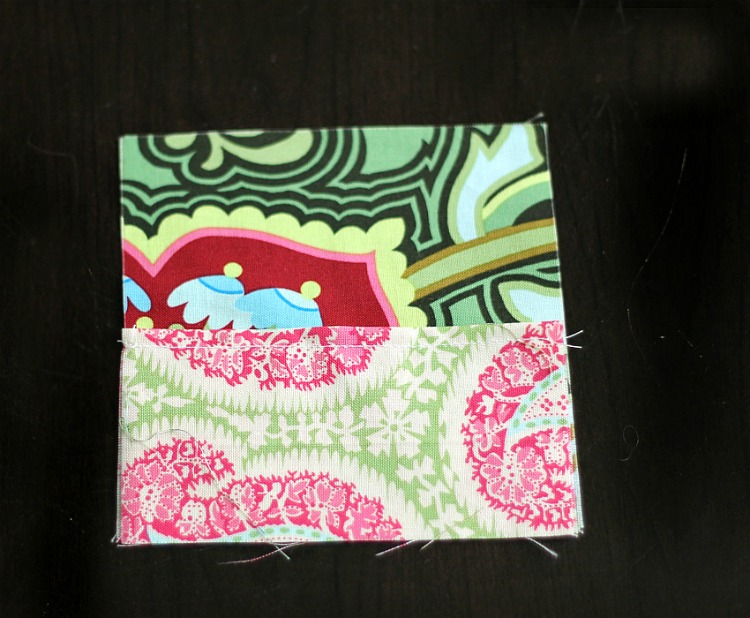
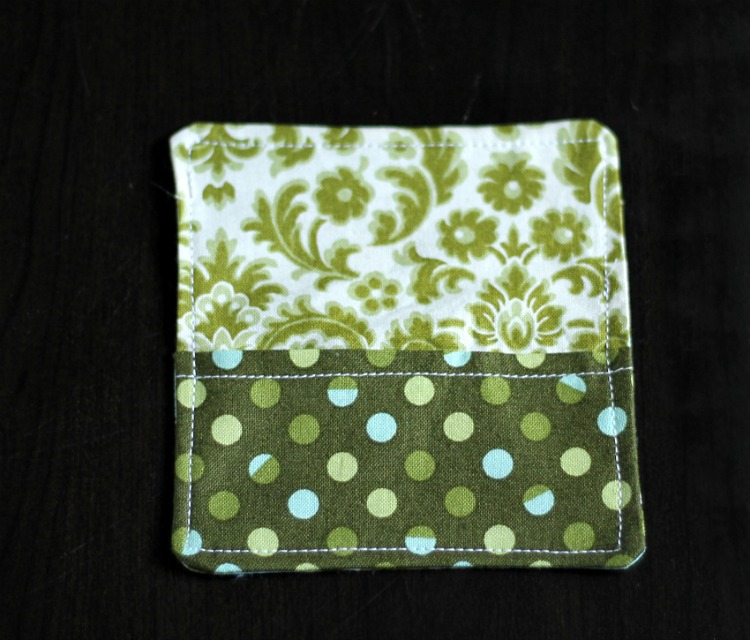
First, take one of the three squares and fold it in half. Stitch along the fold about 1/4 inch from the edge.
Place this piece on the right side of one of the remaining fabrics aligning the bottom edges to make a pocket.
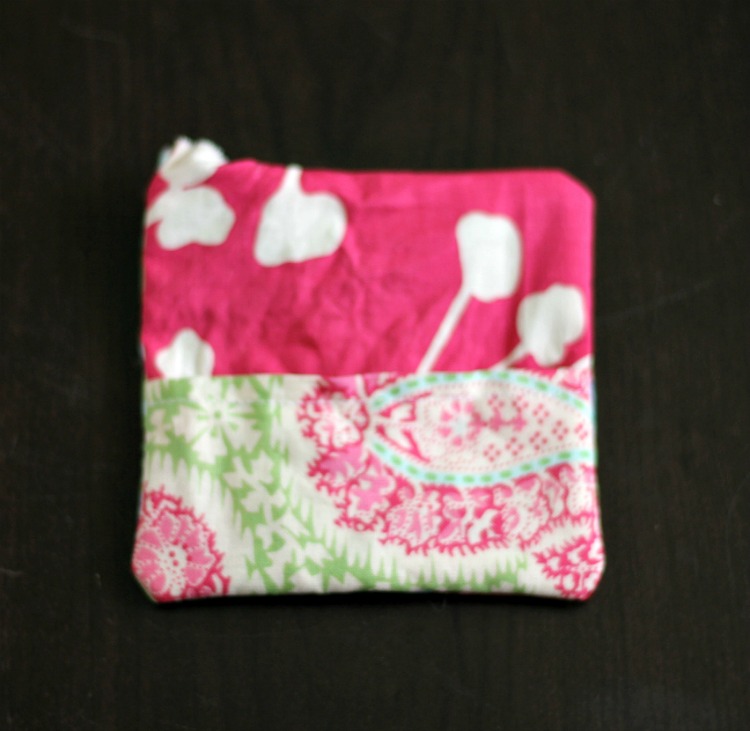
Next, take the last square of fabric and place it on top of the other two with right sides together.
Stitch a 1/2 inch seam along all edges leaving about 1/2 inch open for turning.
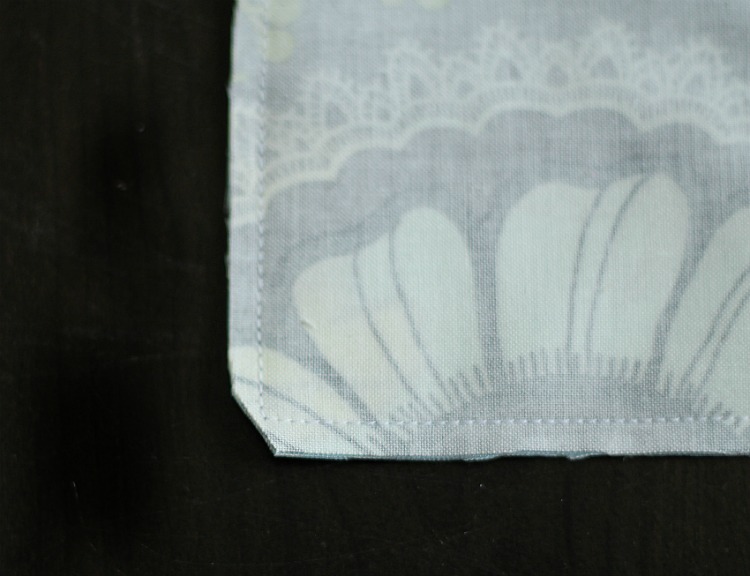
Trim edges and clip corners.
Turn right-side out. (this was the hardest part)
Press with an iron.
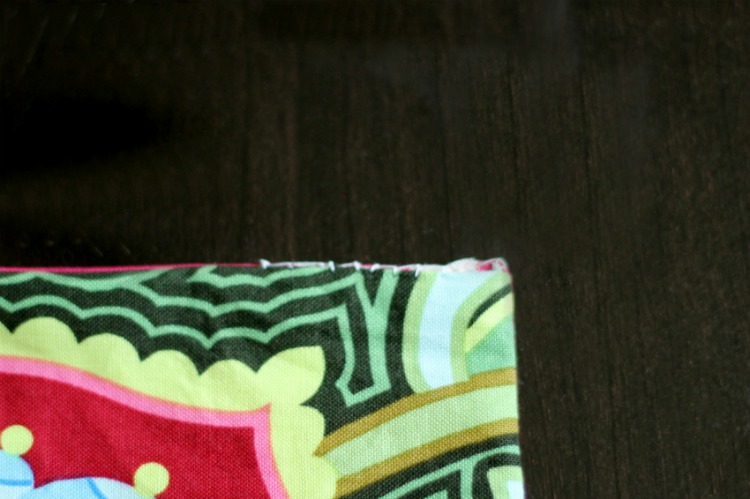
Slip stitch opening or top stitch along the entire outer edge.
Add a closure such as a snap, Velcro or a button if desired.
That's it. Pretty simple, huh?
Makes a nice artistic business card holder or as a fancy package for the next gift card you give.
Makes me want to purchase more charm packs. Ok, I might have a problem. 🙂
P.S. If you have a lot of fabric squares or scraps that you want to craft with you may like Scented Mug Mats or How to Make a Fat Quarter Trivet or Sore Muscle Bags. You can find these and many more on my DIY Projects Page.
Click Here to Save to Pinterest!
Fabric Card Holders - The Perfect Beginner Sewing Tutorial
Equipment
- Sewing Machine
Materials
- 3 coordinating fabrics cut into 5-inch squares
- some kind of closure such as a button snap or velcro
Instructions
- Take one of the three squares and fold it in half.
- Stitch along the fold about 1/4" from the edge.
- Place this piece on the right side of one of the remaining fabrics, aligning the bottom edges to make a pocket.
- Take the last square of fabric and place it on top of the other two with right sides together.
- Stitch a 1/2" seam along all edges leaving about 1/2" open for turning.
- Trim edges and clip corners.
- Turn right-side out.
- Press with an iron.
- Slip stitch opening or top stitch along the entire outer edge.
- Add a closure such as a snap, Velcro or a button.




Julie Briones
So pretty and so easy! These would be perfect to hold business cards at Haven! 😉 I don't know if you do link parties, Patti, but we would love to have you come link-up each week at Homestyle Gathering!
Patti Estep
Thanks Julie. I have really gotten away from linky parties but I certainly keep it in mind. Thanks for the kinds words and the invite.
Bev M.
Wow... I found this post today, after a very bad day trying to sew a credit card holder wallet pattern that was overly complicated and mis-sized. I spent half a day on it, only to discover it was too small to hold my credit cards. I was beyond frustrated and looking for very simple construction. This totally fit the bill. Using scraps from the failed wallet and a random piece of velcro I've had stashed for years, I whipped this up in about 15 minutes. I did add SF101 to one of the squares and half of another, because I wanted a tiny bit of firmness, but this is perfect for me to use as a wallet. (It holds my driver's license and my credit card, which is all I really need.)
Patti Estep
Hi Bev,
I'm thrilled that my project suited your needs. Yes, it's really simple. Typically that's all I do but it's nice to know that it helped someone else. Thanks also for the added tips to make it more substantial. That will help others who stop by.
Hope you are enjoy this fine spring weather and have a great week!
Patti
Rosemary Guyton
I made one today and love it. I had been looking for a different and unique gift card holder. Well, thanks to you I've found it. You can use this for so many different things. Thank you.
Patti Estep
Hi Rosemary,
I'm so glad you like them. They were pretty simple but make a nice gift card holder.
Thanks for letting me know and have a great week,
Patti
Andrea Methvin
Made 2 quick business card holders (for my new cards) tonight with your easy tutorial. Finished in less than 15 minutes. I love a quick project! Thanks!
Patti Estep
Hi Andrea,
So glad you liked it. Quick projects are my favorite too.
Thanks for stopping by,
Patti