

Learn how to make a beautiful pressed flower butterfly or bird with this tutorial. It's an easy way to preserve flowers and create art.

I've created many pressed flower projects over the years. It's one of my favorite flower activities. Today I'm sharing something slightly different. This time I'm using the pressed flowers and leaves to create a picture or in this case a butterfly and a bird.
This particular project uses outlines of the animals to help guide the flower placement. However, I have seen many beautiful landscape scenes using pressed flowers. They are quite beautiful but a little more challenging to create.
This post contains some affiliate links (that means if you make a purchase after clicking a link, there's no additional cost to you, but I will earn a very small commission.) i.e. as an Amazon Associate, I earn from qualifying purchases. Click here to read my full disclosure policy.
In this project, all you need to do is print out the butterfly and/or the bird and then glue on the plant material to make it a gorgeous work of art.
How to Make a Pressed Flower Butterfly
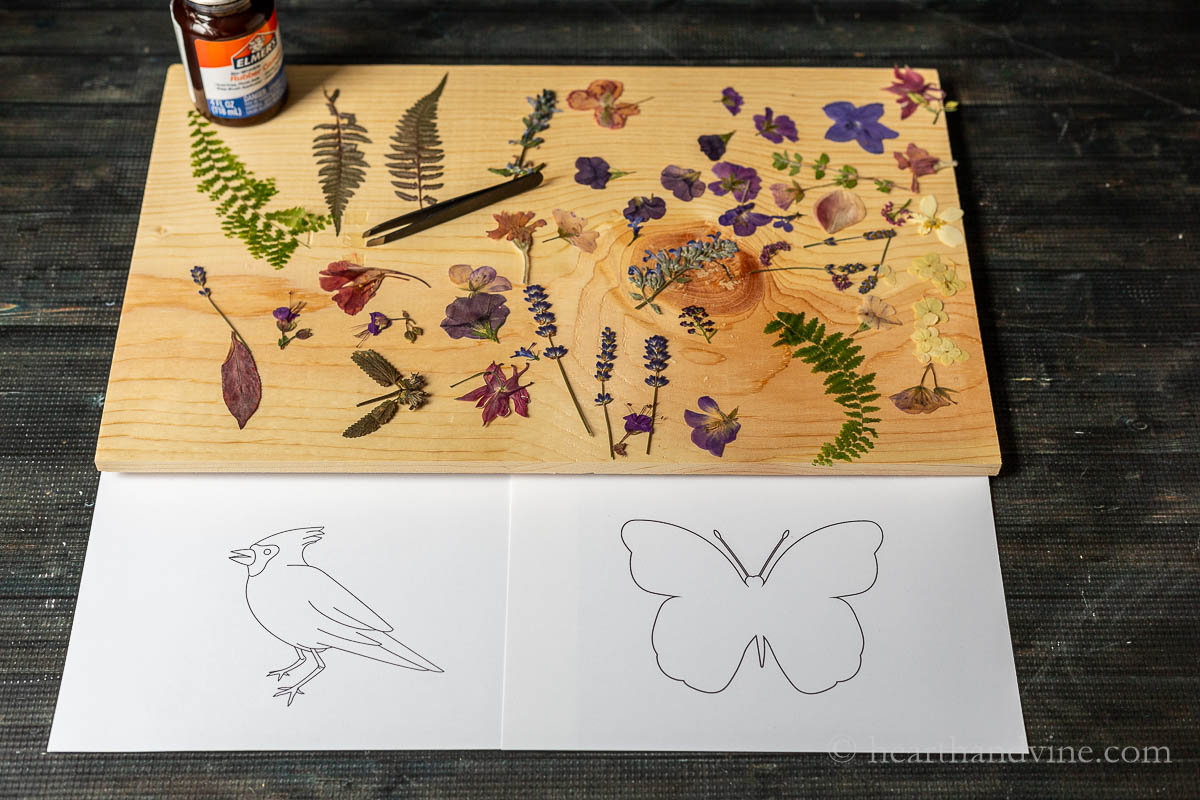
Step 1 - Gather Pressed Flower Material
Gather some pressed flowers or purchase some.
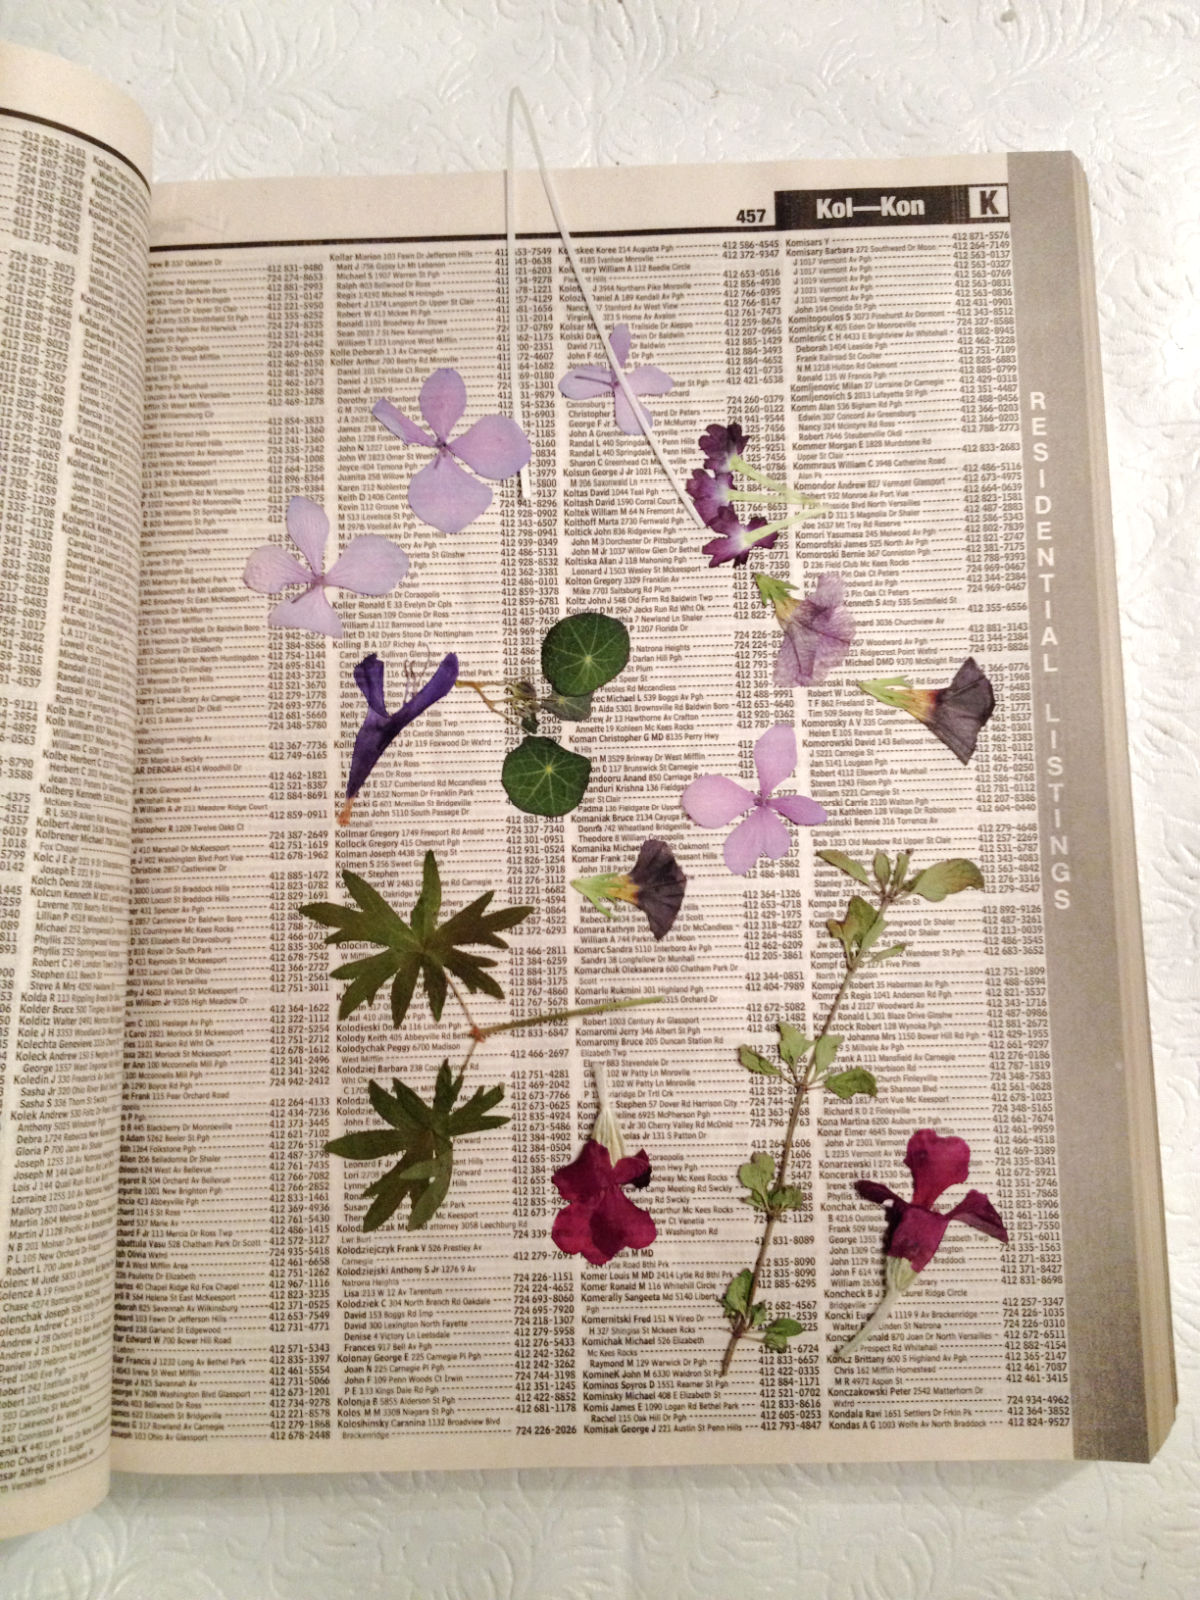
Where to Get Pressed Flowers
You can easily press fresh flowers at home by placing them between the pages of a heavy book. Some people will try pressing them in the microwave between paper towels. I pick flowers all season long and stick them in the pages of an old phone book or my handy dandy homemade travel flower press. Both have newsprint paper that's great for removing moisture from the plant material. Of course, if you are in a hurry you can also buy pressed flowers on Amazon.
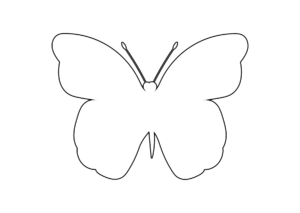
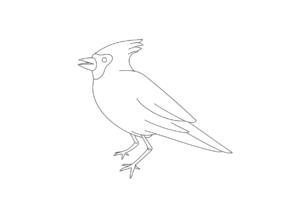
Step 2 - Print Out Guideline Image
Print out the image outline you want to work with on some white cardstock paper. Simply click on the image above and it will take you to a PDF file with both images on it. You can find more simple shape outlines here.
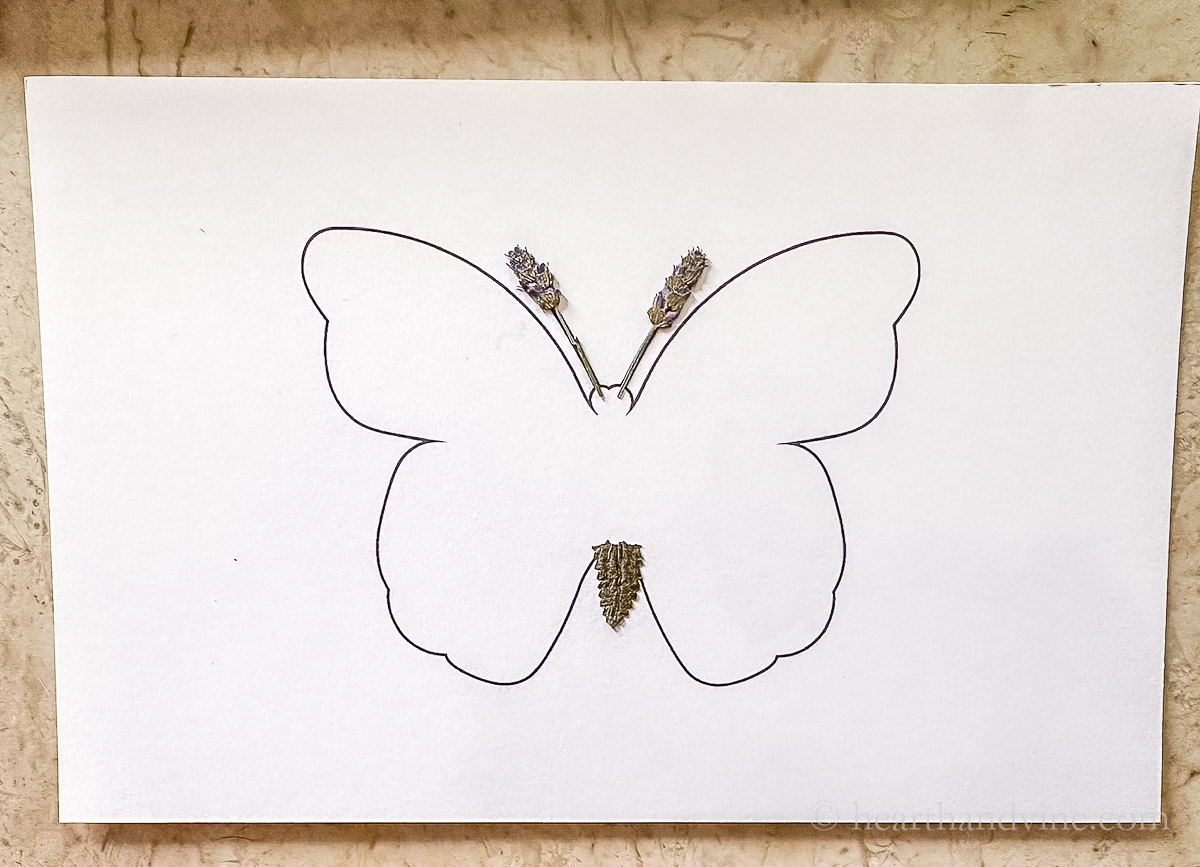
Step 3 - Glue Plant Material into Outline Image
Start gluing the plant material to the page. Choose some neutral pieces with depth for the antenna and abdomen. I used lavender and another flower with texture.
Also, I used rubber cement suggested to me by a reader as a good glue for working with dried flowers. However, you could use Mod Podge or white glue as they all dry clear.

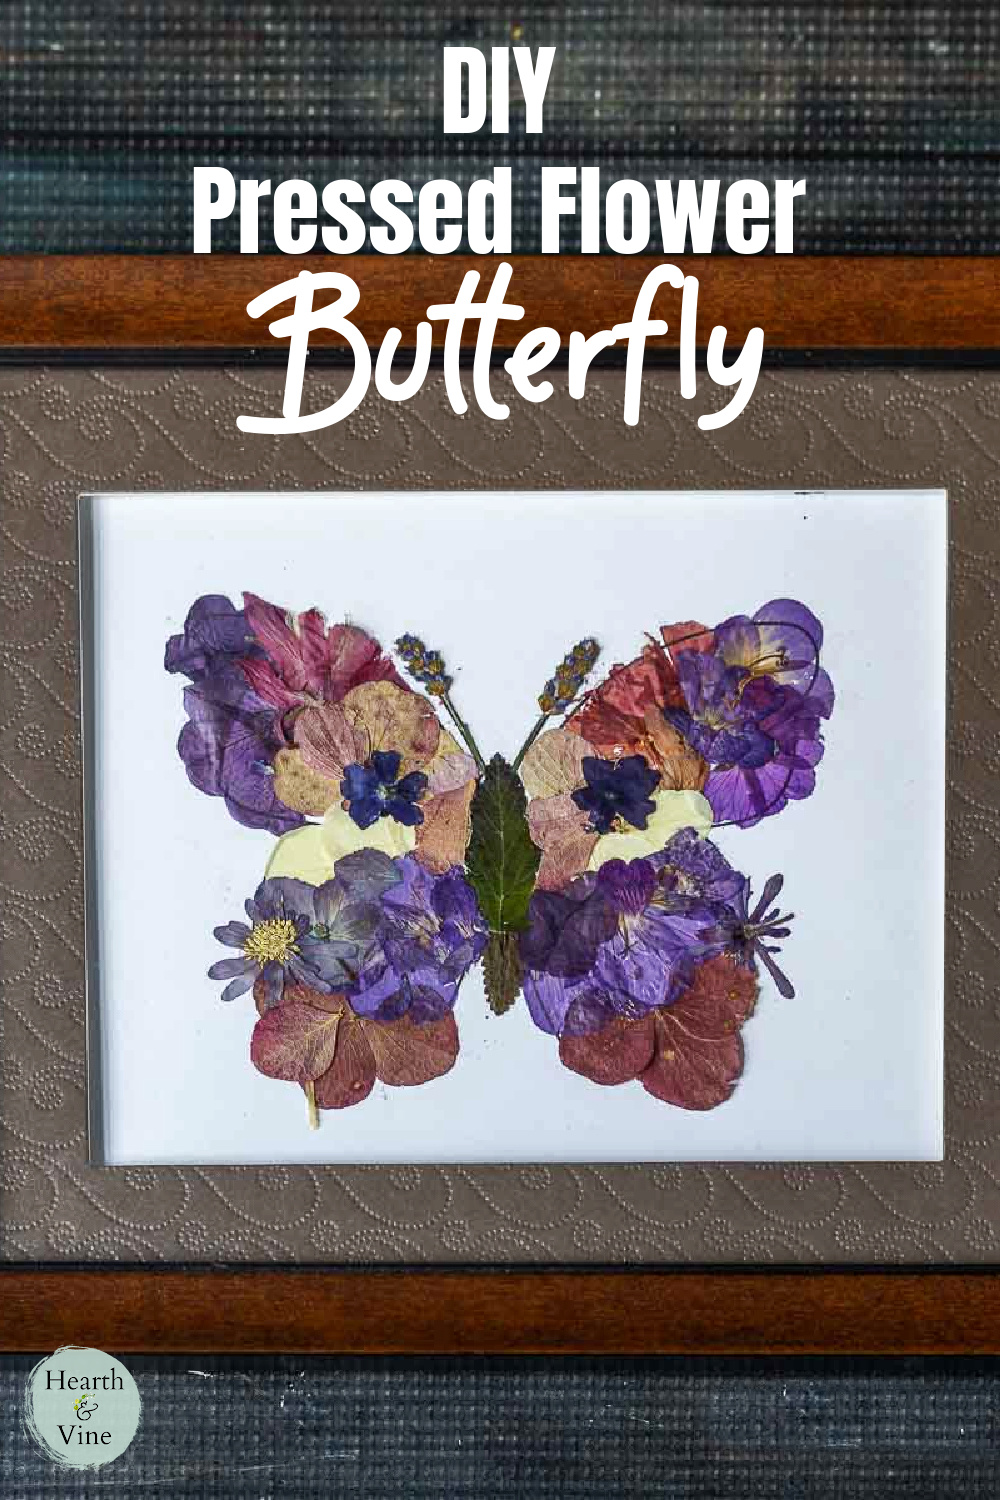
Continue filling in the butterfly with any flowers you like. If necessary trim the edges with small scissors to fit into the outline.
That's really all there is to it. Have fun and get creative. There is no wrong way to complete your floral masterpiece.
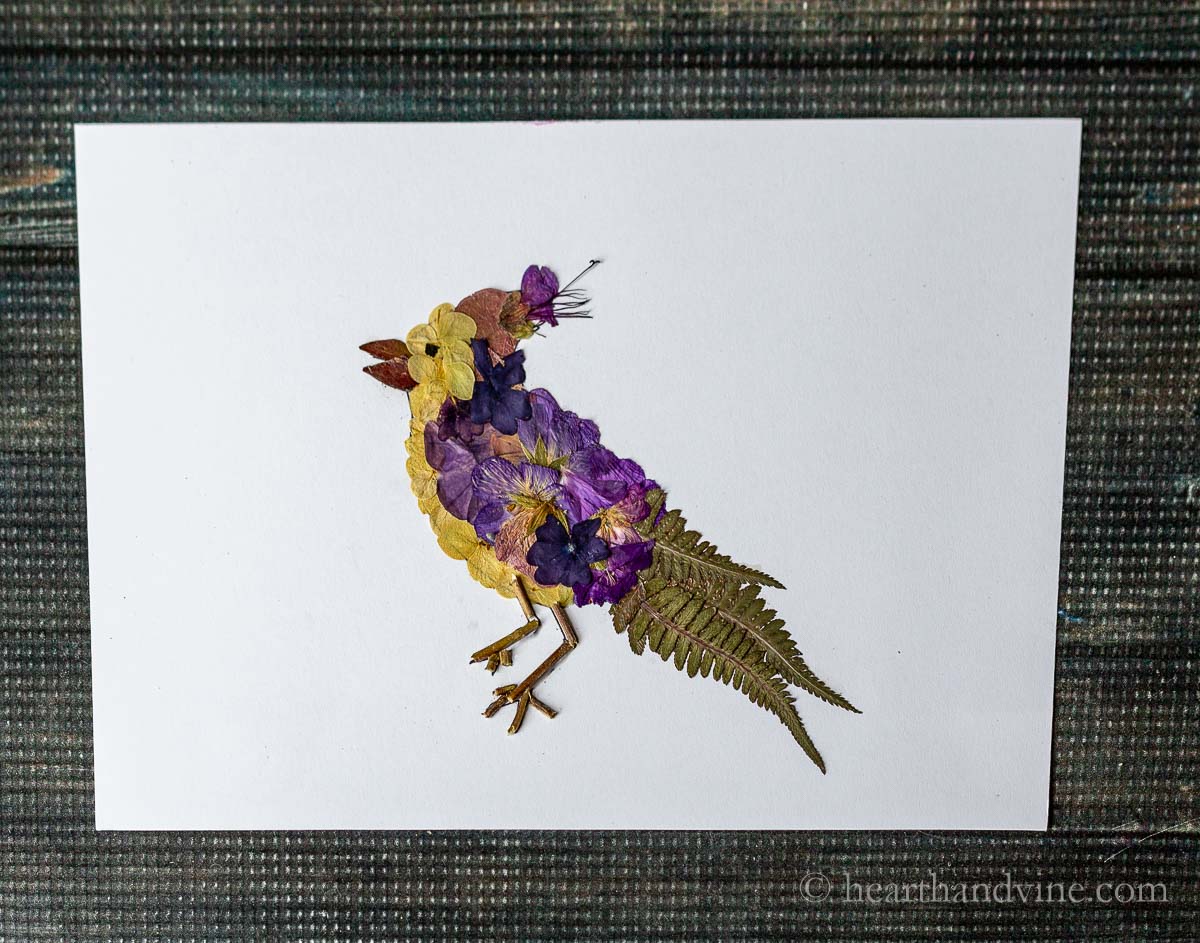
Here's one I made with the bird outline.

When you are finished place your pressed flower art into a simple or ornate picture frame and enjoy.

More Pressed Flower Projects

DIY Pressed Flower Butterfly and Bird Art
Equipment
- Tweezers
- small scissors
- Small Paint Brush
- Computer and printer
- Small Picture Frames
Materials
- Pressed Flowers and Leaves
- Card Stock
- Rubber Cement Mod Podge or White Glue
Instructions
- Print out the image of the butterfly and/or bird onto white cardstock paper.
- Start filling in the outline with dried flowers and pressed flowers by using rubber cement to glue them into place.
- Continue gluing down the plant material until the entire outline is filled.
- Place the art in a nice picture frame or gift it to another flower lover.
Leave a Reply