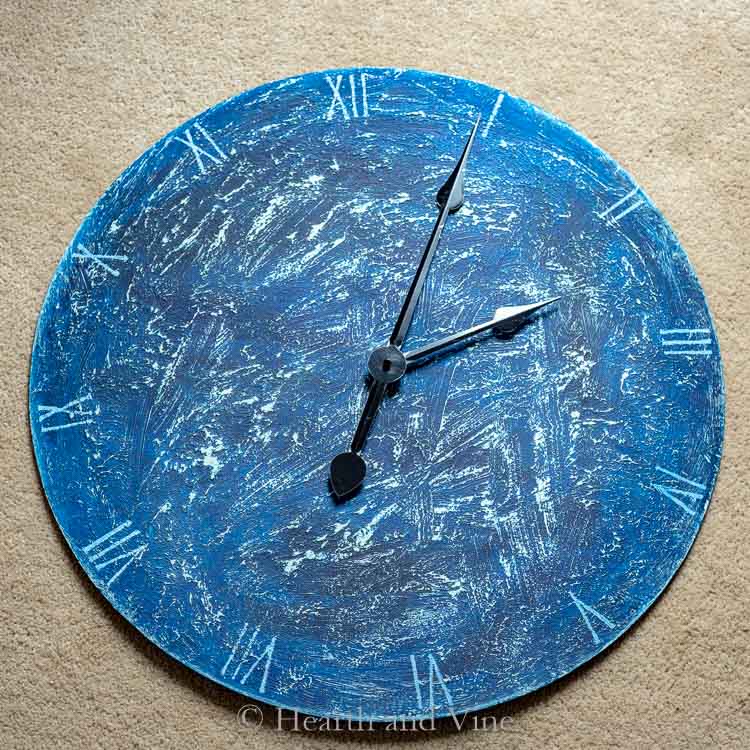
This simple DIY Salt Paint Clock tutorial shows you how to make a beautiful working decorative clock using saltwash paint.
Have you seen projects with salt paint yet? They are often signs, or tables with an old salt spray weathered look. Well, I've been thinking about making a fun clock to place on our mantel between holidays and this paint technique came to mind.
This post contains some affiliate links (that means if you make a purchase after clicking a link, there's no additional cost to you, but I will earn a very small commission. ) Click here to read my full disclosure policy.
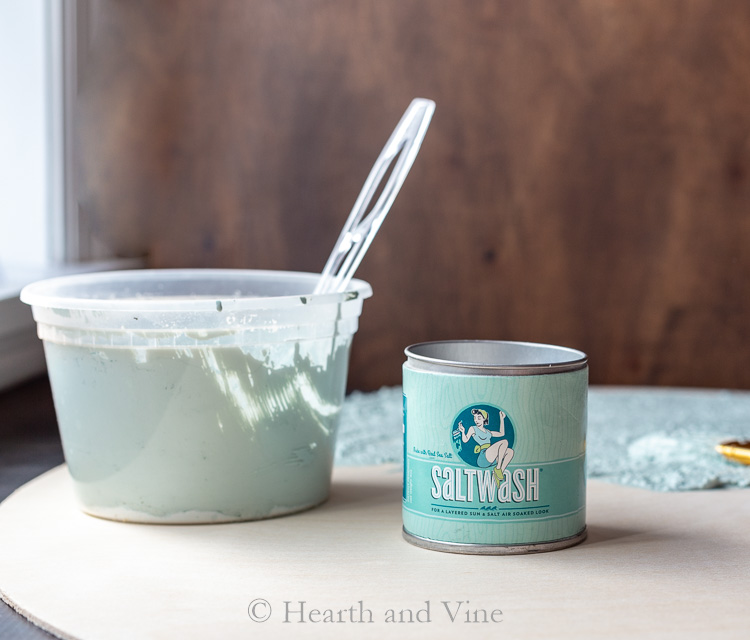
In addition, I was lucky enough to have been given this little sample can of Saltwash mix while attending the Haven conference for DIY bloggers.
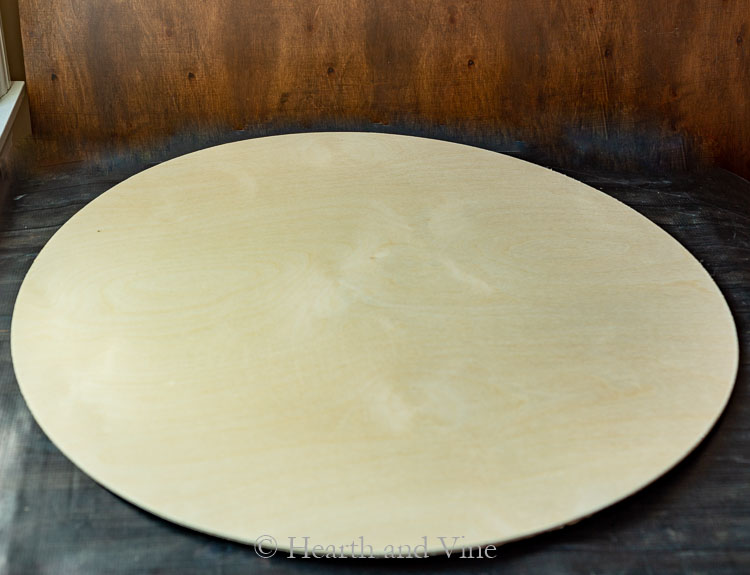
First I needed a base to create the clock. I have seen and bought round tabletops from places like Home Depot. However, they are not very large and they are pretty heavy. So when I found this 24-inch wooden circle on Amazon I knew it would be perfect for this project.

Steps To Make a Salt Paint Clock
- Make the salt paint by combining equal parts of the paint of your choice to the mix. I used Benjamin Moore Palladian Blue that was still sitting out from recent touch-ups on our second floor bathroom makeover. It will be pretty thick with the consistency of frosting.
- Glob the salt paint onto your wood with a big brush.
- After it starts to dry to the touch use your brush to gently smooth out any peaks.
- Let the paint dry thoroughly.
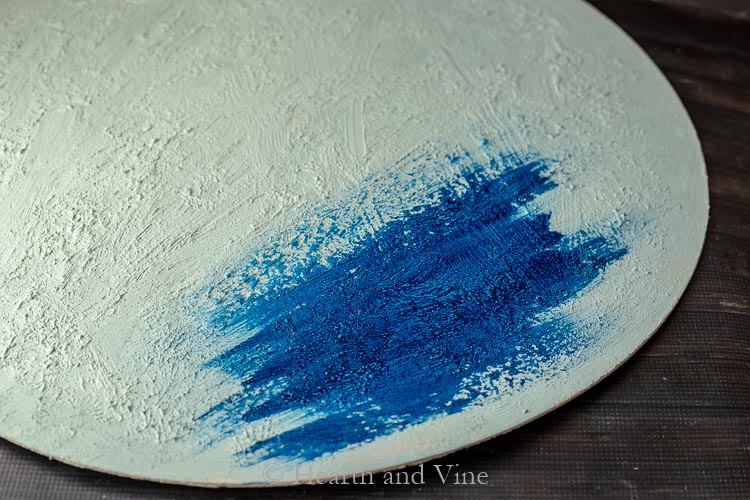
Second Paint Layer
5. Next, add a different color paint on top of the salt paint. This can be any type of paint or color you like. I chose leftover midnight blue paint that was used to update my old ugly oak cabinet in the family room. I thought it would be a good choice since this mantel is located in the same room.
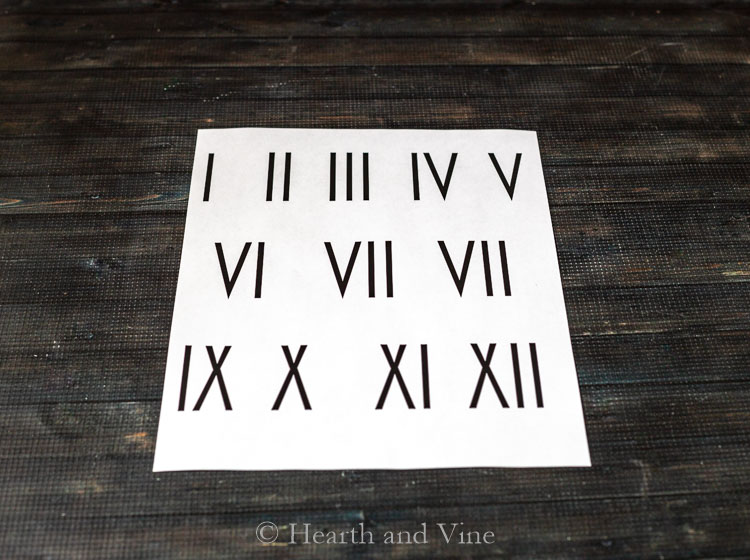
6. While the paint is drying, print your numbers. I decided to use Roman Numerals. I ended up with this thin font so that the numbers would fit and look good on the clock. You are welcome to print out this set to use on your own clock.
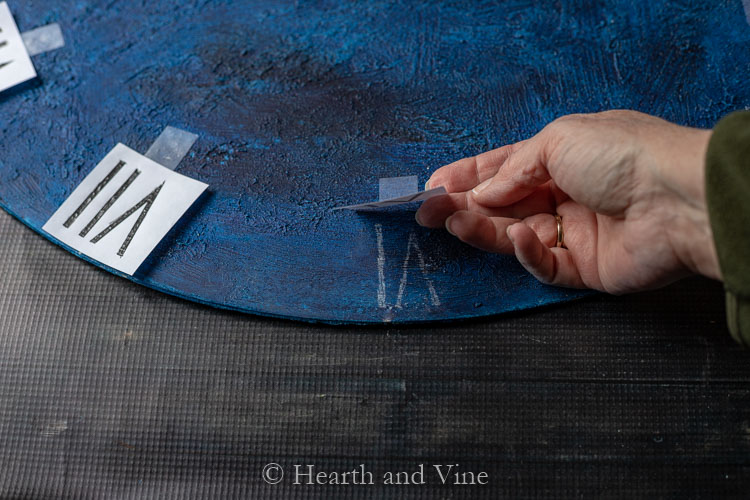
7. Cut out your numbers and tape them in place.
8. Use chalk, white, or colored if you have a light background, to rub on the back of the number. Then use a pencil to trace the number on top, leaving the chalk print underneath.
9. Then use a sharpie or paint pen to color in the chalk transfer.
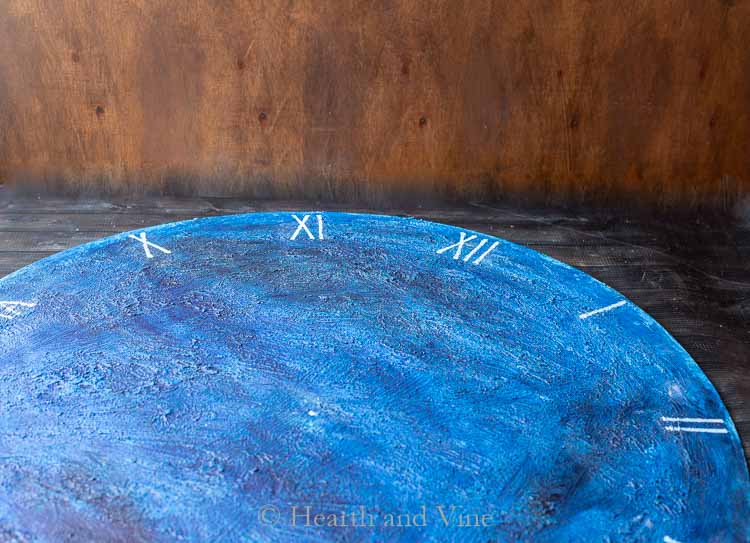
10. While you are at it mark the center of the clock with your pen so you know where to place the clock mechanism.
11. But before you add the clock kit, take some time to sand down the top coat of paint revealing the salt paint underneath. Any mid-weight sanding paper will do. Take off a little at a time and then use a rag to wipe away the dust. Stand back and observe until you get a look that you like.
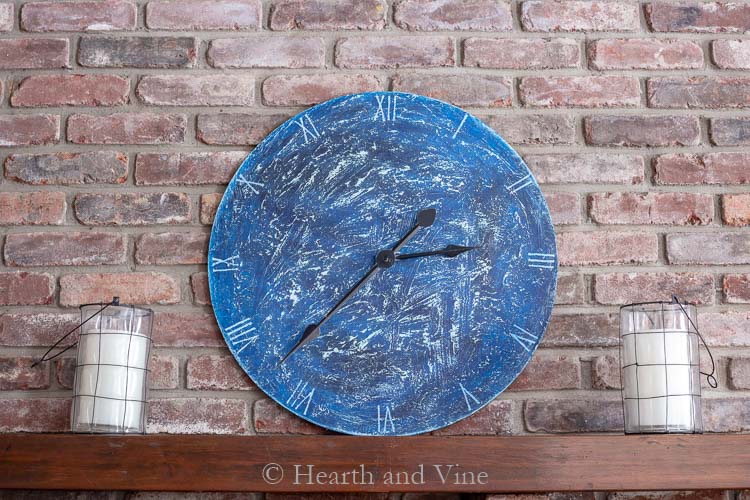
12. Finally, add the clock kit . You will need to drill a hole in the center, but the rest of the process is super easy and the specifics will be written on the package.
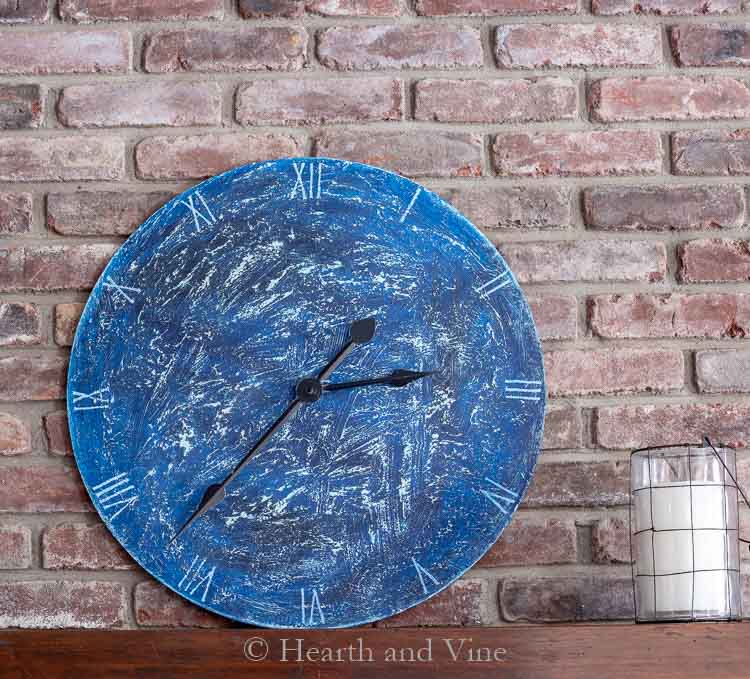
This clock kit comes with a hanger which would be perfect for any wall.
Or you could just set it on your mantel and lean it on the wall like I did and enjoy its rustic beauty.

P.S. If you enjoyed this post you may also like one where my daughter and I made our own chalk-like paint to update an old chifferobe for her apartment. Check out my DIY Projects page for many more fun home and garden ideas.
Click Here to Save to Pinterest!

Carole West
What a fun texture - haven't heard of this so I may have to look into it. Great color combo too and texture is always awesome!
Patti Estep
Thanks Carole. It's always fun to try new techniques.