• Skip to primary navigation
  • Skip to main content
  • Skip to primary sidebar
  • Home
  • DIY Projects
    • Homemade Bath and Body
    • Sewing - Fabric Crafts
    • Flower Crafts/Decor
    • Thrift Store/Vintage
  • Gardening
    • Flower Gardens
    • Container Gardening
    • Houseplants
    • Indoor Gardening
    • Landscaping
    • DIY Garden Art
  • Decorate
    • Spring Decor
    • Summer Decor
    • Fall Decor
    • Winter Decor
    • Home Decor Projects
  • Recipes
    • Breakfast Recipes
    • Lunch Recipes
    • Dinner Recipes
    • Dessert
    • Salad Recipes
    • Soups and Stews
    • Side Dish Recipes
    • Appetizers and Snacks
    • Healthy Recipes
  • Holidays
    • Valentine's Day
    • Easter
    • Mother's Day
    • Halloween
    • Thanksgiving
    • Christmas
Hearth and Vine
menu icon
go to homepage
  • About
  • DIY
    • ...Flower/Gardening Crafts
    • ... Bath and Body
    • ...Sewing/Fabric Crafts
    • ...Thrift Store/Upcycle
  • Gardening
    • ...Flower Gardens
    • ...Container Gardening
    • ...Indoor Gardening
    • ...DIY Garden Art
  • Decorate
    • ...Home Decor Projects
    • ...Spring Decor
    • ...Summer Decor
    • ...Fall Decor
    • ...Winter Decor
    • ...Room Makeovers
  • Recipes
    • ...Appetizers and Snacks
    • ...Dinner Recipes
    • ...Side Dish Recipes
    • ...Salad Recipes
    • ...Dessert
    • ...Drinks
  • Holidays
    • ...Valentine's Day
    • ...Easter
    • ...Mother's Day
    • ...Halloween
    • ...Thanksgiving
    • ...Christmas
  • Subscribe
  • Instagram
    • Facebook
    • Instagram
    • Pinterest
    • Twitter
  • subscribe
    search icon
    Homepage link
    • About
    • DIY
      • ...Flower/Gardening Crafts
      • ... Bath and Body
      • ...Sewing/Fabric Crafts
      • ...Thrift Store/Upcycle
    • Gardening
      • ...Flower Gardens
      • ...Container Gardening
      • ...Indoor Gardening
      • ...DIY Garden Art
    • Decorate
      • ...Home Decor Projects
      • ...Spring Decor
      • ...Summer Decor
      • ...Fall Decor
      • ...Winter Decor
      • ...Room Makeovers
    • Recipes
      • ...Appetizers and Snacks
      • ...Dinner Recipes
      • ...Side Dish Recipes
      • ...Salad Recipes
      • ...Dessert
      • ...Drinks
    • Holidays
      • ...Valentine's Day
      • ...Easter
      • ...Mother's Day
      • ...Halloween
      • ...Thanksgiving
      • ...Christmas
    • Subscribe
    • Instagram
    • Facebook
    • Instagram
    • Pinterest
    • Twitter
  • ×
    Home » DIY Projects

    Altoid Sewing Kit for Handy Fixes On the Go

    by Patti Estep · Apr 15, 2024

    Jump to How-to Card
    Top of Altoid sewing tin over the inside view with sewing notions.

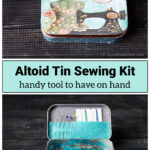
    This fun and creative Altoid sewing kit craft is perfect to carry with you for a quick and necessary fix when you are out and about.

    Altoid tin sewing kit with vintage print cover.

    Altoid tins are such great containers and the mints are the best. Instead of throwing the empty tin in the recycling bin why not make a sewing kit for on-the-go?

    Supplies for Altoid sewing kit including an Altoid tin, vintage sewing prints and other scrap book papers.

    Basically, you are going to decorate the tin and place all your sewing notions inside.

    An altoid tin and a template of the size from cardstock.

    How to Make an Altoid Sewing Kit

    You can do this a number of ways. Here's what I did.

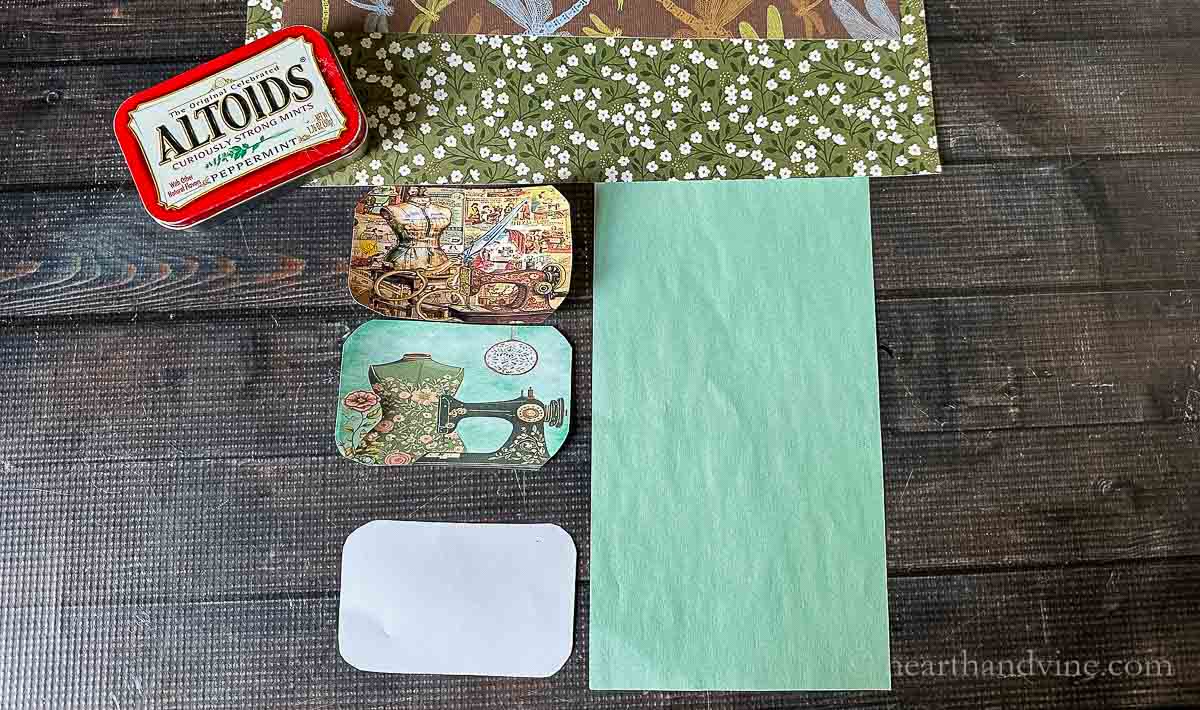
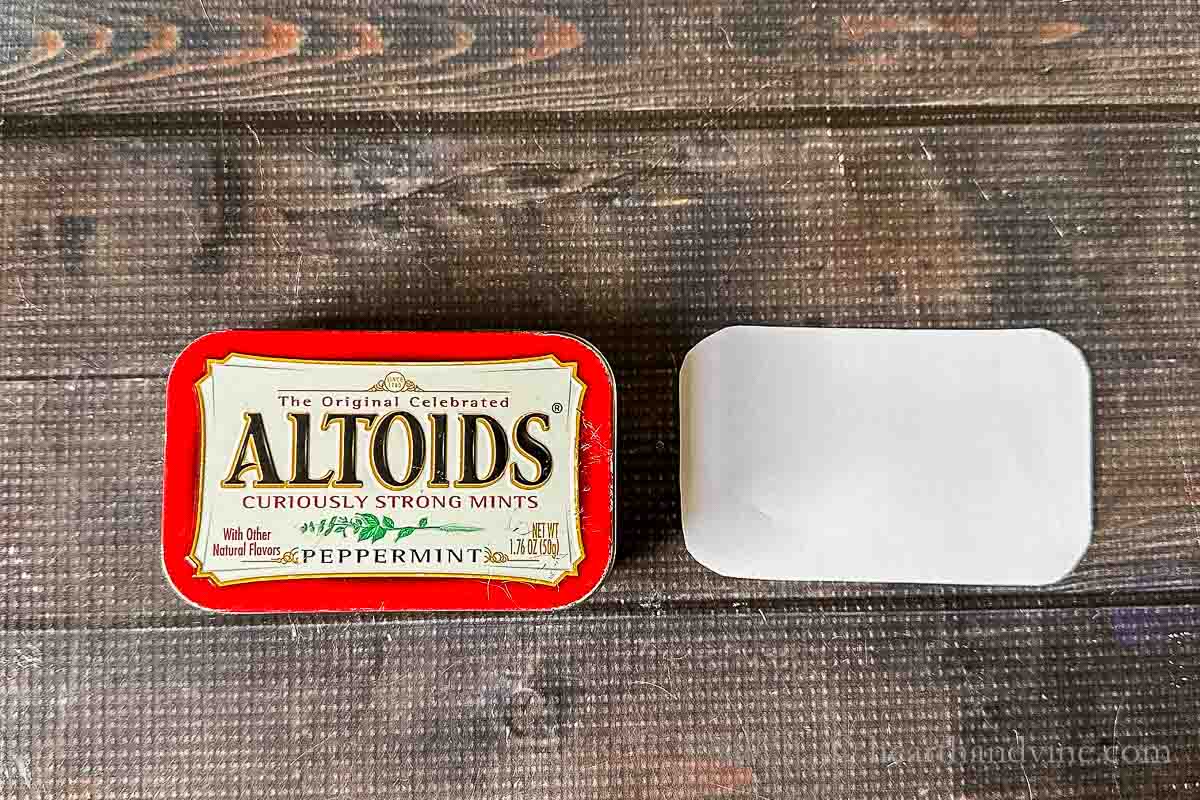
    Step 1: Make a template with heavy cardstock paper or cardboard by tracing the top and bottom of the tin and cutting them out.

    Two vintage sewing prints.
    click on image for pdf file

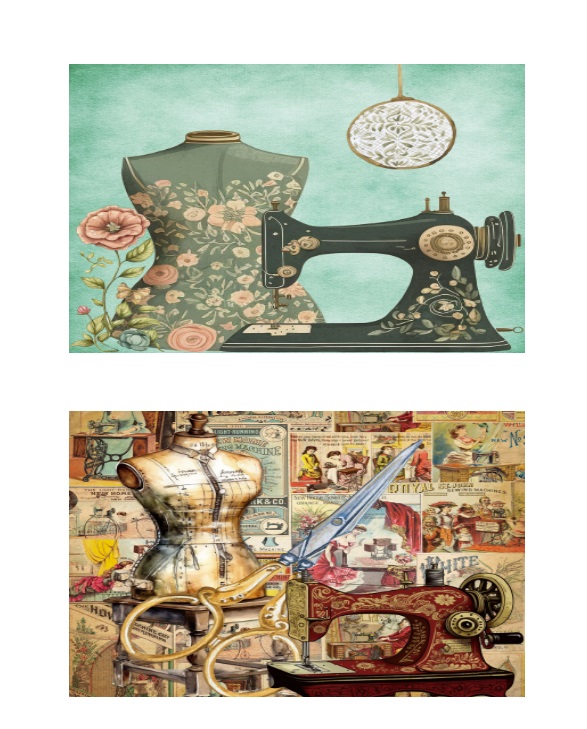
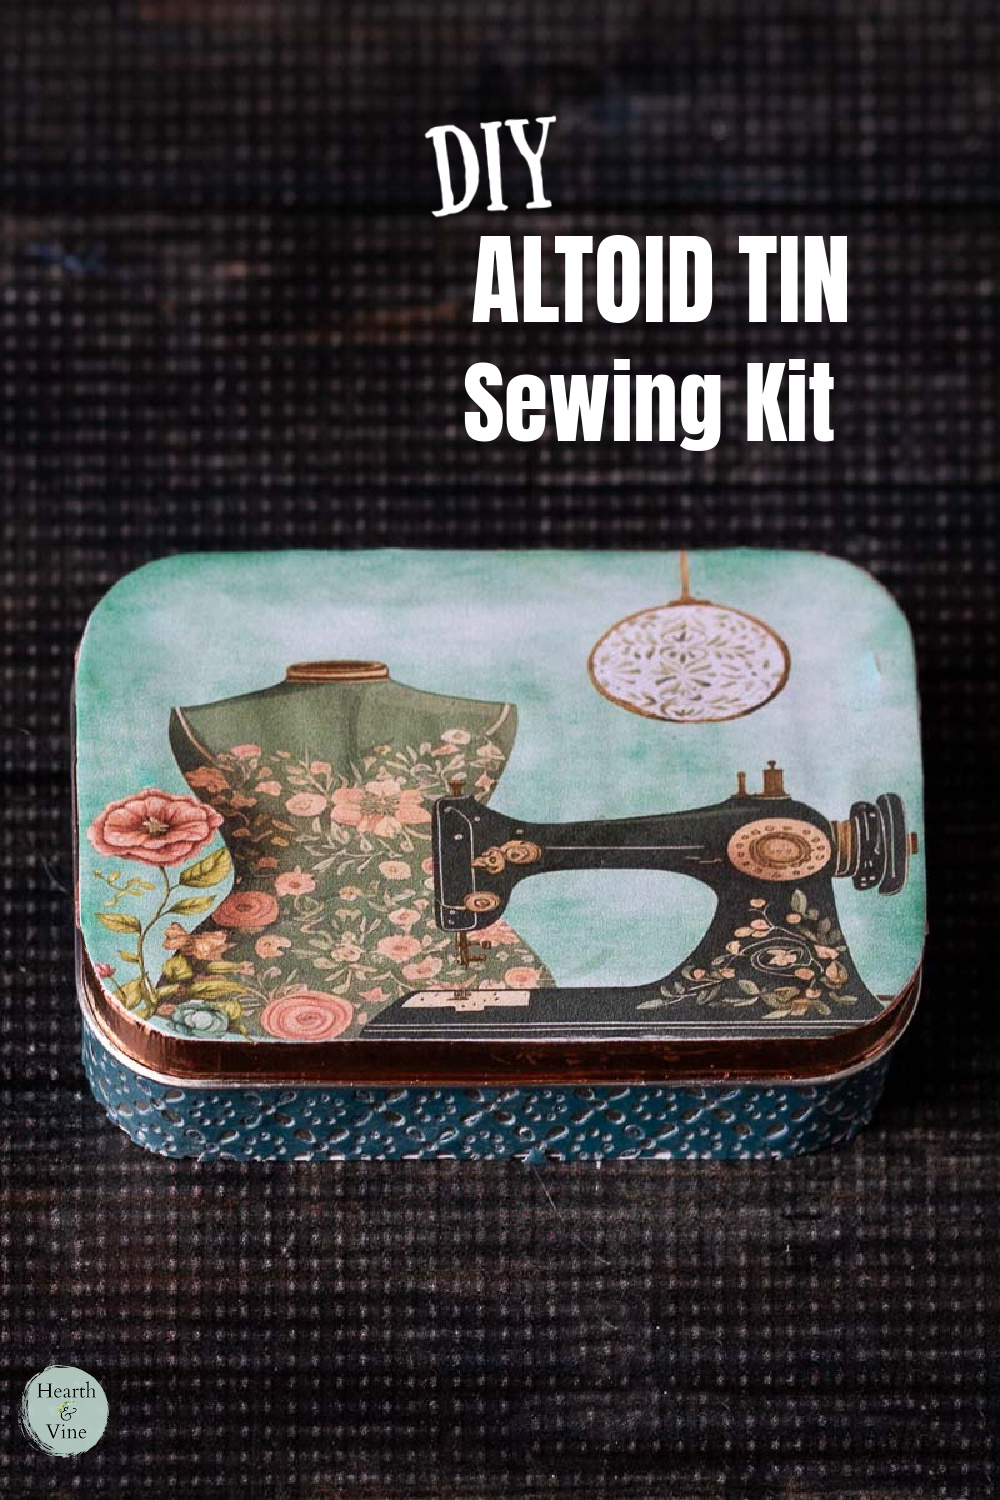
    Step 2: Find some nice printed paper for your cover, bottom and inside of the tin. Above are a couple of pretty vintage prints you can use for your top if you like.

    Printed vintage sewing image glued on top of an Altoid tin and an emery board filing off the edges.

    Step 3: Glue your papers onto the tin. You can use a nail file or emery board to file off the edges, or simply cut them off.

    Newsletter Signup
    Join Our Newsletter List!

    Be the first to receive new posts and get access to our Subscribers Only Page.

    Note: The top is somewhat bumpy from the Altoid logo etc. You may want to place a piece or two of white paper on first for extra padding.

    Inside the tin with grey felt on top and a light grey paper lined bottom.

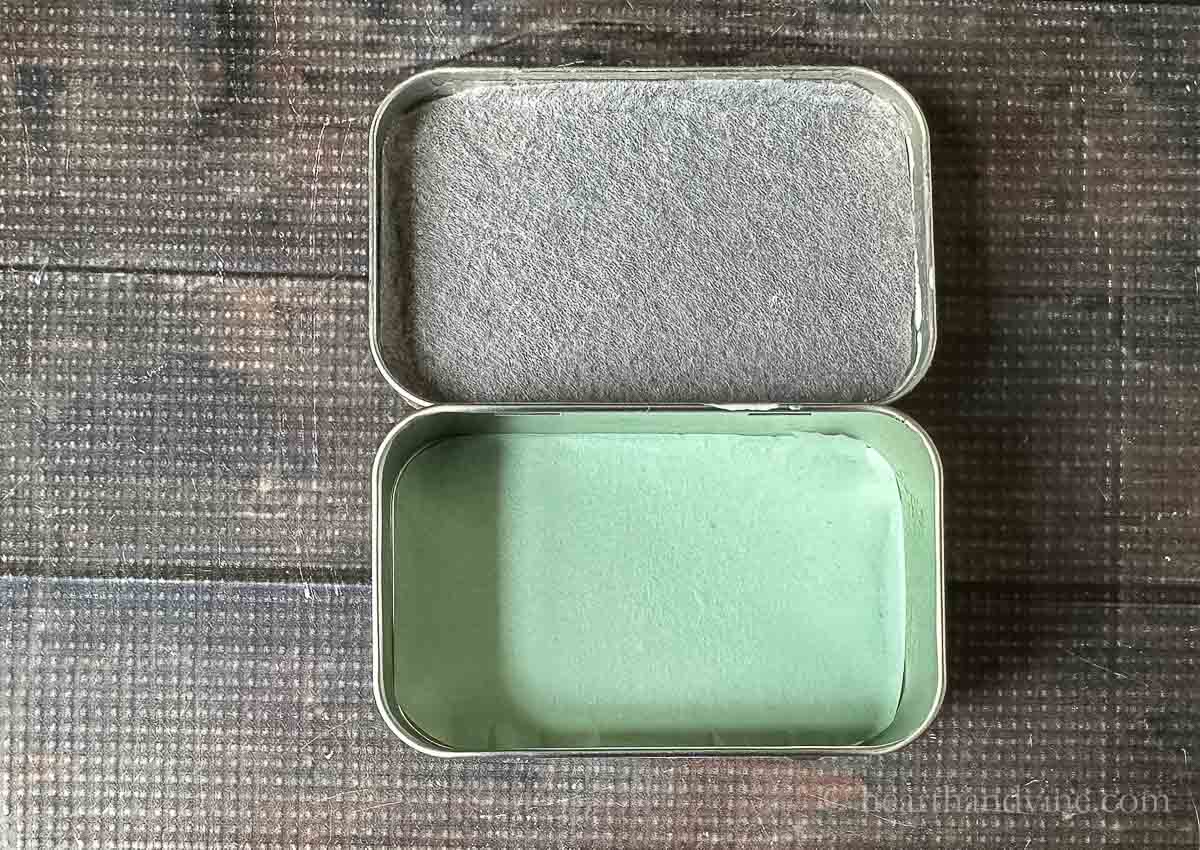
    Step 4: Place some felt into the inside lid. This will help with pins and needles.

    Aqua felt half the size of the gray felt is glued on top to make a pocket.

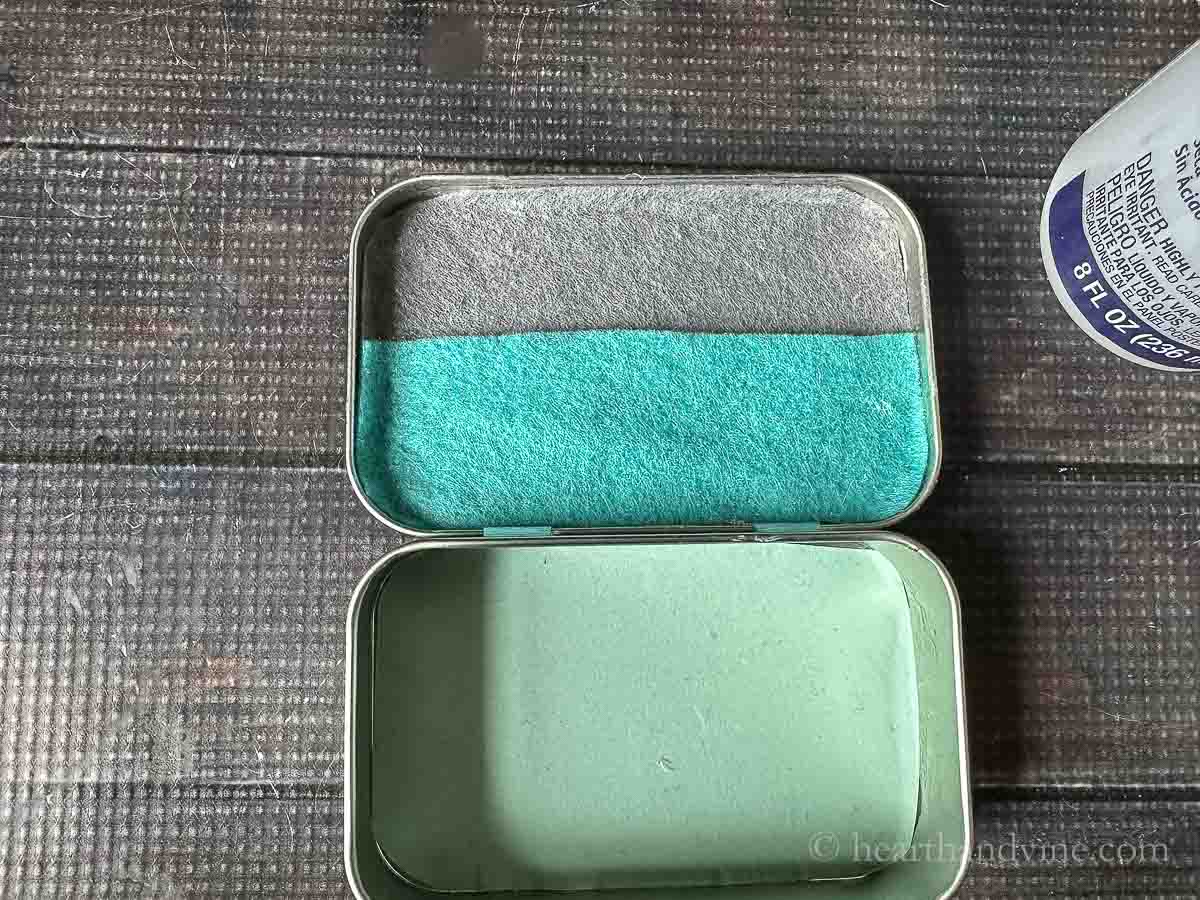
    Step 5: In fact, I used a second piece of felt to create a pocket.

    Blue paper lace trim and copper tape are used to decorate the sides of the tin.

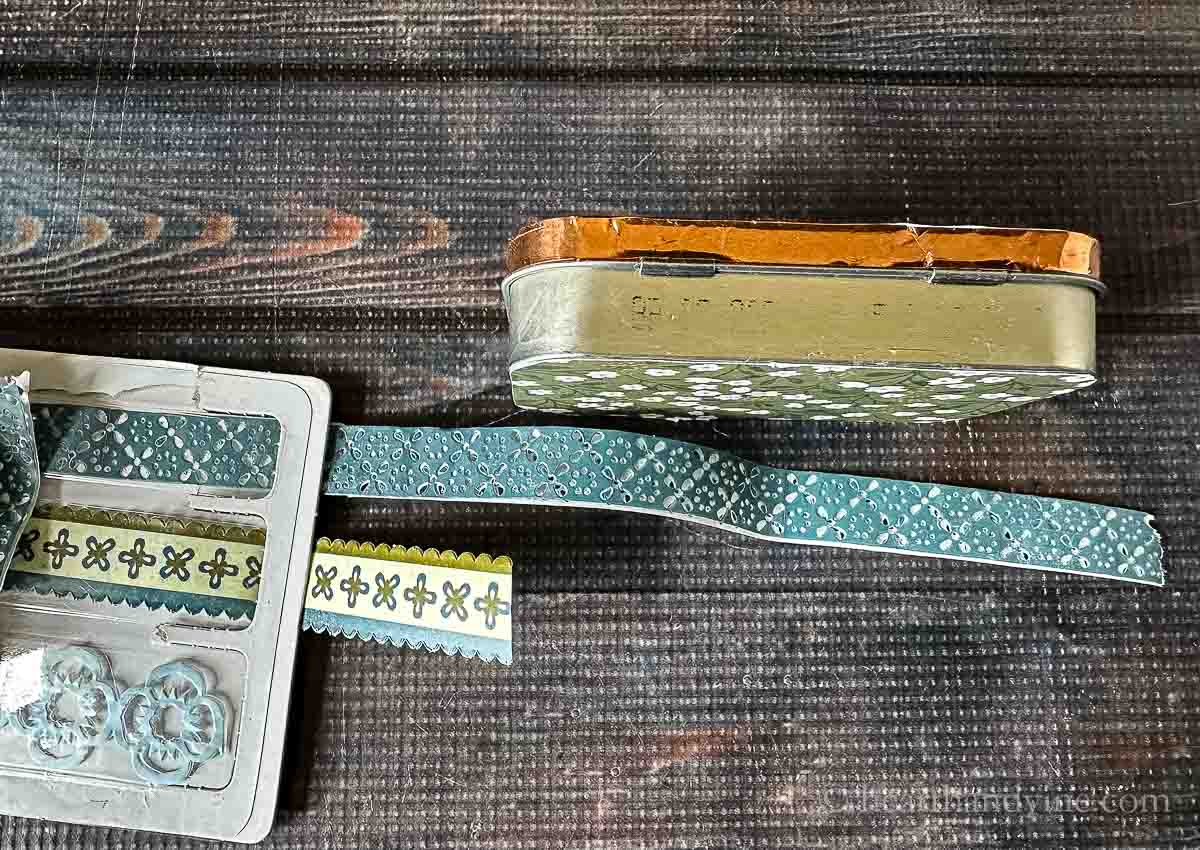
    Step 6: Feel free to decorate the top edge and the sides of the tin. I used some copper tape and a blue paper lace trim.

    A floral paper is glued to the bottom.

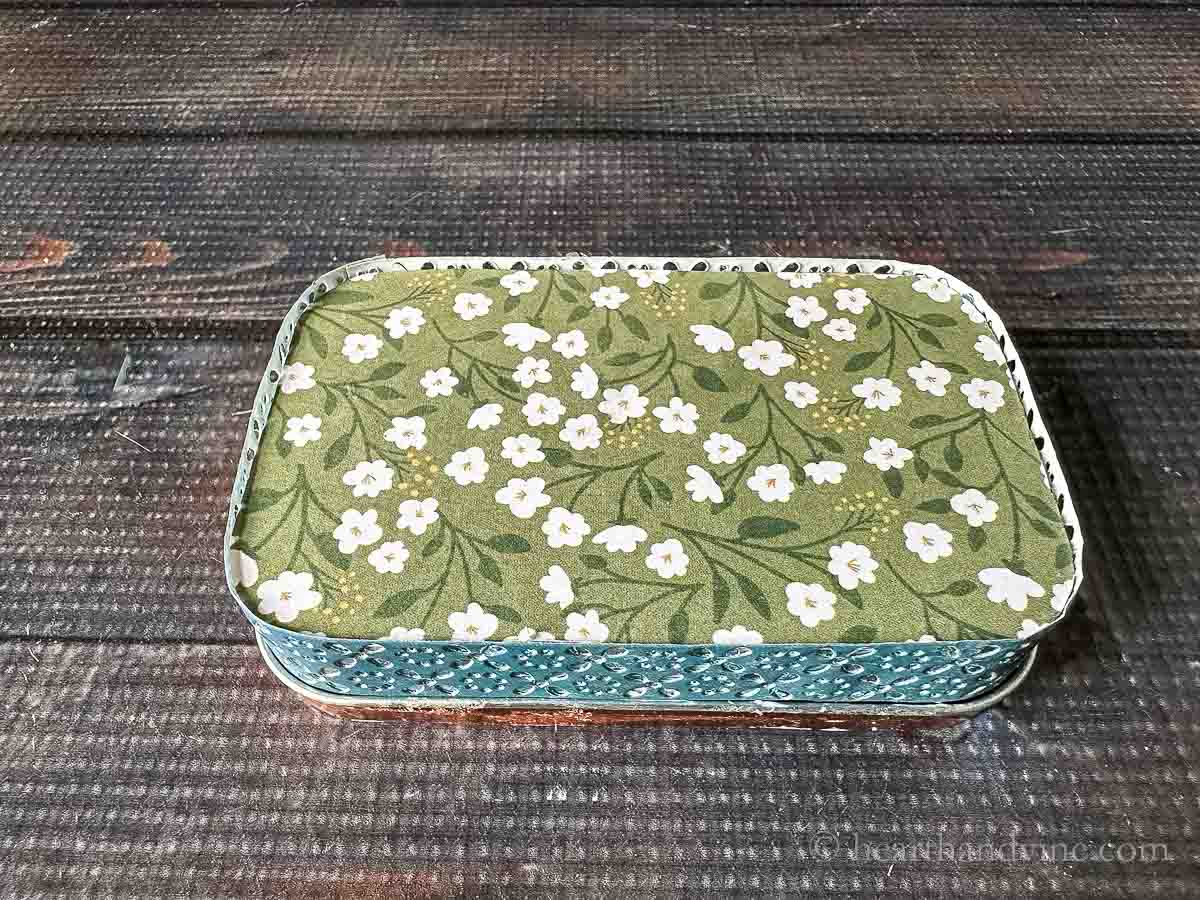
    After gluing on the floral printed paper to the bottom I added the blue lace trim to the sides. It was a little too big but I was able to trim it to size once the glue dried.

    A square piece of cardboard with notches cut into the top and bottom.

    Sewing Notions for the Kit

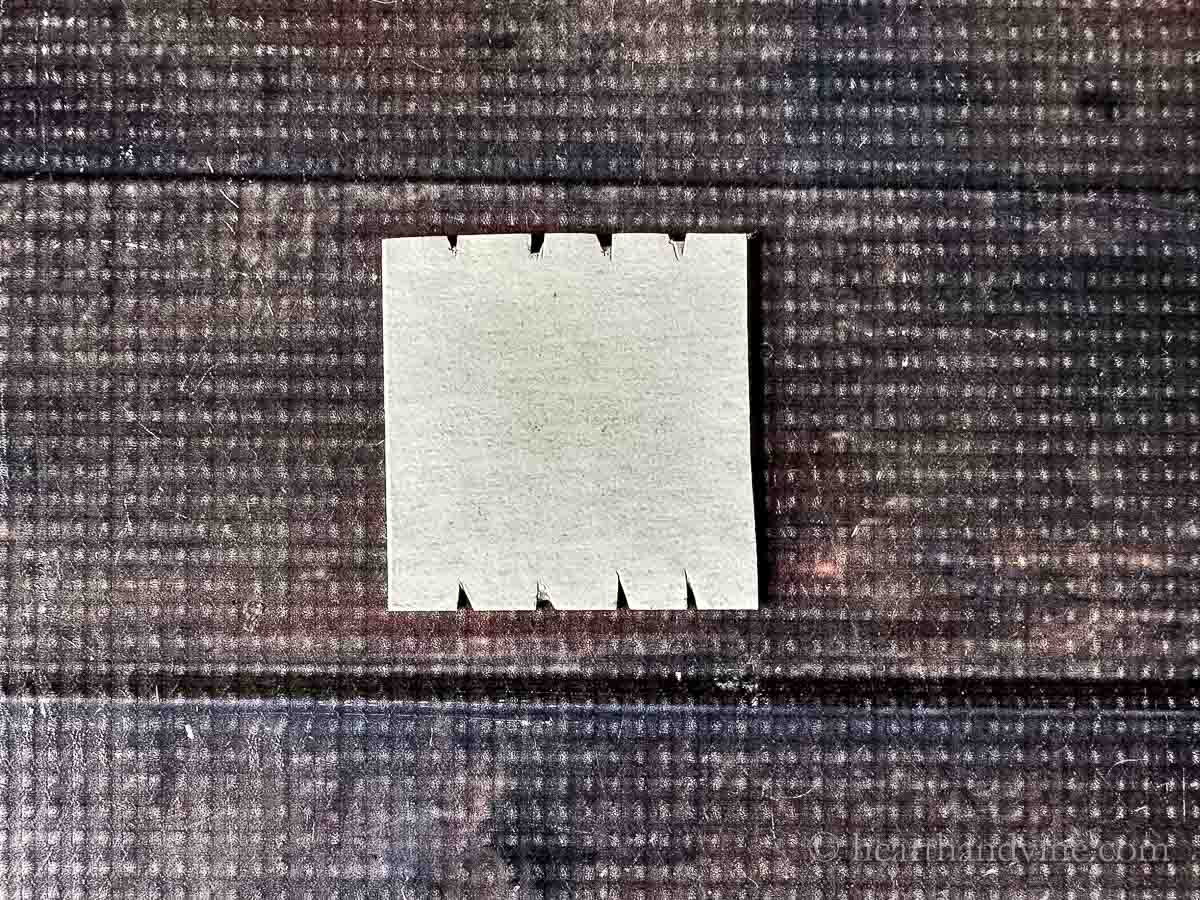
    1. Cut out a small piece of cardboard and make some notches on both sides. (see image above)
    2. You can then wrap some thread onto the card choosing some basic colors you may need.
    The inside of the Altoid tin showing pins and needles in the felt. Different colored thread is wrapped around the square cardboard and placed in the pocket. Several other notions are in the bottom.

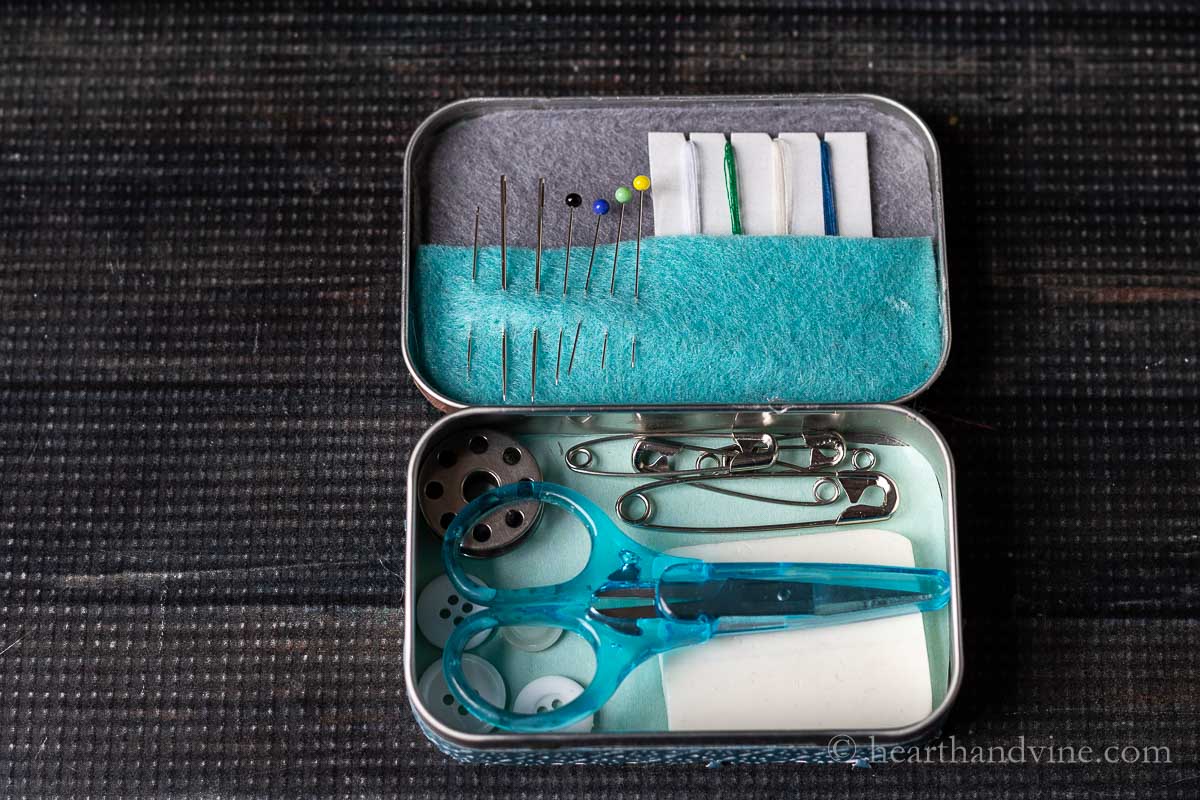
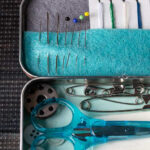
    3. Place the card of thread in the felt pocket. Then add a few straight pins and needles into the side of the felt.

    4. Continue adding necessary items you may need including a pair of mini scissors, a few safety pins, buttons, and other items such as a needle threader and a thimble. I also added a piece of tailor's chalk.

    A top view of the decorated Altoid sewing kit.

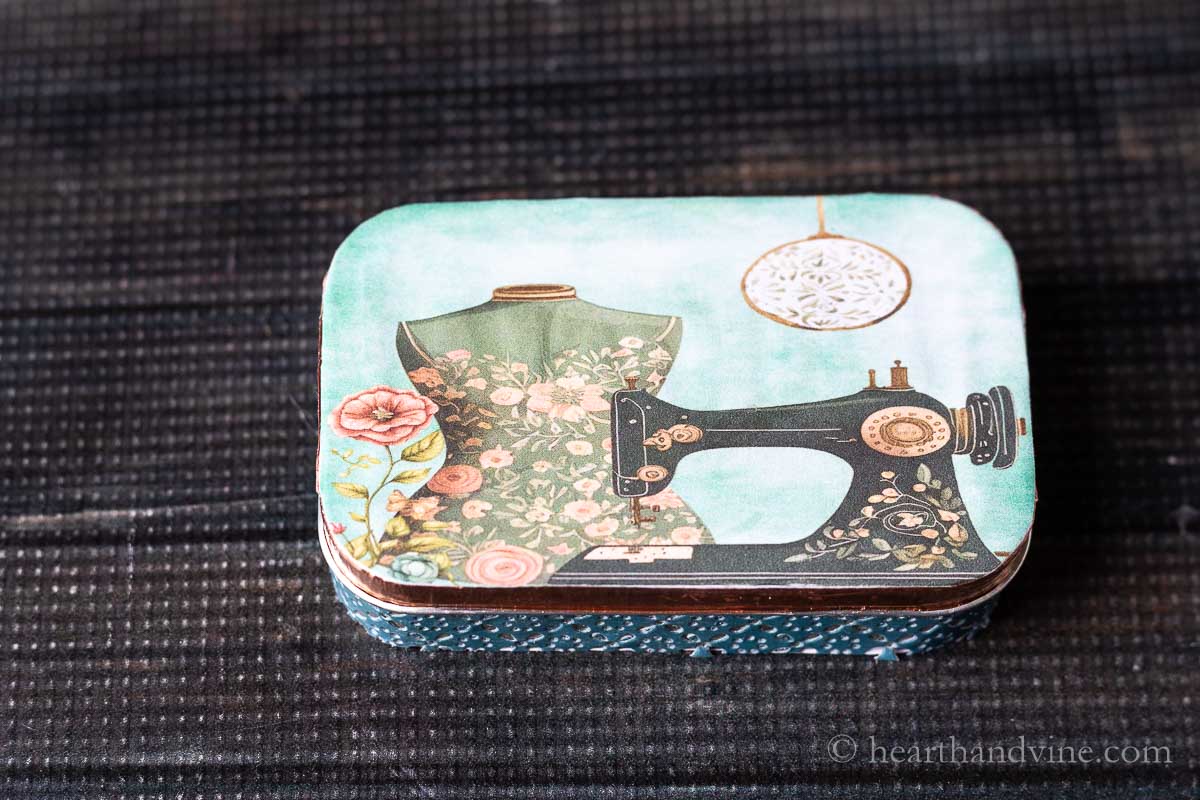
    It looks really nice and I have it stashed in my purse for the next time something rips, needs to be cut, or just pinned together in a hurry.

    Other Uses for Altoid Tins

    • Make a traveling embroidery kit. Instead of standard sewing notions, you could hold embroidery thread, needles, and a folded cloth.
    • How about a first aid kit? Stash antibiotic ointment, bandaids, and individual antiseptic wipes.
    • Make a survival kit with a pocket knife, matches, water-purifying tablets, and a mini flashlight.

    Time to start collecting Altoid tins.

    Patti signature

    Related Posts You May Like:

    • Emergency Candle Kit
    • DIY Tiki Torches
    • Denim Pouch for Earphones
    • Travel Flower Press
    • Mason Jar Tissue Holders
    Altoid tin sewing kit with vintage sewing print cover.
    Print

    Altoid Tin Sewing Kit

    Recycle an Altoid tin into a great travel sewing kit with all the things you need to repair or sew while you are away.
    Active Time1 hour hr
    Total Time1 hour hr
    Yield: 1

    Equipment

    • Scissors
    • Nail File
    • Computer
    • Color printer

    Materials

    • Altoid Tin
    • Printer paper
    • White glue or Modge Podge
    • Printed Scrap Book Paper
    • Decorative trim
    • Felt
    • Cardboard or Cardstock
    • Thread in various colors
    • Mini Scissors
    • Pins and Needles
    • Buttons
    • Safety Pins

    Instructions

    • Trace the tin on cardstock to make a template.
    • Cut out the vintage print with the template and something for the bottom inside and outside the tin.
    • Glue the papers onto the tin.
    • Use a nail file to file off the edges of the outside of the tin print.
    • Use some ribbons or trim to decorate the sides of the top of the tin and the bottom. Trim as needed.
    • Glue a piece of felt to the upper inside.
    • Glue a second piece of felt half the height and glue it on top of the first piece to create a pocket.
    • Cut a square of cardboard for thread. Make a few notches on the top and bottom.
    • Wrap a few different colors of thread onto the notched cardboard.
    • Place the cardboard threads in the felt pocket.
    • Stick a few straight pins and needles into the felt.
    • Store a small pair of scissors, safety pins, buttons and other notions in the bottom of the tin.

    Notes

    I used paper to decorate my tin however you could also use pretty fabrics.
     
    Tried this project?Tag @hearthnvine on Instagram
    « 10 Fragrant Plants for the Garden
    Banana Pepper Dip - Tasty Finger Food for Your Next Party »

    About Patti Estep

    Patti is the creator of Hearth and Vine, a home and garden blog filled with projects to inspire your creative side. She loves crafting, gardening, decorating and entertaining at her home in Pennsylvania. When she is not working on a project at home or searching for treasures at nurseries and thrift stores with her girlfriends, you’ll probably find her with family and friends, at a restaurant, or home party enjoying new and different food adventures.

    Reader Interactions

    Comments

    1. Cheryl Atkinson

      April 21, 2024 at 2:16 pm

      Hi Patti! I think this is so cute. I'm thinking about making multiple and selling them in m booth. Thank you for sharing!

      Reply
      • Patti Estep

        April 21, 2024 at 2:20 pm

        Glad to hear it Cheryl. Good luck with the sales.

        Reply
    2. Marie Holmes

      April 17, 2024 at 7:39 am

      I love this idea. We did this with our Girl Scout troop with bandaid tins. Back when there was such a thing. I need to make myself one. I went on a cruise in January and desperately needed a safety-pin.

      Reply
      • Patti Estep

        April 17, 2024 at 8:47 am

        I'm a big fan of the Scouts. I was one for years and a leader for my girls. So many of my projects would be great for Scouts. Glad to hear you like it.

        Reply

    Leave a Reply Cancel reply

    Your email address will not be published. Required fields are marked *

    Recipe Rating


    Primary Sidebar

    Patti Estep Profile Picture

    Hi!

    I'm Patti

    Join me to create lots of fun DIY projects, including crafts, gardening, home decor, and tasty recipes

    More about me

    Popular Posts

    • Baked zucchini bite on a slated tray with a bowl of horseradish sauce.
      Make Tasty Zucchini Bites in Under an Hour
    • Three tin cans in descending sizes hanging from twine.
      DIY Wind Chimes with Tin Cans
    • Blue jean crossover bag
      DIY Crossbody Bag from Jeans
    • Ham barbecue sandwich on plate
      Chipped Ham Barbecue Sandwiches - A Pittsburgh Favorite
    • Echievera planter
      What to do With a Stretched Succulent
    • Make a Mason Jar Oil Candle Lamp with botanicals and essential oils. ~ gardenmatter.com
      DIY Oil Candle - Gifts for the Holidays

    Footer

    ^ back to top

    About
    Contact
    Privacy Policy
    Disclosure Policy

    Sign Up Here!
    for our
    newsletter &
    special offers

    Follow Me

    facebook
    Pinterest
    instagram

    As an Amazon Associate, I earn from qualifying purchases. i.e. as an Amazon Associate, I earn from qualifying purchases.

    Copyright © 2025 Hearth and Vine

    Rate This Recipe

    Your vote:


    A rating is required
    A name is required
    An email is required