

Learn how easy decorating clay pots with Sharpies can be with this fun tutorial. They make a great gift for Mother's Day, Birthdays, Teacher Appreciation Day, or any reason.
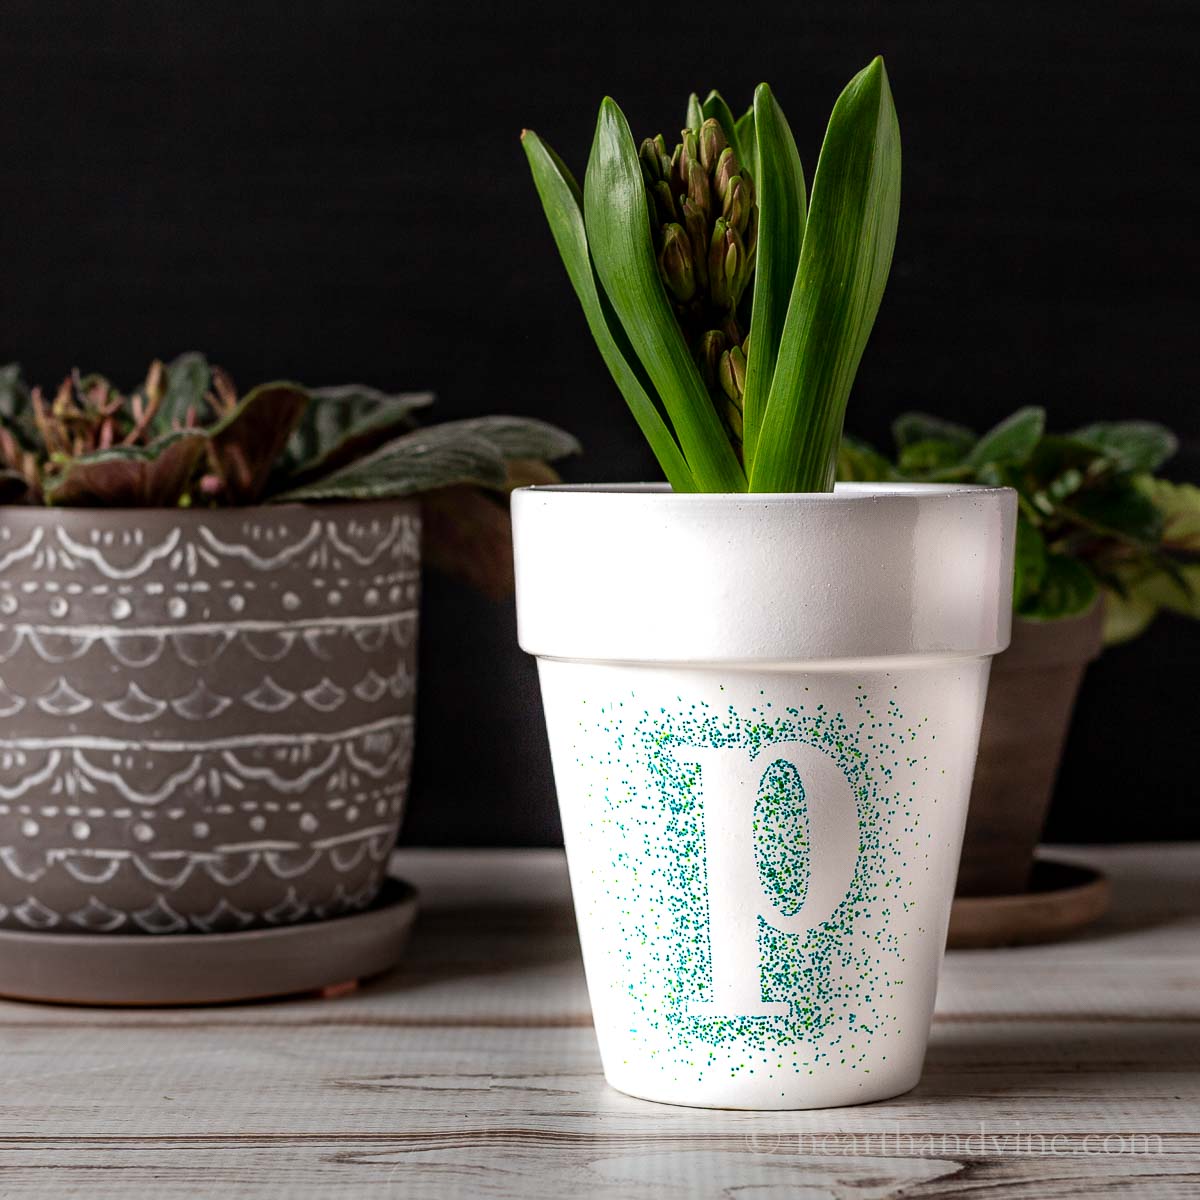
Here's a fun and easy one that would make a great Mother's Day gift. In fact, it would make a great gift for any flower lover. It's a personalized flower pot using a letter sticker from the person's first name and Sharpie pens.
This post contains some affiliate links (that means if you make a purchase after clicking a link, there’s no additional cost to you, but I will earn a very small commission. ) i.e. as an Amazon Associate, I earn from qualifying purchases. Click here to read my full disclosure policy.

Supplies
- Clay Pot - 6 inches
- White Spray Paint
- Letter stickers
- Sharpie pens or other permanent markers
- Mod Podge or Polyurethane spray as a sealer (optional)

How to Decorate a Clay Pot with Sharpies
Prep Work: Paint a clay pot with white gloss paint. Make sure to spray a little on the inside so that the clay pot doesn't show.
Note: You can also start with a purchased white flower pot.
Step 1: Once the spraypaint has dried, press your letter on the center of your pot making sure that it is adhered on all of the edges.

Step 2: Choose a few different Sharpie colors. Then starting with the darkest begin to outline the sticker with dots close to the edge.

Step 3: Continue adding dots with all of the colors you've chosen close together around the sticker.

Step 4: Then space out the dots as you get further away from the center.

Step 5: Carefully peel off the letter sticker.

Step 6: Allow the ink from the markers to set for several hours then use Mod Podge or a polyurethane spray to protect the design.
Pop in a store bought plant and you are all set.
It's so simple you can even get the kids involved.
I like using the gift recipient's initial however, you could use any symbol sticker you like. Perhaps a star or an open heart would be good. You could even spell out the word MOM.


DIY Personalized Flower Pot Tutorial
Materials
- 1 6 inch clay flower pot
- white gloss spray paint
- sharpie markers
- letter stickers
- Polyurethane Spray optional
- Mod Podge optional
Instructions
- Spray paint the clay pot with white paint including a little on the inside.
- Press your letter onto the center of your pot making sure that it adheres in all areas.
- Starting with the darkest color Sharpie marker create a dotted outline close to the edges of the letter.
- Then add more colors working outward.
- Continue making dots around the letter with fewer and fewer dots as you get further away.
- Carefully pull the letter off and allow the design to set for several hours.
- Use a polyurethane spray or Mod Podge to protect the design if desired.
laura
Hi! pinned and sharing on the Weekend Edit at Everyday Edits dot co.
So cute! I love a clay pot project! xo laura in colorado