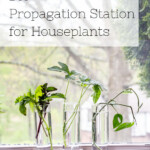
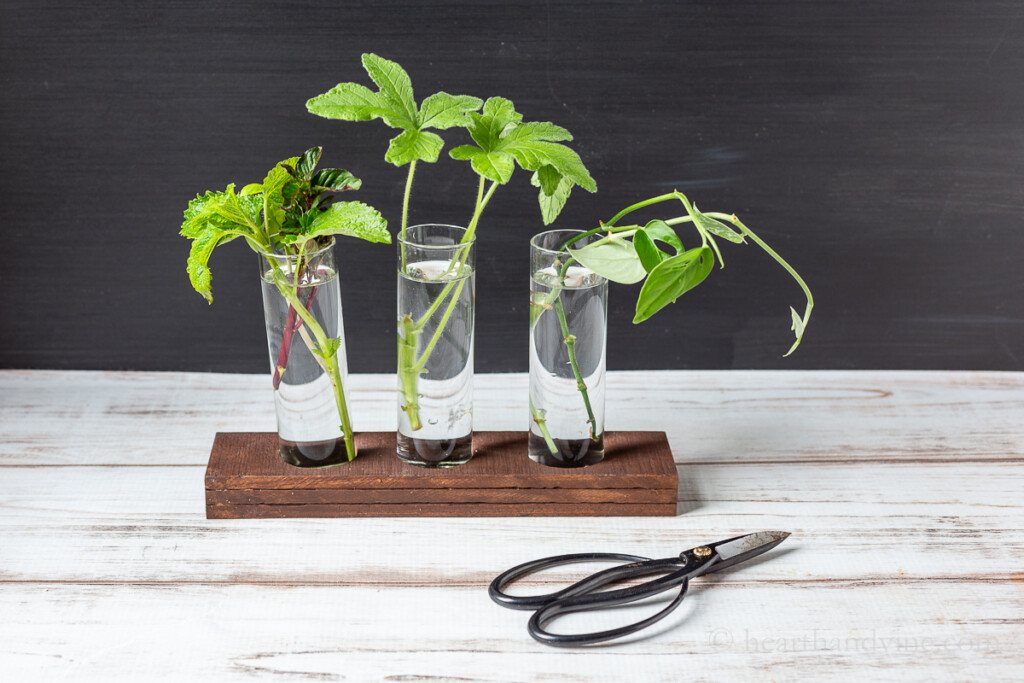
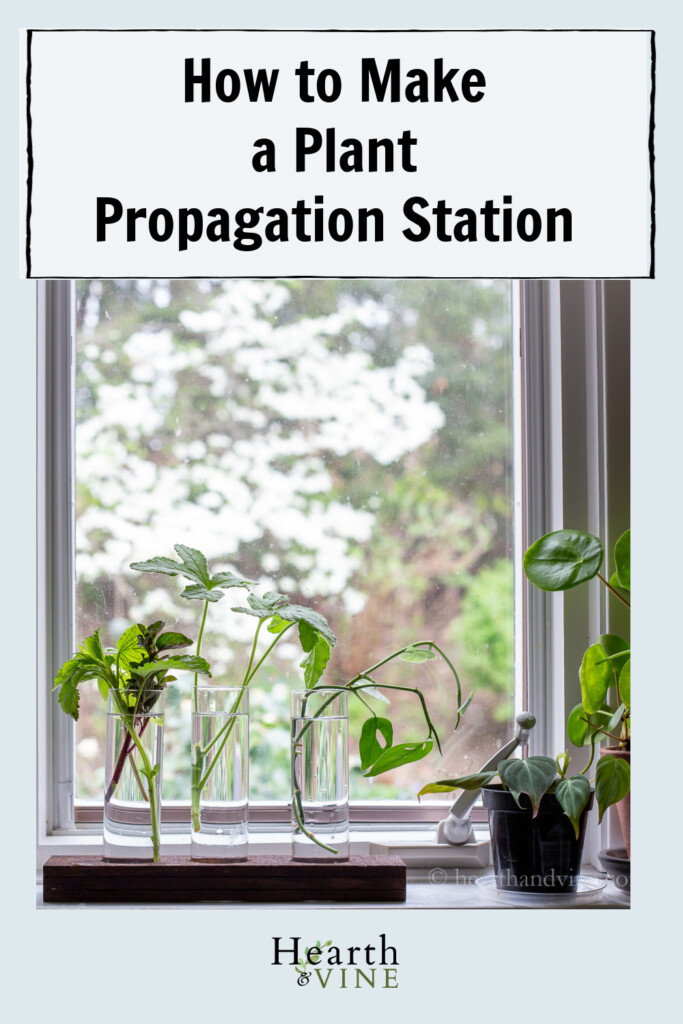
You can easily make this DIY propagation station and place it in any window of your home for a pretty piece of home decor and an easy way to make more plants.

I've been propagating cuttings in glass jars on my kitchen windowsill for years but today I'm sharing a fun and easy project that looks pretty and is a great functional propagation station.
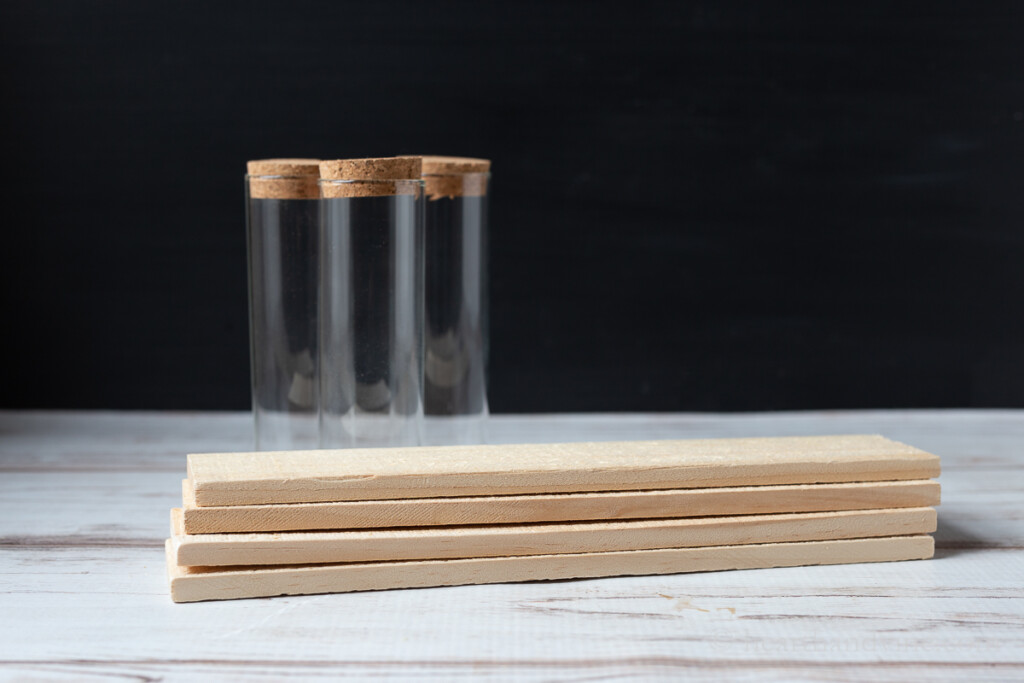
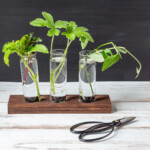
All you need is some wood and glass tubes or vases. I used this stack of wood because it was about the right size for my idea but you could use a thicker block of wood that you may already have in your scrap pile.

How to Make a Propagation Station
Start by gluing three of the wood pieces together with wood glue.
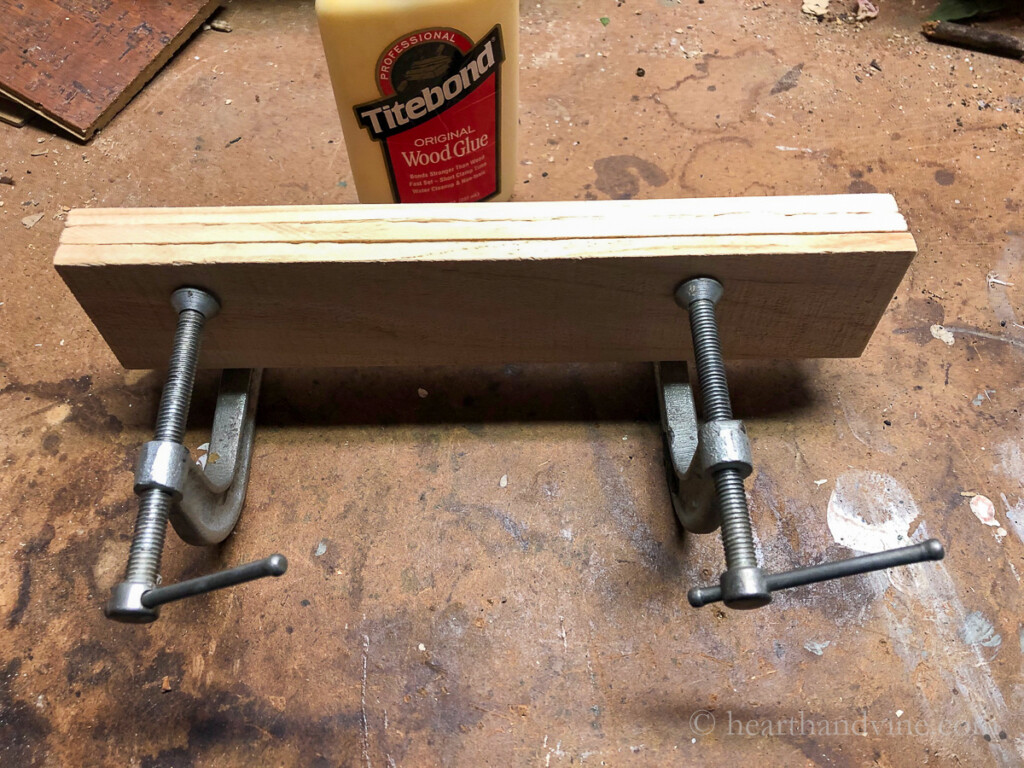
Clamp them together overnight.
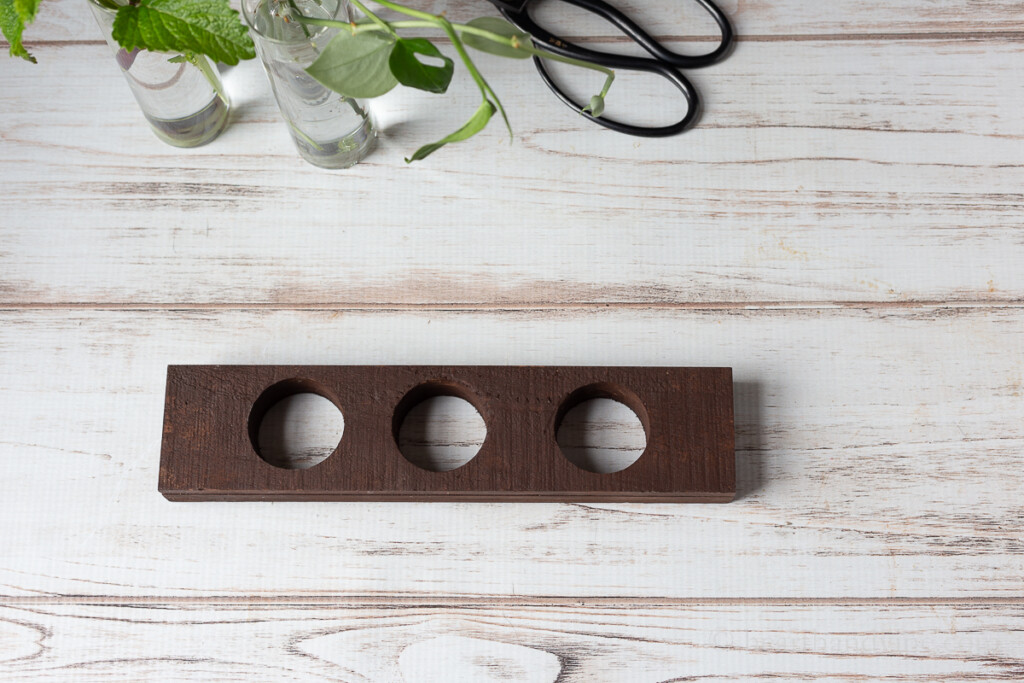
Next use a hole saw the same width as the glass bottles and make three holes in the wood. Stain or paint the wood to suit your likes. I used Old Master gel in special walnut.
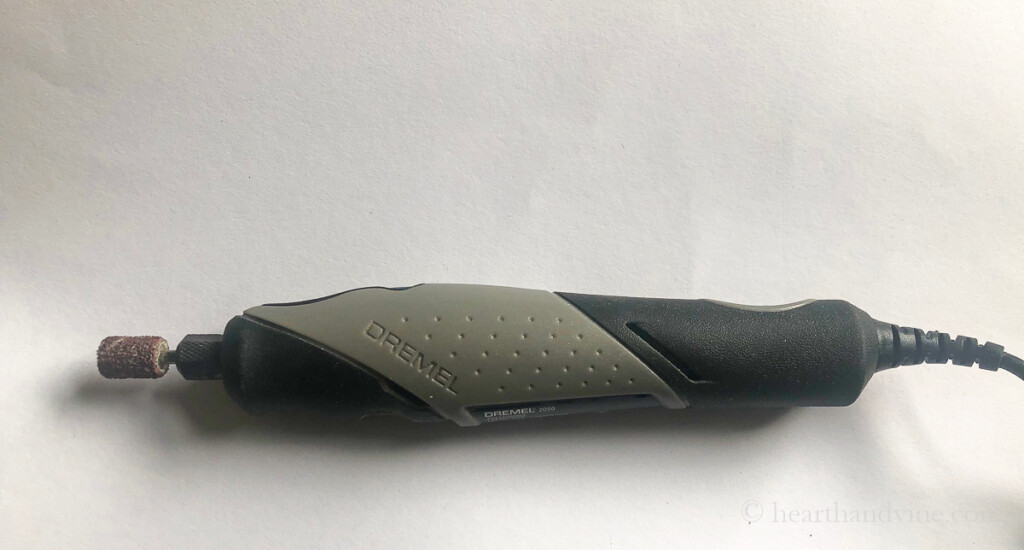
Here's the tricky part. For some reason, the vases were just a hair off and would not fit into the holes. That was easily remedied with a Dremel tool with a sand drum attachment. I just filed away a little extra bit of the wood in the hole and the glass fit right in. You could also do this with some heavy sandpaper and a little elbow grease.
How to Use a Propagation Station
- Make sure it's placed in an area that has bright light.
- Remove any leaves from the plant cutting that are underwater.
- Change the water once a week.
Plants to Root Well in Water?
- Scented geraniums
- Pothos
- Soft stem herbs like mint and basil
- Philodendrons
- Begonias
- African Violets
Transplant note: Water roots are not the same as soil roots so it's a good idea to provide a humidity dome (plastic bag on top) for a short while after transplanting the cuttings into soil.
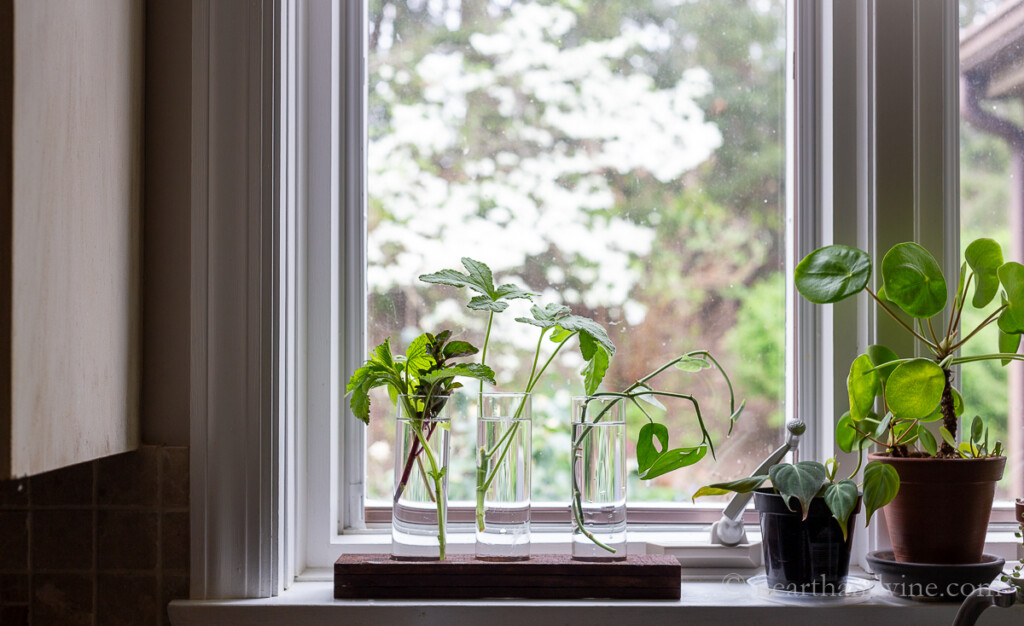
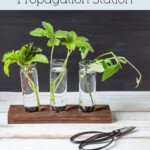
I love the way it looks on my kitchen windowsill. Pretty and practical.
More Plant Propagation Ideas
DIY Propagation Station
Equipment
- Drill and hole saw
- Dremel tool
- Sandpaper
Materials
- 3 Glass Jars
- Strips of wood or Block
- Stain or paint
- Wood glue
Instructions
- Glue strips of wood together.
- Clamp overnight.
- Mark 3 spots evenly on top of wood block.
- Drill three holes with a hole saw.
- Sand edges.
- Fit jars into holes. If the fit is tight use a dremel tool or coarse sandpaper to remove more wood.
- Stain or paint.
- Place in a bright windowsill and fill with water and plant cuttings.
Leave a Reply