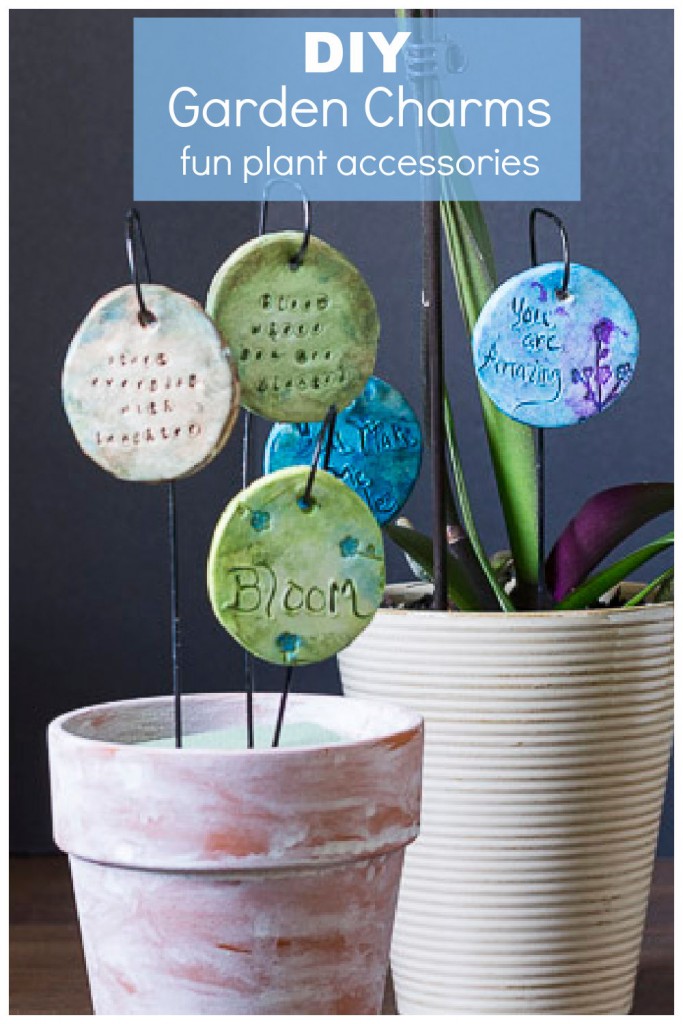
Learn how to make garden charms to use as accessories to your potted plants. Using your favorite sayings this craft will help you to create beautiful and heart-warming thoughtful gifts.
Last year one of my friends gave me a beautiful small hydrangea bush for my birthday. Inside the pot, she also had a tiny stone angel wind chime that read " A True Friend is a Gift." This gave me an idea to make some garden charms complete with a fun saying or phrase. It could be used as a planter accessory or just a sweet little gift in itself.
You may have seen a similar approach to creating garden markers, and you could certainly make them the exact same way. I used Sculpey clay which was really easy to work with, and the folks that make it say it is sturdy enough to use outdoors, though the color may fade in the sunlight over time.
How to Make Garden Charms
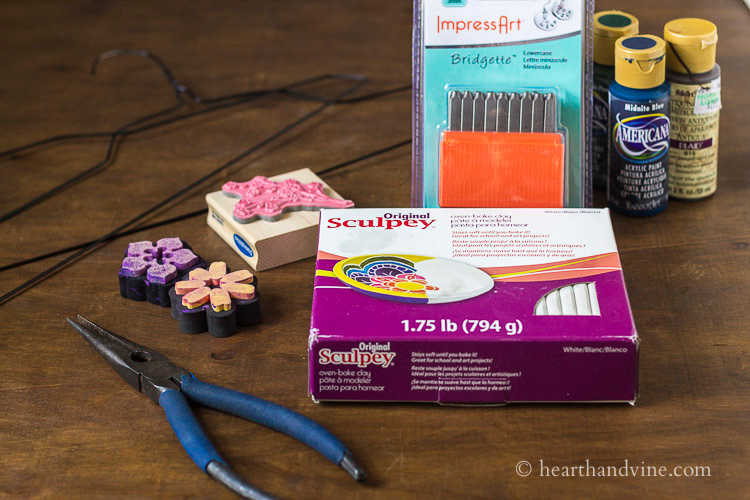
Supplies
- Wire clothes hangers
- Sculpey Clay

- Rubber Stamps
- Letter Stamps
- Craft Paint
- Pliers


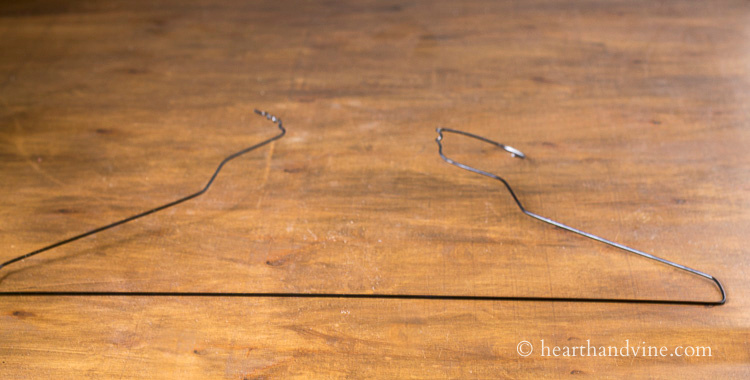
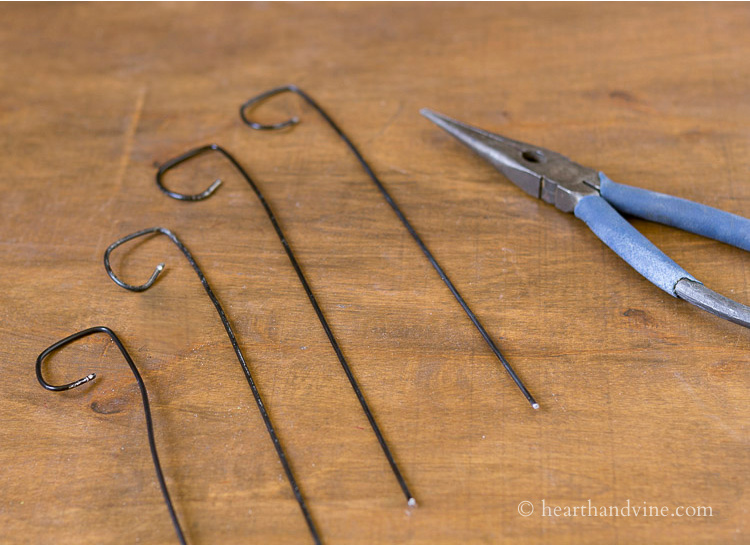
We had a few black clothes hangers that I thought would make great inexpensive hooks for the garden charms. They are a little heavier than the standard white hanger. You could purchase wire to make these also. I'd suggest something in the 14 gauge or more range, though the charm is very light weight. I even thought about spray painting hangers with copper paint but decided against it.
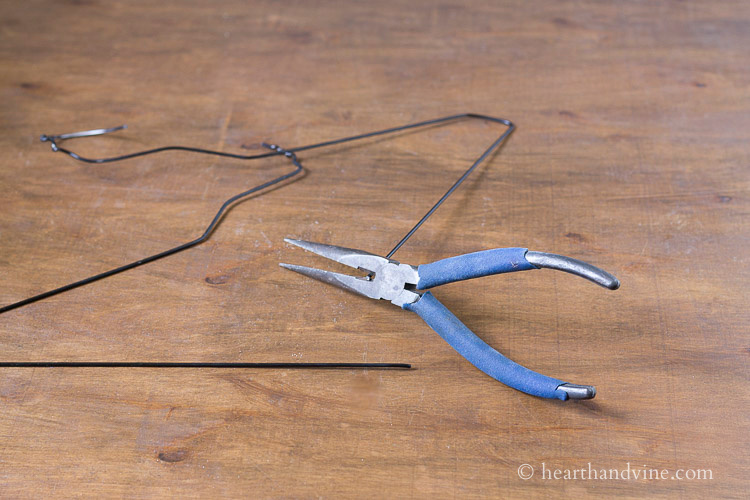
To make the hooks, open the hanger and cut it in half at the bottom. I used a pair of needle-nose pliers to twist the metal back and forth until it broke.
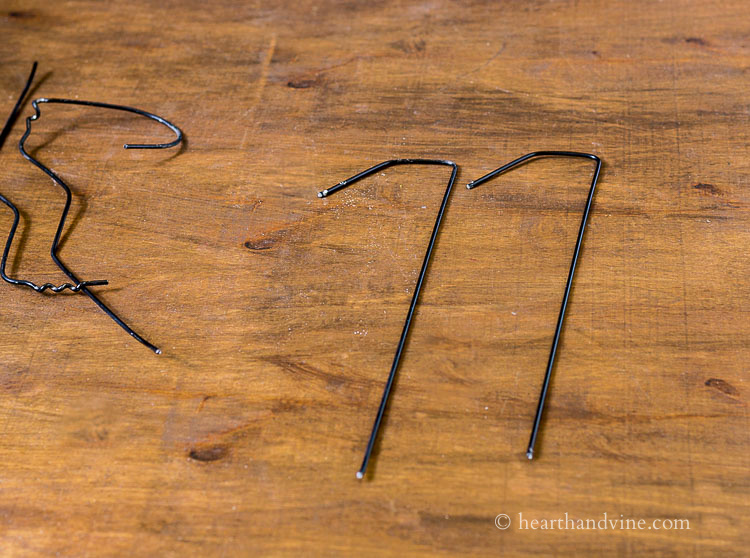
Then cut again at each side around the bend. Now you have two hooks for the charms.
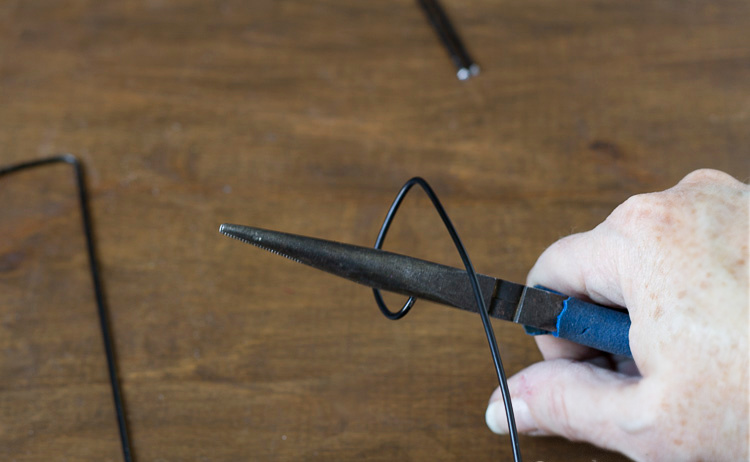
Use the same pliers to bend the end up and around, forming an open loop.
Now onto the garden charms.
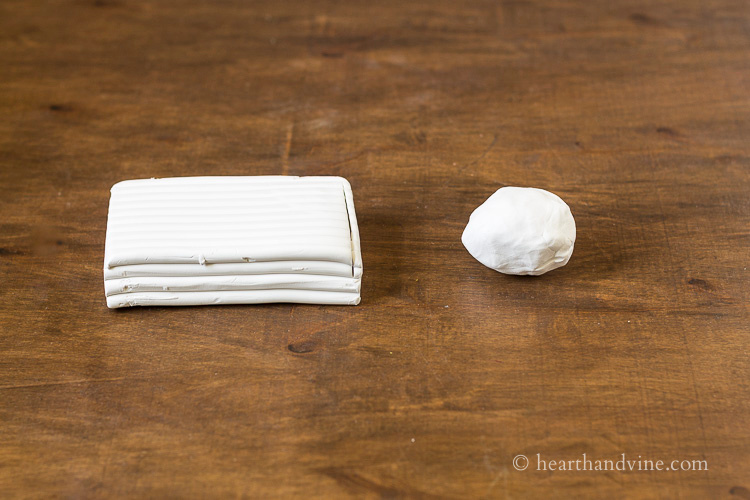
The clay comes in layers. Take one or two layers and knead the clay with your hands. I was surprised at how easy this particular brand was to work with. I was able to soften the clay pretty easily within a few minutes. The last time I used polymer clay was to make pressed flower jewelry dishes, and that clay took a lot longer to knead and soften.
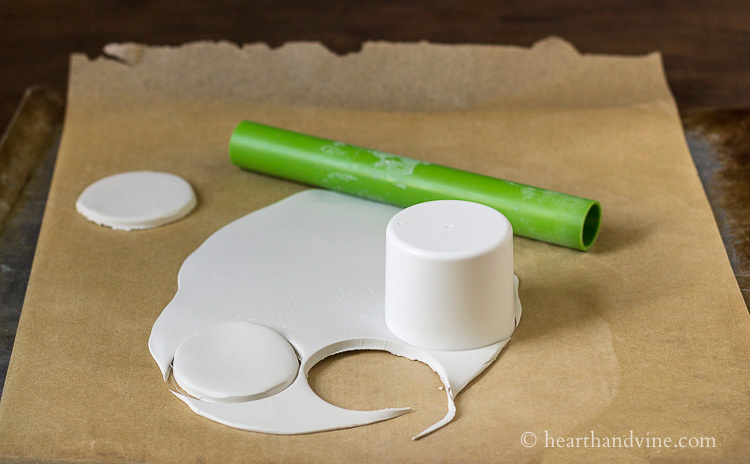
Next roll out your clay and use anything you have on hand to cut out your shape. The picture above shows a lid from a bottle of hair spray. Originally I was going to use a mason jar lid but it seemed too big. You may also have some favorite cookie cutters that would work well.
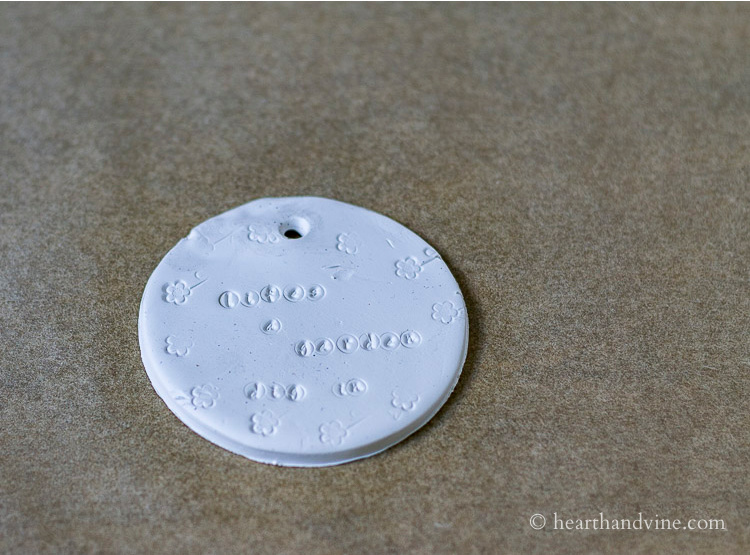
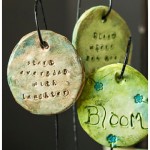
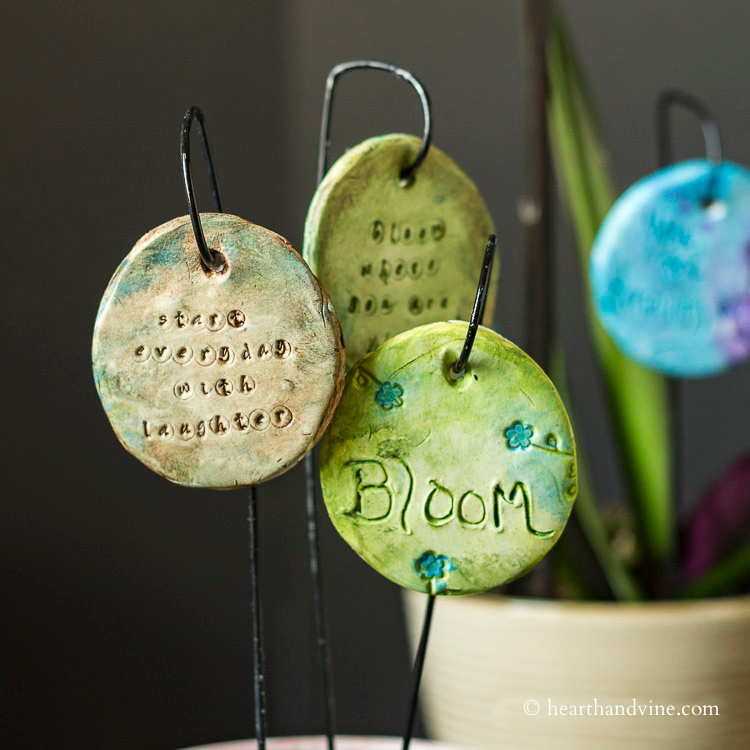
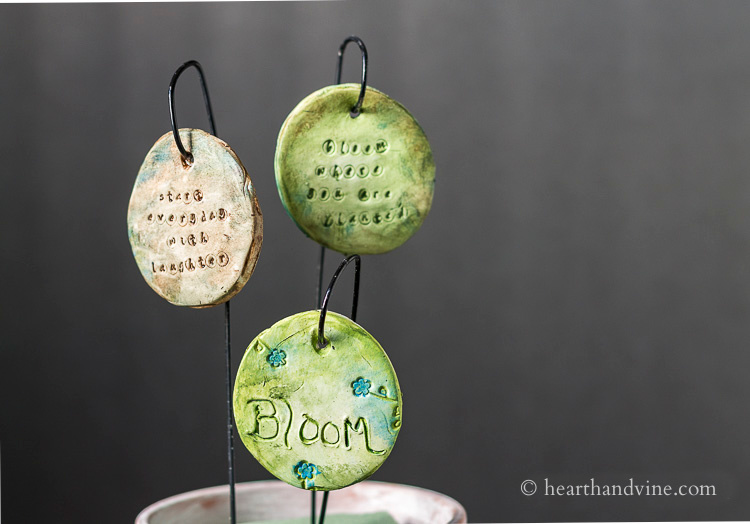
Now you can use your letter stamps or rubber stamps to create your garden charm. The letter stamps I purchased for this project were a really cute font, but I think they could have been a little larger. These were 3mm in size. There were plenty of others that were 4mm but I'm not sure if they are available in a script-like font. I also used a blunt embroidery needle and hand carved a few of the charms.
Use the end of a paintbrush to make a hole, and set them in the oven at 275 degrees for 15 minutes. I used parchment paper to roll out, cut, and bake the charms and it worked great.
After they have cooled you can paint them to help bring out the letters. Use a sponge brush to really get the paint into the crevices and then gently wipe away any excess with a paper towel.
I really went to town, and before you know it my hands were covered in paint. However, this was probably my favorite part of the whole project.
The rubber floral stamp worked well for this project but the foam stamps did not.
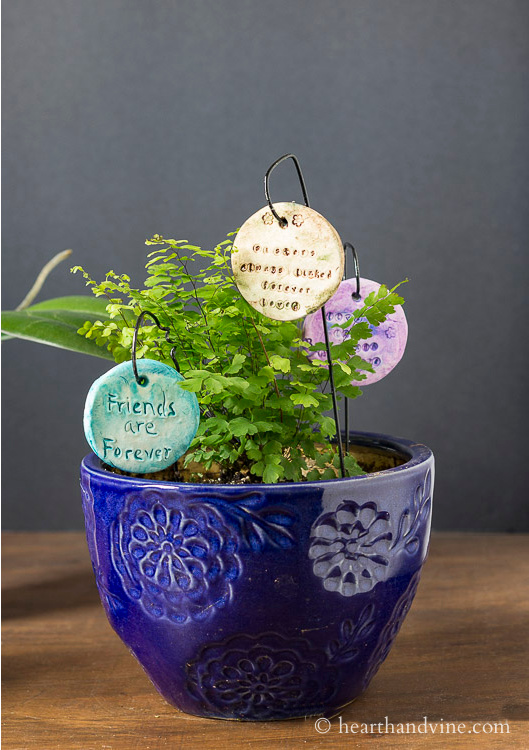
Okay, you wouldn't want to put three charms in one little fern, but you get the idea.
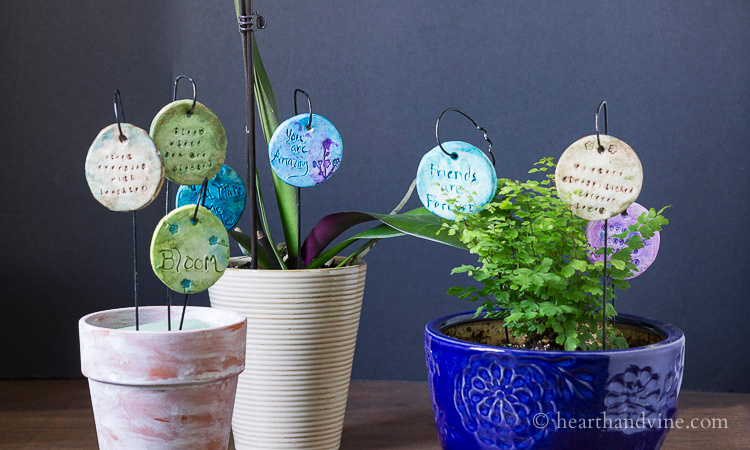
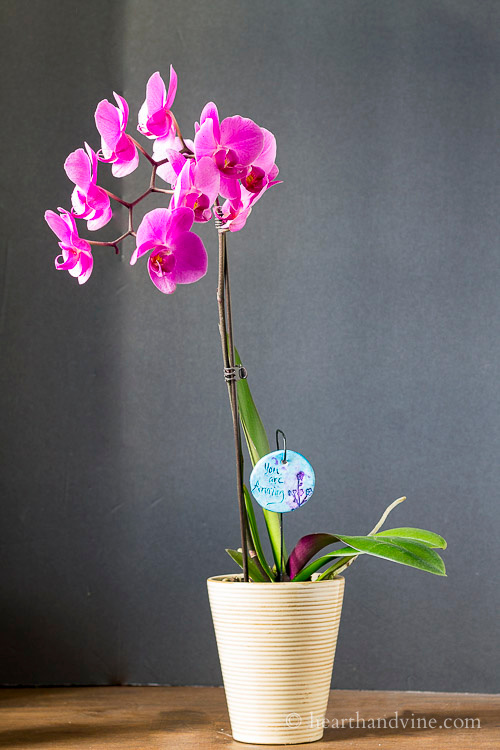
I'm thinking Mother's Day, birthdays, teacher's gifts. I could even see them tied onto packages with a pretty satin ribbon.
So many options, and such a fun, creative way to spend the afternoon.
More Clay Crafts

DIY Garden Charms
Equipment
- Rubber Stamps
- Letter Stamps
- Pliers
Materials
- Wire clothes hangers
- Sculpey Clay
- Craft Paint
Instructions
- Make hooks by cutting and bending wire hangers with pliers.
- Take one or two layers of the Sculpty and knead it with your hands until soft.
- Roll out your clay and use anything you have on hand onto waxed or parchment paper.
- Cut out circles with a cookie cutter or a cap from something you have in the house.
- Use letter stamps or rubber stamps to create your garden charm message or decoration.
- You can also use the blunt end of a needle to etch in your own words.
- Next, use the end of a paintbrush to make a hole at the top.
- Bake the charms in a 275-degree oven for 15 minutes.
- Once cooled paint them by using a sponge brush to really get the paint into the crevices and then gently wipe away any excess with a paper towel.
Kim - The Hypertufa Gardener
How cute these are! I like the idea. I need some new markers for my rock garden. My markers from last year faded in the weather. This looks fun and pretty.
Patti Estep
Hi Kim,
These will definitely work as garden markers, though you may want to try a sealer to protect them from fading.
Thanks for stopping by,
Patti
Pamela
These are so cute. I made some regular clay tags a couple years ago but did not think of them as being garden charms. The sculpey clay would last outdoors so much better.
I am going to have to make some again. What fun!
I do love your blog makeover, it looks fabulous!
Patti Estep
Hi Pamela,
I'm so glad you like the charms, and with your artistic talent I'm sure you would make gorgeous ones.
Thanks for your kind words about the redesign. It's such a work in progress but I am liking it.
Have a great week!
Patti
Linda Nelson
Patti, these are just absolutely darling! by the way, I love your blog's new name and image. While Garden Matter worked just fine, Hearth and Vine provides a broader scope as to what your blog is about. Well done!
Patti Estep
Hi Linda,
I'm so glad you like the charms, and thank you so much for your kind words about the rebrand. This whole blogging journey has be a godsend and a labor of love.
Thanks for stopping by,
Patti
Karen
Your charms are...charming! 🙂 I love your creativity and how they add such a nice flair to a potted plant. I could imagine lots of uses for them, both indoors and in the garden. Super job!
Patti Estep
Hi Karen,
You are as sweet as ever and I know you would make some beautiful charms for your home and/or garden.
Thanks for stopping by and have a great week.
Patti
Donna Harvey
Hi Patti, I love your Garden Charms! They are so cute, and I loved the Colors too. I also wanted to tell you I love the new Name and the Look of your Blog, it's really nice. Take care, Donna
Patti Estep
Hi Donna,
Thank you for your kinds words about the post and the blog.
I've been wanting to make the change for a long time and finally had the courage to do it.
I really appreciate the positive feedback! <3
Have a great week!
Patti
Jacqueline Gallo
I am always looking for ideas for my fairy gardens and I have worked with this clay to make furniture. Can't wait to try this, love your step by step directions, and your blog. Thanks!
Patti Estep
Hi Jacqueline,
These would be great for a fairy garden. I believe that was the original intention for my friends gift.
So glad you like the post and the blog and hope you continue to visit.
Thanks for stopping by and have a great week!
Patti
Ann Bailey
Love them...I'm saving this post!
Patti Estep
Hi Ann,
I'm so glad you like the post. I sure had fun making them.
Thanks for stopping by and have a great week!
Patti
Carole @ Garden Up Green
What a neat project, love the idea of garden charms. They would look cute hanging on a branch or even a topiary. Very creative!!
Patti Estep
Hi Carole,
I never thought about a branch or topiary, both excellent ideas.
Thanks for sharing and have a great week,
Patti
kim
These are charming - and I really like the color combinations you used. I'll put this on my project list.
Thanks for sharing. Kim
Patti Estep
Hi Kim,
So glad to hear that you like them. They were fun to create.
Thanks for stopping by and have a great week,
Patti