

This DIY Clay birdhouse is the perfect element to welcome your feathered friends to the yard. Just follow the easy step-by-step tutorial for a fantastic, rustic-looking functional piece of yard art.

It seems to me that most gardeners love birds. I know I do, and so does my husband. We have several feeders in the yard, a couple of suet holders, and plenty of nesting places. Often, we will find nests in hanging baskets or in the eaves of the porch. This can be a problem because the protective mother birds feel compelled to attack every time you enter and exit your home. A good reason to have more birdhouses in the yard.
This post contains some affiliate links (that means if you make a purchase after clicking a link, there’s no additional cost to you, but I will earn a very small commission. ) i.e. as an Amazon Associate, I earn from qualifying purchases. Click here to read my full disclosure policy.
Supplies
- Plastic roller
- Scissors
- Pencil or paintbrush handle
- Polymer Clay
- Grapevine sphere
- Outdoor paints
- Twine
- Wire
- Aluminum foil

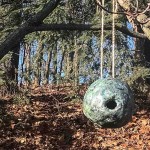
The birdhouse shown above is one that I bought my husband for Father's Day, at a museum gift shop a few years back. I like the rustic, natural look it has, and wanted to make something similar. I purchased some Polymer Clay and used a grapevine sphere to give it structure.

How to Make a Natural Clay Birdhouse
Step 1. This clay takes some time to roll out. You can knead it first with your hands to get it nice and pliable. Then use a plastic or regular rolling pin to create a large flat piece. According to the package, 1/4 inch pieces are ideal for baking the polymer clay.
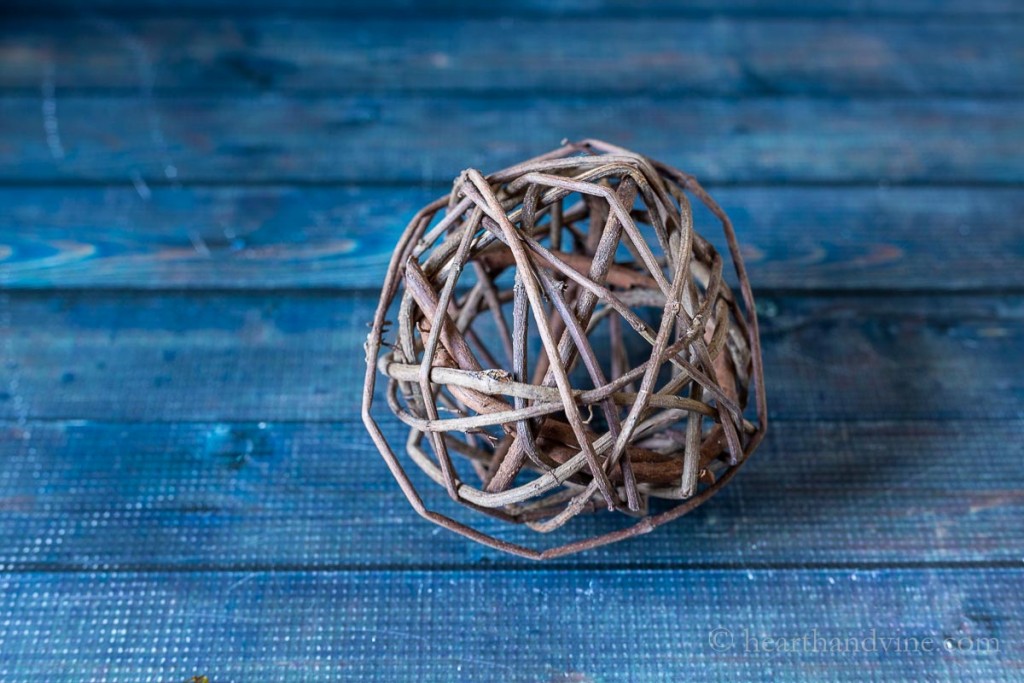
I used this grapevine sphere to act as an armature for the clay. You might try a balloon and then pop it and remove it afterward. However, I wasn't sure if a balloon would be strong enough for this clay or if it would hold up in the oven.

Step 2. Wrap pieces of rolled out clay around the grapevine sphere until it is covered, leaving a space uncovered for the birdhouse opening.
Step 3. Then work on smoothing out the clay by cutting or pinching off the extra clay and closing up any holes or seams. Small cracks are okay, they give the piece a natural rustic look.

Step 4. Poke a few holes on the bottom for water drainage and two at the top where you can thread twine through in order to hang the birdhouse outside.

Step 5. Bake the birdhouse on some foil in the oven according to the package directions. Typically, 15-20 minutes is all you need.

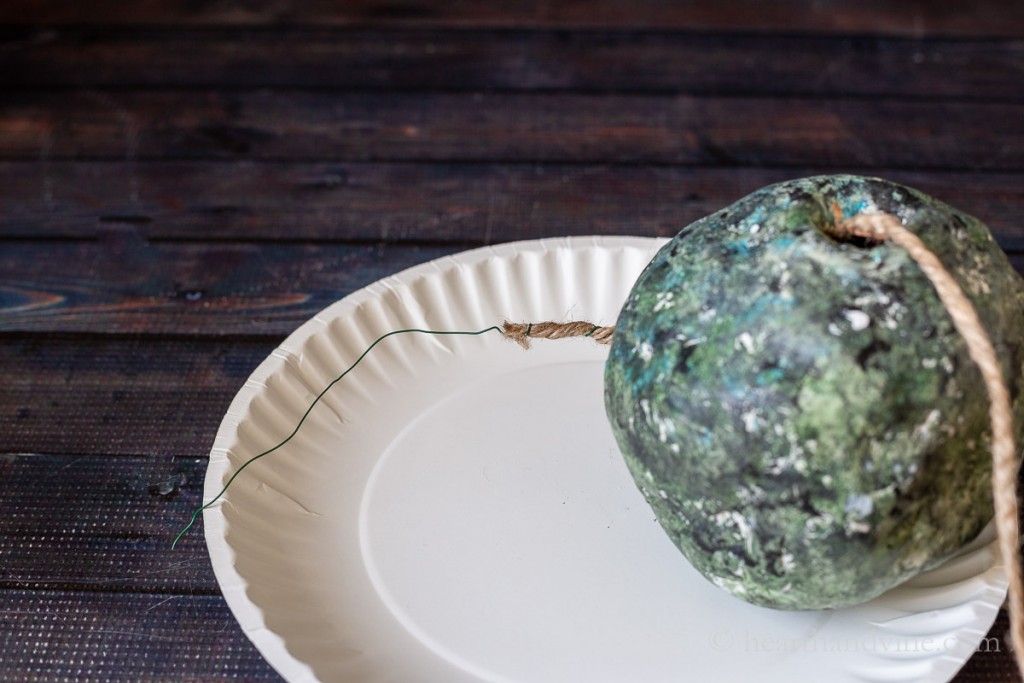
Step 6. Once the birdhouse has cooled, paint the birdhouse however you like. I used shades of green and black with a bit of white and blue in the mix. A sea sponge worked great for this application, and the paints I used were patio paints that are meant for outdoor projects. You could also consider using a clear sealer on the outside.
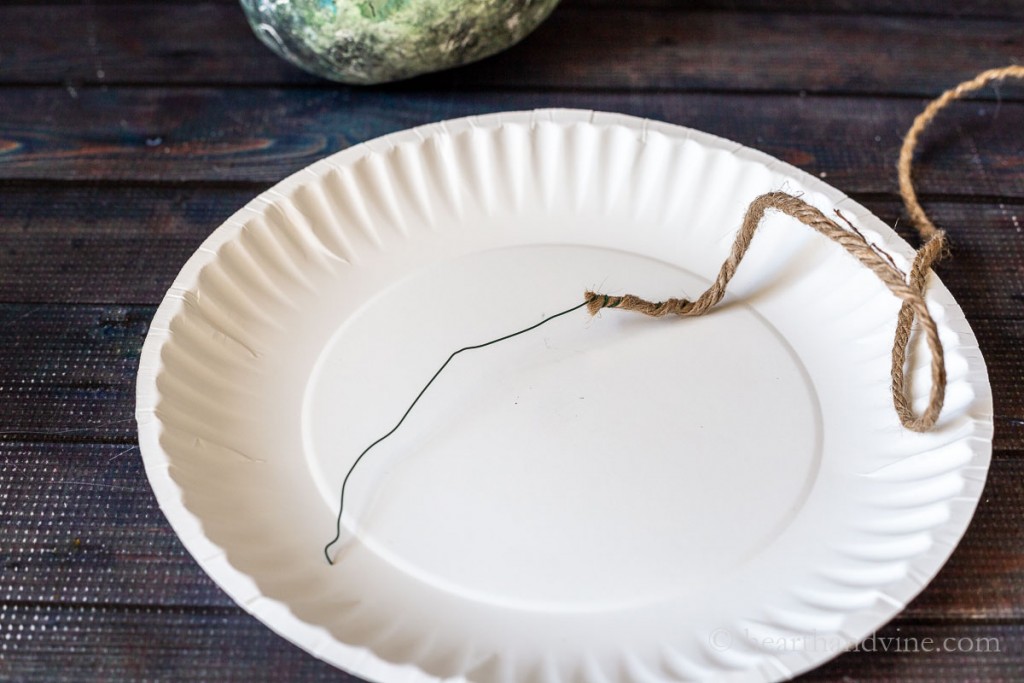
Step 7. Getting the twine hanger through the holes in the top of the clay birdhouse was a little tricky. The easiest way I found was to add a piece of wire to the end of the twine that could be easily threaded through the hole and pulled through.
Then continue with the other end of the twine in the same manner.
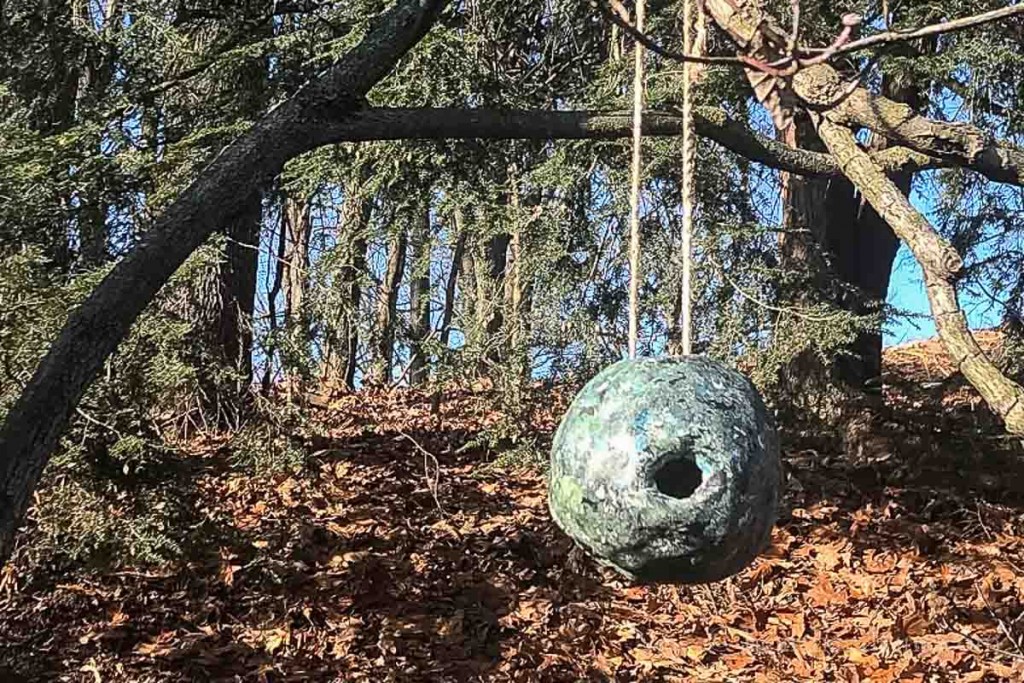
Tie your natural handmade clay birdhouse outside on a tree branch and admire its beauty. With any luck, some birds will soon make it their home.

Polymer Clay Birdhouse
Equipment
- Plastic roller
- Scissors
- Pencil or paintbrush handle
Materials
- Polymer Clay - Sculpey original
- Grapevine sphere
- Outdoor paints
- Twine
- Wire
- Aluminum foil
Instructions
- Knead the clay until it softens
- Roll out pieces of clay about 1/4 inch thick.
- Place the pieces of clay around the grapevine sphere leaving an opening for the house in the middle.
- Smooth out the edges.
- Poke two holes at the top (with a paintbrush handle or pencil) of the birdhouse for hanging.
- Poke a few at the bottom for water drainage.
- Bake in the oven on some aluminum foil for 15 -20 mins. at 275 degrees F
- Allow birdhouse to cool.
- Paint birdhouse with outdoor paints.
- Attach some wire to the end of a yard of twine to help thread the twine through the top holes. Repeat with the other end of the twine.
- Tie the twine onto a branch on a tree and enjoy.
Notes

Kay Bowles
Hi Patti! This is a great idea! I work with ceramic clay which is really inexpensive and also have a kiln so I am going to try this using those materials. I think this is a great project to do with my grandsons because wrapping the clay around the structure is a task they can handle and the painting as well. We are starting a homeschool project on trees and birds so this couldn't be better timed! Your suet cakes will be added to the study as well! What fun for the kiddos (and this Gram)! Thanks again for great projects to do! You nail it every time with your posts!!! Have a great weekend! All the best! Kay
Patti Estep
Oh wow. How nice to have your own kiln Kay. I know your grandsons will have a blast making and painting the birdhouses and the suet. What a great grandmother you are. Enjoy!
Patti Estep
Hi Alicia,
So glad you liked the post and yes you may share one photo with a link back on your Easter roundup. Thanks for asking and have a great week!
Alicia
This year's spring/Easter arts and crafts compilation post is up on the blog! Thank you so very much for your contribution! If you like, you can find it here: http://aliciasivert.blogspot.se/2016/03/peppiga-paskprojekt-2016.html
May your Easter be filled with fluffy bunnies and happy birds 🙂
Love, Alicia
Grace Lovell
How weather proof is this?
Patti Estep
Hi Grace,
Great question. I don't think it is as durable as a ceramic clay that you would fire in a kiln. I am super curious how it will fair with the weather. I would thnink spraying or painting a varnish over it would help, but again, I want to see what actually happens leaving it as is. I'll update the post after a few months with the results.
Thanks for stopping by,
Patti