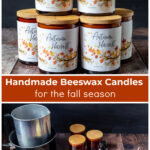
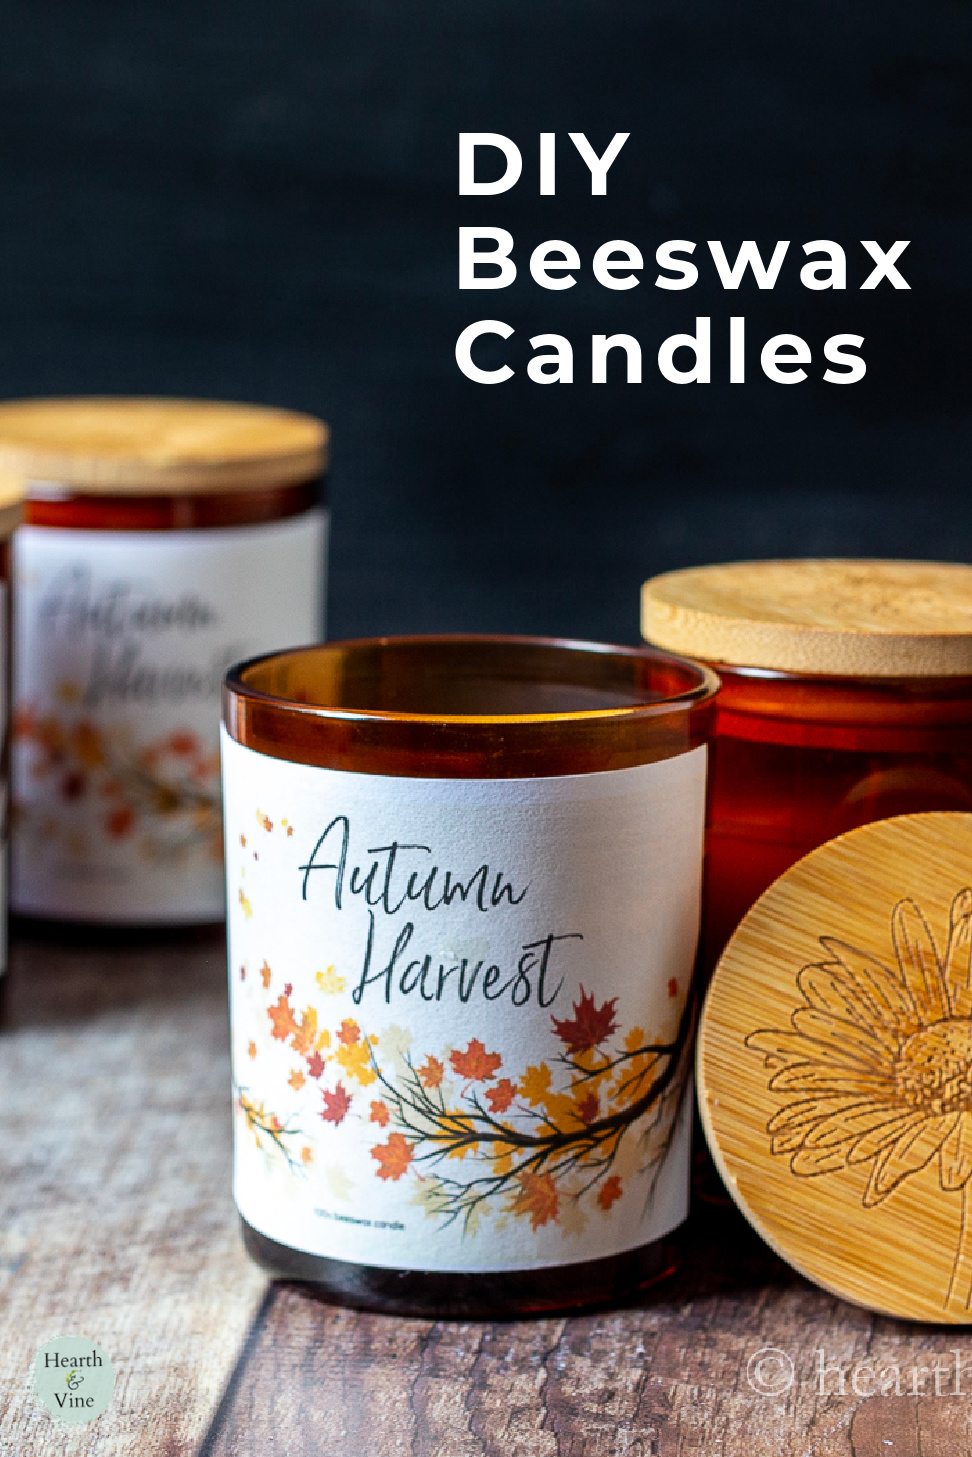
Learn about making beeswax candles scented for the fall season. A printable label is yours for gift giving or enjoying in your own home.
You know how much I like to make candles. If you are new to my blog just look at the list of candles I've made at the end of this post. And that's not all of them. Usually, I make them with soy wax. However, today's candle is made with beeswax.
Beeswax vs Soy wax
- Beeswax is a natural byproduct of beekeeping. Soy wax comes from soybeans.
- Soy wax needs to go through more chemical processing before it can be used.
- Both beeswax and soy wax burn cleanly without producing soot like paraffin wax.
- Beeswax is denser than soy wax so it should burn longer.
- Beeswax is more expensive than soy wax.
- Beeswax has a natural light honey scent while soy wax is usually unscented.
This post contains some affiliate links (that means if you make a purchase after clicking a link, there’s no additional cost to you, but I will earn a very small commission. ) i.e. as an Amazon Associate, I earn from qualifying purchases. Click here to read my full disclosure policy.
Making Beeswax Candles
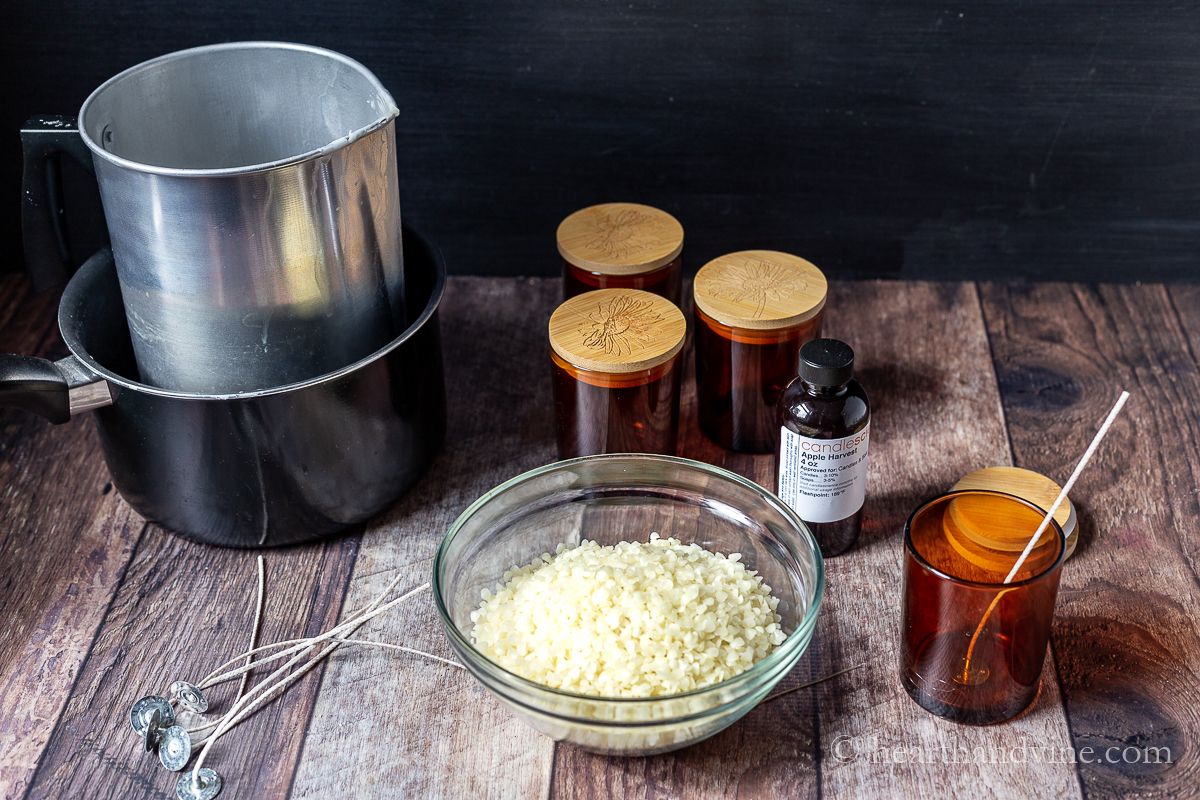
Supplies
These are the products I use but you can use different kinds of containers, mason jars, etc. You can also buy a block of beeswax and grate it. The fragrance oil I used was a blend of essential and fragrance oils from Candle Science. I find their oils to be superior but you can use any that you like.
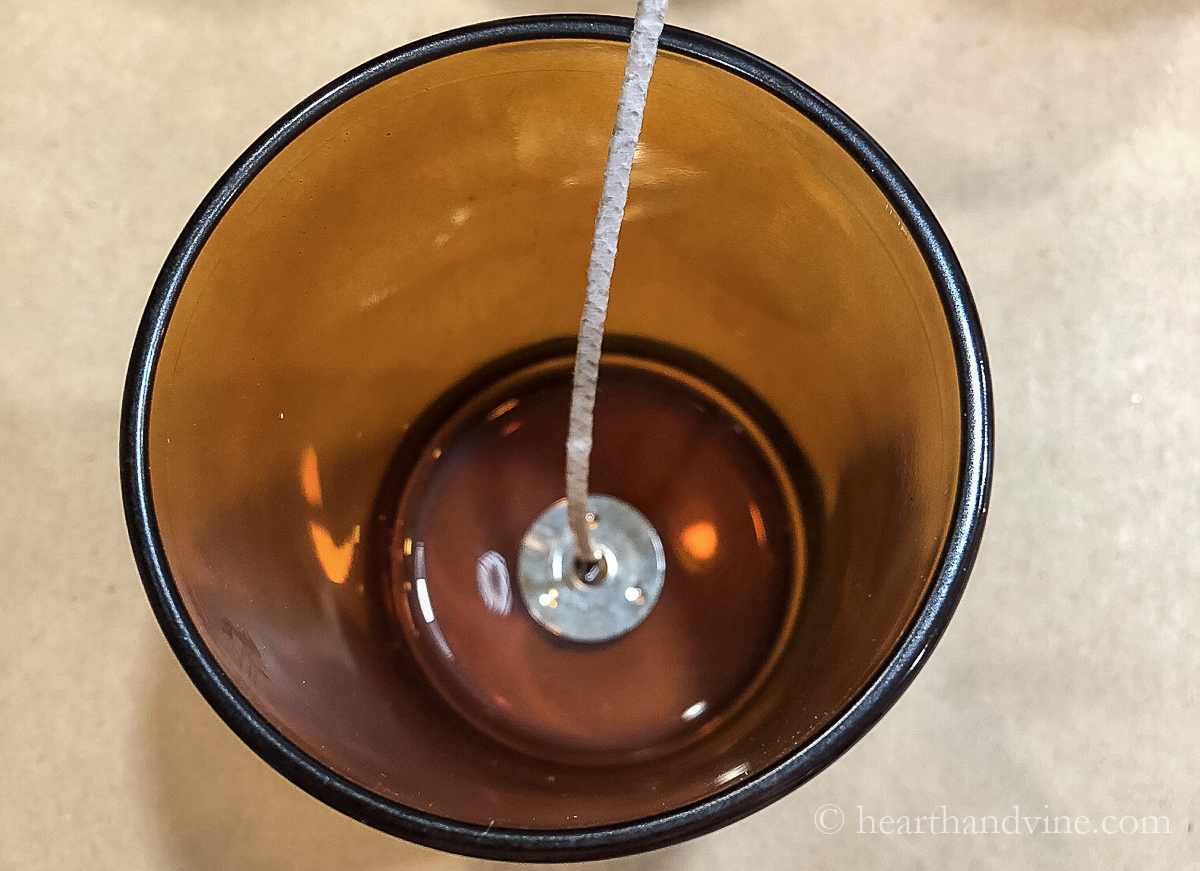
Start by adhering the wicks to the center of the bottom of your candles. I use hot glue but some people prefer candle stickers.
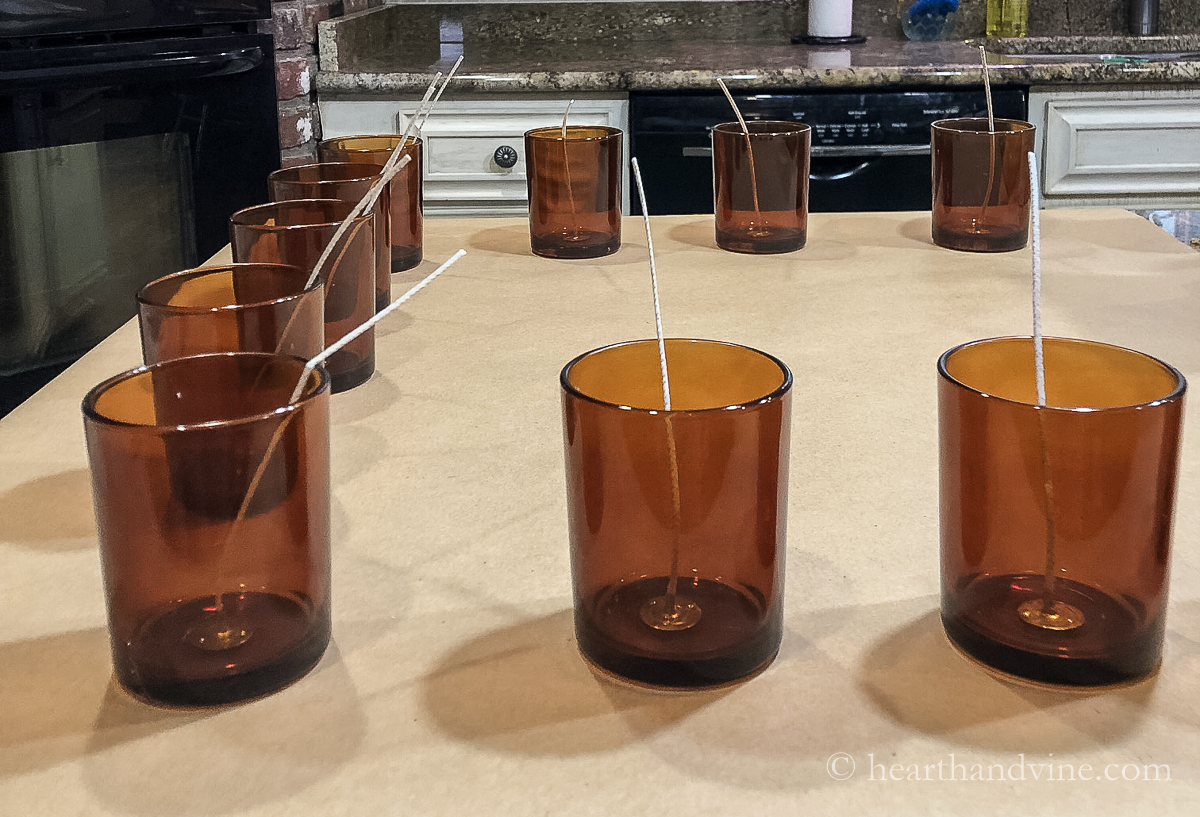
When you are making several candles I find it easier to pour them if I line them up along the edge of my counter.
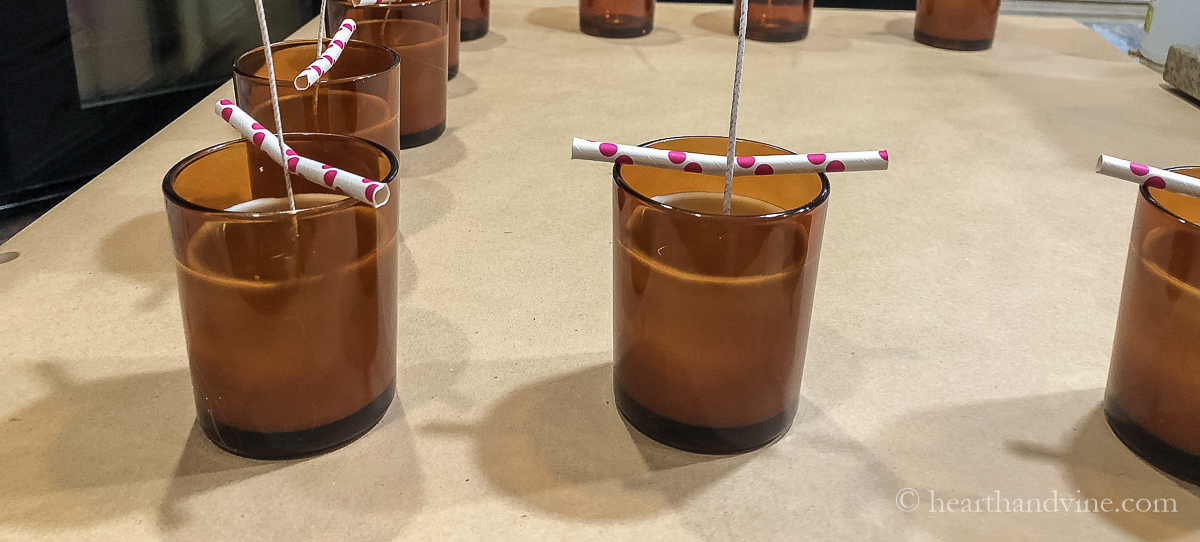
Once you pour the wax it will start to harden pretty quickly. To hold the wicks in place many people use special metal centering devices. However, you can also try clothespins, chopsticks, or a straw to help hold the wicks in place.
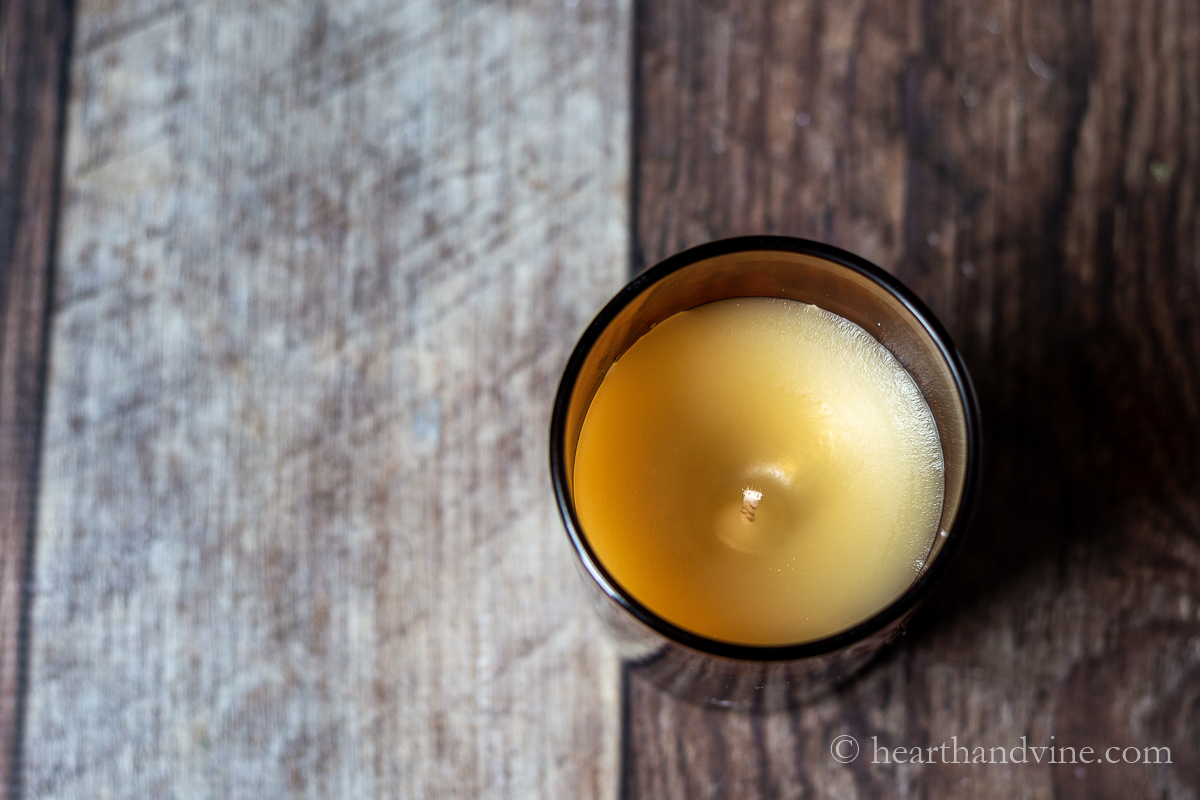
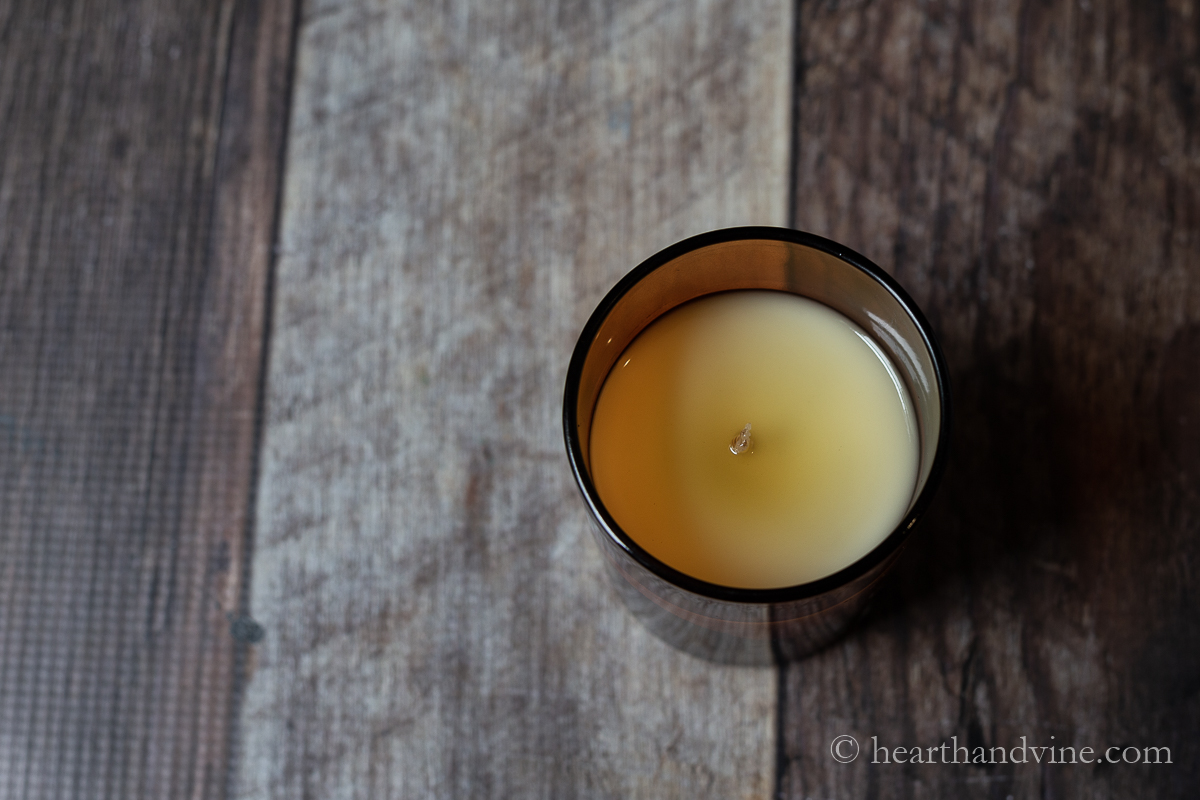
How to Fix Candle Sinkholes
I never had this problem with soy wax. These candles looked great and I even trimmed the wick to 1/4 inch as you should. However, the next day every single one of them looked like the image above. The area around the wick had sunk. I've read that this can be due to temperature changes. Maybe the glass was too cold, maybe I needed to allow the wax to cool slightly more before pouring. Either way, I needed to fix the issue.
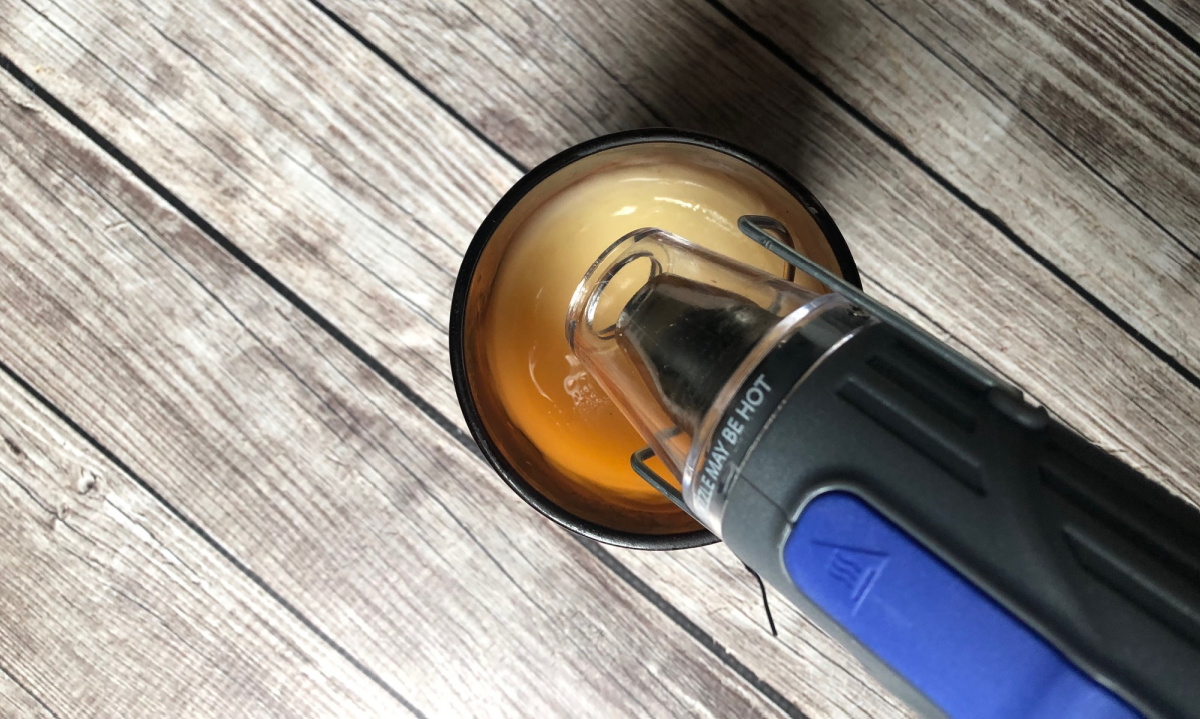
If you are a crafter you may already have a heat gun. Just point it to the side. Then move it all around the candle until a nice layer has melted.
You can even tug a little on the wick to center it. Once this melted wax dries it will look perfect.
Safety Reminder: Candles need to be handled properly and are considered a fire hazard. According to the National Fire Protection Association, many candles have started home fires. Never leave the candle burning unattended. Make sure the candle is set on a sturdy surface away from anything that can catch fire. Keep them out of children's reach. See NFPA's candle safety tips page for more details.
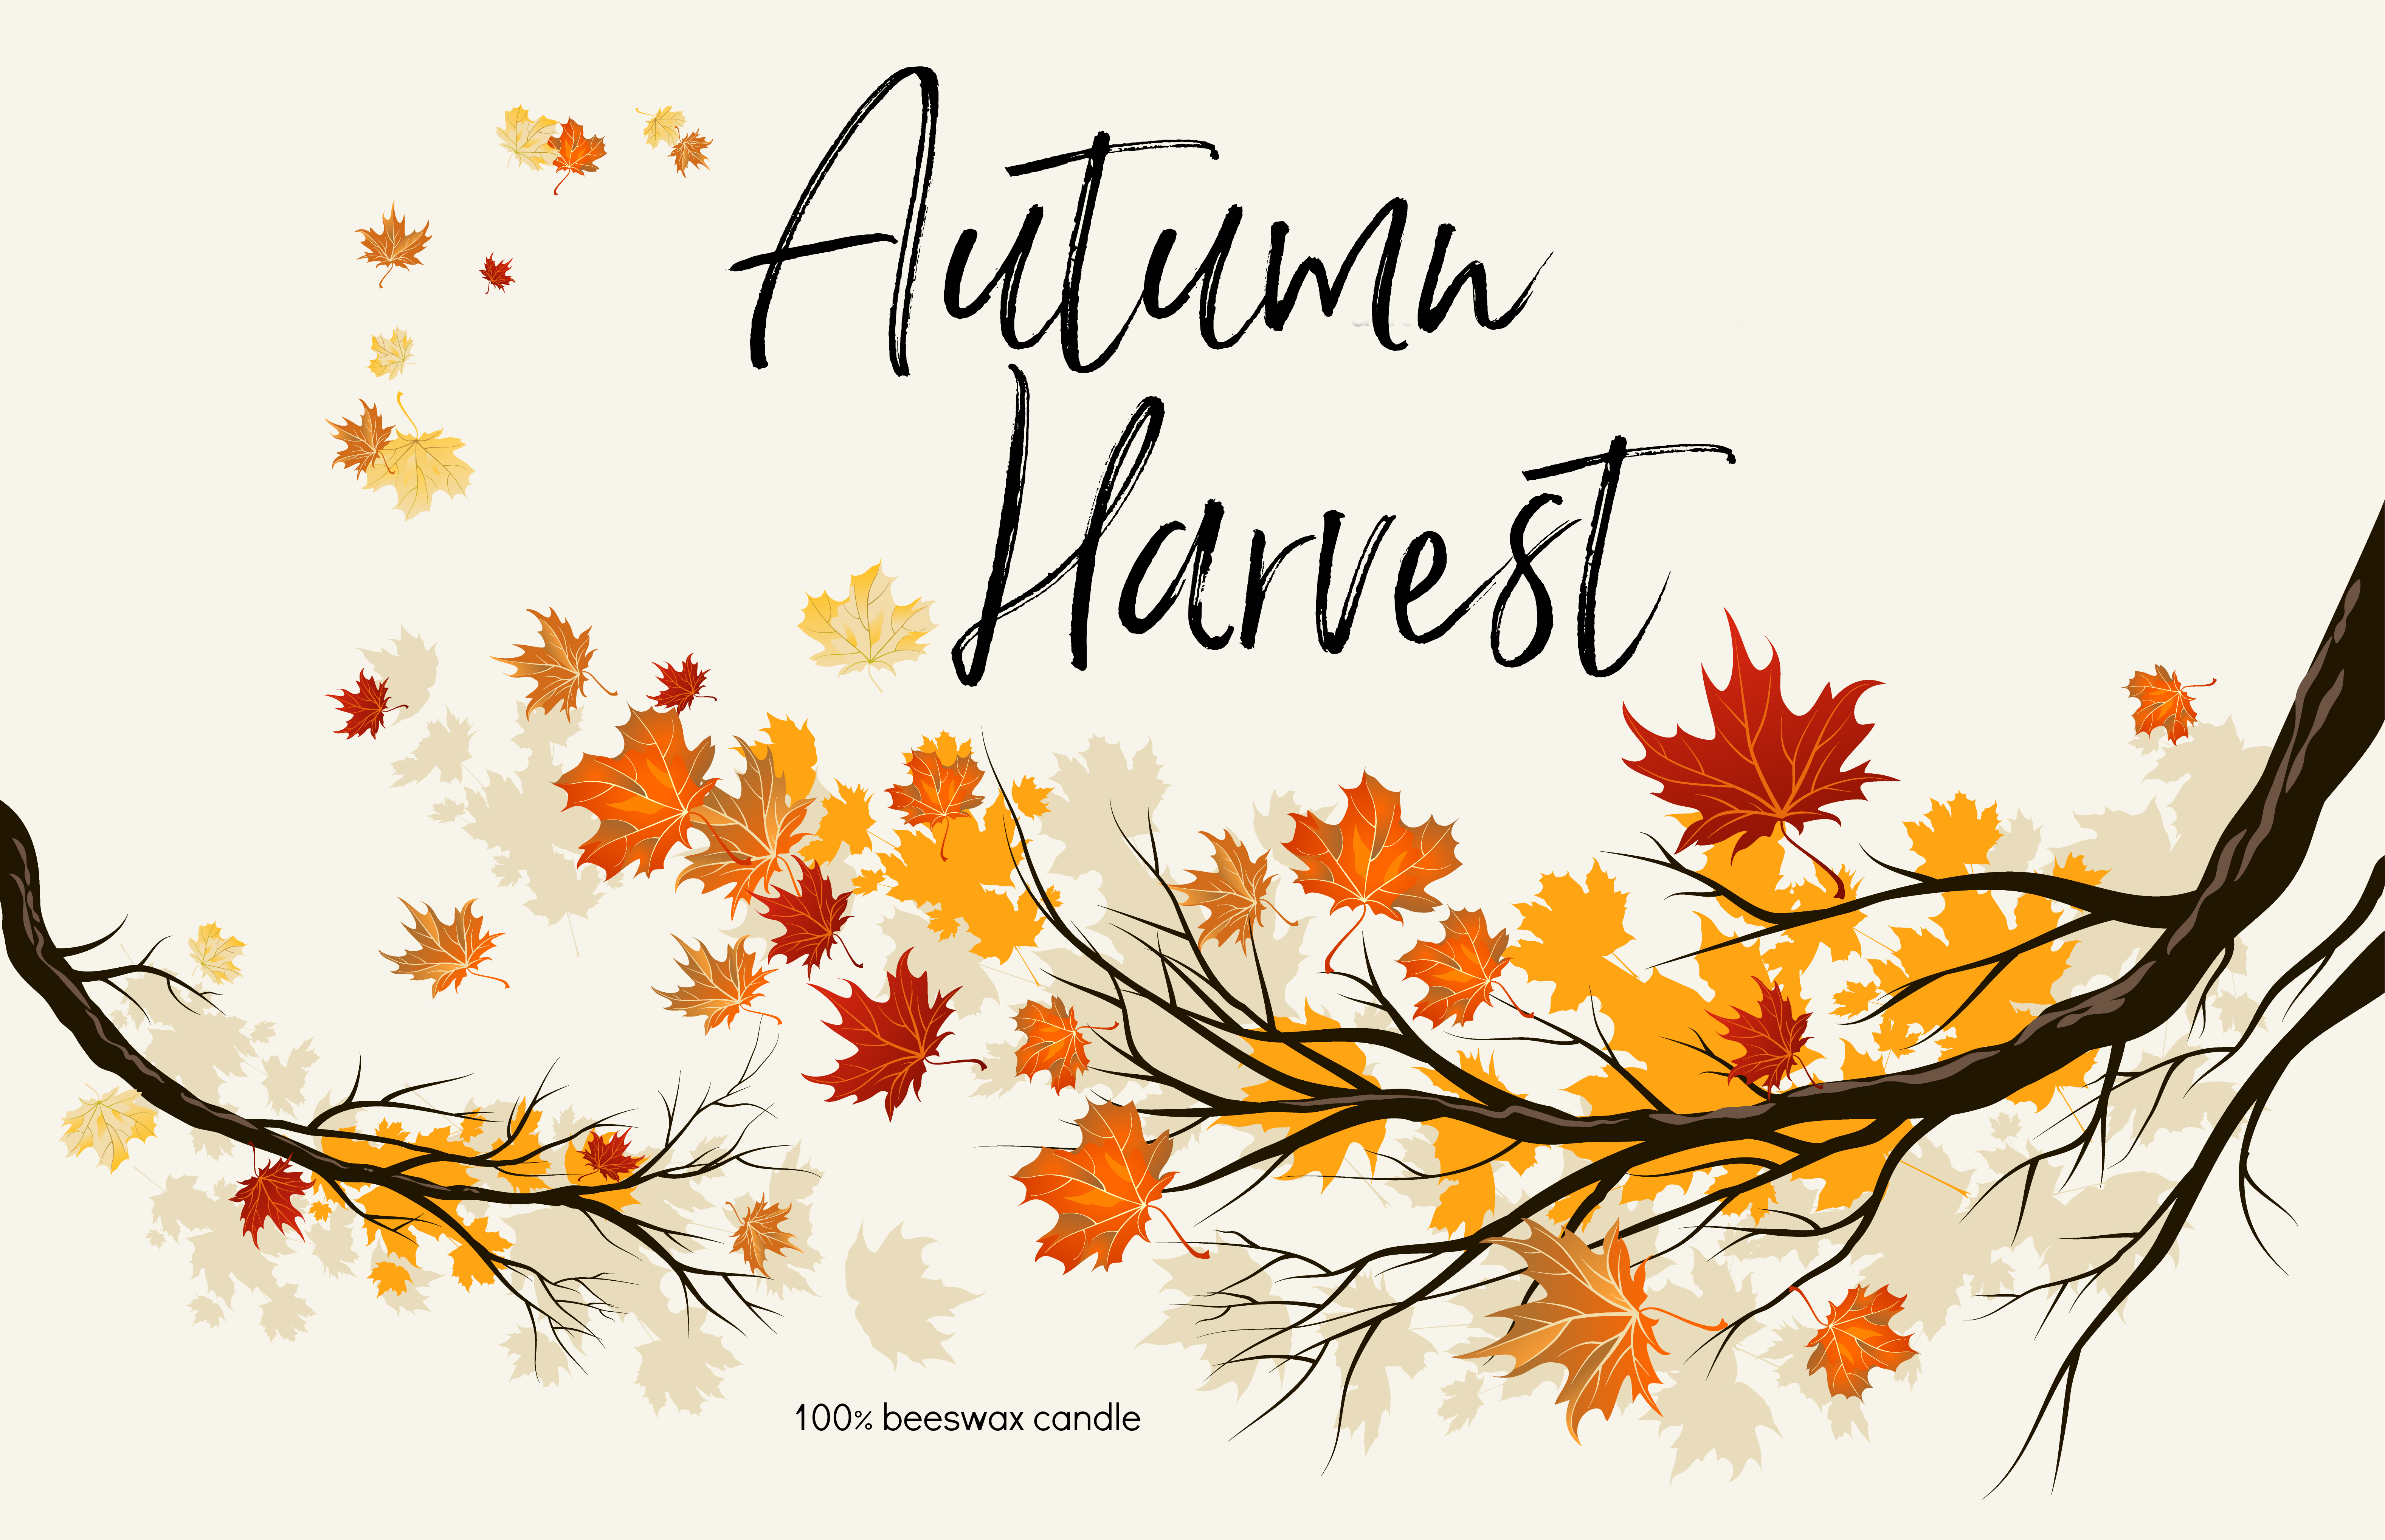
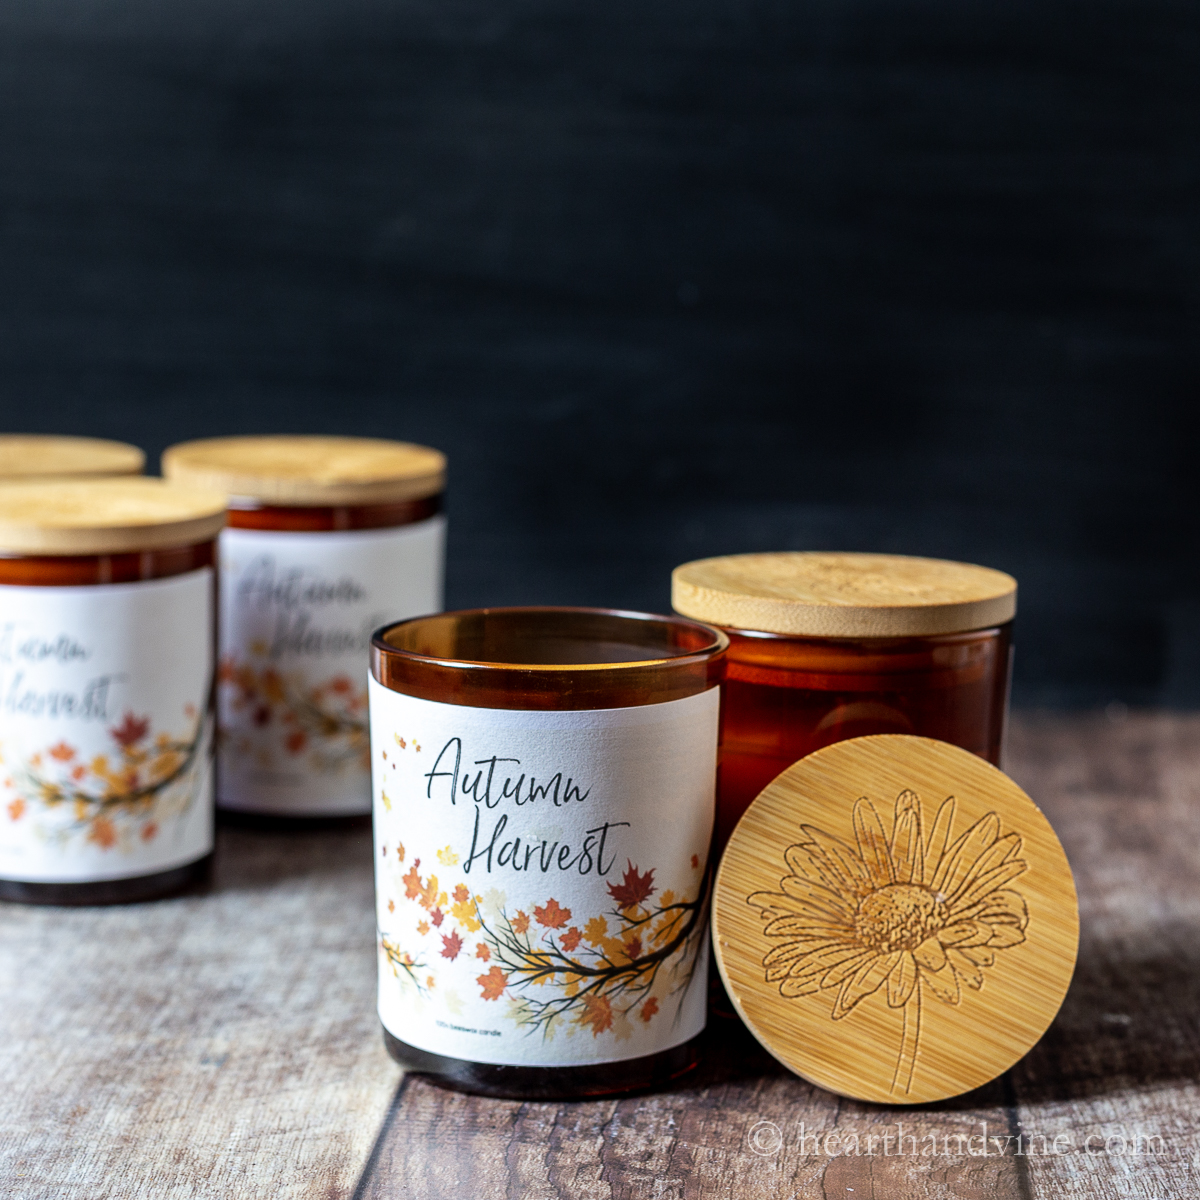
Feel free to print out this label to use on your own jars.
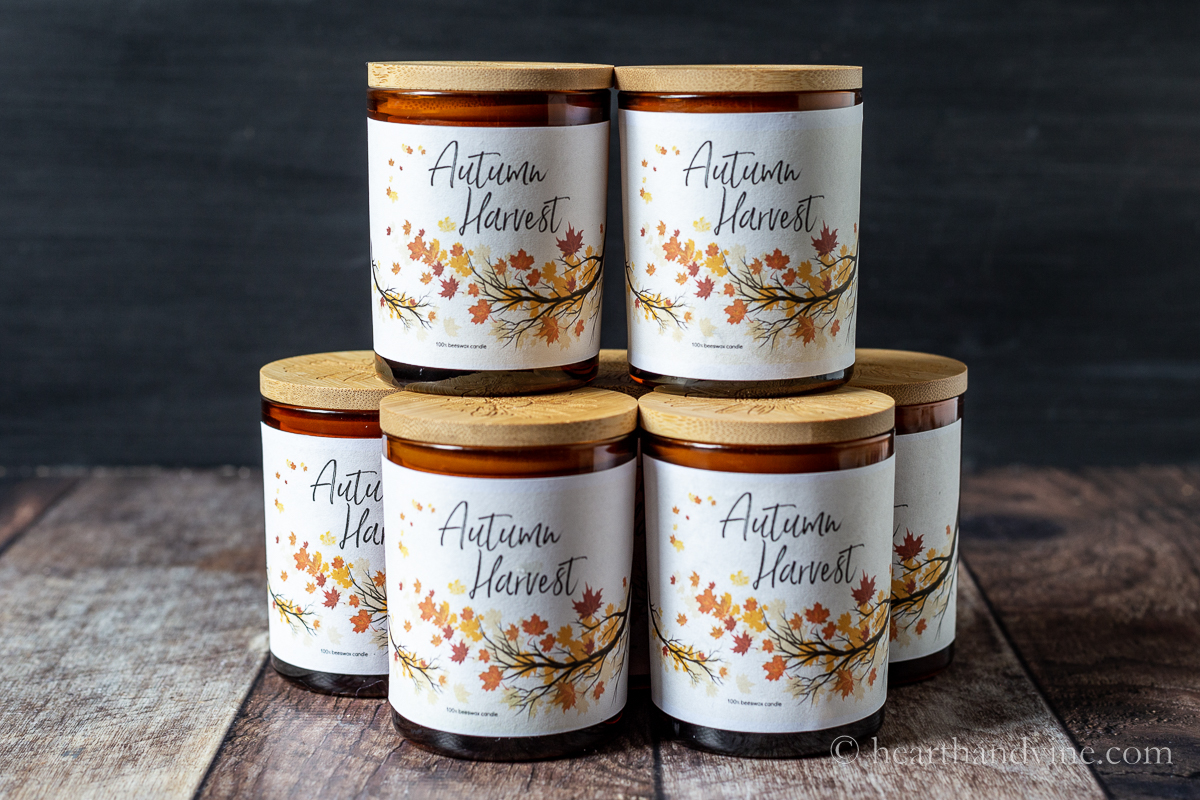
Autumn harvest beeswax candles with the scent of apples and spices to warm your home this fall.

Making Beeswax Candles
Equipment
- Large old pot
- Wooden skewer or plastic knife
- Hot glue gun and glue sticks
- Color printer
- Scissors
- White glue
- Straws or clothespins or metal wick holders
Materials
- Candle jars 7 oz - holds 6 oz wax
- Cotton wicks with a base
- Beeswax Pellets 3 pounds
- Fragrance Oil 6 ounces
Instructions
- Attach the wicks to the bottom of the jars with a dot of hot glue or a glue candle sticker.
- Melt the beeswax over medium heat in a candle pitcher and set in about an inch of water in the old large pot creating a double boiler
- Once melted remove from heat and let cool slightly before adding the fragrance oil.
- Stir the oil and begin pouring the wax into the containers.
- After a few minutes add a wick holder, straw, or clothespin to the top to hold the wick in the center.
- Once the wax has hardened trim it to 1/4 inch.
Carole West
This is so great - I'm going to start with raising bees on our property. So now you have given me a great product to create and sell at the local farmers market. Maybe I'll just come up with a pop-up trailer. Anyways love this project everything you posted this week was amazing. Keep it coming!