
Create beautiful and strong painted rock magnets for your refrigerator or command center. Perfect for all your pictures and important dates.
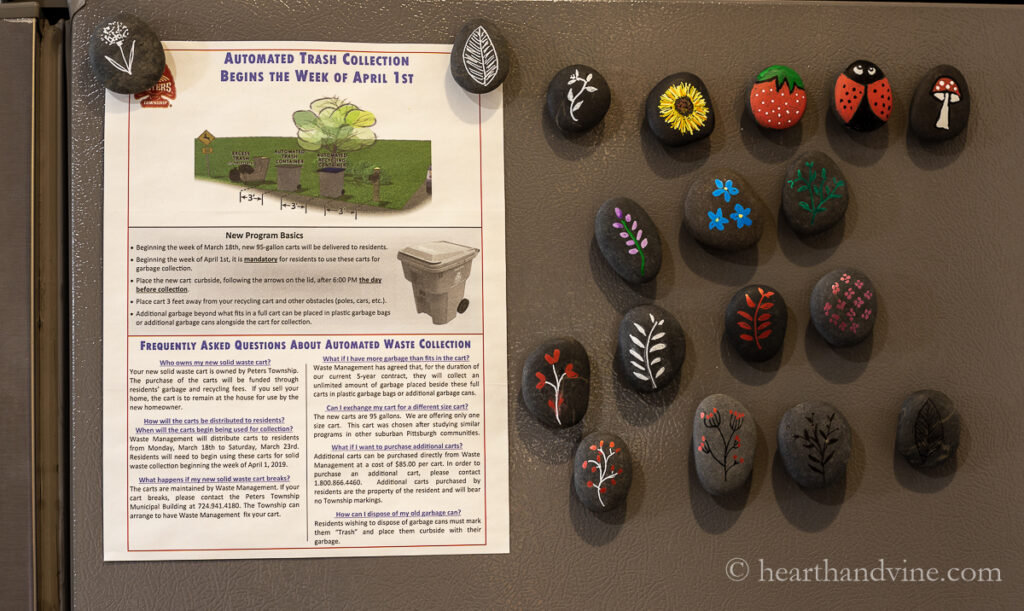
If you are like us there are a bunch of free advertising type crappy fridge magnets in the kitchen. Most don't hold much of anything. So I wanted to make some that would work well and look nice. I decided to try flat rocks that I could paint and glue magnets to the back.
This post contains some affiliate links (that means if you make a purchase after clicking a link, there’s no additional cost to you, but I will earn a very small commission. ) i.e. as an Amazon Associate, I earn from qualifying purchases. Click here to read my full disclosure policy.
Making Painted Rock Magnets
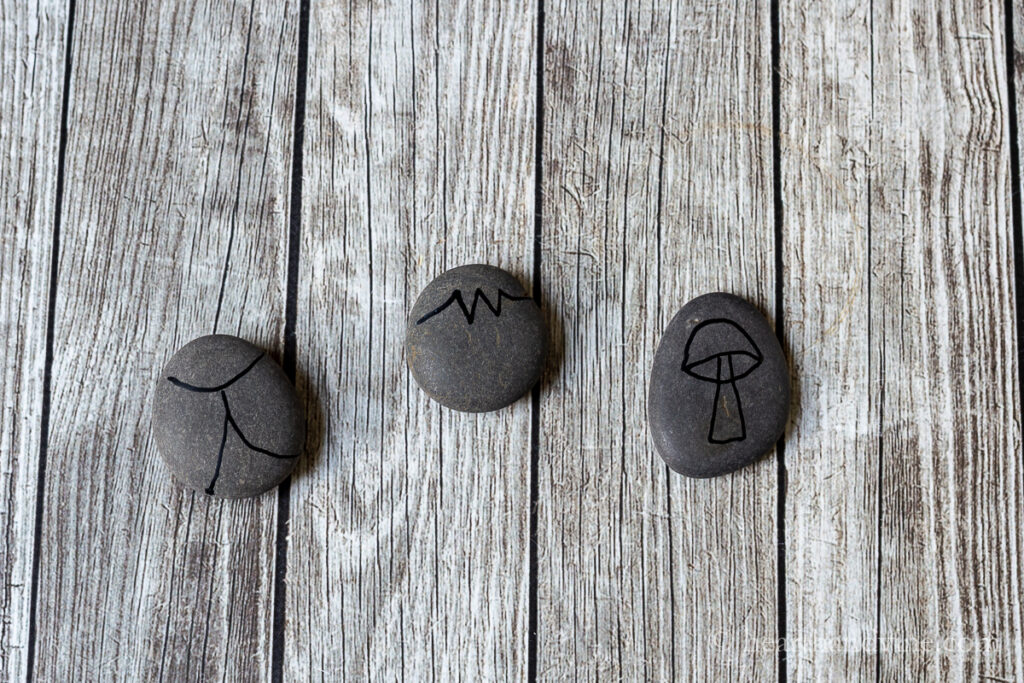
I'm reminded of the lazy, hazy days of summer when as a kid my friends and I would paint rocks for something to do. There were three main graphics we all went to. Ladybugs, strawberries, and toadstools. You can see from the image above that the outlines are very easy and basic.
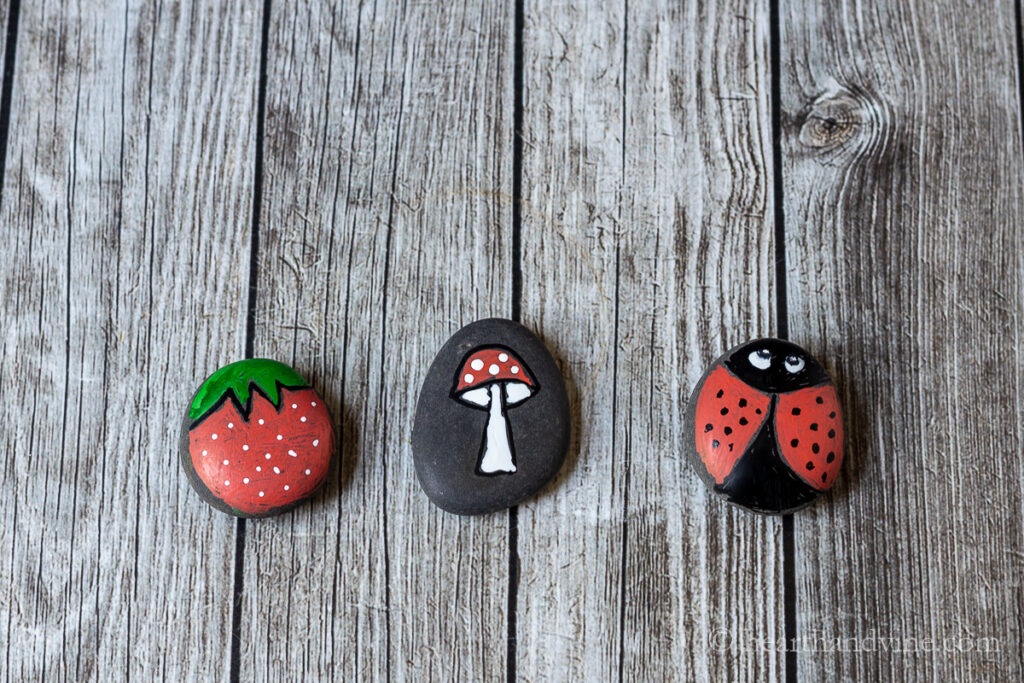
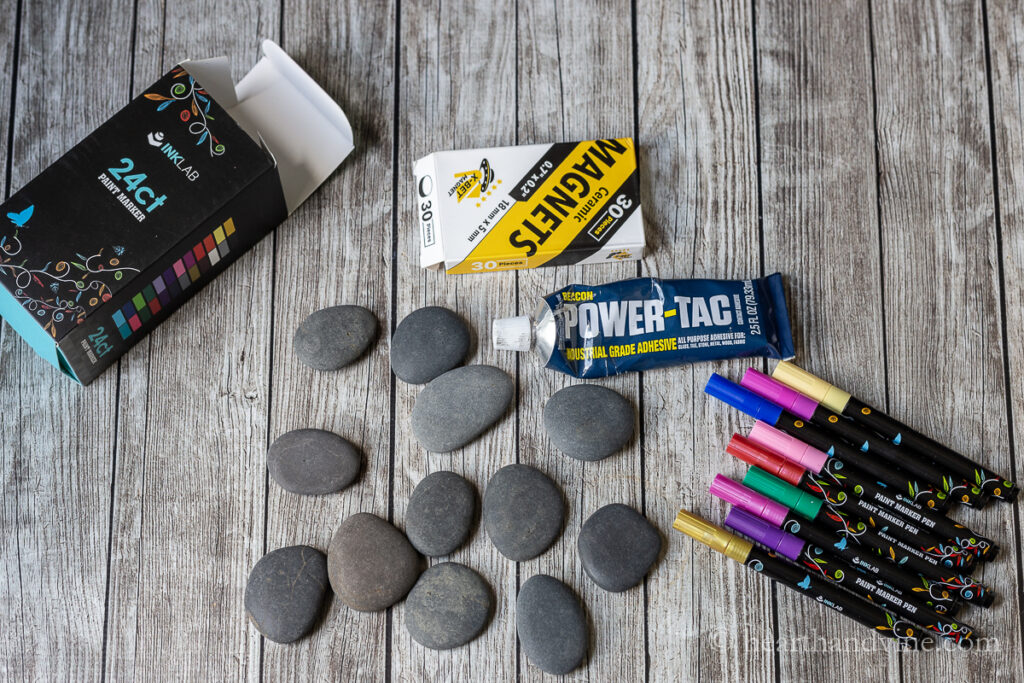
I think we used stones that were part of our parents landscaping back in the day. However, you can easily order some online or find them at craft stores. We also used craft or tempera paints and a paint brush. However, I really enjoyed using paint pens this time around.
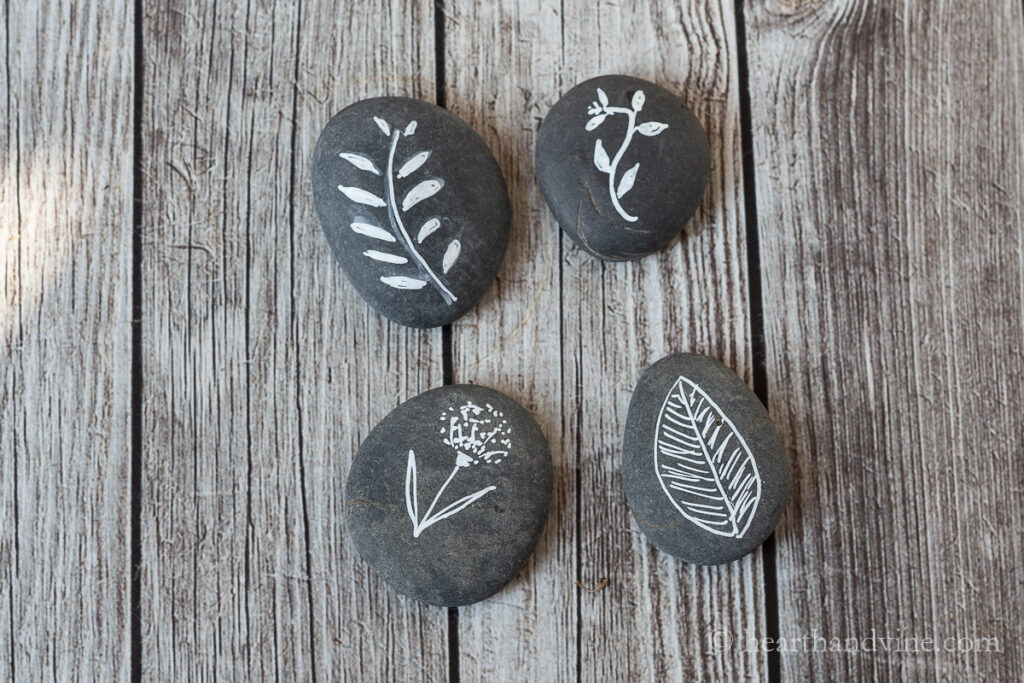
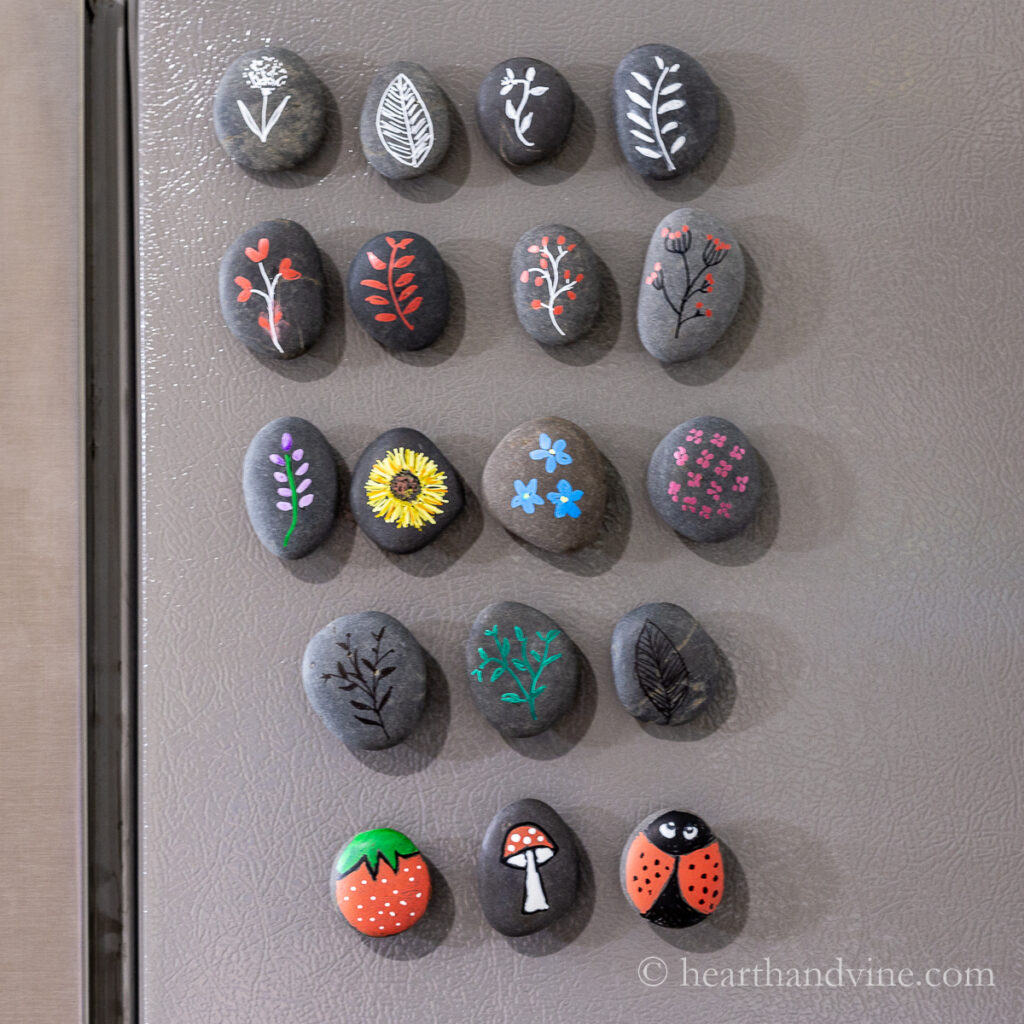
For something a little more sophisticated I tried limiting myself to just one or a few colors.
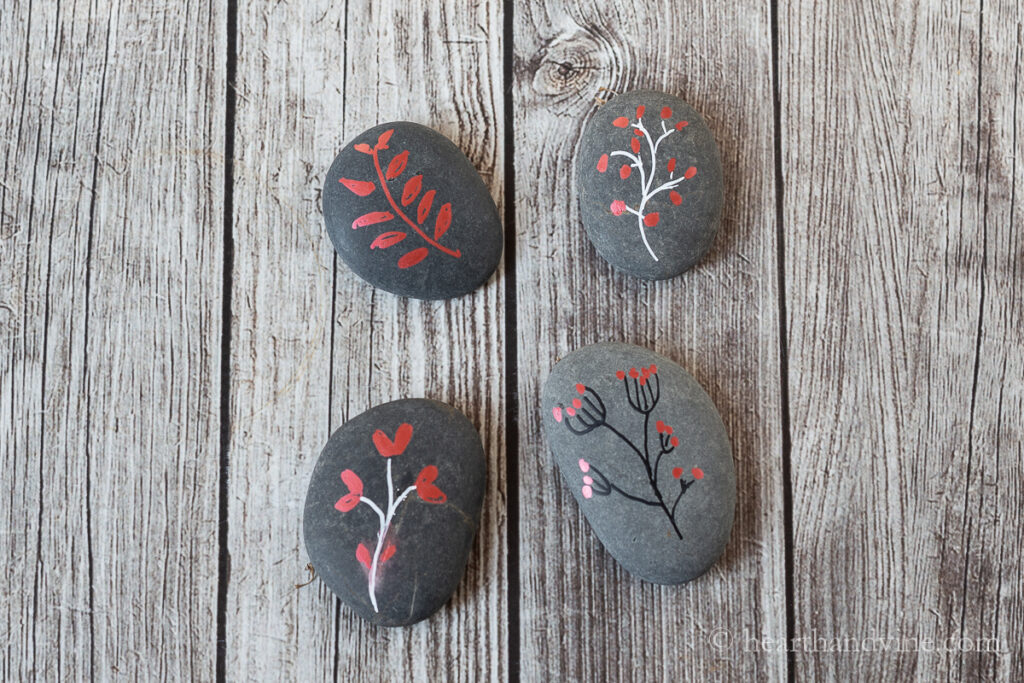
Free-hand botanical graphics was pretty doable although I know many of you have an even better hand than I. Still, I thought they looked pretty good.
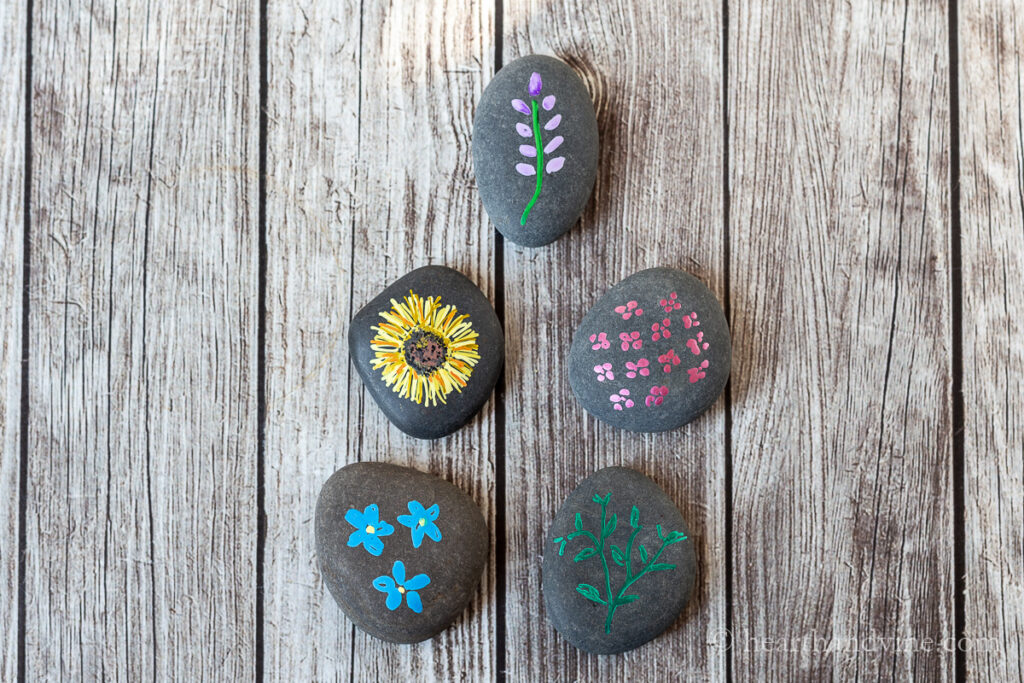
And lastly, I had to use a little color and make some flowers.
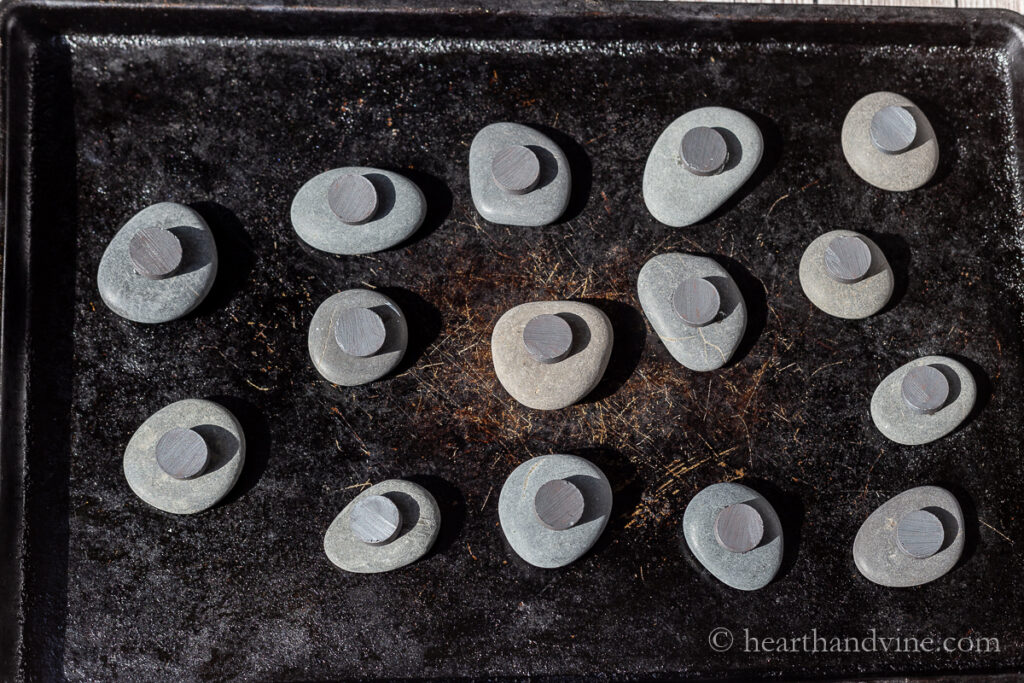
A heavy duty glue and large magnets go on the back of the rocks and then they are left to dry.
It was a lot of fun just like it was many years ago. I'm pretty happy with the way they turned out. They are somewhat large but most of our magnets were even bigger so this is a nice improvement and more of a decoration than an afterthought.

More Painting Crafts


DIY Painted Rock Magnets
Equipment
Materials
- Flat rocks
- Paint pens
- Becan Power-tac or other strong adhesive
- Magnets
Instructions
- Wash and dry the rocks.
- Then paint them with any design you like.
- Turn all the rocks over and squeeze out a little bit of adhesive in the middle.
- Gently press a magnet onto the glue.
- Allow the glue to dry for at least 20 minutes and cure overnight.
iris torres
these re great the rock magnet is beauiful thank you for making these good stuff patti.
Patti Estep
Glad you like it Iris.
Carole West
Love this Patti - I made painted rocks for my aunt when I was a little girl. She used them to keep outdoor table clothes from flying in the wind. When she passed, one of my cousins sent me an image of a few she found in the mix of everything. Love your creations especially the white on gray. Robert is sitting here show me our house plan and I'm looking at my studio. Dreaming and now adding your rock project to the list of things I want to make. Enjoy a beautiful weekend. Happy 4th of July.
Carole
Patti Estep
Carole, I'm not surprised at all that you painted rocks as a child. And, I know that your creations today will outshine mine. A great project for your new studio.