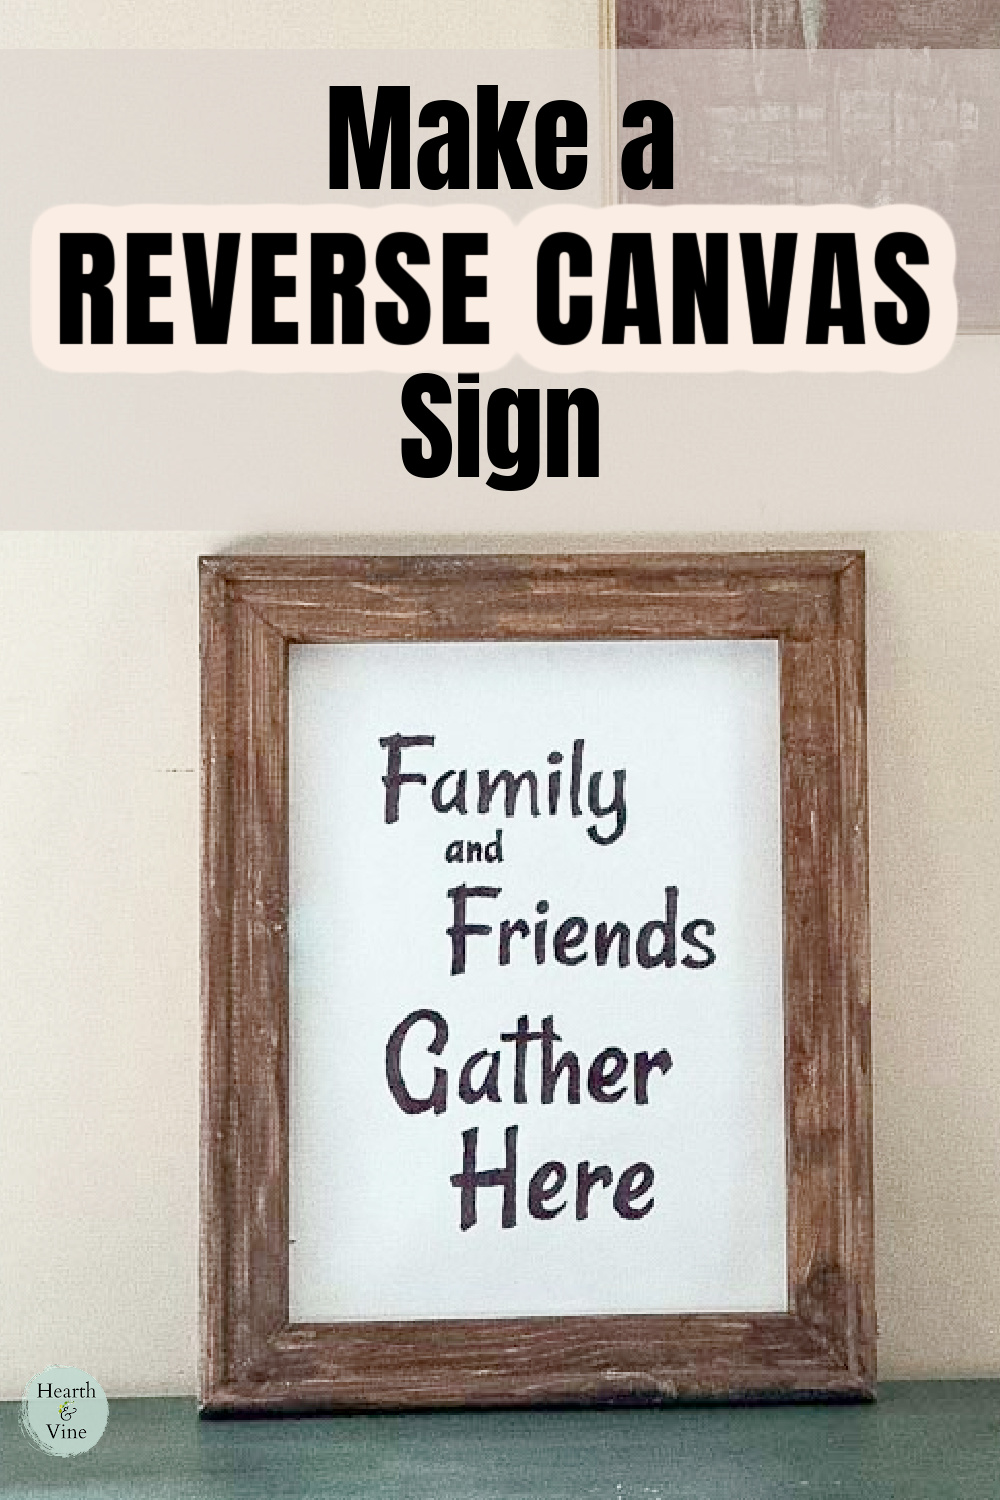
This easy tutorial will show you how to make a fun friends and family reverse canvas sign without using a cutting machine such as Cricut or Silhouette.

I love trying new things. I heard about this idea of a Reverse Canvas and knew I wanted to try it. All you do is remove the canvas from the frame of a painter's canvas and use the material to create a sign or piece of artwork.
This post contains some affiliate links (that means if you make a purchase after clicking a link, there’s no additional cost to you, but I will earn a very small commission. ) i.e. as an Amazon Associate, I earn from qualifying purchases. Click here to read my full disclosure policy.

How to Make a Reverse Canvas Sign
- Pick up an artist's canvas from the craft store in whatever size you like. I got the one above from Hobby Lobby on sale. They are often inexpensive and on sale but I've also noticed them at Goodwill for even less money.
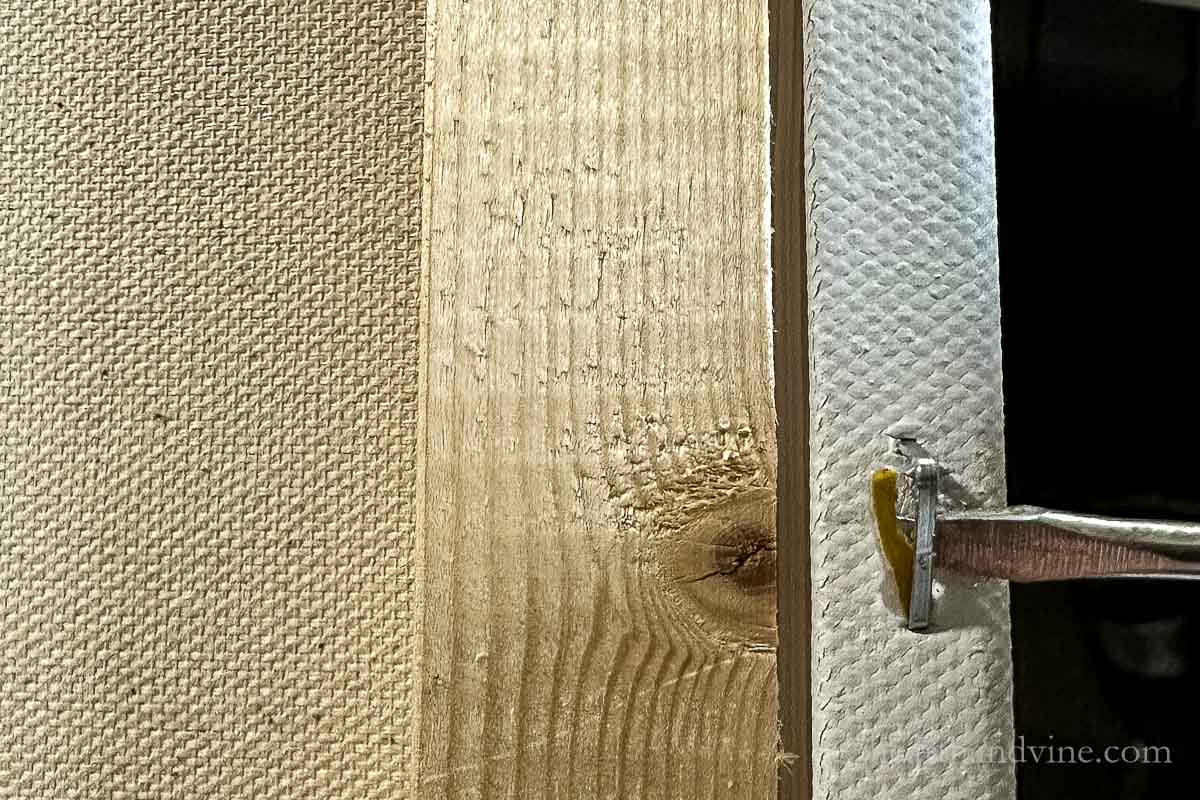
2. Use a small screwdriver to lift and remove the staples on the back. I also found using needle nose pliers helped to remove tough staples.
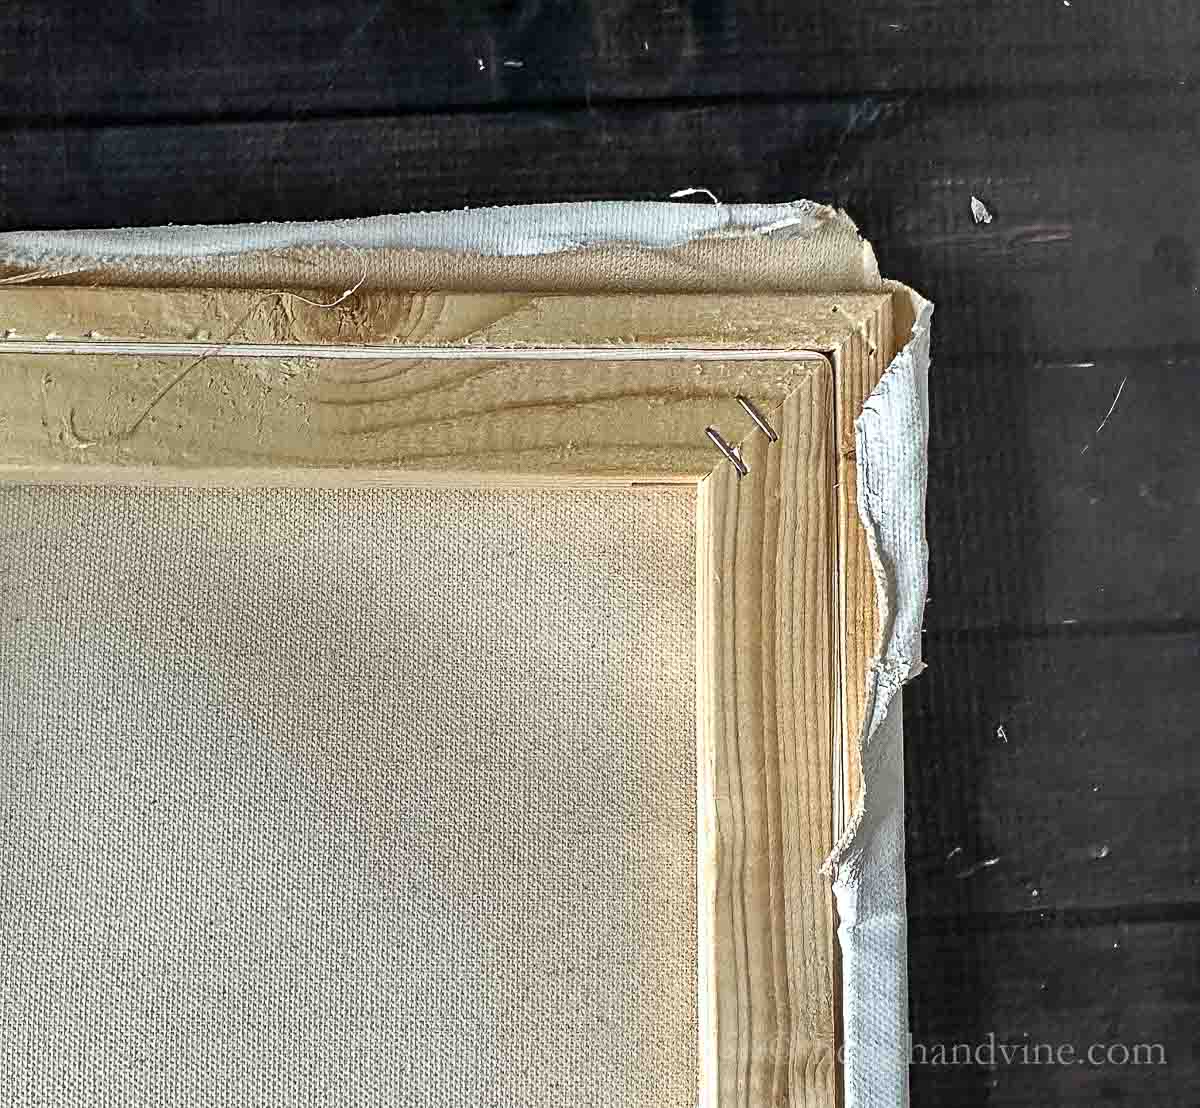
3. Then pull the entire canvas off the frame and set it aside.
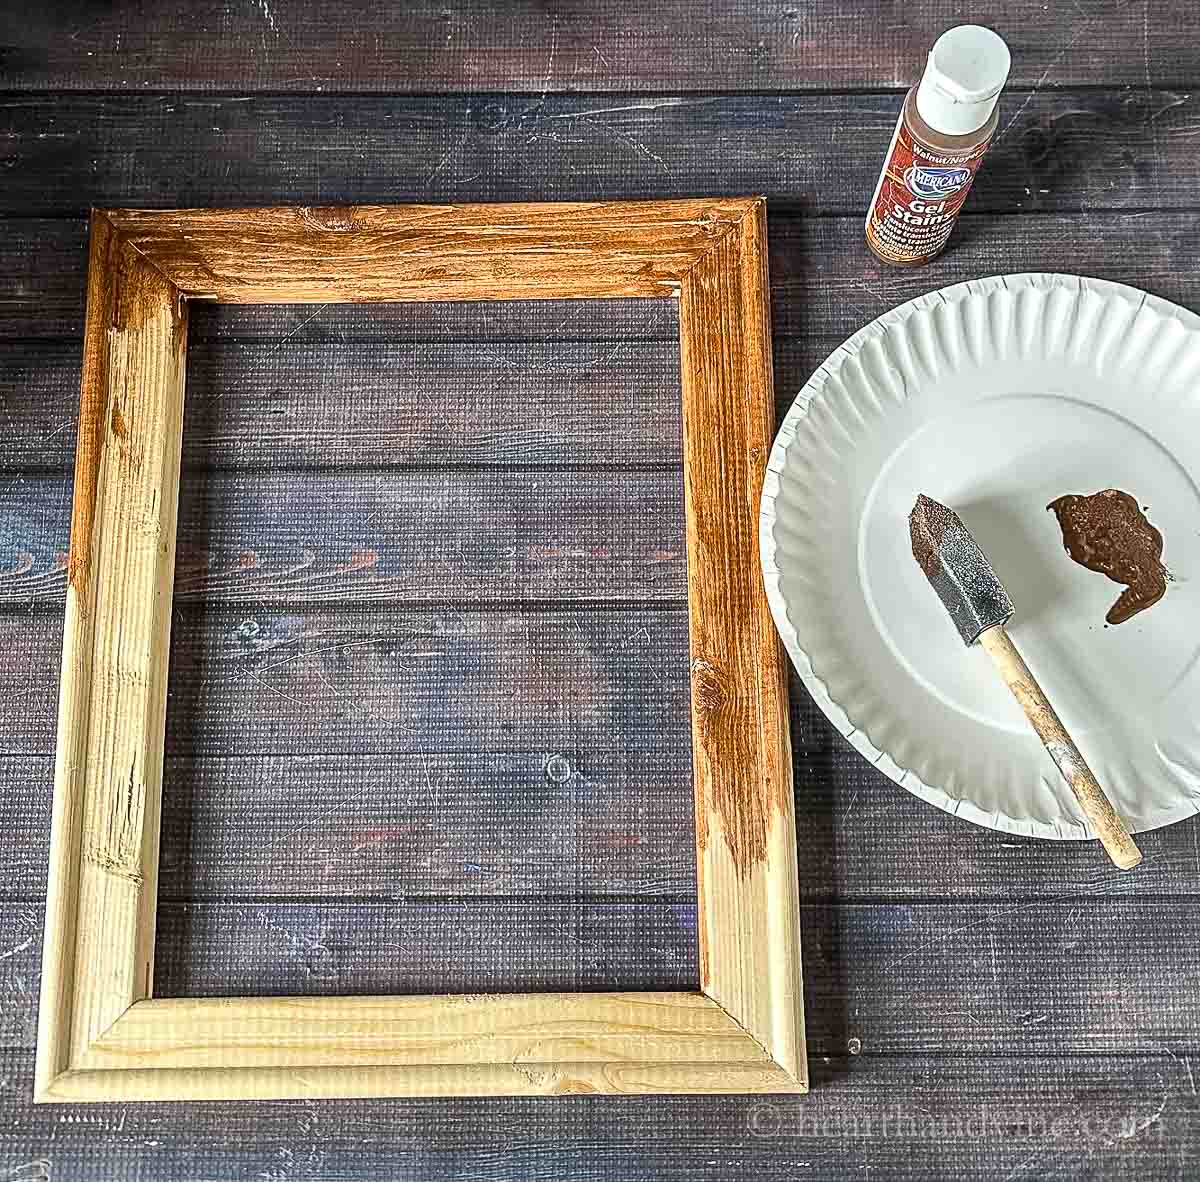
4. Next, decorate the frame with a stain or paint color you like. I used a walnut colored gel stain. It's not as messy as wood stain and it also doesn't have the strong fumes.
5. Print out a fun saying on regular 8.5 x 11 paper with your computer. Feel free to use mine (above) or create your own in a Word document or other graphic software.

6. Once you print out the sign set it under the frame to see how it will fit and adjust accordingly.
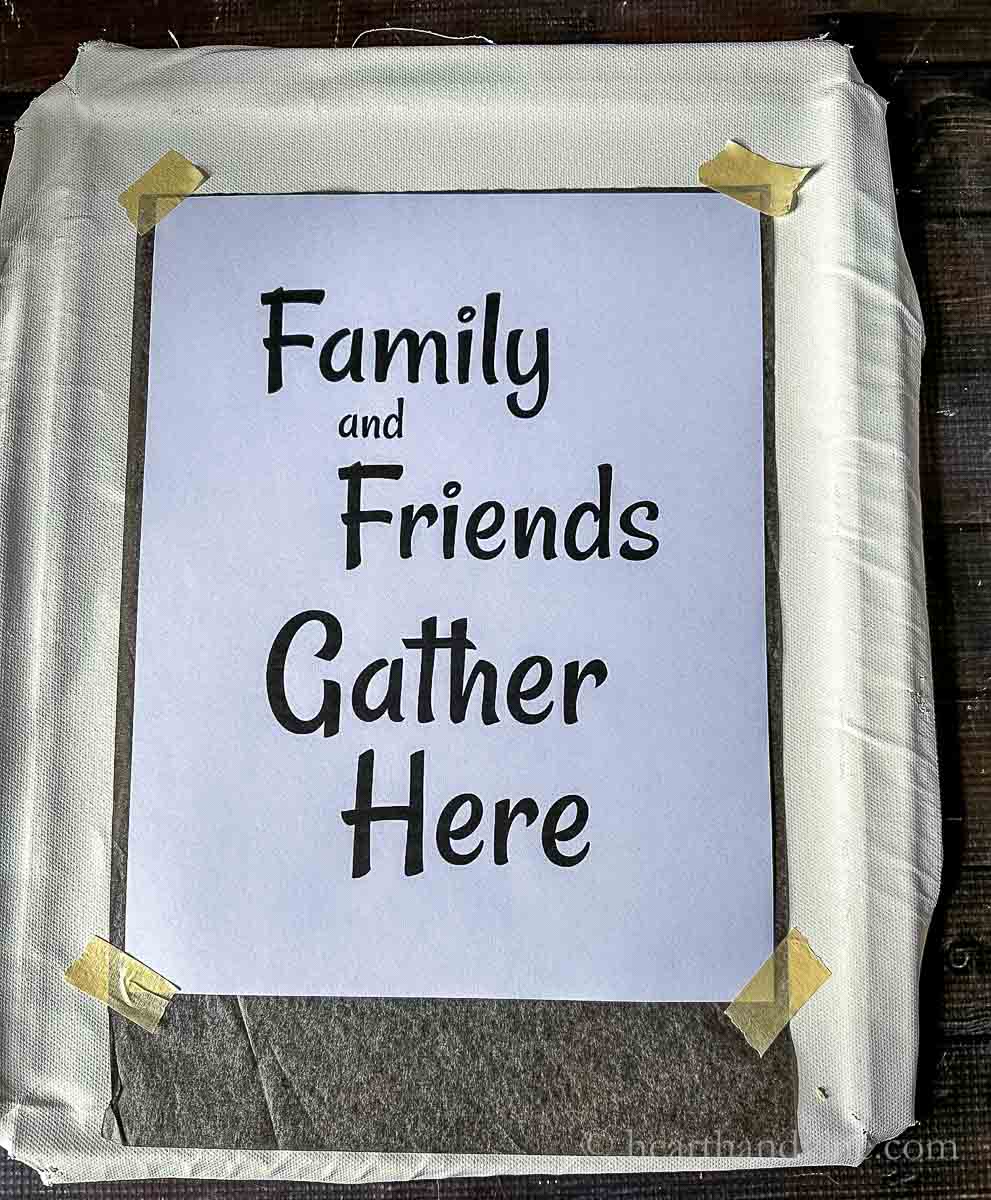
7. Next place a piece of tracing paper on top of the right side of the canvas. Then tape down your printed sign at the corners with masking tape.
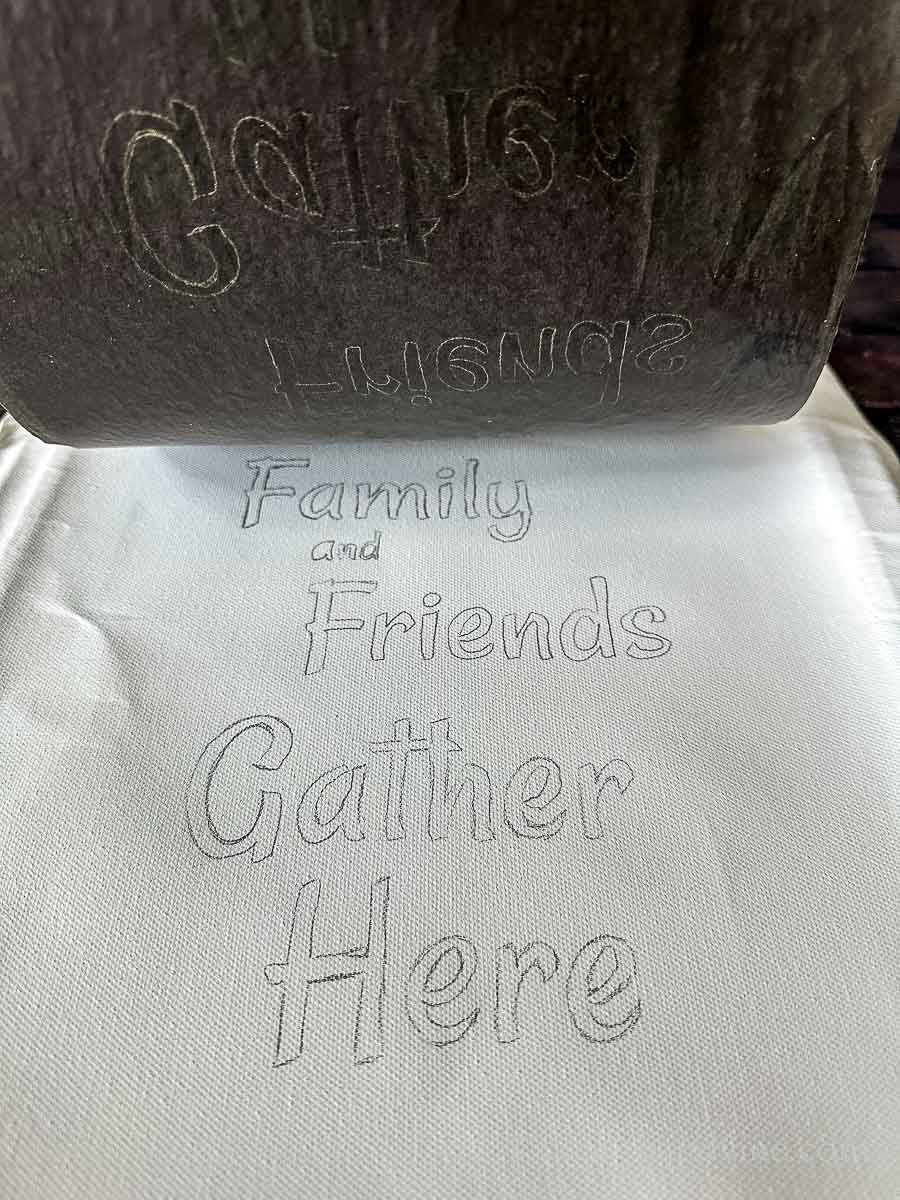
8. Use a pencil to trace the words. Then lift the bottom to take a peek and make sure you've got it all.
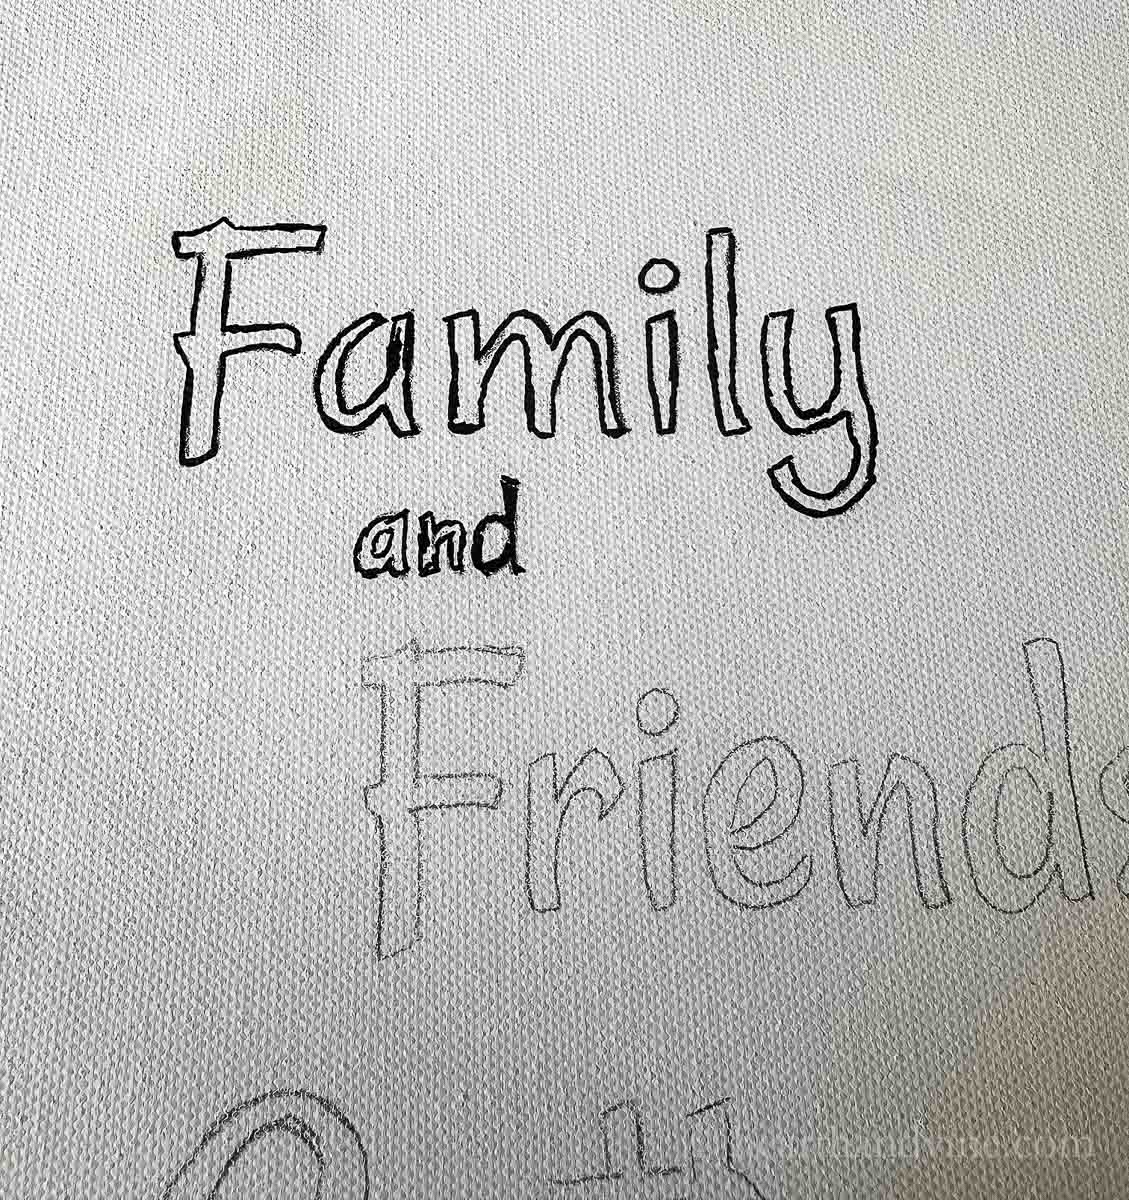
9. Then remove the tracing paper and printed sign and fill in the outlines with a black permanent marker. You could also use a paintbrush and black paint but I think the marker is easier to use.
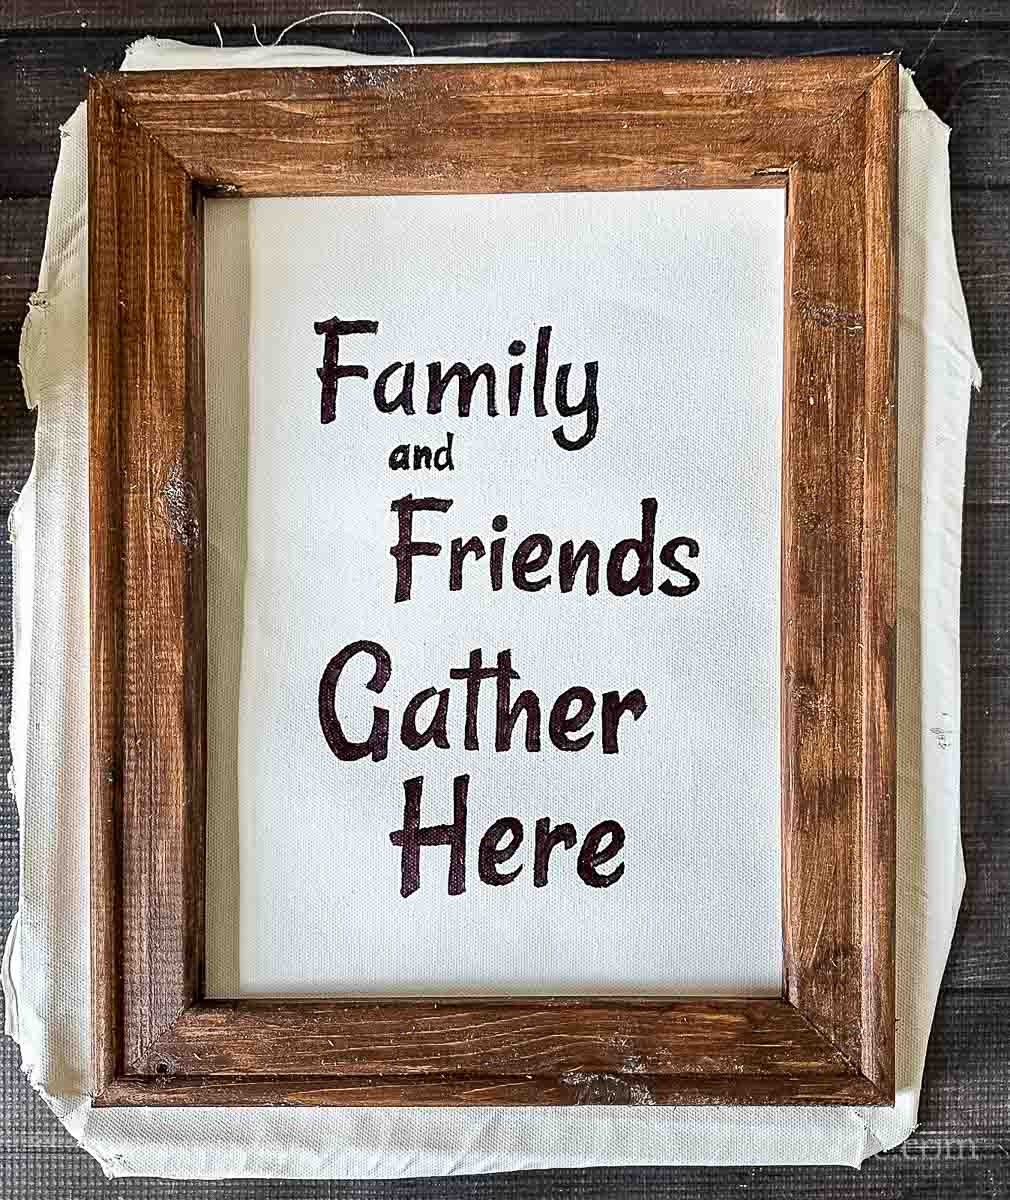
10. Place the frame on top of the canvas and trace around the edges with a pencil.
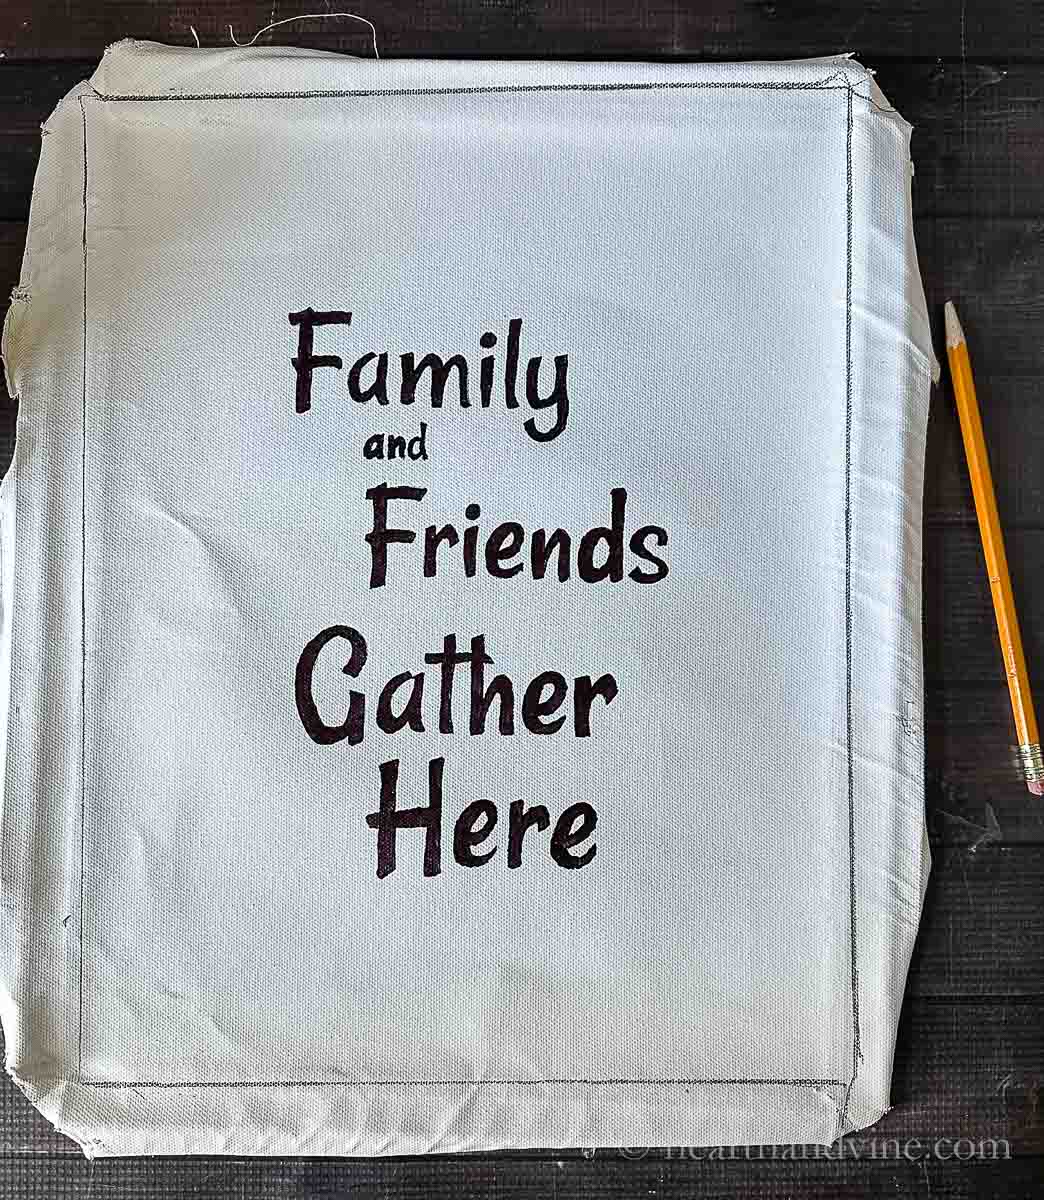
11. Then cut out the sign along the pencil lines.
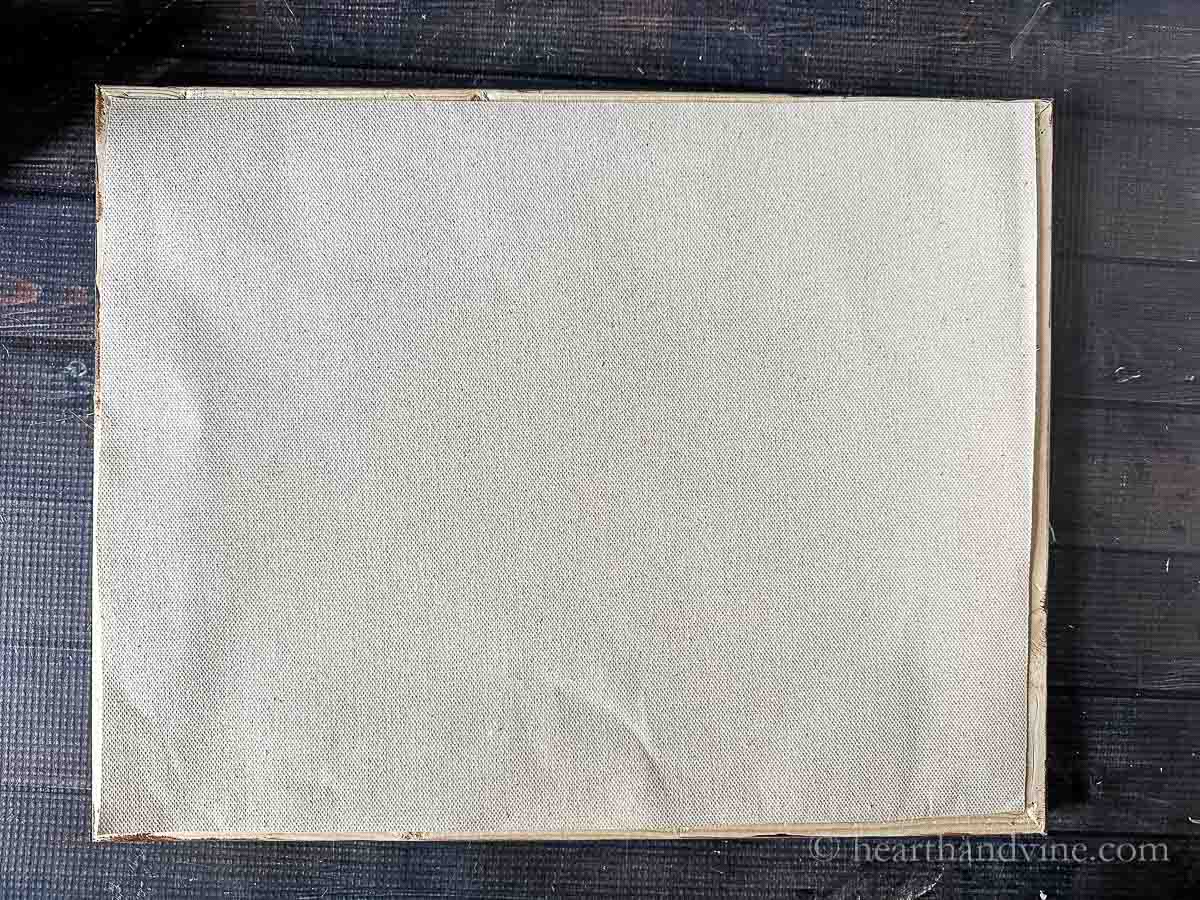
12. Turn over the frame and set your cut-out canvas face down on top.
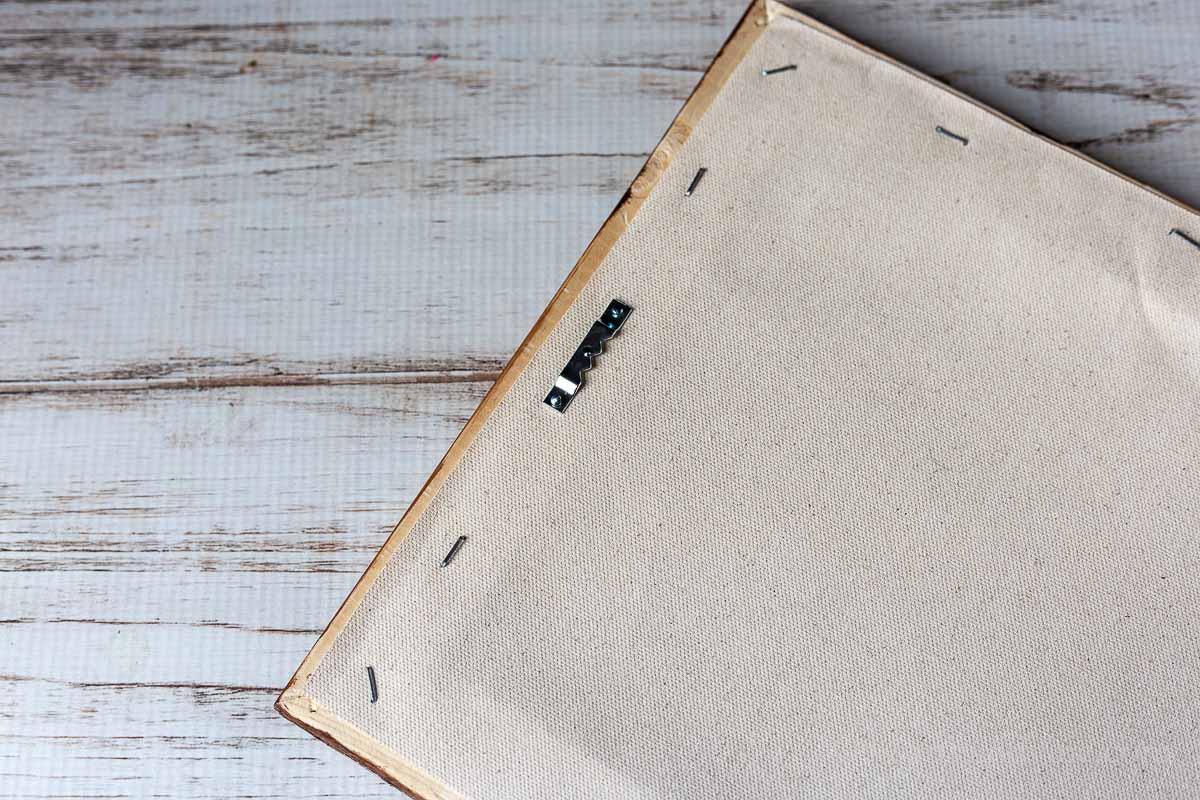
13. Use a staple gun or glue to adhere the sign to the back of the frame. You can also add a sawtooth hanger at the top if you want to hang the sign on a wall.
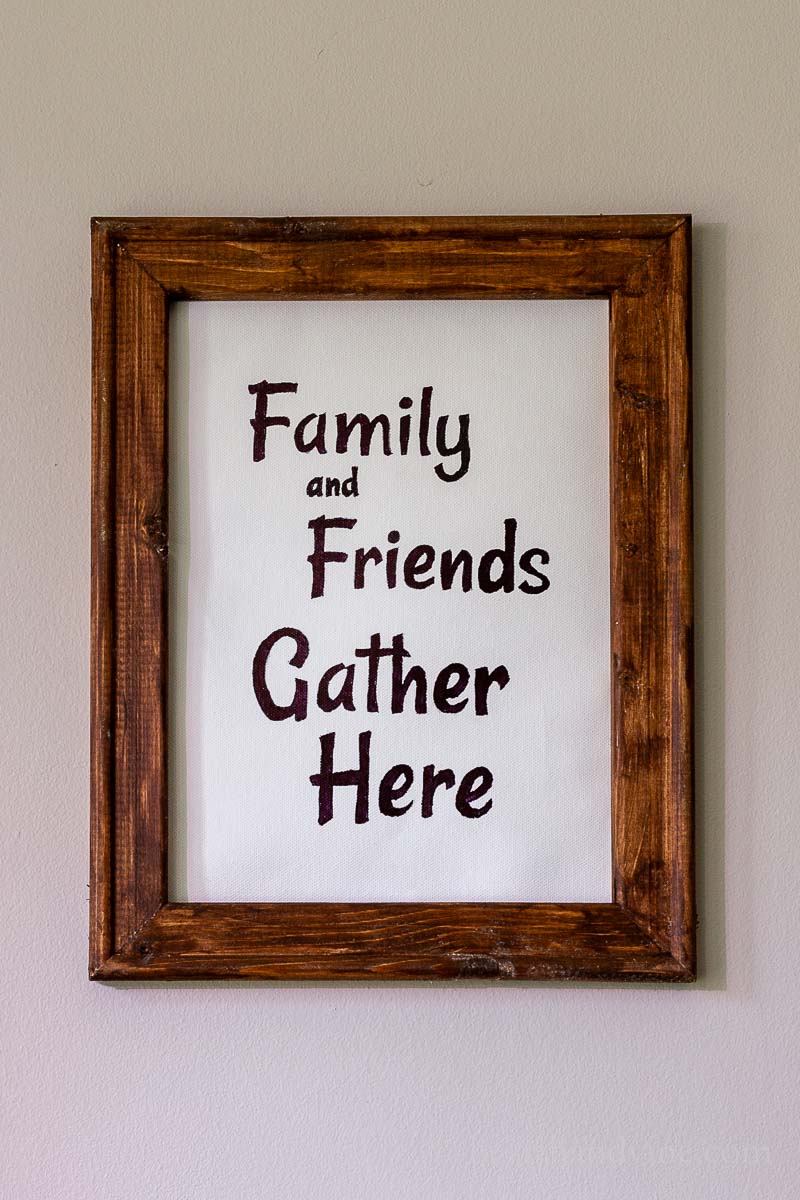
Stand back and enjoy your reverse canvas sign.
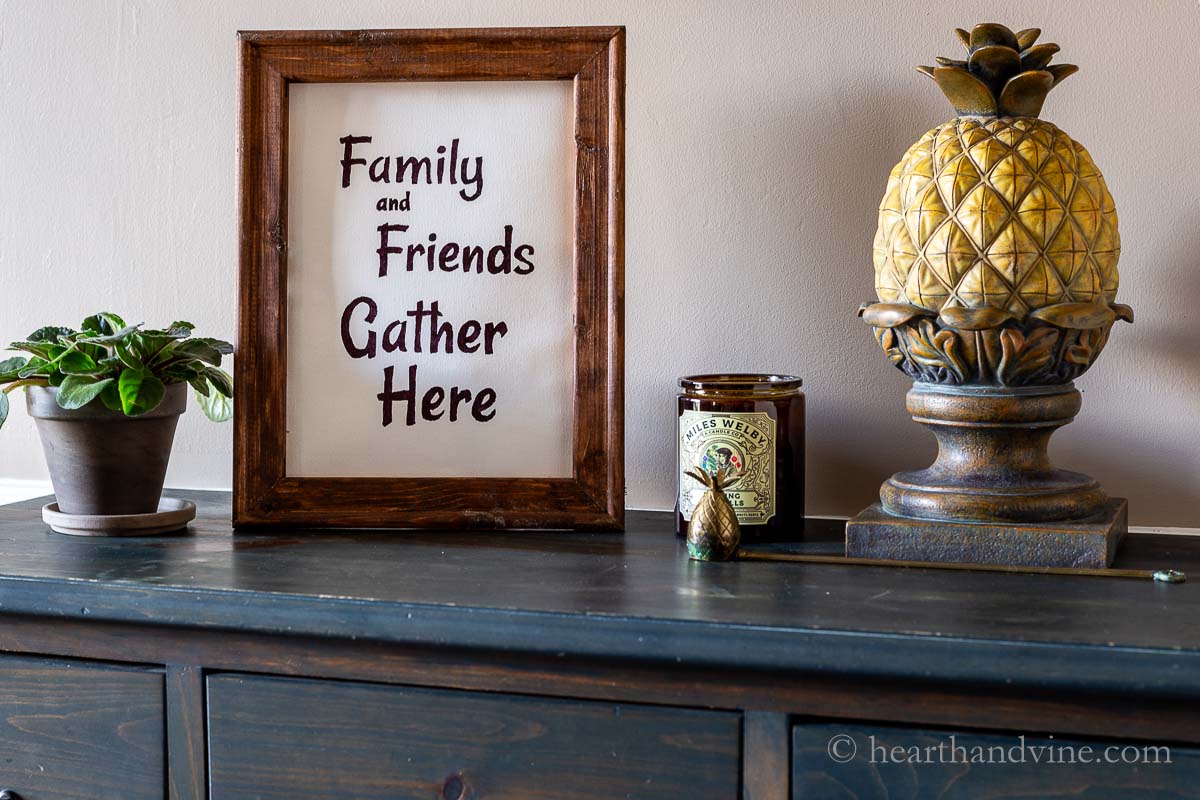
Though I did add a hanger I think I have decided to set mine on this chest in our foyer.
Pretty cute, huh? Wouldn't this make a great custom gift?

More Easy Sign Ideas
Reverse Canvas Sign Tutorial
Equipment
- small screwdriver
- Scissors
- Needle nose pliers
- Paintbrush
- Computer
- Printer
- pencil
- Staple Gun
- hammer
Materials
- 11 x 14 inch artist's canvas
- tracing paper
- masking tape
- black permanent marker
- sawtooth picture hanger
- gel stain
Instructions
- Use a small screwdriver and needle nose pliers to remove all the staples on the back of the canvas.
- Pull out the canvas and set aside.
- Stain the wooden frame with gel stain, wood stain, or paint it.
- Print out the family and friends saying above or your own graphic on 8.5 x 11 paper.
- Place a piece of tracing paper on top of the canvas.
- Center your printed sign on top of the tracing paper and secure it at the corners with masking tape.
- Trace over the letters with a pencil.
- Lift one end to see if all areas are properly traced.
- Remove both papers and fill in the traced letters with a black permanent marker.
- Set the frame over the word sign and trace around the outside with a pencil.
- Remove the frame and trim the excess canvas.
- Place the cut out canvas on the back of the frame and staple the sides, top, and bottom of the frame.
- Nail a sawtooth hanger in the center top position.
- Hang or lean your new sign wherever you like.


Leave a Reply