
This easy and inexpensive DIY tiered planter project makes a great statement and is perfect for all of your favorite flowers this season.

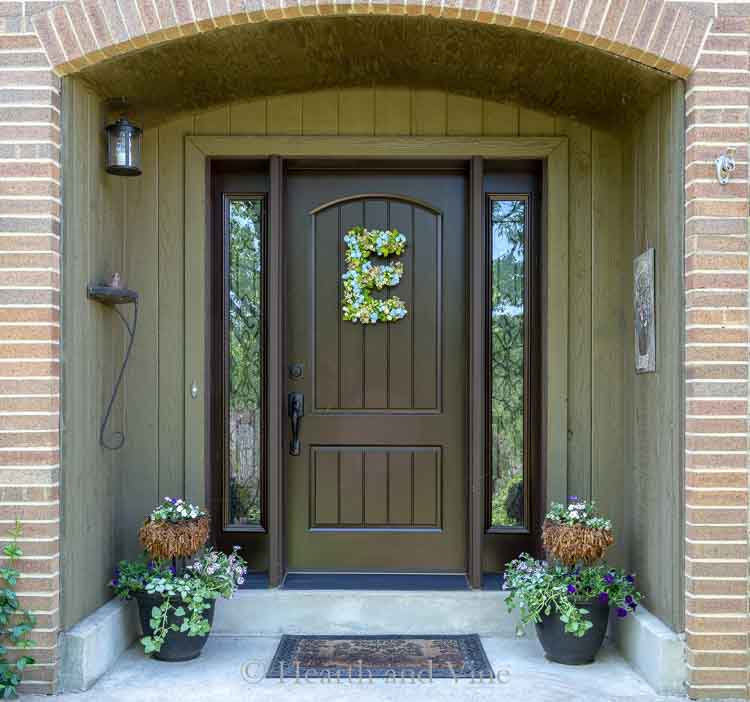
Now that we have a single front door I'm always looking for new ways to decorate it. Last year I made Flower Pot Trellis that flanked the door, but this year I'm trying a 2 tier planter approach.
Of course, they are super easy and affordable to make. That's the whole reason I like to make them. It's fun to get creative and keeping the cost down is a bonus.
This post contains some affiliate links (that means if you make a purchase after clicking a link, there’s no additional cost to you, but I will earn a very small commission. ) i.e. as an Amazon Associate, I earn from qualifying purchases. Click here to read my full disclosure policy.
Supplies for Tiered Flower Planters
- Base flower pot
- Dollar store 10-inch hanging basket
- Styrofoam cone

- Dowel rod
- Black spray paint
- Sphagnum moss
- Potting soil
- Flowers


Making Flower Tiered Planter
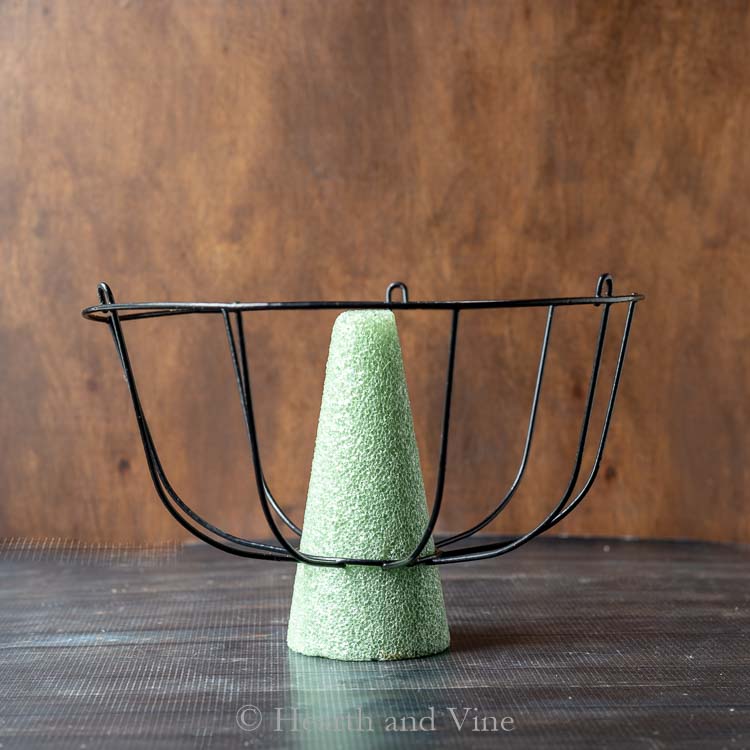
I re-used the dollar store hanging baskets from my Hanging Moss Globe Planter, from last season.
They have a large hole in the bottom that was perfect for inserting a Styrofoam cone. The cones were already in my stash of crafts but I'm pretty sure I've seen them in the dollar store too.
I cut down some of the foam to make plenty of room for the plants.
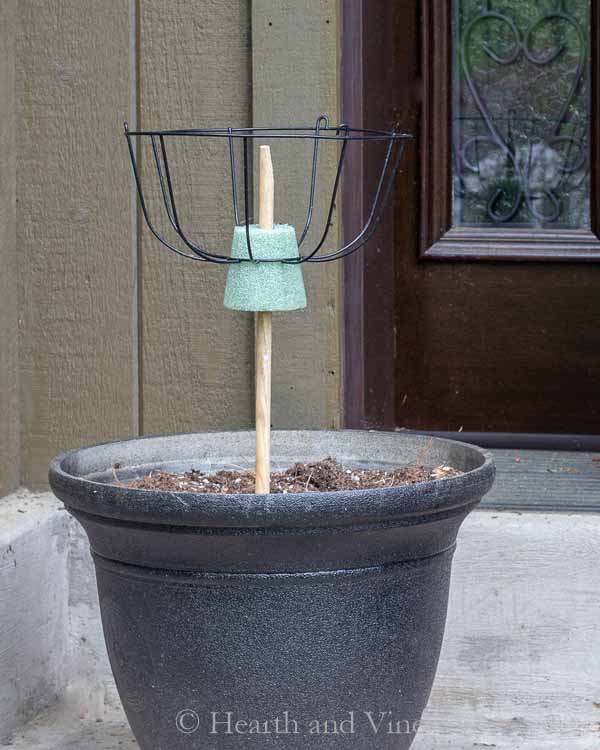
Next, I used the same dowel rods from the Pumpkin Topiary project in the fall and pushed them into last year's flower pots, and up through the foam cones.
Before inserting the dowel rod use a pencil or other similar shaped object to make a starter hole in the Styrofoam. Then add a little hot glue into the hole just before inserting the dowel rod.
Use some black spray paint on the dowel rod and the foam to help them blend in well with the other pieces.

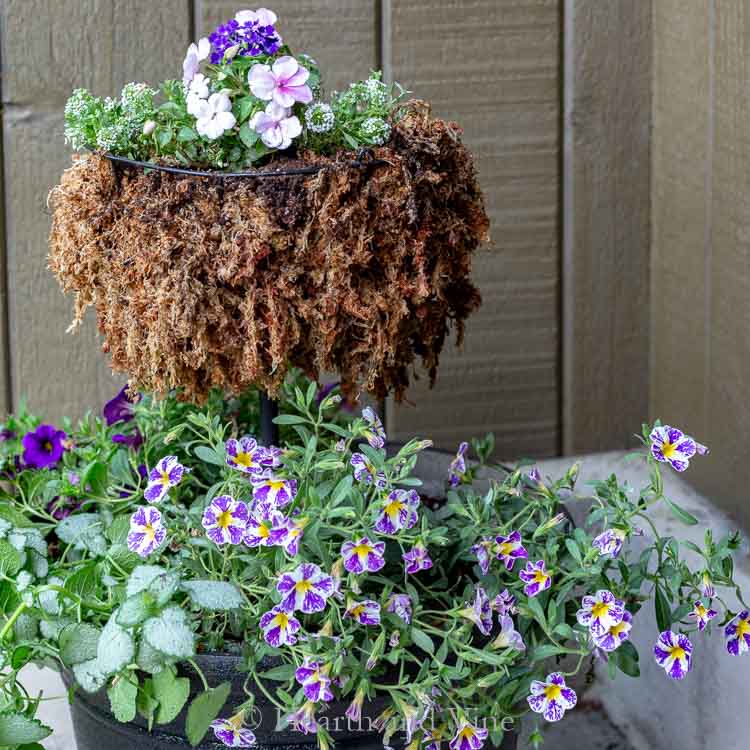
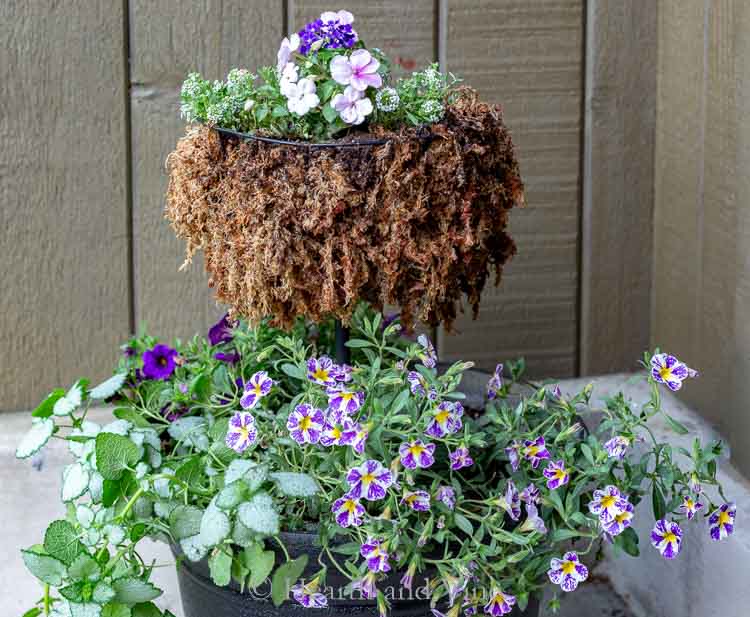
The basket is lined with sphagnum moss. I really like the cottage feel it brings to the planter. You could also use a simple coir liner. Just cut a hole in the bottom to fit over the dowel and foam.
Now all you need to do is add your flowers.
Flower Choices for a Tiered Planter
I chose plants that enjoy a mix of sun and shade because now that our maple tree is gone this porch gets a fair amount of sun, but it's still shady.
At the top in the center, I planted some verbena and impatiens for height.
I also chose plants that will spill out over the edges as the season progresses. White alyssum in the top. Two purple calibrachoas, and a pretty green and white lamium in the middle.
I love the way they look.
You could also try this with fresh herbs in a sunny spot on your patio. This would be especially convenient for those who have a small space to garden. Try tall plants like basil and parsley on the second tier at the top and trailing rosemary, oregano, and thyme on the bottom. Even strawberry plants would be fun and the close proximity to the house makes harvesting so much easier.
Creating a simple tiered planter for your front entrance is easy and I think adds a beautiful statement and great curb appeal.

More Flower Planter Ideas
Click Here to Save to Pinterest!


DIY Tiered Flower Planter
Equipment
- Hot glue gun and glue sticks
Materials
- Base flower pot
- Dollar store 10-inch hanging basket
- Styrofoam cone
- Dowel rod
- Black spray paint
- Sphagnum moss
- Potting soil
- Flowers
Instructions
- Fill your base planter with soil.
- Insert a styrofoam cone into the bottom of a dollar store hanging basket.
- Spray paint the dowel rod black.
- Push the dowel rod up through the styrofoam cone securing it with a little hot glue.
- Then push the other end into the soil, leaving 10 or so inches between the bottom of the basket and the top of the soil in the base pot.
- Line the basket with sphagnum moss that you have soaked with water.
- Add soil to the basket.
- Plant flowers in the basket and all around the dowel in the base planter.
Barbara Chapman
I love your two-tiered planter idea, Patti! I am waiting for some rock to come from a friend's home to put down in the new flower bed out back for drainage, then I'll be planting my roses (even though it's late in the season). After that, though, I'll have pots free for planting! It'd be fun to make up a couple planters like yours for summer. 🙂
Thank you for the wonderful tutorial on how to create them.
Hugs,
Barb 🙂
Patti Estep
Thanks Barbara. Your roses always look amazing.
Debbie
This is so awesome! Love it, pinned it for later!
Patti Estep
Thanks Debbie!
Janet
I love this idea Patti...may have to give it a try myself so will pin for later.
Patti Estep
Thanks Janet. You could make this any time of year where you live.
Nikki Gwin
I had no idea how easy this was! Thanks for sharing, I am off to the dollar store for supplies!
🙂 gwingal
Patti Estep
Thanks, Nikki. The dollar store has some great finds.
Sandy
Looks good! Have you used trailing vinca? New to me this year - blossoms are bigger than regular vinca. We’re selling pink - great to use at edge of pot!
Patti Estep
Sandy, I do have some variegated vinca growing on our back hill. It sometimes gets a pretty purple flower but not often. Still the foliage is pretty. I have used it in pots before and it grows well. Thanks for the reminder.
Meegan
I love this creative idea! I could definitely do this on my back porch. Thanks for always inspiring me with your fresh ideas, Patti.
Patti Estep
Thanks Meegan. I'm so glad you like it and I hope you get a chance to make one for yourself.
Roxanne
I've never seen this done this way, brilliant idea!
Patti Estep
Thanks Roxanne. I'm pretty happy with the way they turned out.
Pam
Those are so cute! I was just planting my porch flowers yesterday and was at a loss for how to make them different than the same old same old I do every year. Love this idea!
Patti Estep
Thanks Pam. They were so easy to make. I'm hoping they will hold up well for many seasons.
Kristi
Wow, I absolutely love this idea! Thank you so much for sharing. I can’t wait to try this!
Patti Estep
Thanks Kristi, it's so easy and fun to create. I think you'll love it.
Carole West
Loving this Patti - I always look forward to see how you're going to change things out on your front porch. These planters are really creative and look so inviting. I miss not having a front porch to dress up, I guess there are trade offs when you go tiny? It's all good though because I now take more time to enjoy what others are doing. Hope your week is great! -Carole
Patti Estep
Carole, you could still make one of these for anyplace near your tiny home but I get it. We can't do everything and you do plenty, my friend. Have a great week!