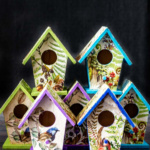

See how you can easily make this fun and colorful decoupaged bird house garland as part of your spring mantel with craft paint and pretty napkins.
If you have been following me for a while, then you know that I'm a bird lover. I've made many bird feeders and fun bird garlands for our spring mantel.
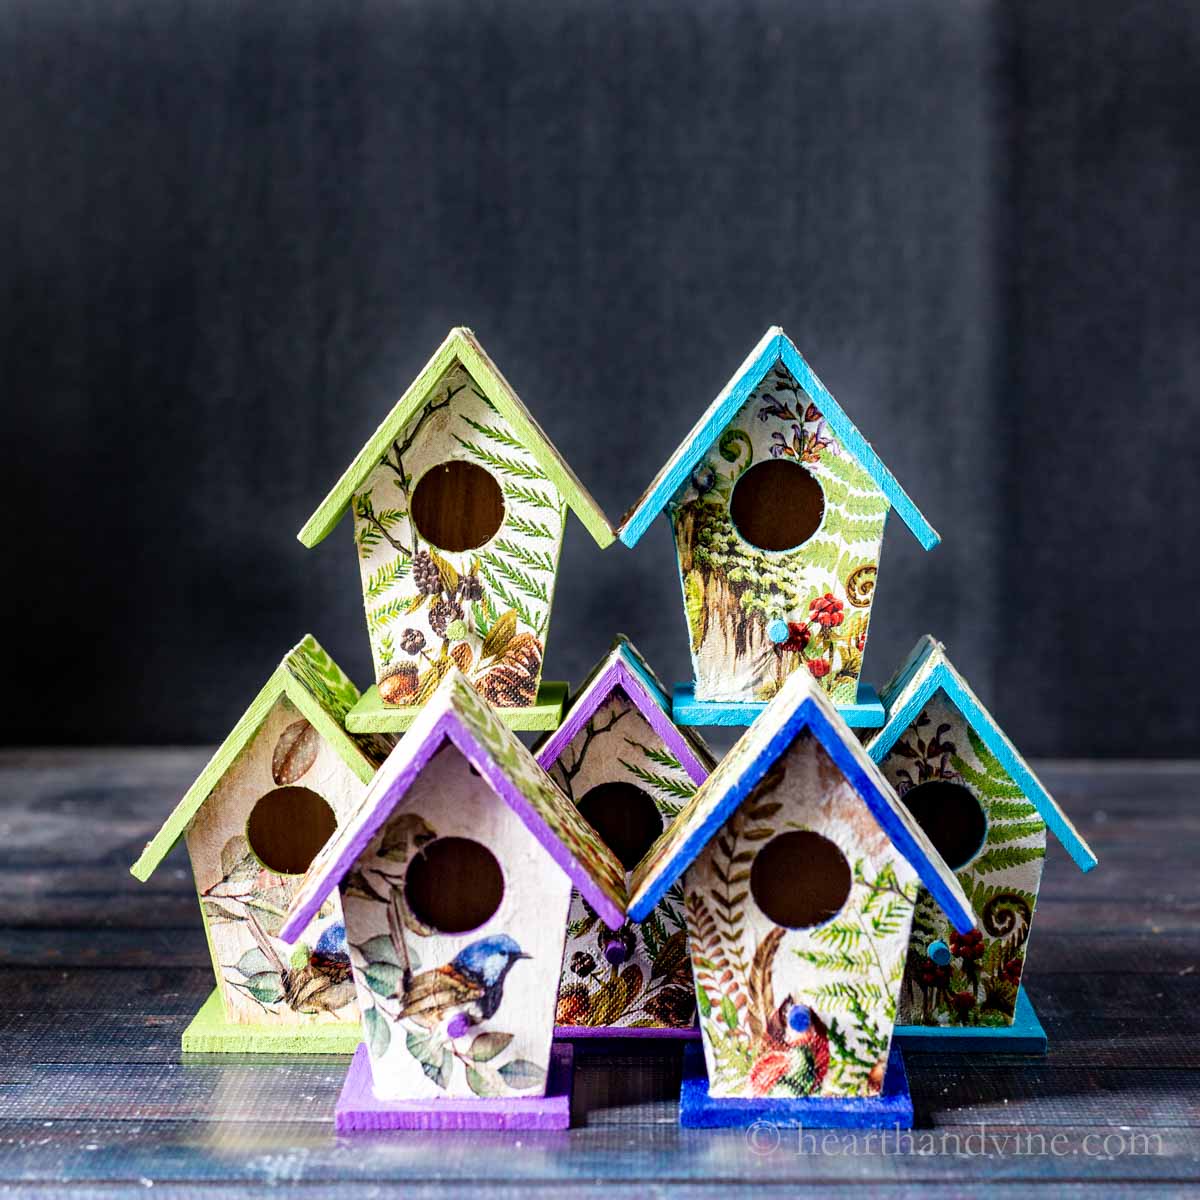
Today, I'm sharing how I made these fun and colorful birdhouses. They were easy to create and made a nice garland for this year's spring decor.
This post contains some affiliate links (that means if you make a purchase after clicking a link, there's no additional cost to you, but I will earn a very small commission. ) i.e. as an Amazon Associate, I earn from qualifying purchases. Click here to read my full disclosure policy.

Supplies
- Paint brushes
- Scissors (small)
- Glue gun and glue sticks
- Wire Cutters
- Emery board or sandpaper
- Wooden Birdhouses
- Craft Paints
- Decorative Napkins
- Mod Podge or White Glue
- Twine
- Floral Wire

These small wooden birdhouses were only $.99 at Michaels. You can probably get them for less with all the spring sales and coupons they offer. The dollar store may also have wooden birdhouses, but the one near me did not.

How to Decoupage and Decorate the Birdhouses
Step 1. Paint the edges, the perch, the sides, back, and base with a bright colored craft paint that coordinates with your napkin print.
Then, remove the cotton rope hanger. Discard the hanger or keep it for another project.
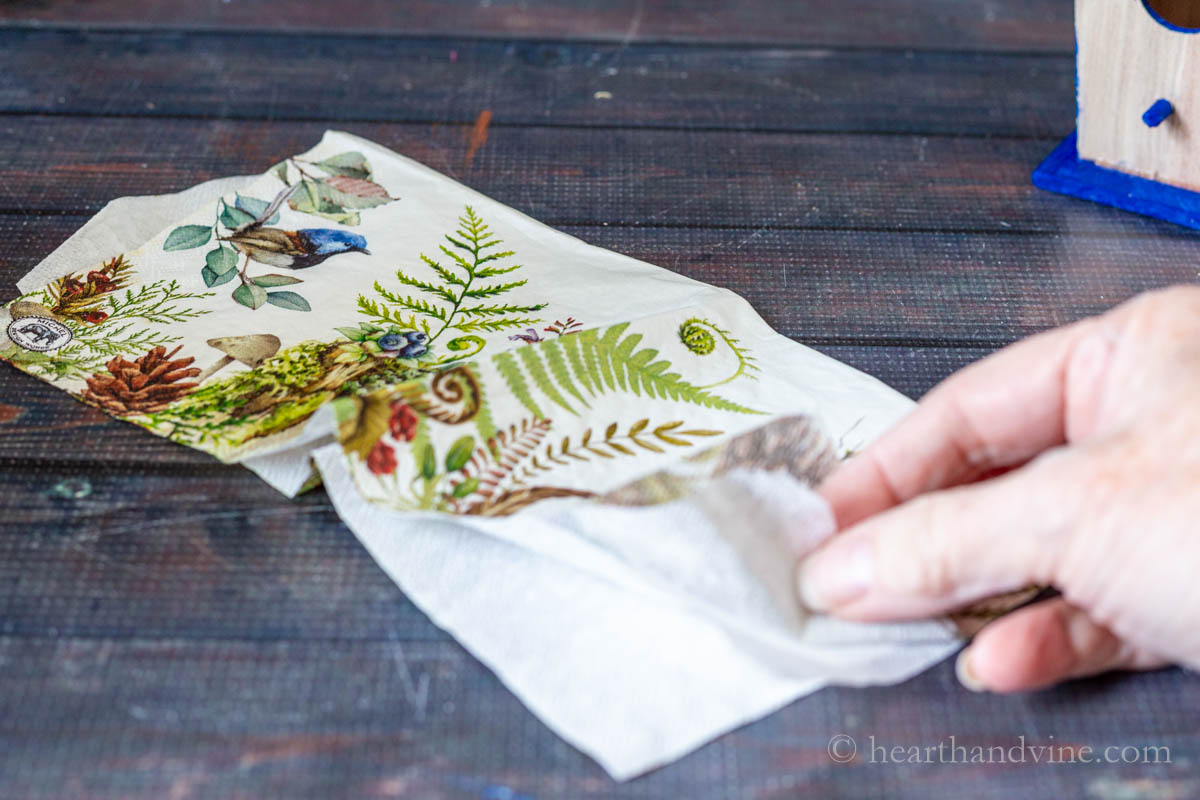
Step 2. Separate the top printed portion of the napkin from the plain white layer.

Step 3. Brush some Mod Podge or white glue on one side of the roof of the birdhouse. Then, set the area you want to go on top. Sand off the edges with an emery board or a piece of sandpaper. This is an easy way to get clean edges without using scissors.
Repeat on the other side of the roof and the face of the birdhouse.
Note: You can poke a hole in the opening and cut loosely around it before using the emery board to sand off the remaining napkin pieces.

Repeat the process of painting and decoupaging with napkins on all seven of the birdhouses.
Creating the Birdhouse Garland
Step 1. Measure and cut a piece of twine that's at least a foot or two longer than the width of your mantel.

Step 2. Start in the middle of the twine to attach the first house. Use some hot glue to attach the twine to the middle of the house's roof where the hanger was and secure it with a small piece of floral wire.

Step 3. Continue gluing the houses to your twine at even intervals.
Step 4. Hang the garland from nails or mini command hooks, cut off any excess, and enjoy.

Our spring mantel is looking pretty festive. I've used an older galvanized wreath made from springs past and my botanical bird print blocks, along with other spring and bird decor to complete the look.

More Spring Mantel Ideas

DIY Decoupaged Birdhouses Spring Garland
Equipment
- Paint brushes
- Scissors
- Emery board or sandpaper
Materials
- Wooden Birdhouses
- Craft Paints
- Decorative Napkins
- Mod Podge or White Glue
- Twine
- Floral Wire
Instructions
- Remove the hanging rope from the houses and discard or keep for another use.
- Paint the perch, edges, back, sides, and bases of the birdhouses in different colors.
- Remove the top layer of the napkin and cut it to cover the face and roof.
- Glue the napkin on with Mod Podge or white glue and then use an emery board or a piece of sandpaper to sand the edges off.
- Repeat with all of the houses.
- After the glue and paint dries, cut a piece of twine a little larger than the size of your mantel.
- Start in the middle with your first house. Hot glue the twine to the spot in the roof where the hanger was removed. Then place a small piece of floral wire over top to hold it into place.
- Continue to attach the other houses at equal distances apart.
- Hang the garland of birdhouses, trim any excess twine, and enjoy.
Notes

Marie Dillon
I love this idea. I will try it out with my grandchildren. Thank you.
Patti Estep
Thanks Marie. Have fun with the grands.
Rita Migliore
I love all your stuff! Thank you for your ideas and sharing them.
Patti Estep
Thank you Rita. I'm so glad you like it.