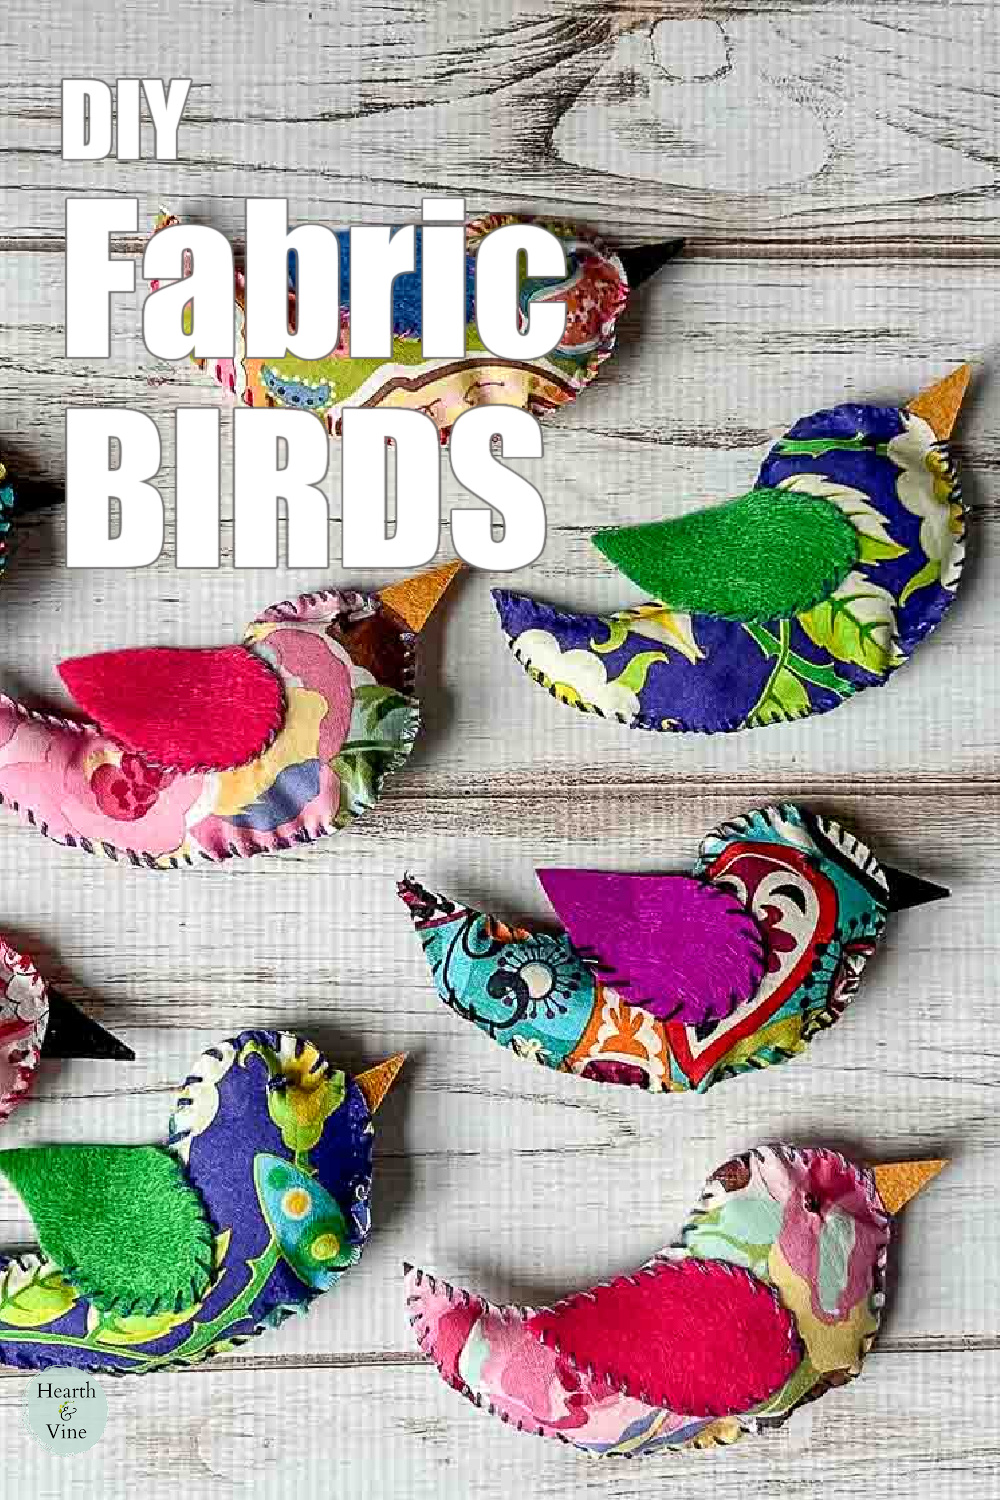
Learn how to make fabric birds with scrap fabric and a few other supplies you probably already have at home. They would make a great garland or accent to an indoor wreath. Or you can give them away to all your bird loving friends.
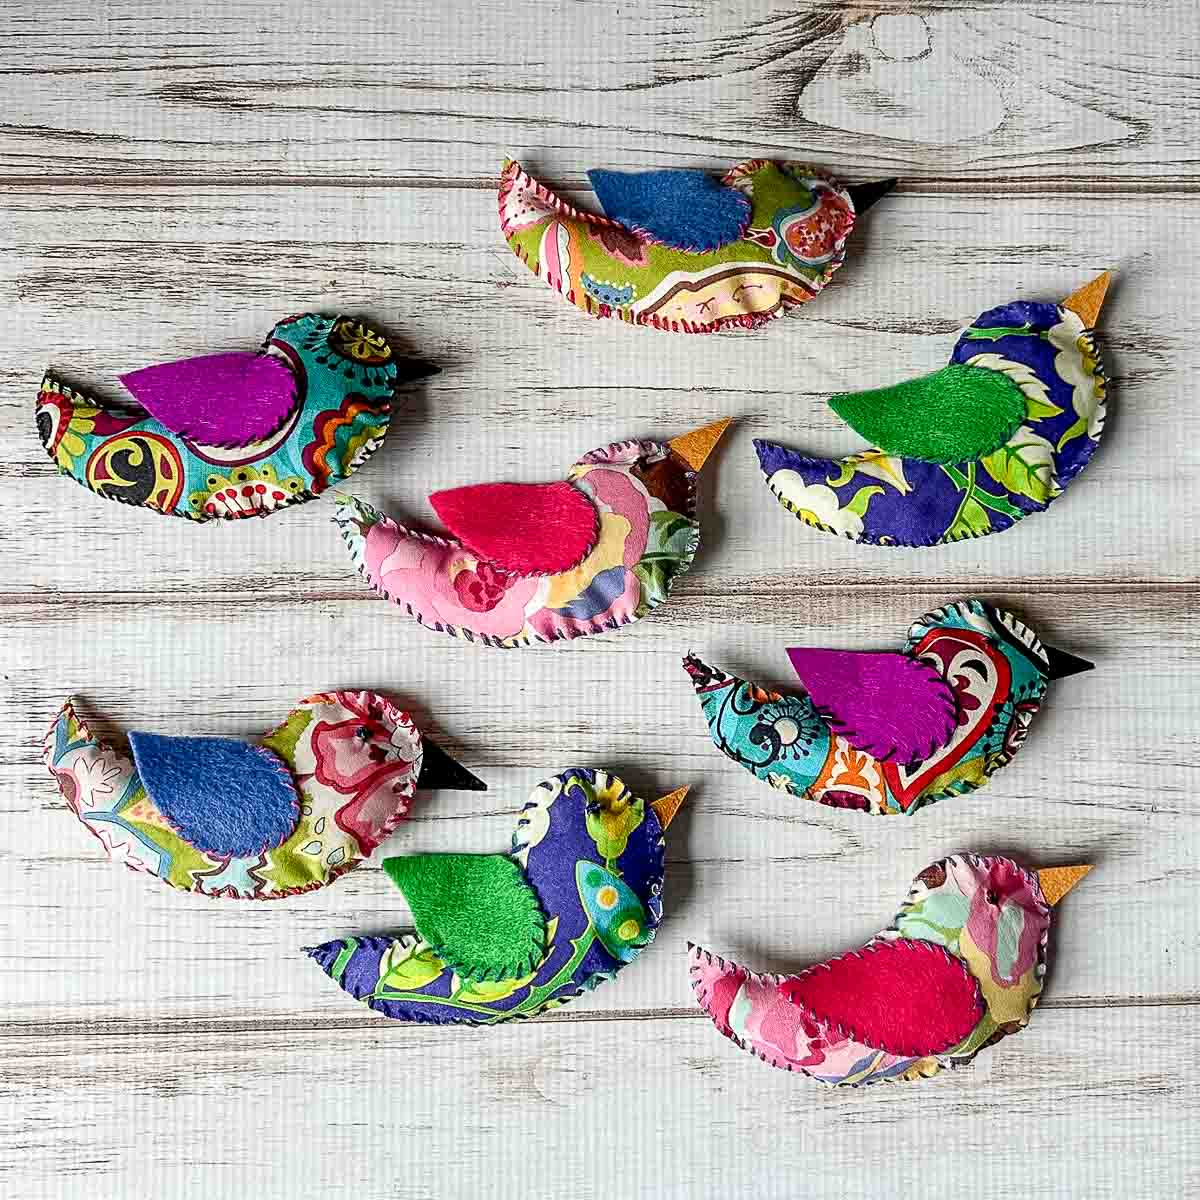
As I think about spring I often think about birds coming back to the garden. Last year I made a paper bird garland for our mantel. This year I'm making some cheerful fabric birds.
This post contains some affiliate links (that means if you make a purchase after clicking a link, there’s no additional cost to you, but I will earn a very small commission. ) i.e. as an Amazon Associate, I earn from qualifying purchases. Click here to read my full disclosure policy.
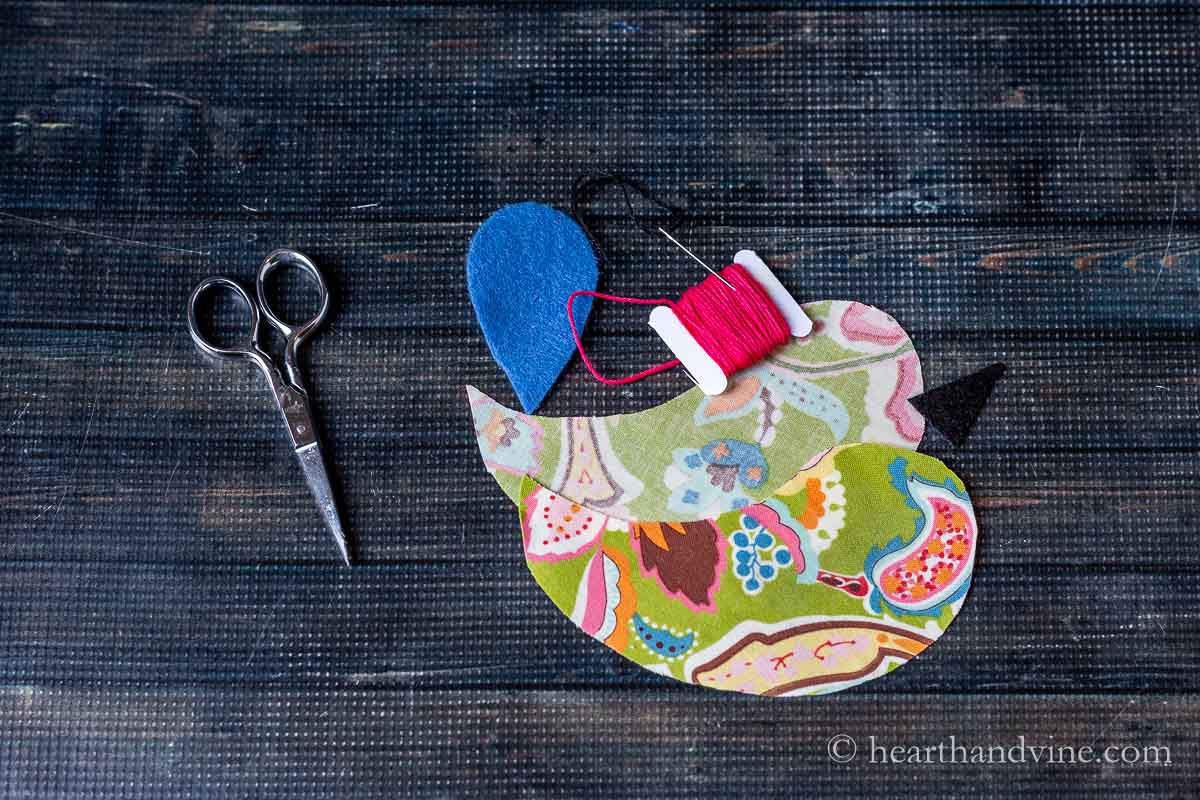
This is another great craft for using up scrap fabric. I used cotton printed fabrics and some coordinating felt and embroidery thread.
However, you could use all fabric and skip the felt. You could also use standard thread to sew it all together. Or, consider gluing your pieces together and use a fine black (and/or other colors) sharpie to make stitch marks, feathers, and other embellishments.
How to Make Fabric Birds
- Cut out the shapes by using the paper pattern above.
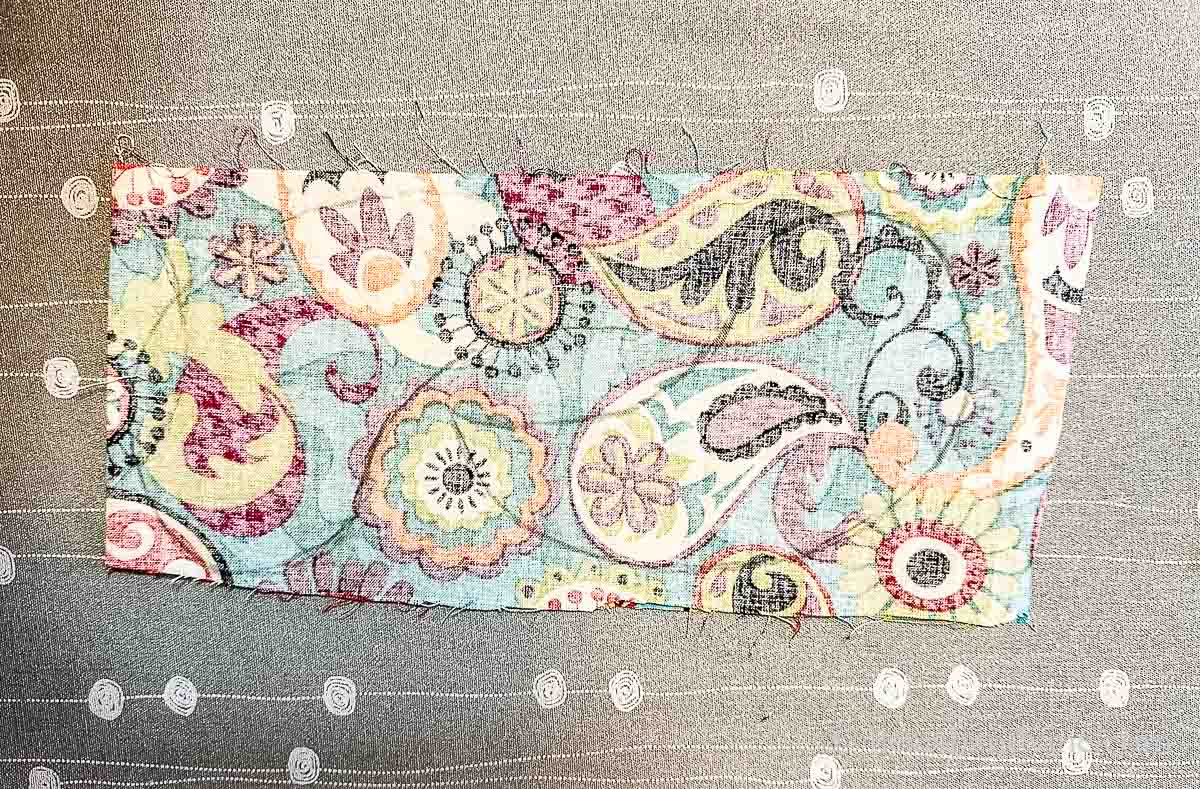
- Fold your fabric and trace the body. This will give you two pieces for each body.
- Next cut one of the wings and beak if you are using felt. If you decide to use fabric that has a right and wrong side then you'll want to cut out two and glue them together.
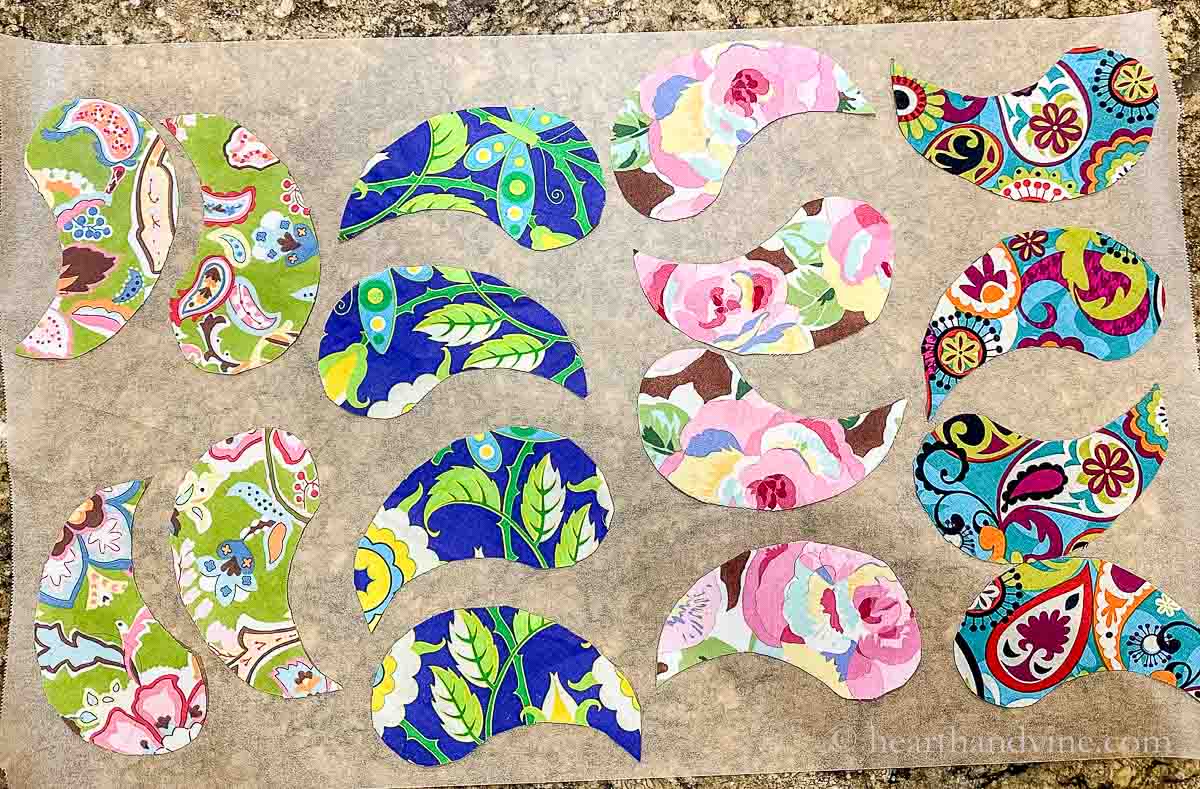
3. Next, use some spray adhesive to give your fabric some stiffness.
Note: You can also try Mod Podge or spray starch to stiffen the fabric.
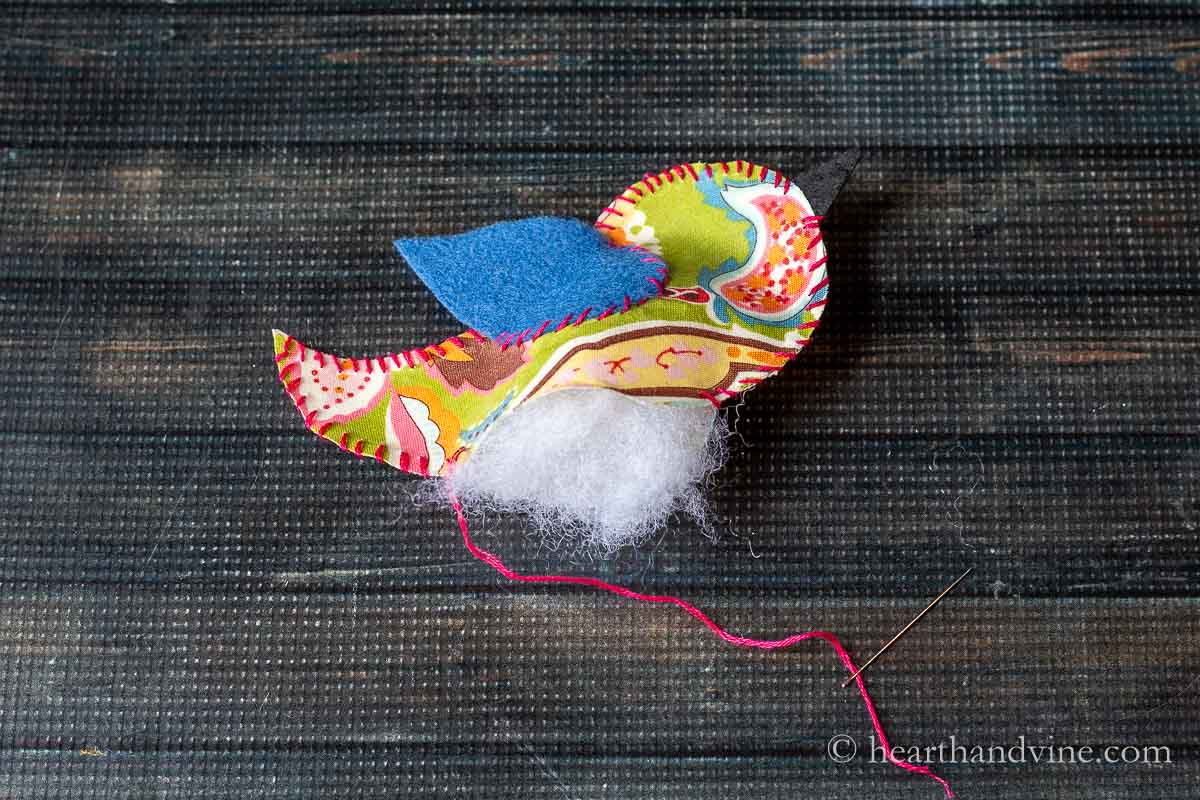
4. Stitch the bottom of the wing to the side of the bird first. I used just three strands of the embroidery thread for this step. Using more strands makes it harder to push the needle through the stiffened fabric.
5. Match up the back piece of the fabric body and set the beak in between the two pieces.
6. Start stitching around the other edge with your thread. You can hide the knot in between the two bodies of fabric as you start. Try to keep your stitches evenly spaced but don't worry too much about being perfect.
7. Leave an opening at the bottom of the bird and use some fiberfill to stuff the bird.
8. Continue to sew the remaining area closed.
9. Use a bit more thread to make an eye with a few stitches.
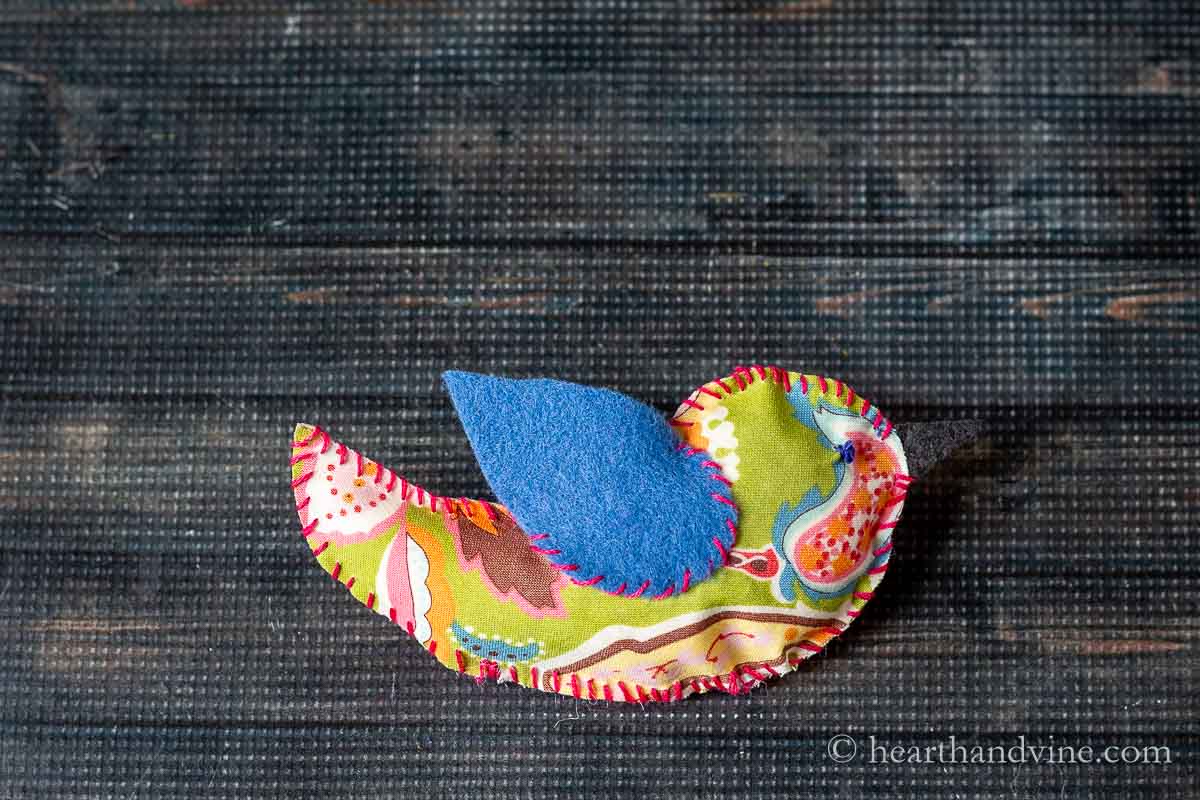
Super cute, huh? I have my bird facing the right but you can flip them to fly left or consider sewing a wing and eye on both sides.
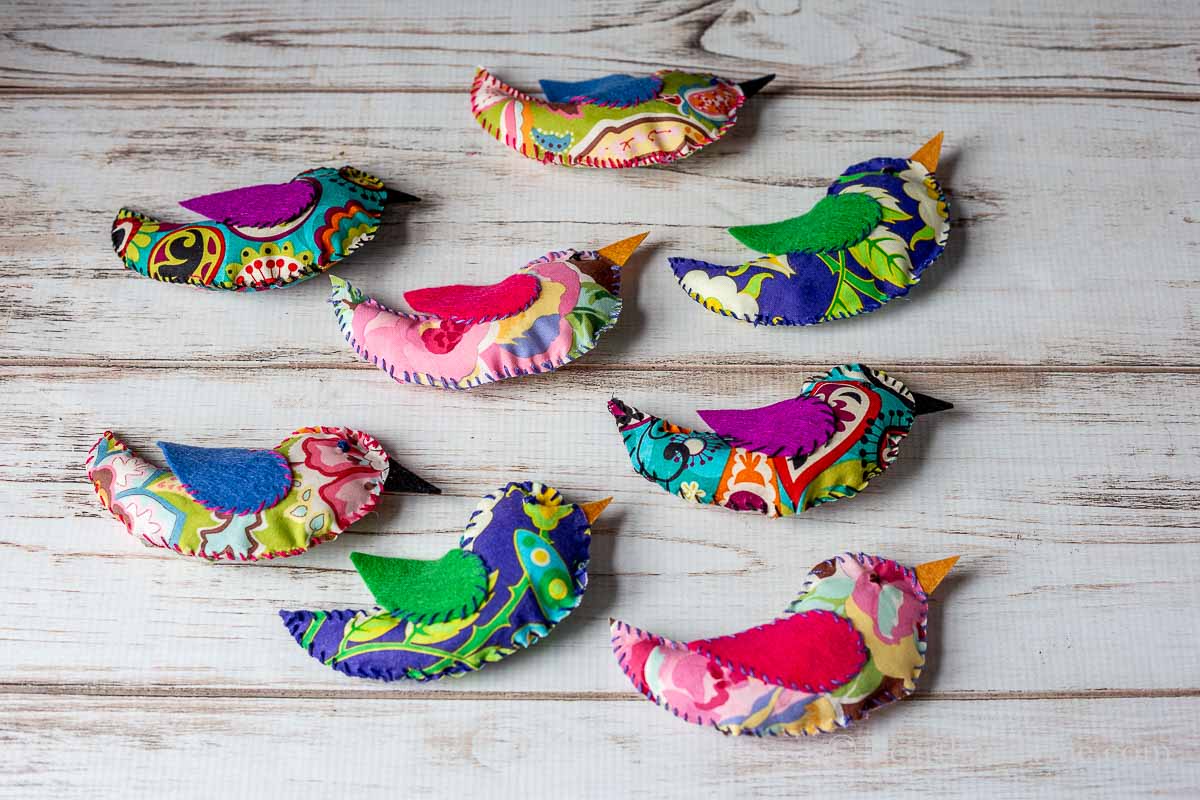
I could see them being used as a mobile for a baby's room or as a fun embellishment and extra gift to a present.
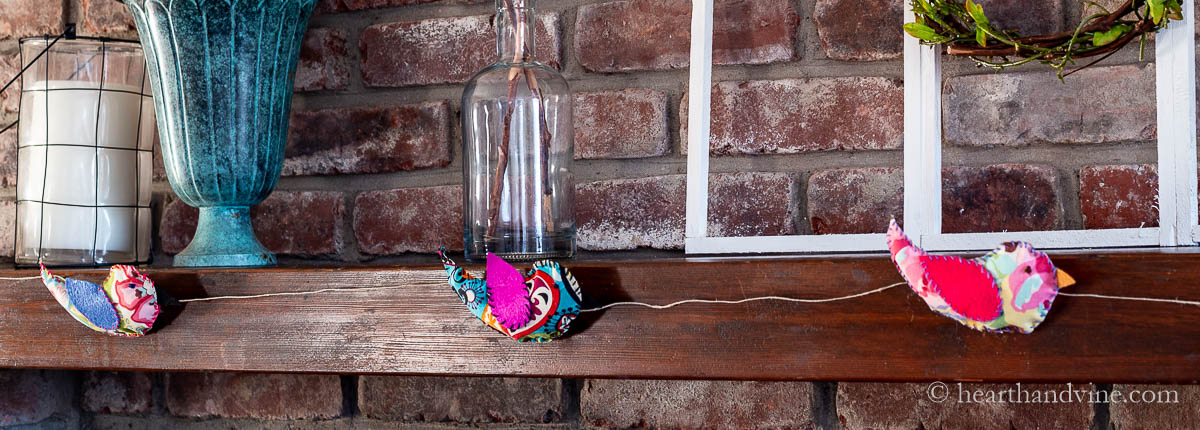
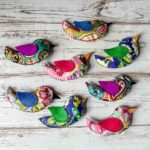
For now, they look great as a garland for my mantel.
So bright, colorful, and cheery. Just what you want for spring.

More Fabric Craft Ideas
How to Make Fabric Birds
Equipment
- 1 pair of scissors
- 1 pencil
- Embroidery needle
- Printer
Materials
- Colorful cotton fabric
- Felt
- Spray Adhesive
- Embroidery Thread
- Fiberfill for stuffing
Instructions
- Print out the bird template and cut out the shapes.
- Trace the body onto a folded piece of fabric with right sides together.
- Trace the wing and beak from felt.
- Cut out the body pieces and spray both sides with spray adhesive.
- Place them on parchment to dry a little.
- Take one of the body pieces and sew on the bottom part of the wing to the right side of the body with embroidery thread using whip stitches.
- Place the companion body part on the back and start stitching the two together encasing the beak, and leaving an opening at the bottom or behind the wing for stuffing.
- Stuff the bird with fiberfill and sew it closed.
- Finally, make an eye with more thread sewing a few stitches in one spot.





Linda Johnston
So so cute!
Patti Estep
Thanks Linda!