
Learn how to make DIY luggage tags, using some of your favorite fabric patterns, and a bit of iron-on vinyl. This simple sewing project is something any beginner can easily create.

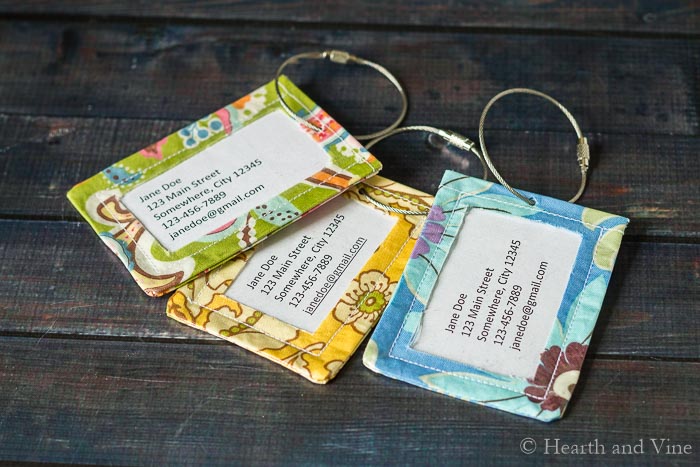
I really like the look and feel of oilcloth. It has a fun retro vibe, and I thought it would be great for luggage tags because it's so durable and the patterns are so bright and fun. This bright pattern would make finding your bag on the luggage belt a piece of cake.
However, when I went to actually buy the oilcloth I just couldn't find the perfect fabric design.
Then I stumbled on this vinyl iron-on product , made for fabric, and thought it would be perfect. Especially since I have bins of really pretty patterned fabric I love, just waiting to be used in a new project.
This post contains some affiliate links (that means if you make a purchase after clicking a link, there's no additional cost to you, but I will earn a very small commission.) i.e. as an Amazon Associate, I earn from qualifying purchases. Click here to read my full disclosure policy.
DIY Luggage Tags
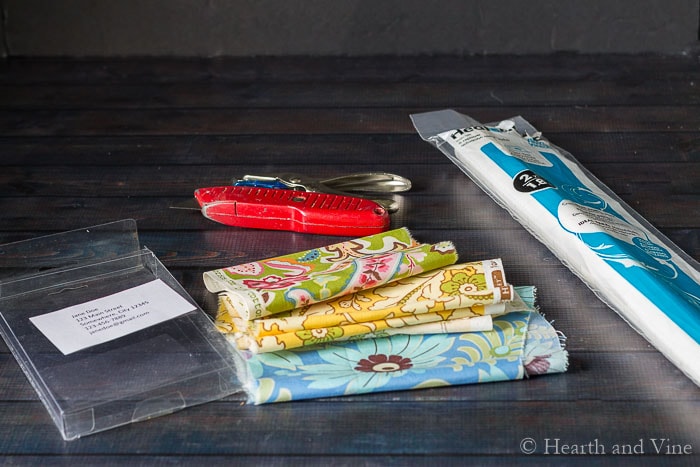
Supplies
- Fabric scraps
- Thermoweb iron-on vinyl

- Wire Keychains
- Heavy clear plastic


Start by cutting out the fabric. I cut 8.5 inches by 3 inches for my luggage tags.
However, later I tried to put my business card in, and it was a little too small. So you might want to increase the width and height to 9 inches by 3.5 inches.
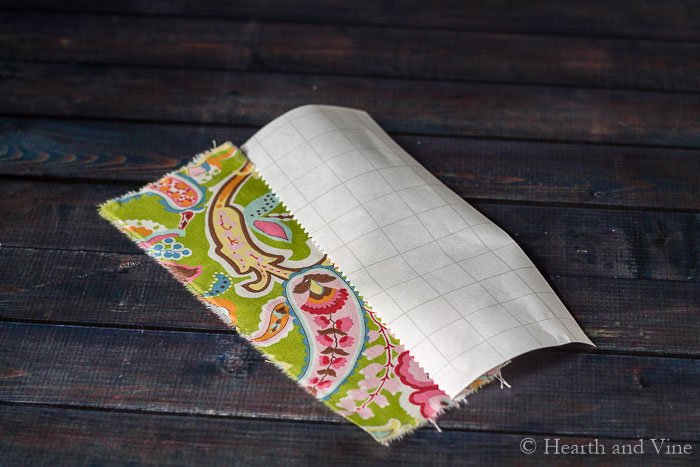
Next cut out a piece of the vinyl the same size as your fabric, and adhere it to the right side of the fabric following the package directions.
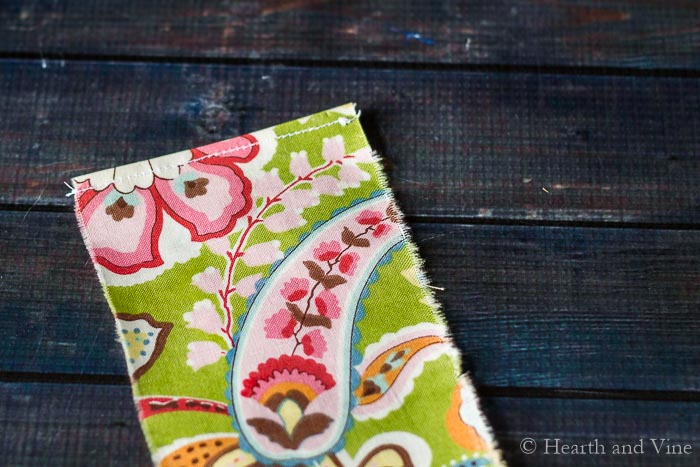
Next turn over the top and bottom edge and topstitch in place.
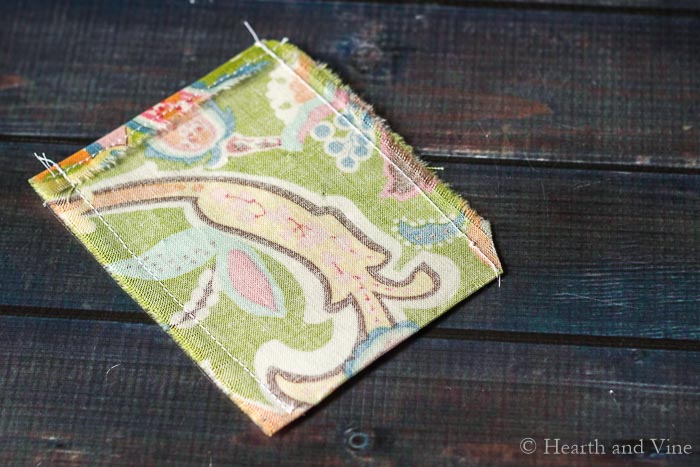
Then fold in half with the right sides together, and stitch up the sides. Cut corners.
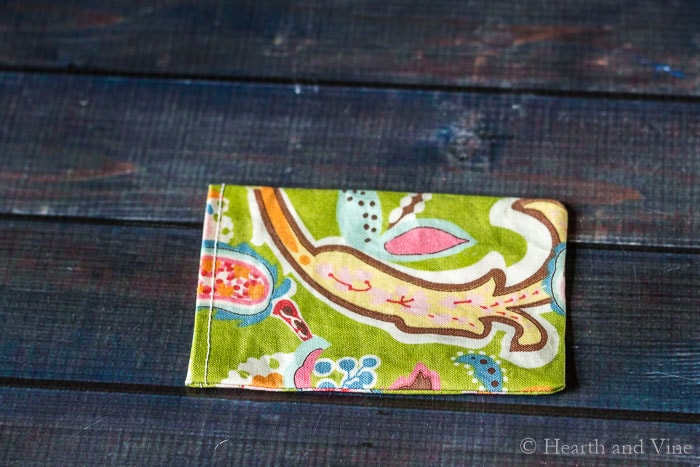
Turn the tag right side out. The vinyl will look crinkled from turning, but you can easily iron it smooth. Make sure you place some of the paper backing between the luggage tag fabric and the iron.
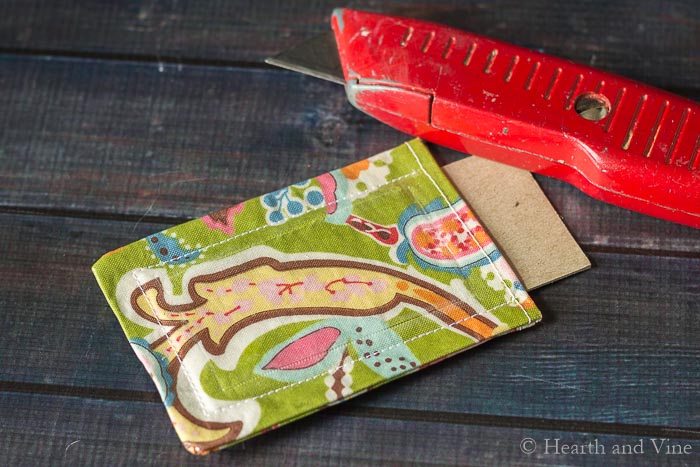
Next, sew in about 1/4 inch from the edges.
Then place a piece of cardboard or anything that will protect the bottom fabric as you score and cut out an opening with a utility knife.
Use a little fray check, clear nail polish, or white glue to tame any rough edges.
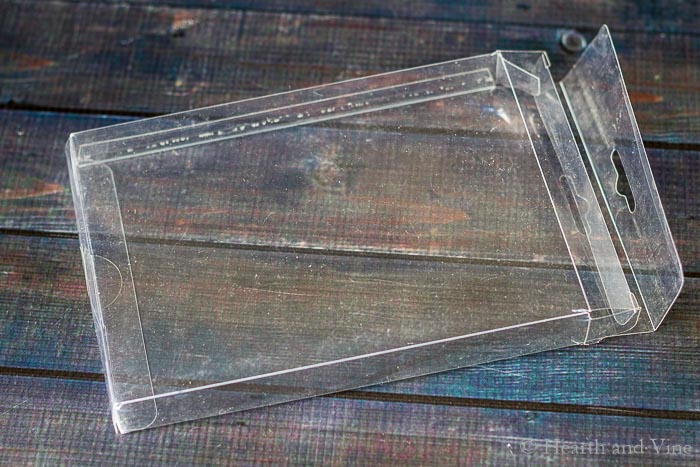
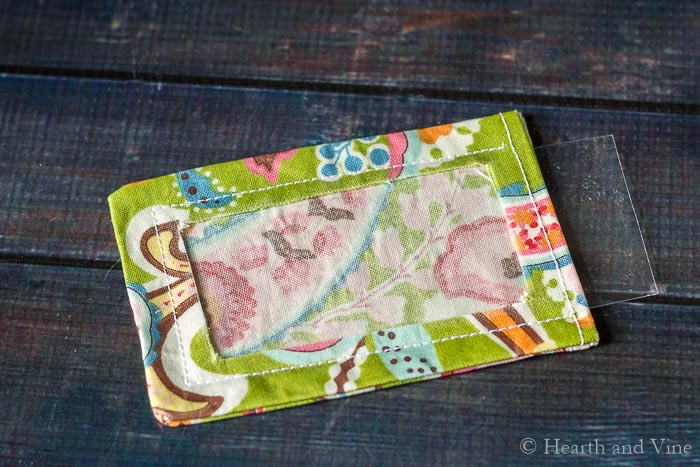
I found a box of Christmas cards that were contained in this heavier weight plastic box. It was perfect for this application.
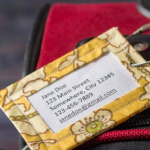
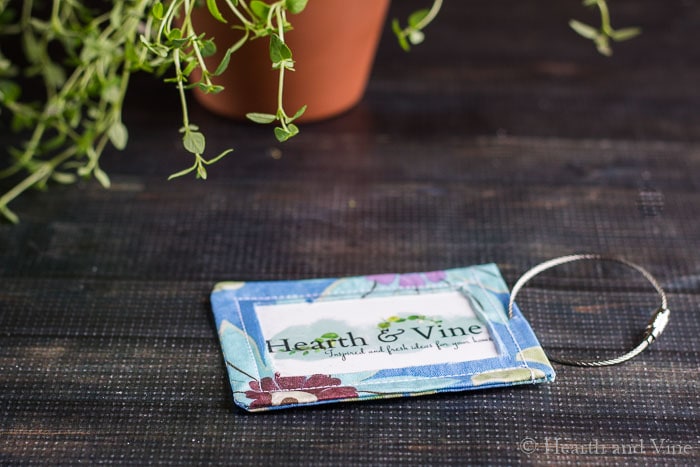
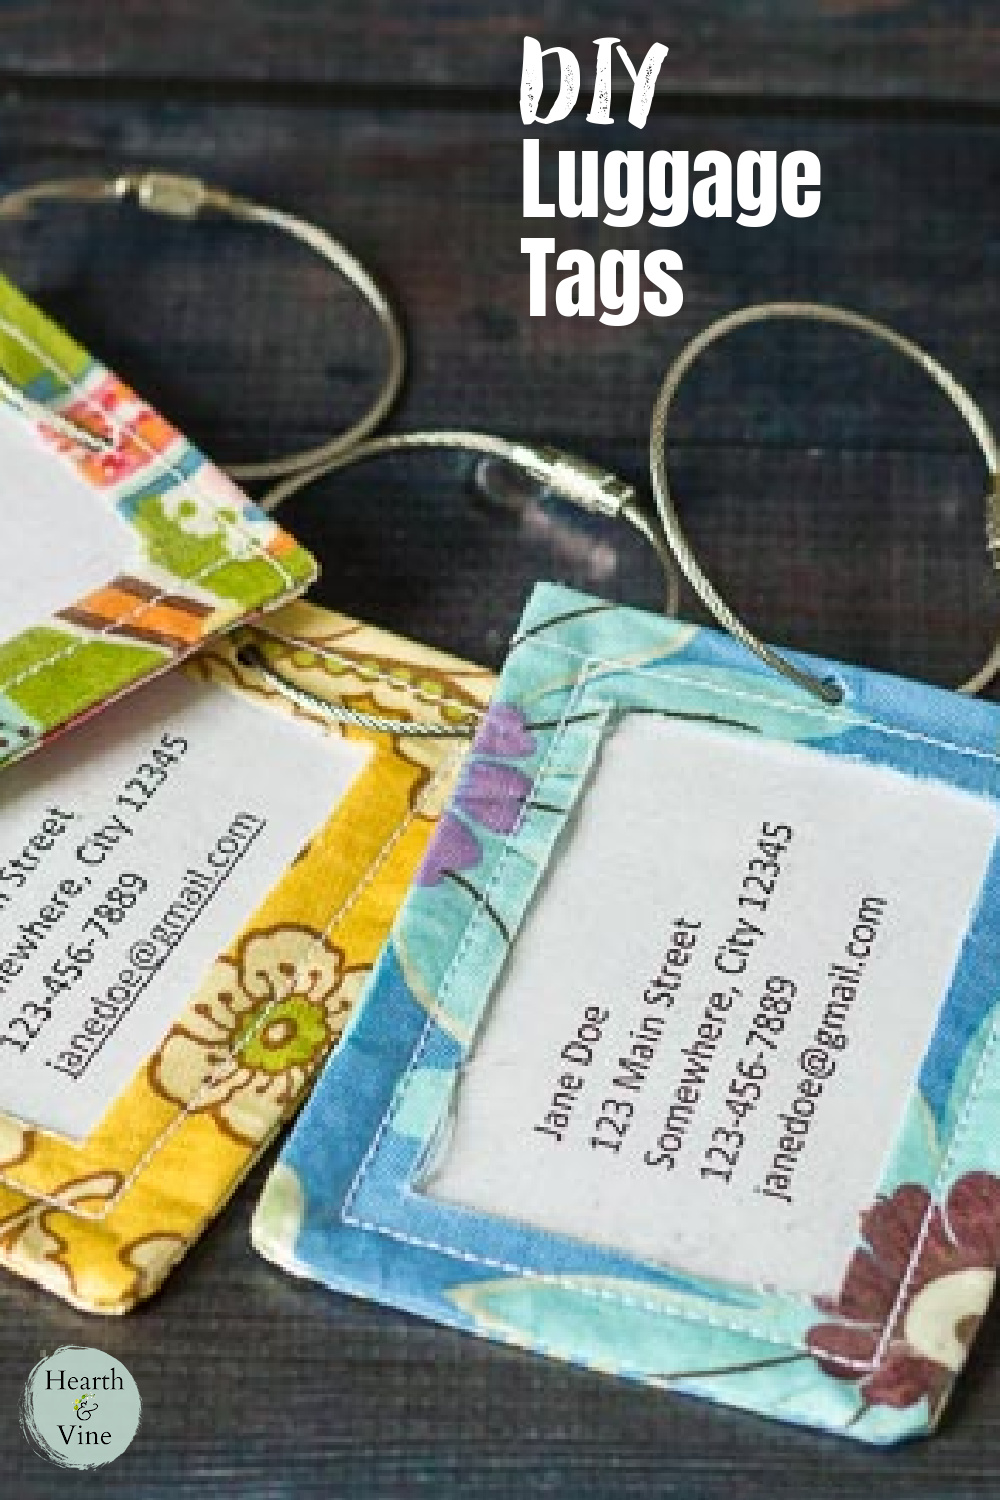
Just cut a piece to slide inside the pocket over a piece of paper that you've typed all of your personal information. You could also use a business card.
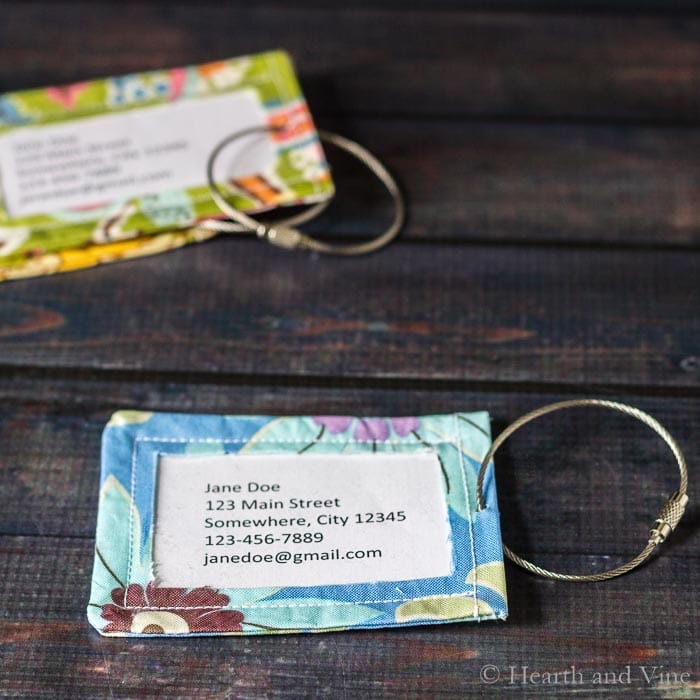
Using a small hole punch, create a hole to slide a metal keychain through and you are all set.
If you want to use a traditional hole punch you will need to make the top edges larger. Just increase the length of your original fabric by about 1/2 inch.
I like the look of the wire keychains , and they come in different colors. You could also use plastic loops
 if you enlarge the hole.
Other Places to Use Luggage Tags
You don't have to save these chic luggage tags for your suitcase. Here are a few ideas of other places to add your homemade tags.
- Backpacks
- Gym Bags
- Lunch bags
- Camping Gear
- Tailgating and Picnic Coolers
Make Luggage Tags as Gifts
Wouldn't this be a nice gift to make? Friends, family, teachers, coaches just about everyone travels. A gift like this could really come in handy.
Now it will be easy to spot my bags at the airport baggage claim with these homemade luggage tags, and I'm glad I get another opportunity to use some of my favorite fabrics.

DIY Luggage Tags Made From Your Favorite Fabrics
Equipment
- Sewing Machine
- Utility Knife
- Scissors
Materials
- Fabric scraps
- Thermoweb iron-on vinyl
- Wire Keychains
- Heavy clear plastic
Instructions
- Cut out the fabric 9 inches by 3 inches.
- Cut out a piece of vinyl the same size as your fabric.
- Adhere it to the right side of the fabric following the package directions.
- Turn over the top and bottom edge and topstitch in place.
- Fold in half with the right sides together.
- Stitch up the sides and cut corners.
- Turn the tag right side out.
- Place some of the paper backing between the luggage tag fabric and the iron.
- Sew in about 1/4 inch from the edges.
- Place a piece of cardboard to protect the bottom fabric.
- Score and cut out an opening with a utility knife.
- Tame any rough edges with some fray check.
- Create a hole with a small hole punch and slide it on a metal keychain.
Nancy Hann
Hi Patti,
What a cute and easy idea for a way to recycle scraps. Thanks for sharing!
Patti Estep
Thanks Nancy. They were so fun to make.
Lara
Hey great post!! I’m going on a big trip in a week and I would rather make my own tags than buy new ones that I’ll only use once. Thanks for this!!
Patti Estep
Thanks Lara. They are so fun and are a good use of your favorite fabrics.
Carole West
What a great idea and you make it look so easy. Neat how you reused that plastic box, this is a detail most overlook. A gift that needs to be passed down to the next generation. LOVE!
Patti Estep
I love the idea of passing this gift down through generations Carole.
Denise
These are so pretty! I've been following you for awhile now and sometimes I wonder how you can come up with all these great ideas.
Patti Estep
Thanks Denise. I'm always thinking. 🙂