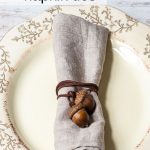
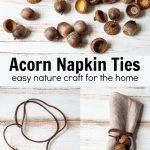
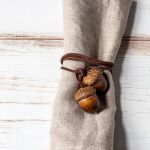
Learn how easy it is to make these beautiful and natural acorn napkin ties. Perfect for adorning your Thanksgiving table or any time of year.
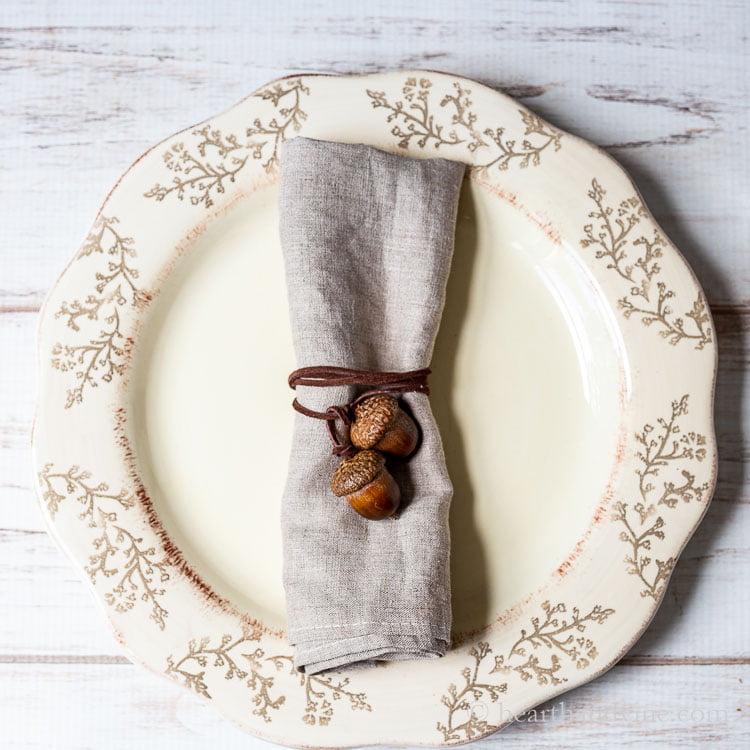
Thanksgiving is one of the few holidays where I really like to decorate the table. And of course, if I can add a little nature in I'm all for it. A while back I made real pine cone napkin rings that doubled as a place card holder.
Today, I'm sharing an easy craft that uses acorns (we are inundated with them), to wrap around the napkin. I love the shape and color of the acorns that we get in the yard. I'm not sure but I think I've identified the oak trees as red oaks from the shape of the acorns and leaves.
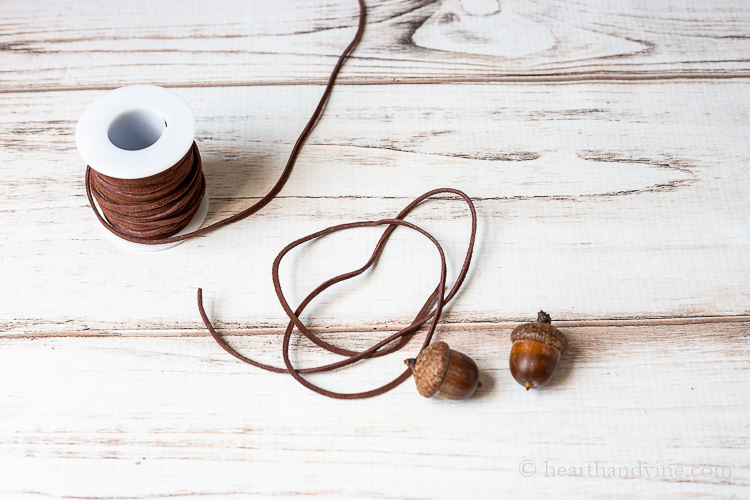
How to Make Acorn Napkin Ties
Supplies
- Acorns from outdoors
- Suede lace or cording
- Wire cutters or pliers
- Drill and 7/64 drill bit
- Glue gun and glue sticks
How to Prep Acorns for Crafting
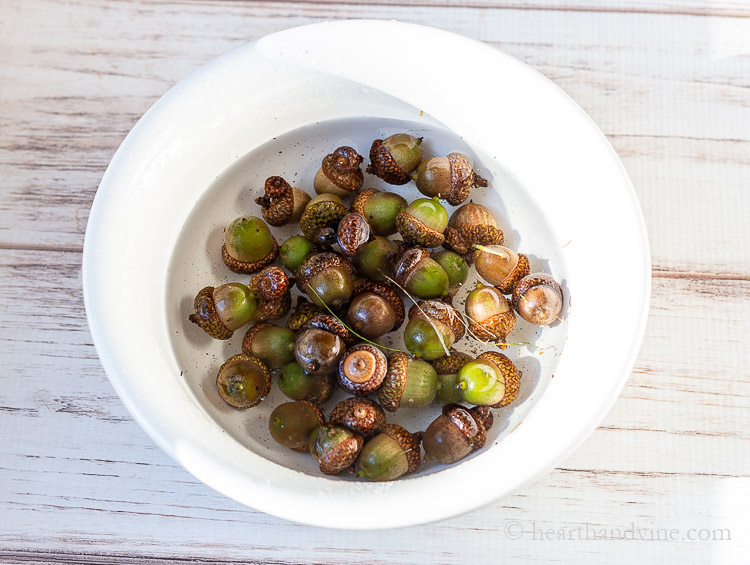
Who knows what lurks in and on the acorns you find on the ground. Start by washing them in some water to get as much of the surface dirt off as you can.
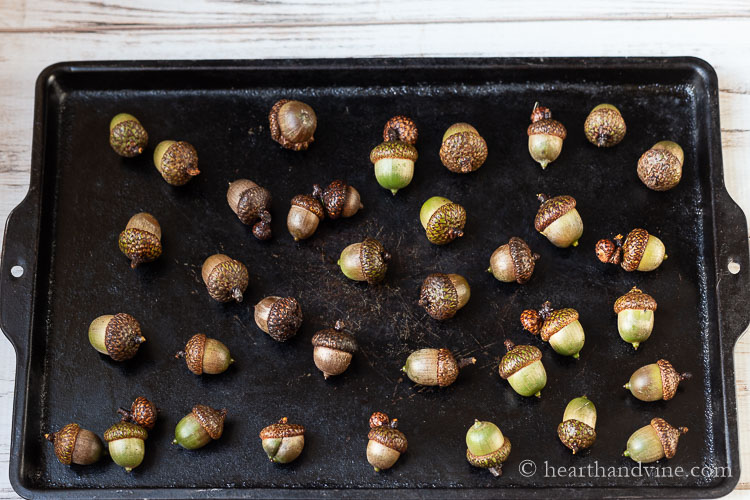
Next, bake them in the oven on the lowest level of heat for 1-2 hours. This should kill any insects or other nasty stuff.
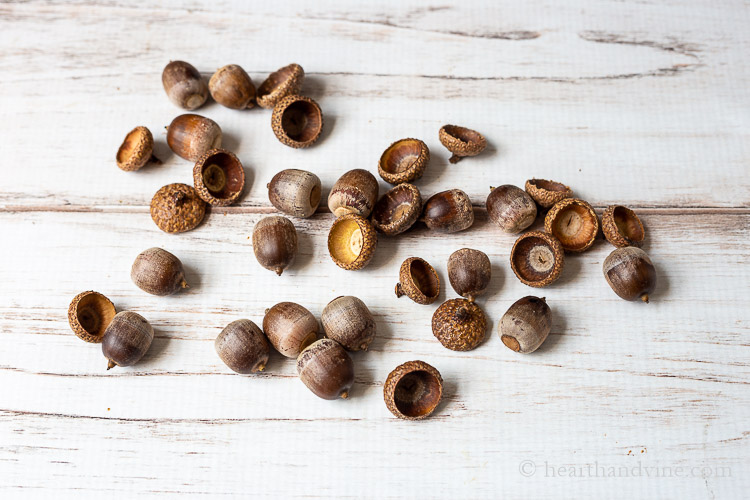
You will find that many of the caps will fall off when you do this however, that's great because you need to pull them off anyway. I found that a tiny flathead screwdriver worked well for prying off any of the caps that were still attached.
Next, match the acorns with their caps with another acorn of similar size.
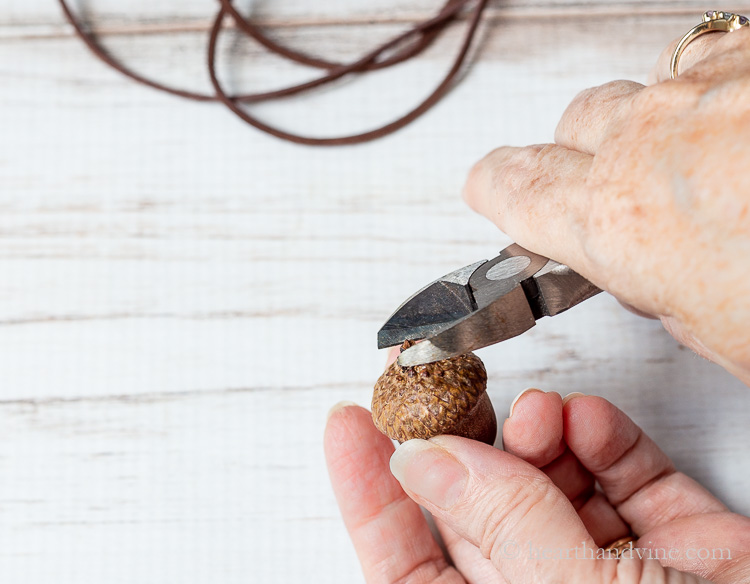
Use some wire cutters to clip off the stem of the top of the cap.
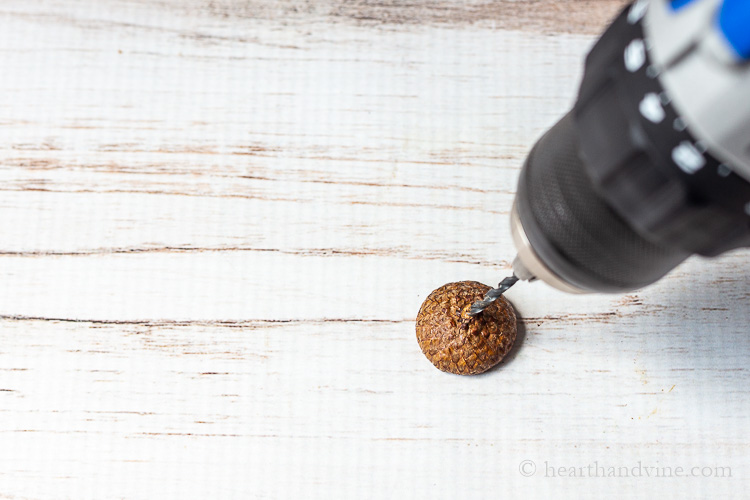
Then use an 7/64 inch drill bit to make a hole in the top. You could use a different size drill bit depending on what you have and how thick the cord you buy is. If you are unsure, I suggest starting smaller. Test it to see if the cord will thread through the hole. You can always go larger.
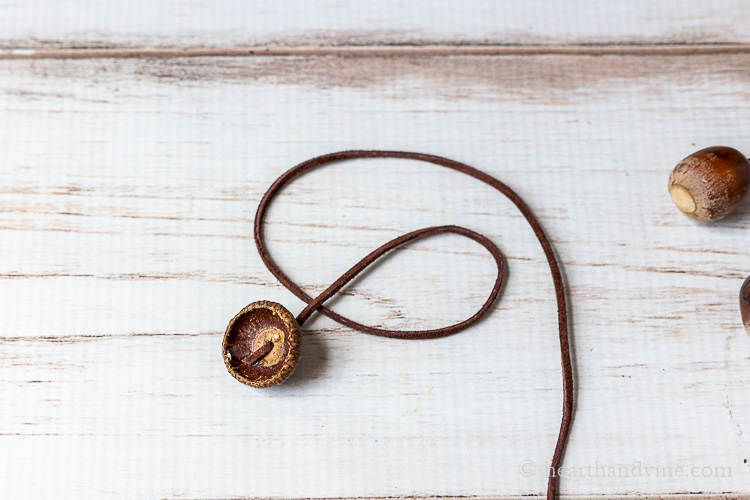
Thread one end of the cord through the acorn cap from the top. Then use a bit of hot glue to glue the cord to the inside of the cap. You can make the cord length as long or as short as you want. I chose 30 inches to make sure that it would wrap around the napkin a few times.
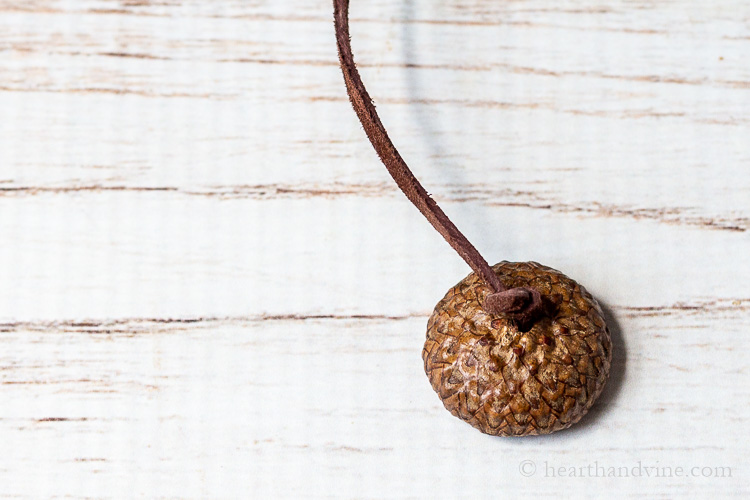
Once it dries, make a knot at the top side of the cap. This is purely for decorative purposes. I think it looks a little like the stem that was cut off, so that's why I added this step.
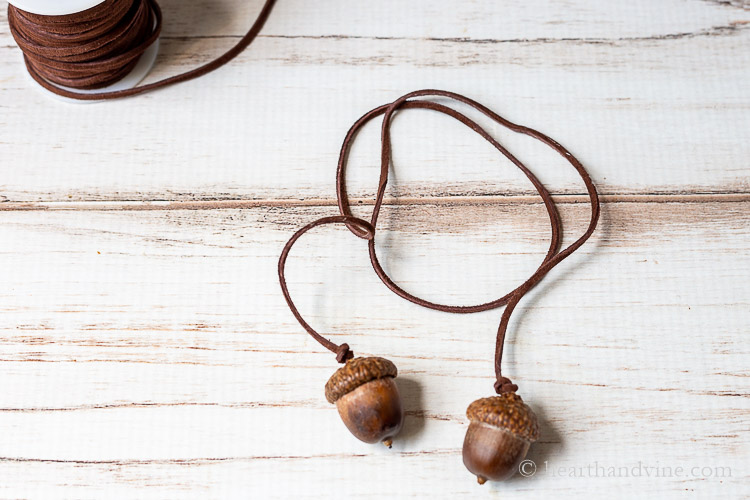
Next, glue the nut to the cap. Then attach the other end of the cord to the first acorn's mate.
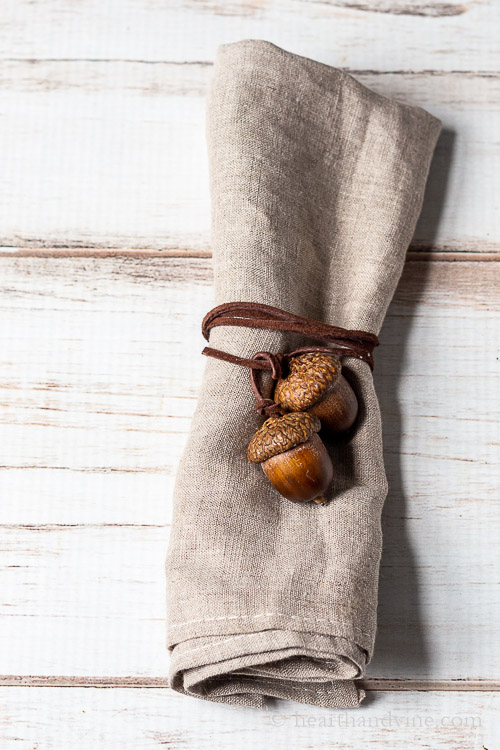
I really love the natural look of this acorn napkin tie, especially for Thanksgiving. Although they would be pretty for any dinner setting all year long. However, you could take it a step further and paint your acorns. Paint the hat gold and leave the nut natural. Or, leave the hat and paint the nut in gold or other bright colors like I did for this mini Christmas tree last year.
And, if you want to be especially generous you could give them as a favor to your guests after the party is over.
More Natural Fall Decorating Ideas
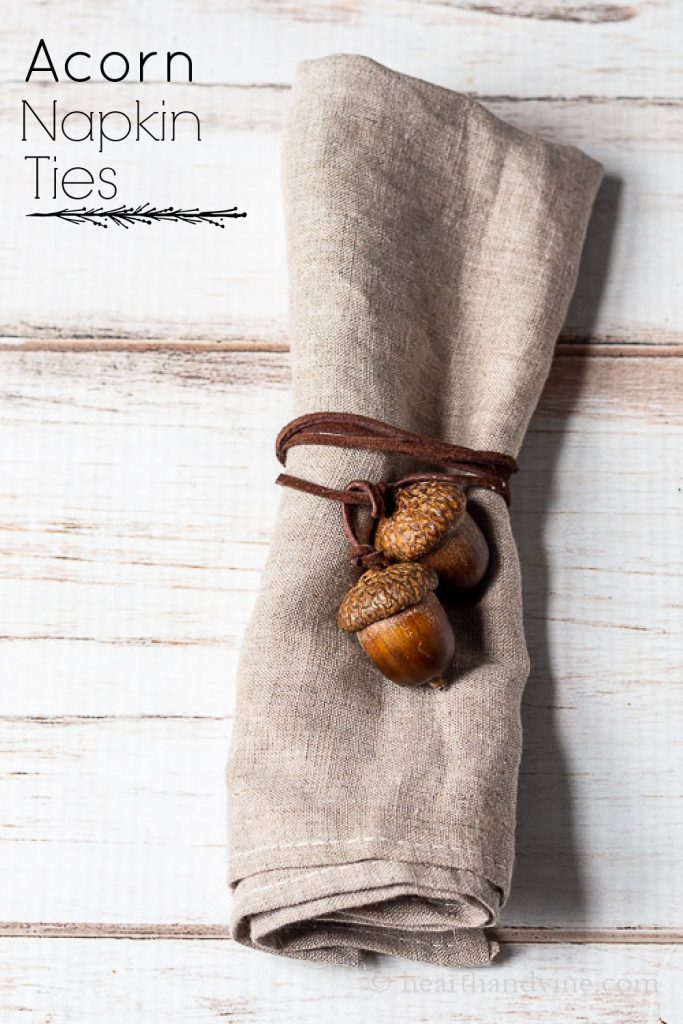
How To Make Acorn Napkin Ties for Beautiful Natural Decor
Equipment
- Wire cutters or pliers
- Drill and 7/64 drill bit
- Glue gun and glue sticks
Materials
- Acorns from outdoors
- Suede lace or cording
Instructions
- Wash the acorns in some water to get the surface dirt off.
- Bake them in the oven on the lowest level of heat for 1-2 hours.
- Use a tiny flathead screwdriver to pry off any of the acorn caps.
- Match them with a similar size acorn.
- Use wire cutters to clip off the stem of the top of the cap.
- Make a hole in the top with a 7/64 inch drill bit.
- Thread one end of the cord through the acorn cap from the top.
- Secure with hot glue.
- Make the cord length as long or as short as you want to wrap around the napkin a few times. Let dry.
- Make a knot at the top side of the cap.
- Glue the nut to the cap.
- Attach the other end of the cord to the first acorn's mate.



Joanne
Love this idea. Can’t wait to make them.
Patti Estep
Thanks Joanne. So glad to hear it.
Leticia Guillermo Flores
Beautifull craft, I love it. The think is I live in Tijuana, en la Baja, so I don't have any. I wold like to look for them at Michael's, a soon as they open the border croossing. Also love the plates.
Regards.
Patti Estep
Thank you Leticia, I hope you can find some acorns. Artificial ones should work well too.
Linda Johnston
This is so cute! Like you I do like to make that Thanksgiving table extra nice and use natrual elements.
Carole West
What a neat craft - the simplicity is perfection and I'm currently surrounded by acorns and pinecones. If I ever get settled I have a list of fun things that I want to create for outdoor dinners and this is on it. Love that plate too -
Hope you have a great weekend,
Hugs - Carole
Patti Estep
Thanks Carole. I can't believe how many acorns we have this year. We also have tons of chipmunks, squirrels, and deer but still, there are too so acorns. By the way, the plates are from Target. They are also about 15 or more years old so I don't know is they still carry them.