Learn how to create a beautiful limelight hydrangea wreath. It only takes about an hour to create, and the result is amazing.
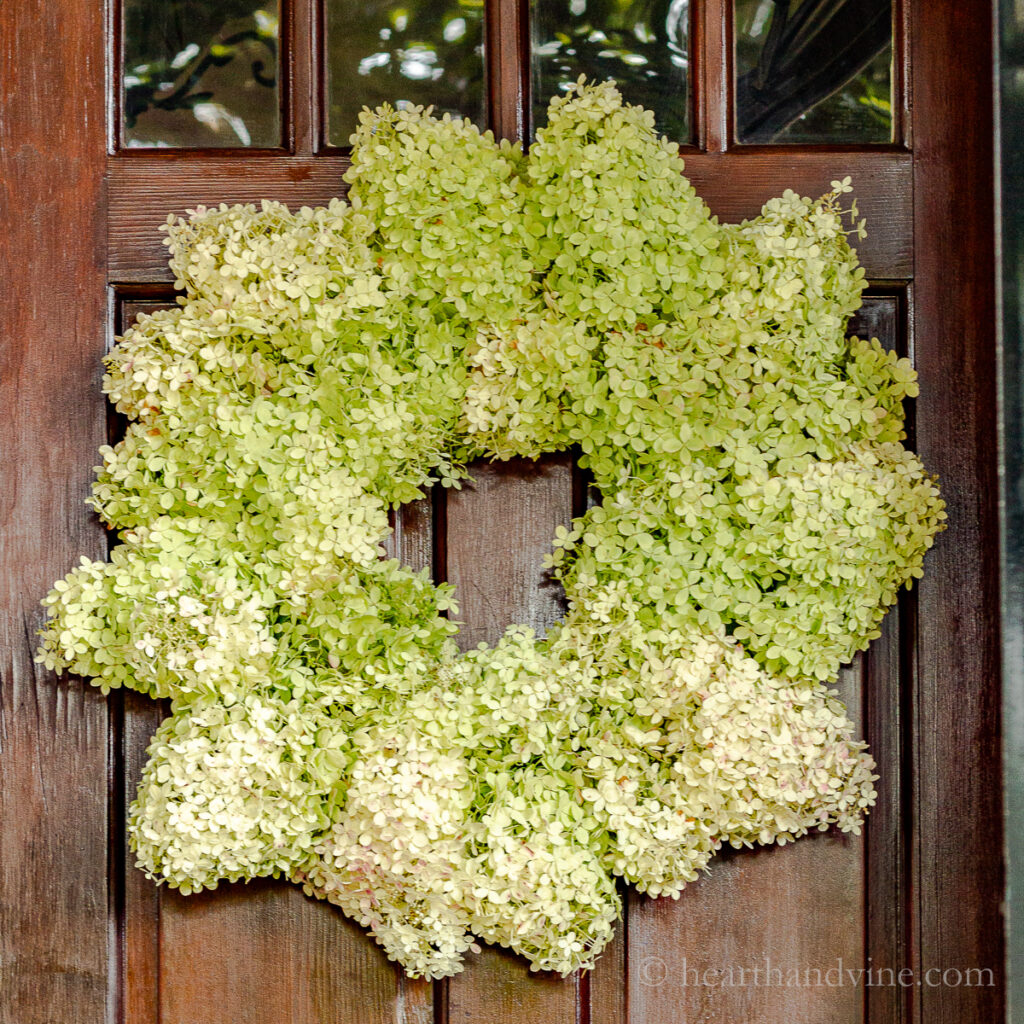
Today I want to share an easy way to make fresh Limelight Hydrangea Wreaths. In the past, I wrote about hydrangeas and the beloved Macrophyllas or mophead varieties that are fairly hard to grow. I mentioned then the idea of growing pee gee hydrangeas or Hydrangea paniculata. One very popular newer variety is called 'Limelight.' It's very easy to grow and will reward you with many blooms in mid-late summer.
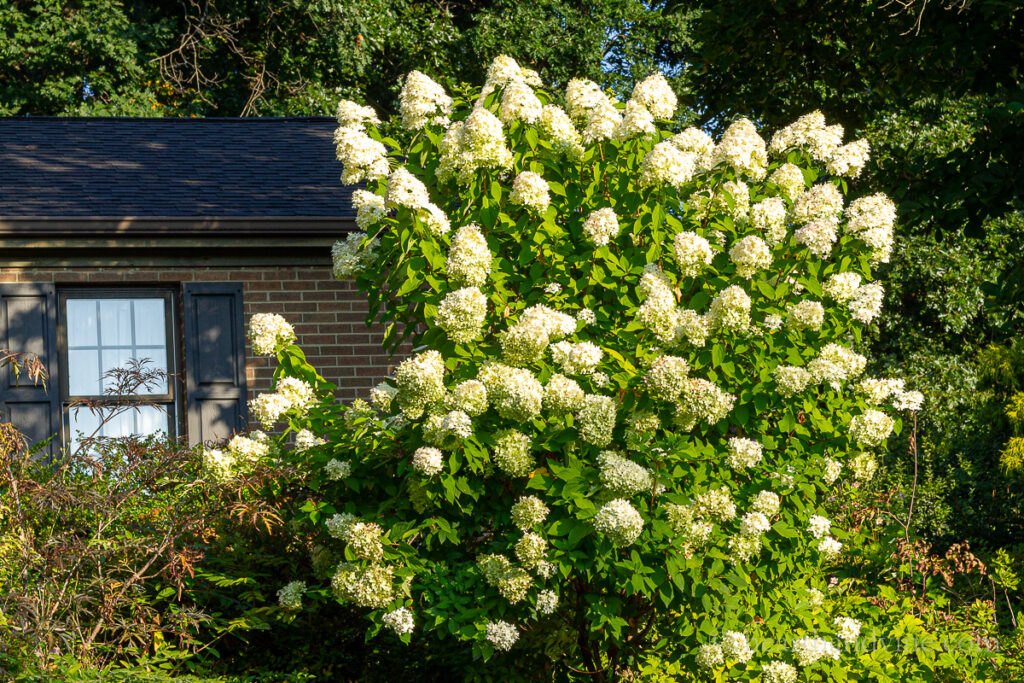
Even though I pruned this guy pretty heavily this past spring it has grown about an additional 4-5 feet in one season with blooms on the older stems, and on the new growth.
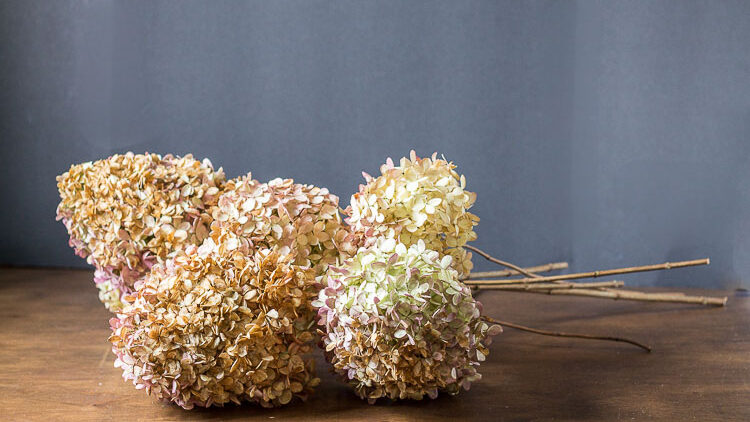
The flowers start off a pretty light green and gradually fade to white with pink tinges. So I thought I'd change things up on the porch and create two Limelight Hydrangea Wreaths for the front doors.
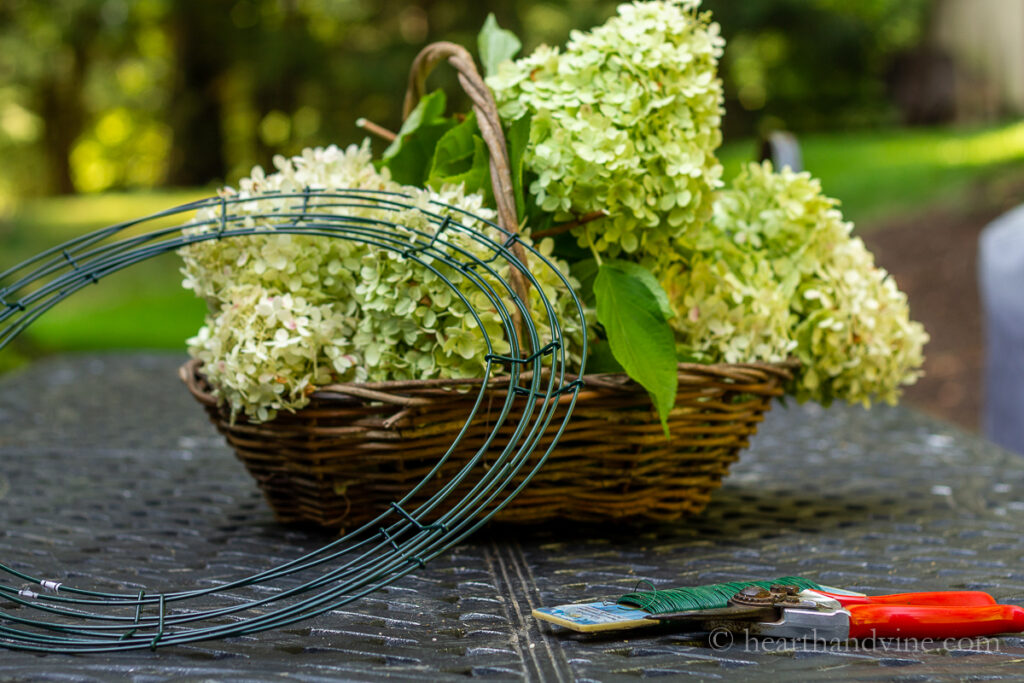
Supplies
fresh-cut blooms
wire wreath frame
florist paddle wire
How to Make a Limelight Hydrangea Wreath
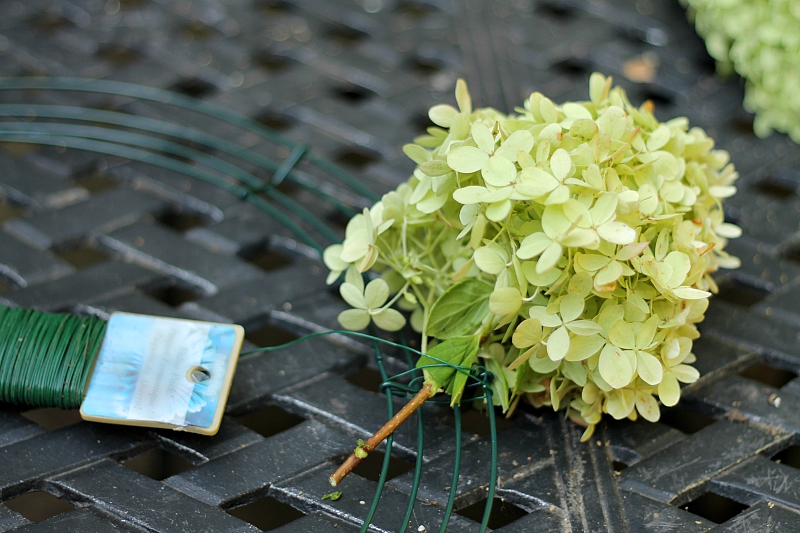
- Start by attaching a paddle of wire to your frame. Place the flowers, (remove the larger leaves first) on an angle towards the outside and wrap the wire around the stem, and frame about three times.
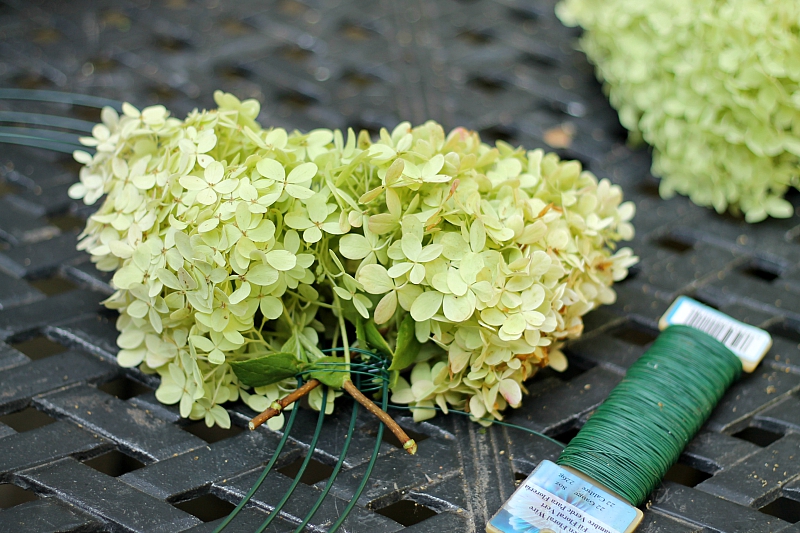
2. Place the next flower on a slight angle on the inside of the first one, and attach by wrapping more wire, and pulling the paddle tight.
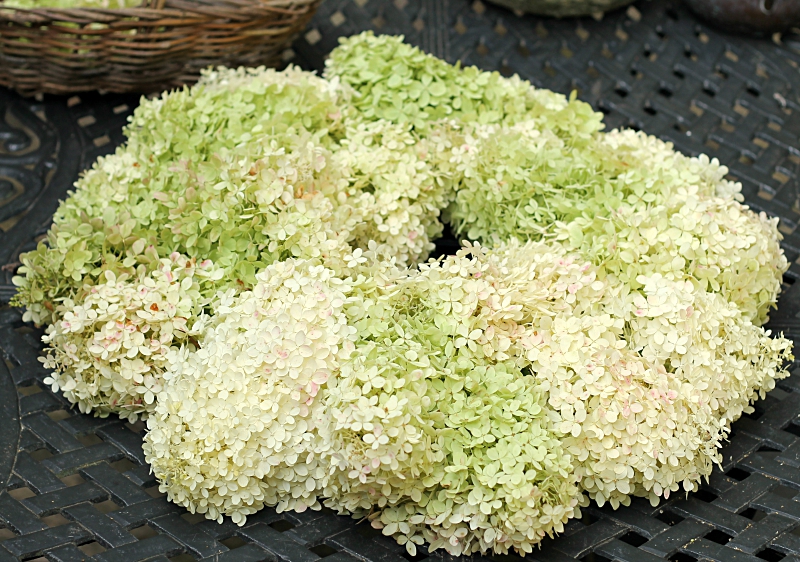
3. Continue until you complete the wreath. It's that simple. I will say that it can get a little tricky at the end but just push back the flowers and work the paddle around until it's finished.
4. Give yourself a little extra wire when cutting it off the paddle, so that you can weave it in and out of the wire base to secure it in place and create a loop for hanging if you need it. You may be able to hang the wreath on the wire base alone.
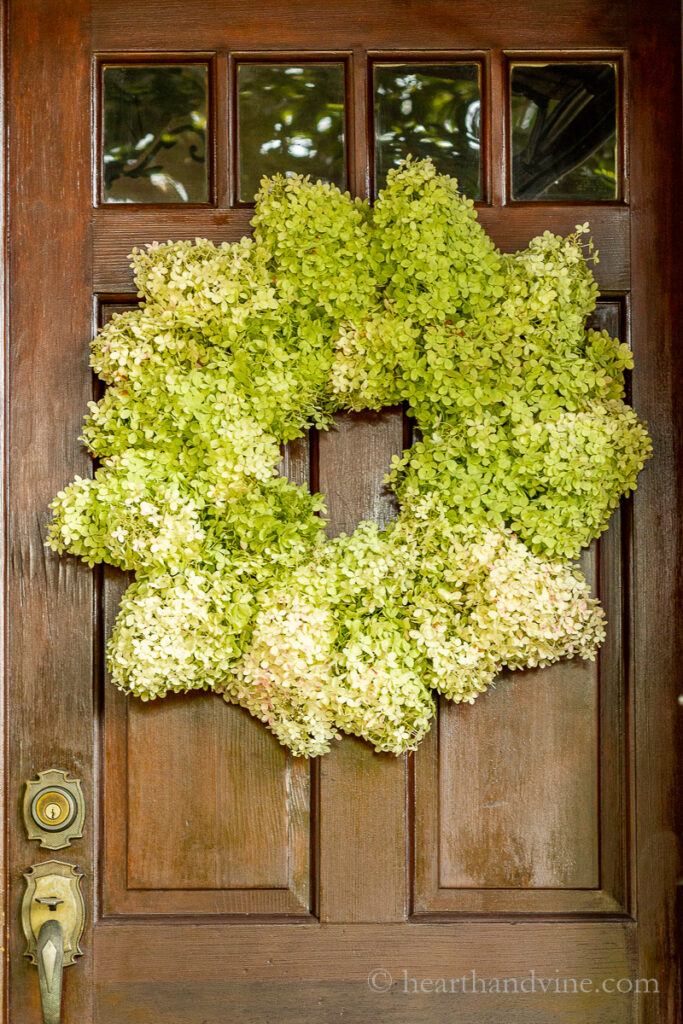
You might be surprised at how great this limelight hydrangea wreath looks. The flowers' own beauty really makes the wreath, but I'm always somewhat surprised at how nice they turn out.
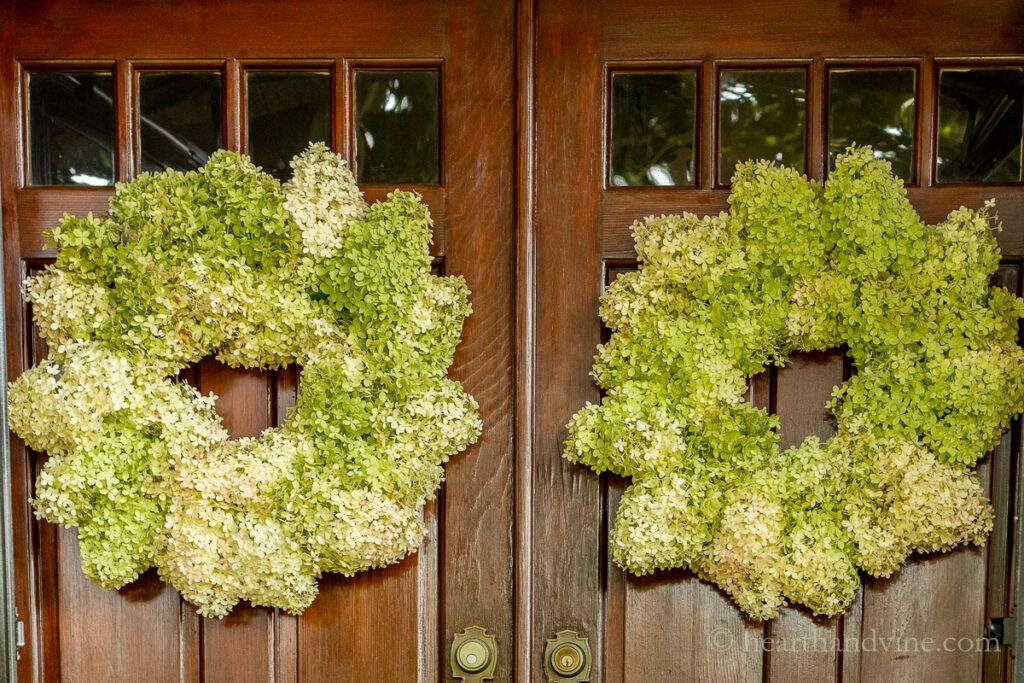
The flowers will dry in place and turn a pretty brown color. You can then adorn it with a bow or other plant material by sliding it in between the flowers.
And don't forget this wreath-making method can be done with herbs, evergreens, and many other plant materials. It's a project that is quick, easy, affordable, and fun. Those are the best kind, right?

Limelight Hydrangea Wreaths
Equipment
- Scissors/pruners
Materials
- Cut Limelight Flowers
- 14 inch - wire wreath frame
- florist paddle wire
Instructions
- Cut many flowers from your Limelight hydrangea shrub.
- Attach a paddle of wire to a wreath frame.
- Place the flowers, (remove the larger leaves first) on an angle towards the outside and wrap the wire around the stem, and frame about three times.
- Place the next flower on a slight angle on the inside of the first one, and attach by wrapping more wire, and pulling the paddle tight.
- Continue until you complete the wreath.
- Before you cut the wire paddle give yourself extra wire to weave around the frame to make sure it's secure and possibly create a loop for hanging. However, you should be able to hang the wreath from the wire base right on a hook or nail.



deborah wilson
I have a really large lime light in my back yard also. I love your wreath i will be making one also, thankyou so pretty
Patti Estep
It's a wonderful shrub. You'll love making many wreaths for your home or as gifts for your family and friends.
Jemma
First off your hydrangeas are beautiful and second what a glorious and beautiful wreath.
Great tutorial too! Thank you for sharing.
Have a wonderful Monday!
Jemma
Patty
The Wreaths are beautiful! I have a limelight hydrangea I planted last year. Now I can't wait to make a wreath with it. I love it! Gardening is one of my favorite hobbies and I enjoy watching my kids starting to enjoy it also!
Patti Estep
Hi Patty,
You will absolutely love your limelight. They are super easy to grow and just full of pretty blooms.
Thanks for stopping by,
Patti
Angie Rose
What a gorgeous wreath! Thank you for the great idea 🙂
Susan M.
Your wreath is beautiful! I love hydrangeas and love your tutorial. Thanks for sharing your tips with us.
Patti
Thanks Susan!