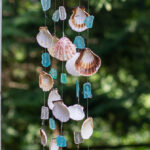
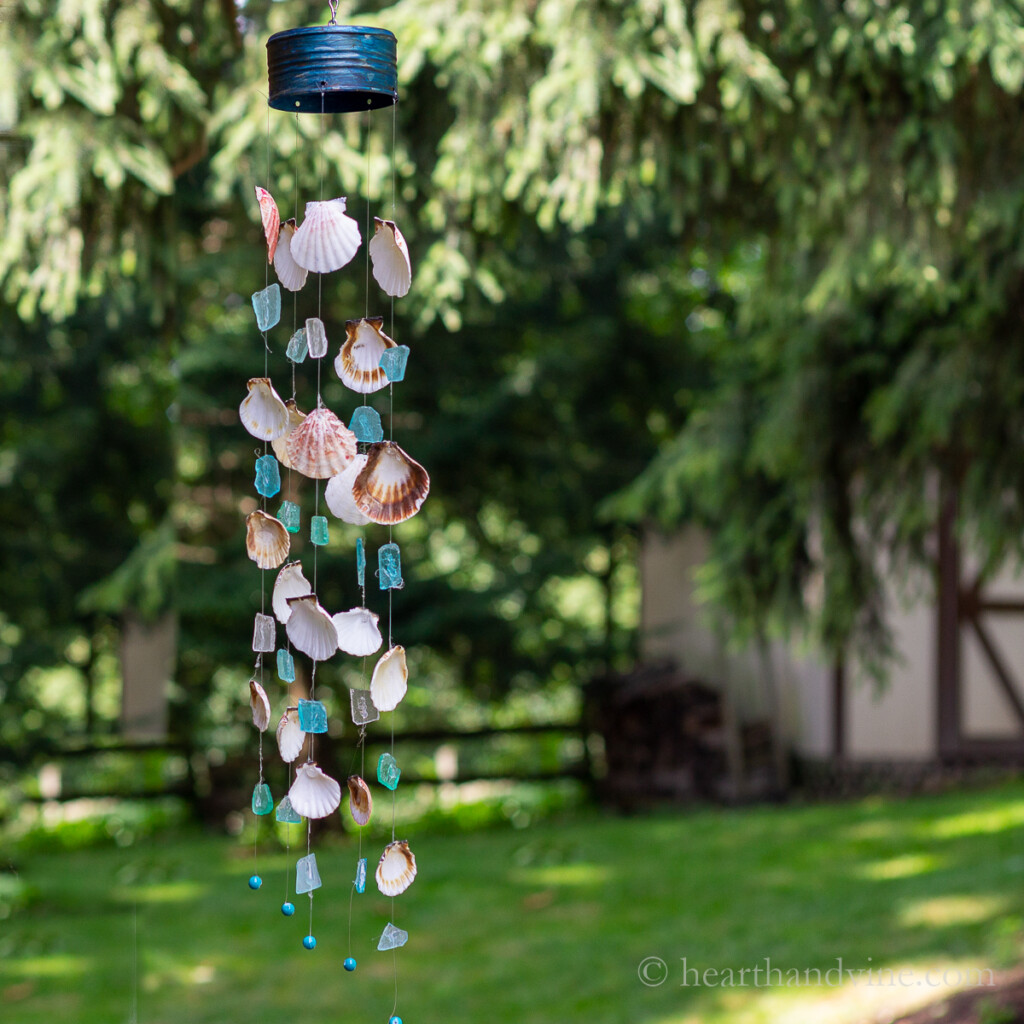
Learn how to make a seashell and sea glass wind chime with simple materials in just an afternoon. This wind chime was inspired by the movie, "The Choice." This DIY wind chime not only makes a relaxing bit of music when the wind blows but it looks beautiful too.
Have you read any Nicholas Sparks books? Or, have you seen any of his movies? Surely you have at least heard of "The Notebook." Well, I like them very much and in a world of negativity and sadness, there's nothing like a Nicholas Sparks story to lift the spirit.
You see these stories always have a happy ending. I like that, and while I was watching "The Choice" recently on TV, I was inspired to make a seashell & sea glass wind chime. Just in case you ever want to watch it, I won't spoil the significance of the wind chime.
Supplies
- Clear Fishing Line
- Seashells (with holes drilled through the top)
- Sea glass pieces
- A small empty can with the lid removed
- Chain for hanging (you could use wire or twine)
- Beads (optional)
- Paint to cover the can (optional)
- Hot glue gun and glue sticks
Chances are that you already have everything you need to make this project. I really love sea glass crafts and I knew that I had some pretty sea glass leftover from my Sea Glass Garden Ornament project.
I also had leftover chains from the Hanging Fruit Basket Challenge. Anyone who has ever fished probably has a slew of fishing line, and I used an empty clam can to hang the strands of seashells and glass.
This post contains some affiliate links (that means if you make a purchase after clicking a link, there’s no additional cost to you, but I will earn a very small commission. ) i.e. as an Amazon Associate, I earn from qualifying purchases. Click here to read my full disclosure policy.
How to Make a Seashell and Sea Glass Wind Chime
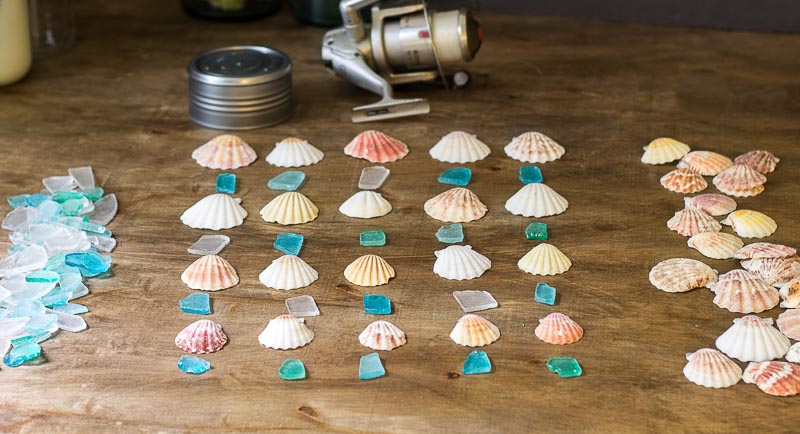
Step 1
Layout your shells and sea glass in a pattern. This is where your creativity can shine. Make them as long or short as you wish. You need to make sure that there are enough strands close together so that they hit each other in order to make the chime sound.
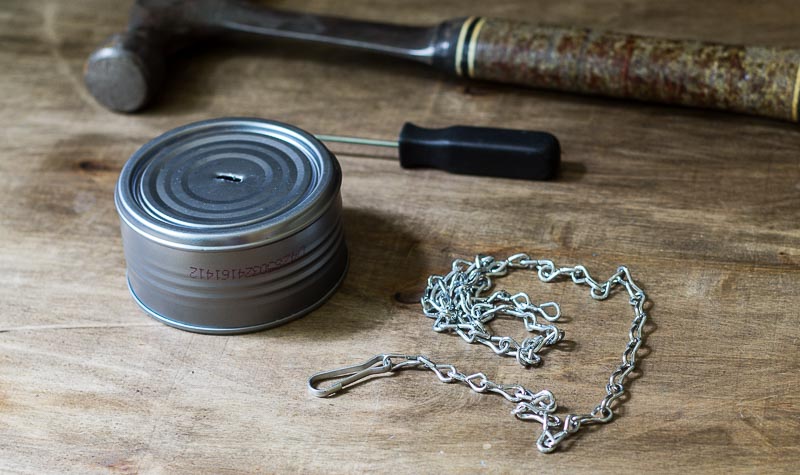
Step 2
Puncture a hole just large enough to fit the chain through, using a screwdriver and hammer. No drill is needed.
Step 3
Use a little tape to secure the chain. I used duct tape but any strong tape should work.

Step 4
Measure the can, and divide the circumference by the number of strands you want to make. I chose to make 5 strands, and my can was 10.5 inches, so 10.5 /5 equals 2.1 inches. Place a dot just past 2 inches all around.
Then make a hole at each dot. I tried a nail and hammer but that was difficult. Believe it or not, a paper hole punch worked. It really doesn't matter how you make the holes though. You could even drill them.
Step 5
Make a small hole at the top of each shell with a thin nail and a hammer. Do this from the inside with the shell on a table to prevent breakage. Start with a shell you don't like to practice and then continue with the rest. You can also drill holes with a small drill bit for this step.
Step 6
Cut a piece of fishing line to a length several inches above your shell pattern and below. You can always cut the excess later.
Tape down the fishing line to a table, leaving several inches above the tape.
Then thread your first shell, starting at the top. Hold the shell and fishing line in place with your thumb and fingers, and place a drop of hot glue on the inside of the drilled hole, on top of the fishing line. Hold for a few seconds and set down.
Take the next shell and space it a few inches below the first one, leaving room for the sea glass, and place a drop of glue over the inside hole and fishing line.
Continue until you are finished with the strand. Repeat the process with the other strands.
Step 7
Add the sea glass by placing a line of hot glue on the glass and setting it in place under the fishing line. Add additional glue on top of the fishing line.
At the bottom, you can add a bead, by threading through the fishing line and tying it off with a double knot.
Step 8
Paint the can with craft paint if desired, then once dry thread the top of the strands through the holes in the can at the length you want and tie off with a couple of knots.
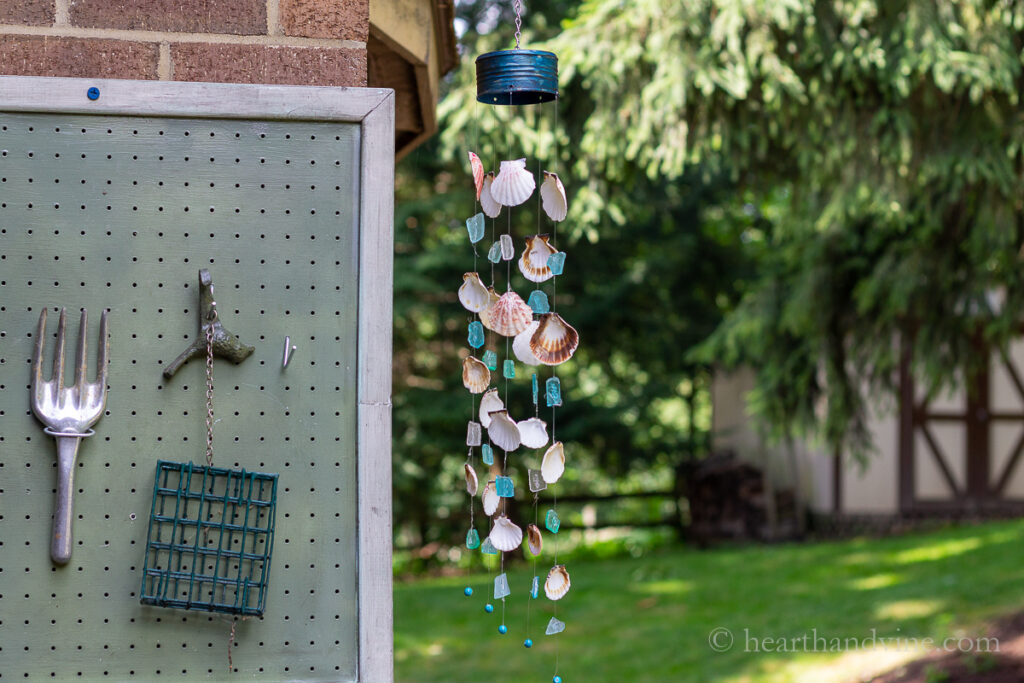
Hang your beautiful Seashell & Sea Glass Wind Chime on the porch or patio and enjoy.

More Outdoor Art Projects
Click Here to Save to Pinterest!

How to Make a Seashell and Sea Glass Wind Chime
Equipment
- Screwdriver or hammer
- Hot glue gun and glue sticks
Materials
- Clear Fishing Line
- Seashells
- Sea glass pieces
- Small empty can with the lid removed
- Chain for hanging
- Beads optional
- Paint to cover the can optional
Instructions
- Layout your shells and sea glass in a pattern.
- Puncture a hole just large enough to fit the chain through, using a screwdriver and hammer.
- Use a little tape to secure the chain.
- Measure the can, and divide the circumference by the number of strands you want to make.
- Place a dot just past 2 inches all around.
- Make a hole at each dot.
- Make a small hole at the top of each shell with a thin nail and a hammer. Do this from the inside with the shell on a table to prevent breakage. Start with a shell you don't like to practice and then continue with the rest. Or use a drill to make the holes.
- Cut a piece of fishing line to a length several inches above your shell pattern and below.
- Tape down the fishing line leaving several inches above the tape, to a table.
- Thread your first shell, starting at the top.
- Place a drop of hot glue on the inside of the drilled hole, on top of the fishing line.
- Take the next shell and space it a few inches below the first one, leaving room for the sea glass, and place a drop of glue over the inside hole and fishing line.
- Continue until you are finished with the strand. Repeat the process with the other strands.
- Add the sea glass by placing a line of hot glue on the glass and setting it in place under the fishing line.
- Add additional glue on top of the fishing line.
- At the bottom, you can add a bead, by threading through the fishing line and tying it off with a double knot.
- Paint the can with craft paint if desired, then once dry thread the top of the strands through the holes in the can at the length you want and tie off with a couple of knots.
Jamie
Omg this I am meant to make this. I literally just finished watching The Choice and loved the windchime for the movie and started looking for diy sea glass windchime's. I have been collecting sea glass and shells for years now, this will be a great way to use some of it. Thank you!
Patti Estep
So glad you like it Jamie. Enjoy!
Beth
I'm now inspired to make one! My question: is the hot glue strong enough to hold everything if it is displayed outside? Have yours held up outdoors for years? Thanks.
Patti Estep
Beth, it hasn't been years but it has been hanging outside for a while now with no issues.
Delicia
i love the idea of doing the same project. They look beautiful
Patti Estep
Thanks Delicia!
Angela
Hello,
I am totally new to arts & crafts and apologise in advance for this silly question...but what glue do you use that is hot?
Many thanks,
The Newbie 🙂
Patti Estep
Hi Angela,
When I say hot glue I mean I'm using a hot glue gun. You can find them any place that sells crafts. Even hardward stores sometimes sells them.
Thanks for stopping by,
Patti
Brenda
Won't the hot glue break the fishing line. with my experience the hot glue gets pretty hot? I'm going to give it a shot and find out the end result. Wish me luck.
Patti Estep
Brenda, I had no problem. I used fishing line from an old rod in our garage and standard hot glue. I guess it is possible that the fishing line was some kind of heavy duty line but I hope that it works for you.
Robin
If you have left over shells you can glue them on the tin can for a more beautiful look
Margie S.
Do the shells come pre-drilled or do you have to drill them?
How?.
Isn't fishing line strong enough to tie.through the holes in the shells? I've never fished, but I would think tying a metal hook on, then landing a huge, fighting fish would require strong line...stronger than a spot of glue.
I don't have a porch but.I think I have to buy some of those "shepherd's crook" stakes at the garden supply, so I can start a "windchime garden" near my patio. Oh, and I must read "The Choice" while.I listen to that garden "sing" to me.
Patti Estep
Hi Margie,
I drilled them. It was really easy with an electric drill and a small bit. I place the seashell on a piece of wood and drilled straight through. Yes, you could tie the shells on instead of gluing them but I personally was worried about the fine fishing line getting all tangled up so I decided to glue it. I also think your shepherd hook idea is a great one. I have a homemade rain chain on one of mine in the garden. Hope you enjoy your chimes and the book.
Patti
Carole @ Garden Up Green
Patti you are so amazing with all your talents - I love this project! I agree with happy endings and seem to be seeking them. I'm currently watching a Hallmark series that began with Love Comes Softly - produced by Michael Landon Jr. Anyways a time frame I probably should have been born in and so comforting with all the chaos of the world we live in today. I need that escape from it all and the sound of a wind chime is a great escape. Thanks for sharing this project!
Patti Estep
Hi Carole,
So glad you liked the project. We are working on our porch so I think it will be a nice addition. By the way, I love that series on Hallmark. I've watched several of them in the past but I think there may be more. Thanks for reminding me about them. I'll have to check it out!